Learn how to make crochet fall leaves using this easy step-by-step guide. Perfect for autumn decor, garlands, and gift accents.
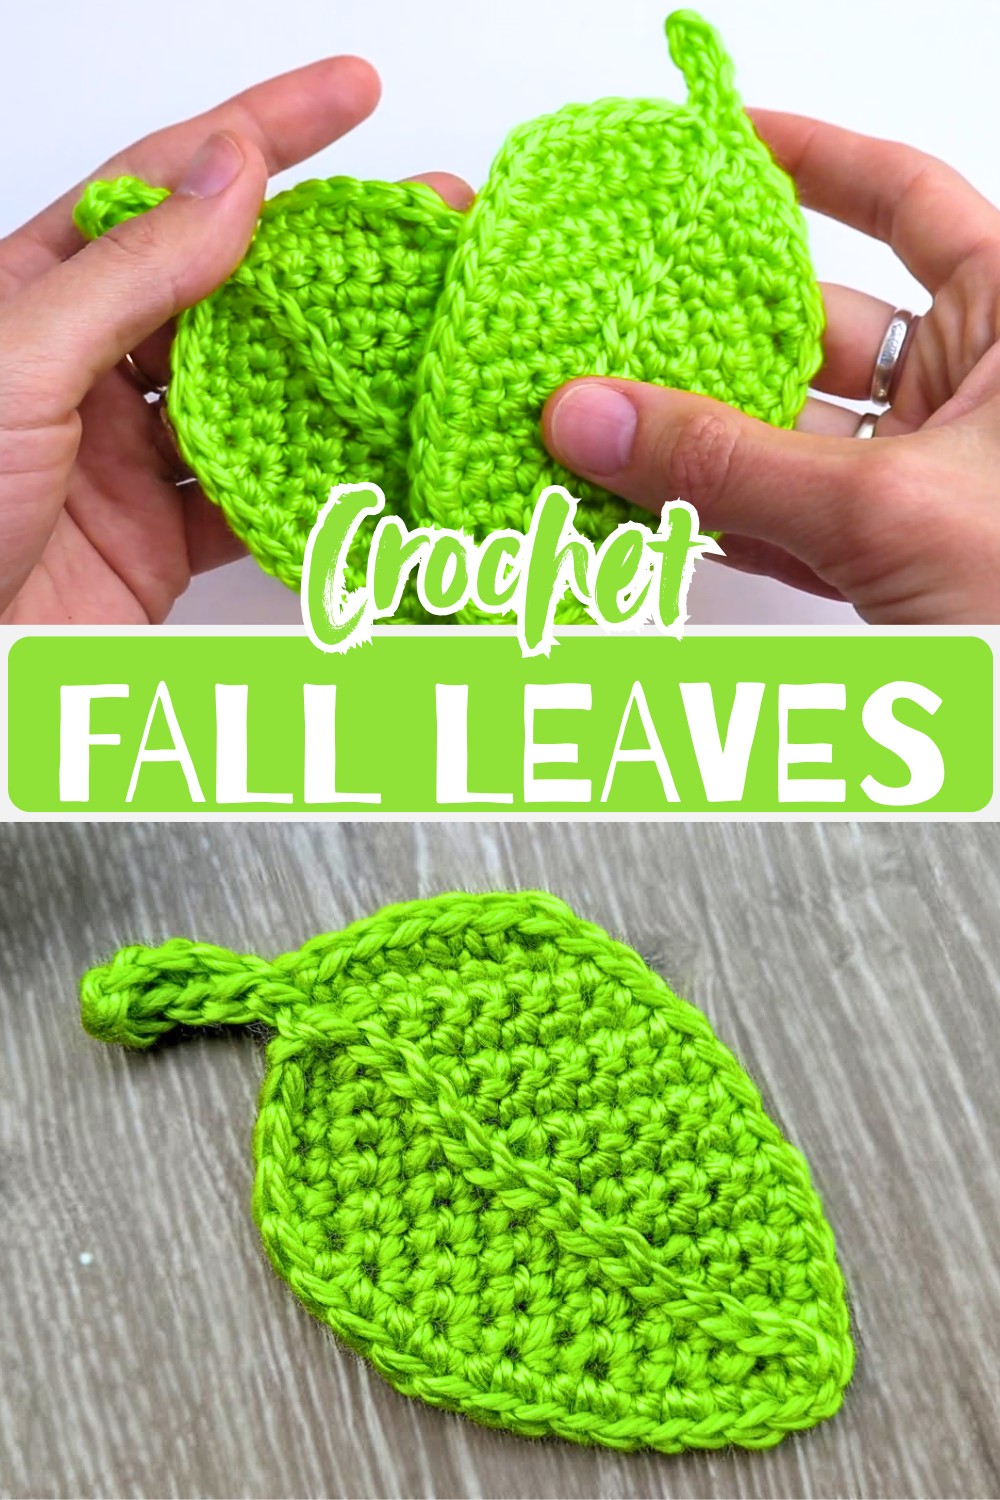
Autumn decorations feel even more special when they’re handmade, and this fall crochet leaf design captures that seasonal look with simple stitches and neat shaping. A few clever row changes gradually form the classic leaf silhouette, making every crochet step satisfying to watch unfold.
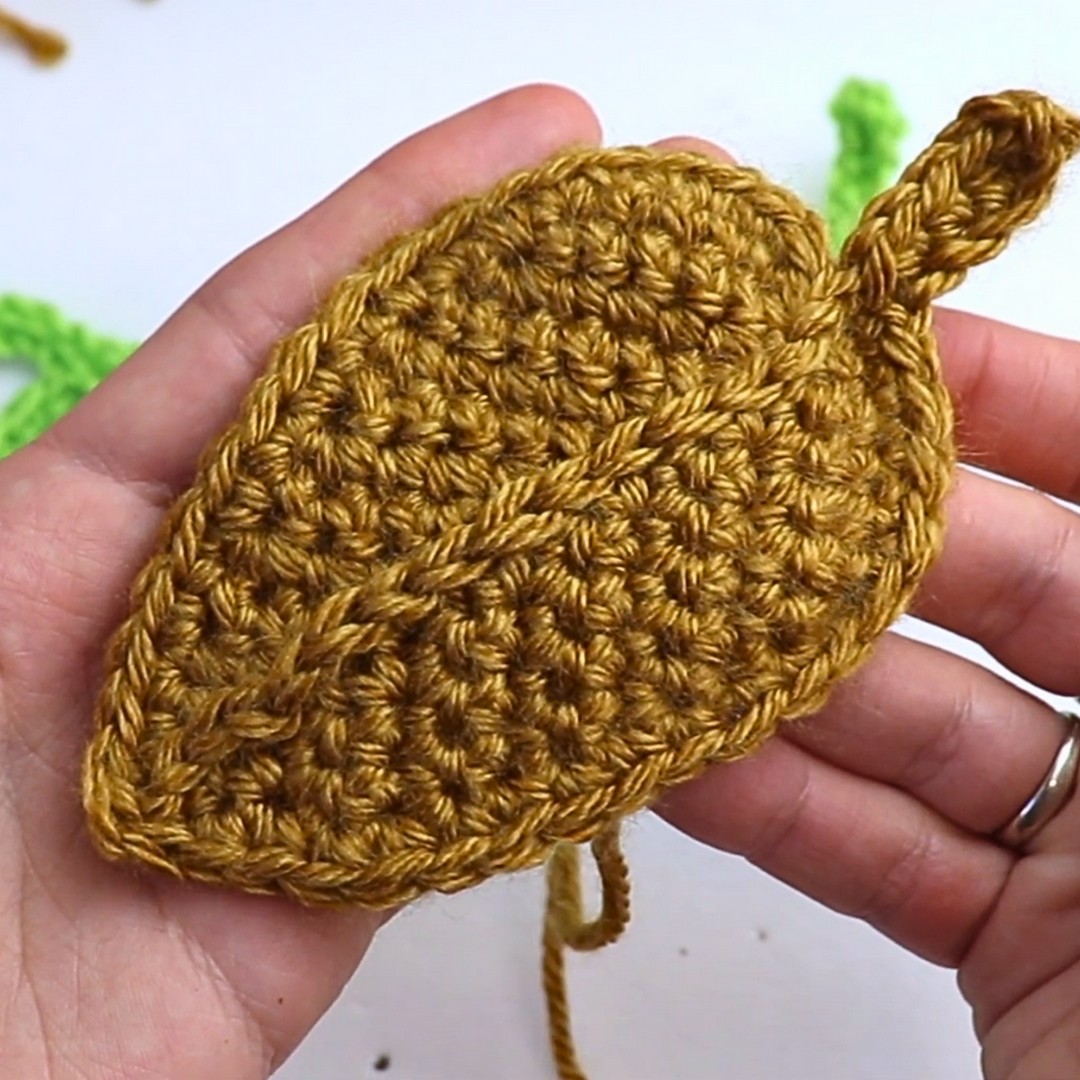
The finishing details bring the crochet design to life with a raised center rib, a clean border, and a built-in stem that completes the natural look. Whether displayed on a garland, wreath, or gift wrap, this crochet leaf is a beautiful way to celebrate the colors of the season.
Credit Crochet Bits
Materials & Tools Needed
- Yarn: Medium worsted weight yarn (e.g., Caron Simply Soft in green or autumn colors)
- Hook size: 4.0 mm crochet hook
- Other tools:
- Yarn needle (for weaving in ends)
- Scissors
Design Details & Key Features
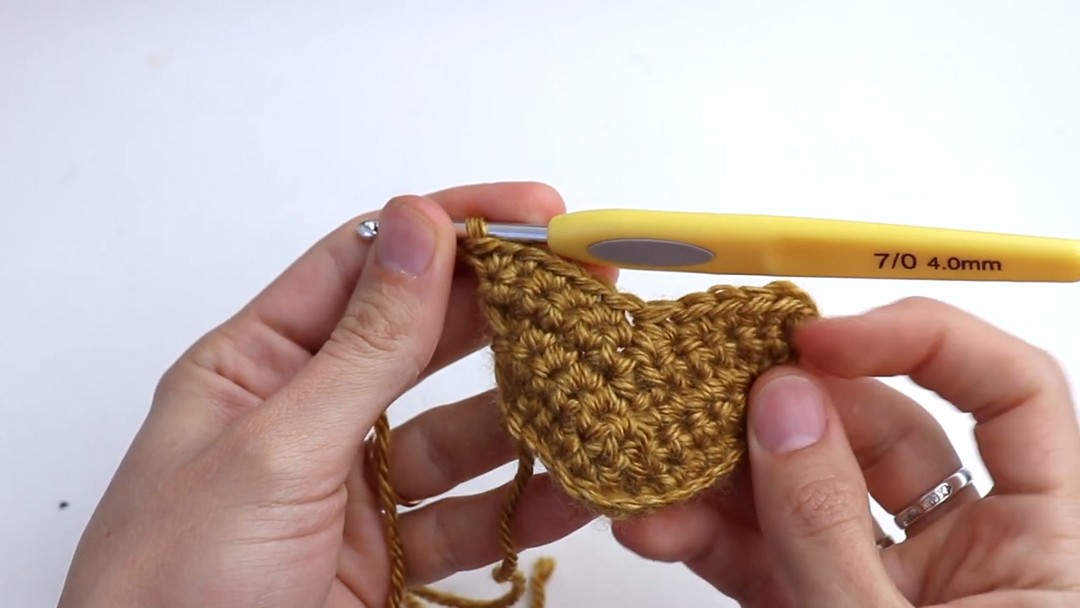
Clever Shaping: Employs a technique of skipping two center stitches in each row to create a natural, tapered leaf shape
Central Ribbing Effect: Decorative central slip stitches are added down the middle spaces to define the spine
Clean Finished Edge: A crisp border of single crochets framing the entire leaf piece
Integrated Stem: Features a sturdy, built-in stalk crocheted directly onto the leaf tip or base
Pattern Notes & Design Details
- Gauge: Not specified.
- Shaping Technique: Skipping two stitches in the center of each row creates a tapered leaf shape
- Central Ribbing: Decorative slip stitches along the center create the appearance of a leaf vein
- Border: Single crochet stitches frame the edge for a polished finish
- Stem: A sturdy crocheted stem is integrated directly into the leaf tip or base
Making the Leaf
Step-by-Step Instructions
Body of the Leaf:
- Row 1:
- Chain 13
- Starting in the second chain from the hook, make 1 single crochet in each chain across (12 stitches)
- Chain 1, turn.
- Row 2:
- Make 2 single crochets in the first stitch (increase).
- 1 single crochet in the next 4 stitches.
- Skip 2 stitches (to shape the center).
- 1 single crochet in the next 4 stitches.
- Make 2 single crochets in the last stitch (increase)
- Chain 1, turn.
- Row 3, 4, and 5:
- Repeat the instructions for Row 2
- Row 6:
- 1 single crochet in the next 5 stitches.
- Skip the next 2 stitches.
- 1 single crochet in the next 5 stitches (no increases)
- Chain 1, turn.
- Row 7:
- Make 2 single crochets in the first stitch (increase).
- 1 single crochet in the next 3 stitches.
- Skip the next 2 stitches.
- 1 single crochet in the next 3 stitches.
- Make 2 single crochets in the last stitch (increase)
- Chain 1, turn.
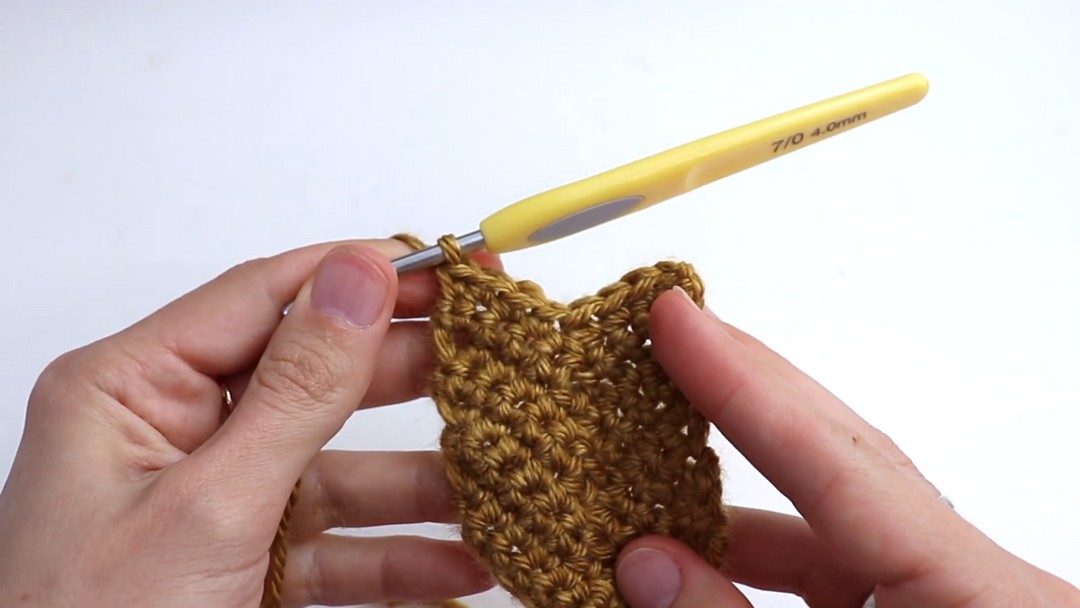
- Row 8:
- 1 single crochet in the next 4 stitches.
- Skip the next 2 stitches.
- 1 single crochet in the next 4 stitches
- Chain 1, turn.
- Row 9:
- Make 2 single crochets in the first stitch (increase).
- 1 single crochet in the next 2 stitches.
- Skip the next 2 stitches.
- 1 single crochet in the next 2 stitches.
- Make 2 single crochets in the last stitch (increase)
- Chain 1, turn.
- Row 10:
- 1 single crochet in the next 3 stitches.
- Skip the next 2 stitches.
- 1 single crochet in the next 3 stitches
- Chain 1, turn.
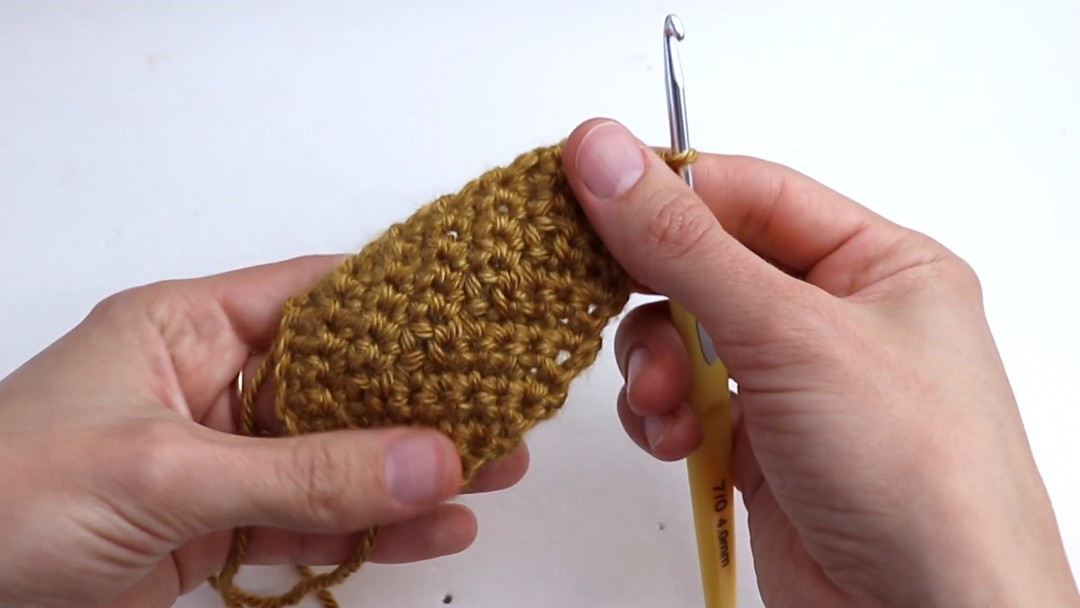
- Row 11:
- 1 single crochet in the next 2 stitches.
- Skip the next 2 stitches.
- 1 single crochet in the next 2 stitches
- Chain 1, turn.
- Row 12:
- 1 single crochet in the first stitch.
- Skip the next 2 stitches.
- 1 single crochet in the last stitch
- Chain 1, turn.
- Row 13:
- 1 single crochet in the only remaining stitch
- Chain 1, turn.
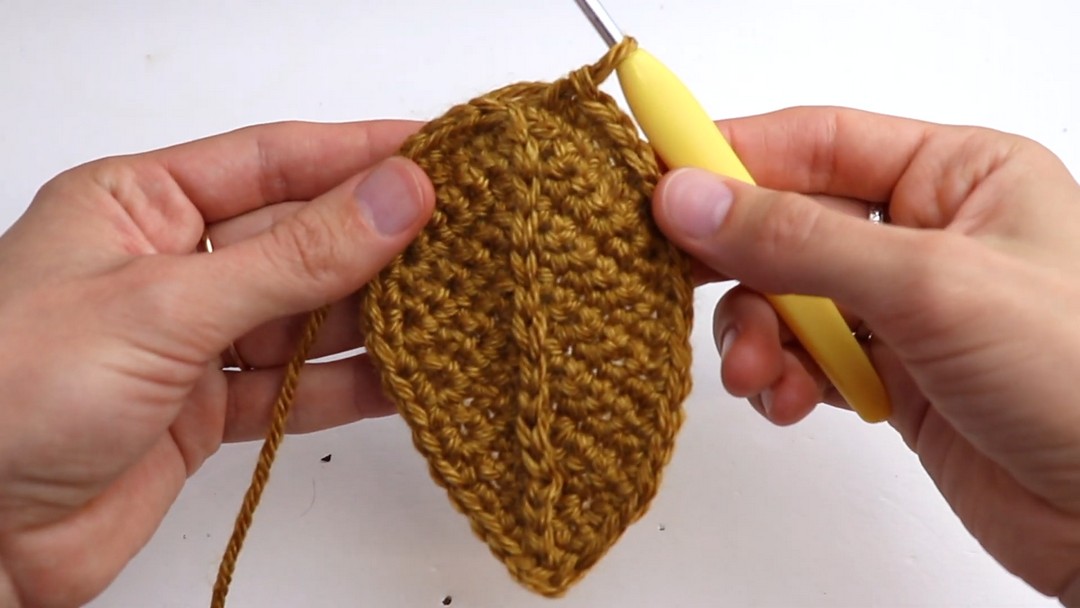
Adding Details
- Central Ribbing:
- Using slip stitches, work along the skipped stitches in the middle of the leaf, from top to bottom. This creates the decorative central spine of the leaf
- Border:
- Work single crochets evenly around the entire edge of the leaf.
- At the tip of the leaf, work: 1 single crochet, chain 1, 1 single crochet. This creates a neat point at the tip
- Stem:
- From the leaf tip or base, Chain 6
- Work the following stitches back along the chain:
- 1 half double crochet in the 2nd chain from the hook.
- 1 half double crochet in the next chain.
- 1 single crochet in the next chain.
- 1 single crochet in the next chain.
- 1 slip stitch in the last chain
- Finish with a slip stitch at the base of the leaf to secure the stem
- Fasten off and leave a yarn tail for seaming, if needed.
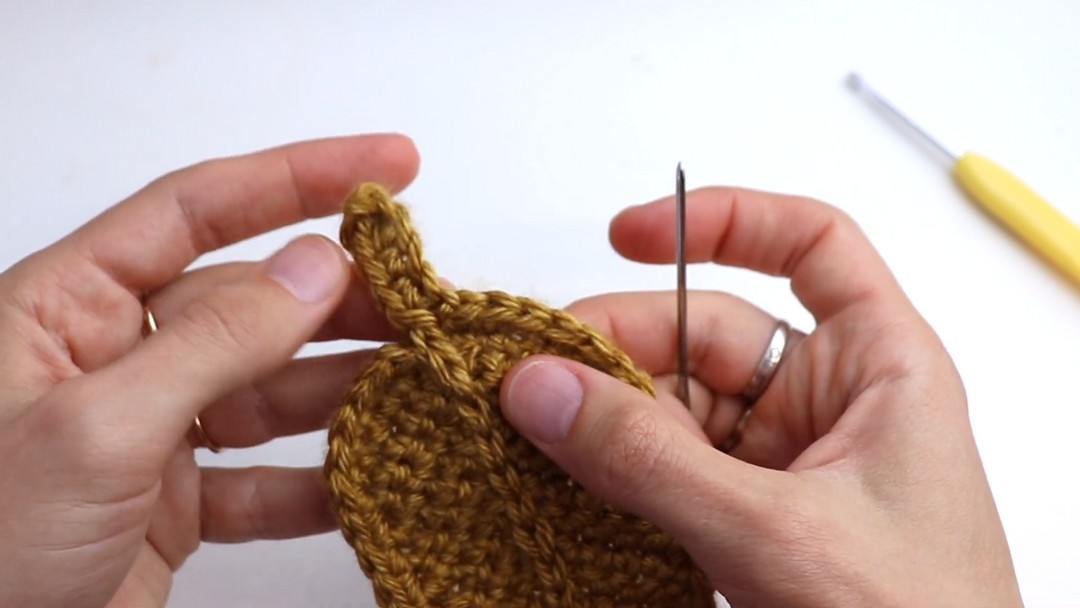
Finishing Touches
- Thread the yarn tail onto a yarn needle.
- Insert the needle underneath both loops of the first slip stitch, then pull it back through the center of the last stitch to create a seamless join.
- Securely weave in all trailing ends to prevent unraveling
Assembly Instructions
Thread your yarn tail onto a yarn needle. Insert the needle underneath both loops of the first slip stitch, then pull it back through the center of the last stitch to create a seamless join before weaving in all ends securely.
Troubleshooting & Tips
- Center Rib Placement: Slip stitch into every skipped stitch space for a more defined look or skip every alternate row for a subtler vein
- Even Edges: Take care to place single crochets evenly along raw row edges while working the border to maintain a clean, flat leaf shape
Conclusion
With your textured autumn leaf complete, you now have a perfect handmade decoration for the season! Make multiple leaves in different colors and sizes for garlands, table settings, or gift embellishments.