Learn how to crochet a textured fall leaf with simple stitches. Great for table décor, gifting, or creative accessory ideas. Simple and stylish!
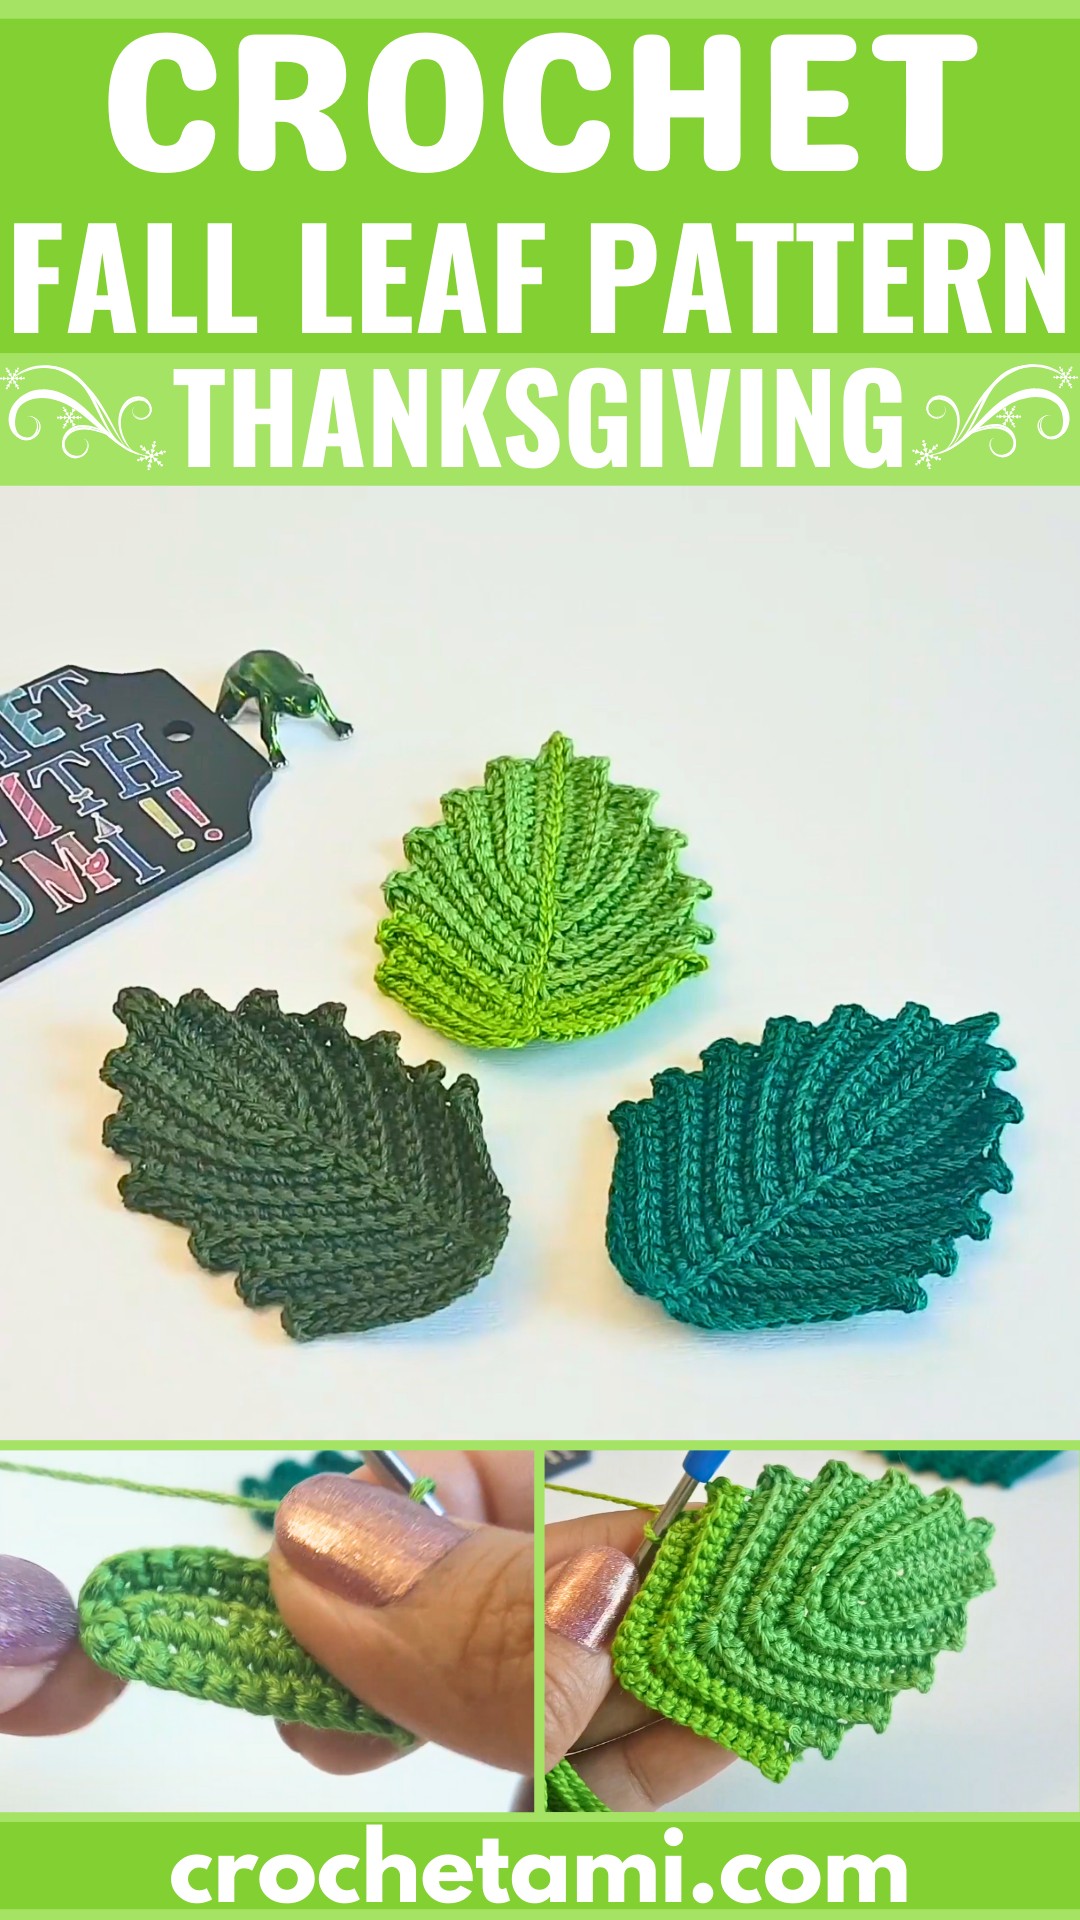
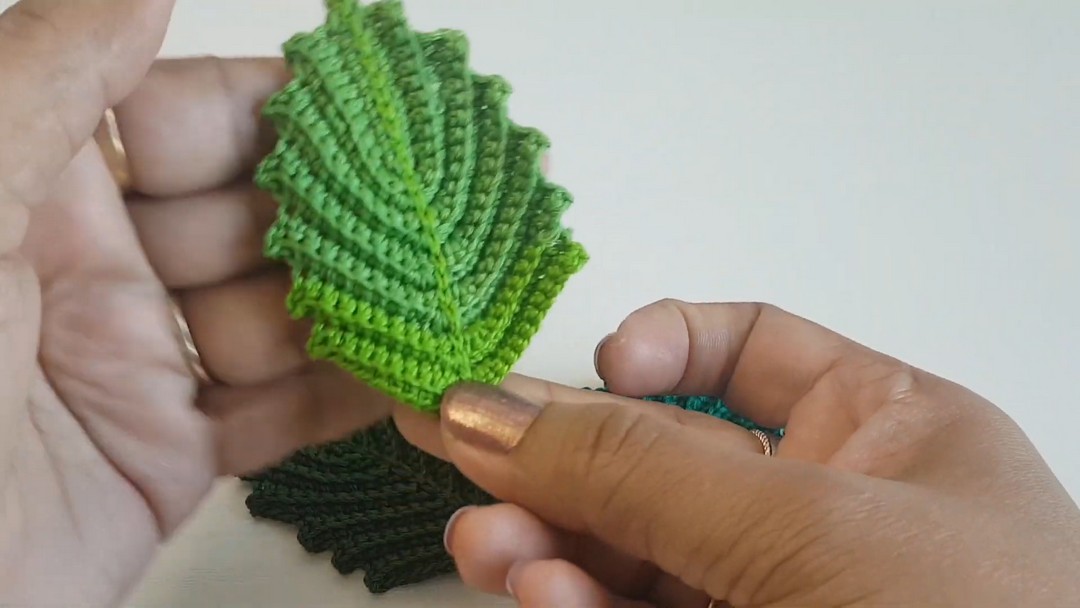
Autumn details become even more special when they are handmade. This crochet fall leaf creates a realistic shape with neat ribbed texture, making it a lovely choice for seasonal decorations, small accessories, or thoughtful handmade gifts. The simple stitch crochet pattern gradually reveals its natural look as each rib takes shape.
The crochet design begins with a small foundation and grows through repeated rows worked mostly in the back loops, while careful shaping creates the pointed leaf outline. A final line of slip stitches adds the center vein, giving the finished crochet leaf its distinctive look and making every step worth seeing.
Credit Crochetwithsumi
Materials & Tools
- Thread/Yarn: Embroidery cotton thread (or any thread of your choice)
- Hook: 1.6 mm crochet hook
- Notions: Needle for weaving in ends, scissors
Gauge:
Not specified (not critical for this project).
Size:
Not specified; length/size is customizable by repeating rows (ribs).
Notes
- The leaf is worked in the round initially, then back and forth in rows, mostly in back loops only (BLO) to create a ribbed texture.
- Shaping is created by:
- Making 3 single crochets (3 sc) in the center/top stitch.
- Skipping the last 2 stitches at the end of each row on the “sides”.
- The leaf is finished with a center vein made of slip stitches down the middle.
- The stitch “V”:
- Loop farther from you = back loop
- Loop closer to you = front loop
All main stitches (except specified) are worked in the back loop.
Abbreviations (US terms):
- ch = chain
- sc = single crochet
- sl st = slip stitch
- BLO = back loop only
Key Features & Construction Summary
- Foundation Chain & Single Crochet on Both Sides
- Begins by creating a foundation chain and working single crochets along both sides of the chain for symmetry and structure.
- [Referenced Timestamp: 03:03, 04:26]
- Ribbed Texture with Back-Loop-Only Placement
- Utilizes back-loop-only (BLO) placement to achieve a distinct ribbed texture.
- [Referenced Timestamp: 05:52]
- Shaping Technique
- Shaping is achieved by:
- Adding: Three single crochets into the center/top stitch.
- Skipping: The last two stitches at the ends of rows for a tapered effect.
- [Referenced Timestamp: 04:07, 05:35]
- Shaping is achieved by:
- Finishing Detail: Leaf Vein Effect
- Completed with a center line of slip stitches worked through the middle spaces to mimic a leaf vein for decorative emphasis.

Pattern Overview & Making Process
The pattern starts with a foundation chain, followed by single crochet stitches worked along one side of the chain and then back along the opposite side. Extra stitches are added at the tip to form the top of the leaf, creating the base needed for the textured shape.
Most of the following rows are worked in the back loop only to build the raised ribs. In every row, three single crochets are made in the center stitch, while the last two stitches on the sides are skipped to taper the edges and gradually form the leaf.
The same shaping sequence is repeated until six rib sections are completed, with extra repeats available for a larger leaf if desired. The pattern finishes by working slip stitches down the center spaces to create a raised vein before fastening off and weaving in the ends.
Instructions
Foundation
- Make a slip knot.
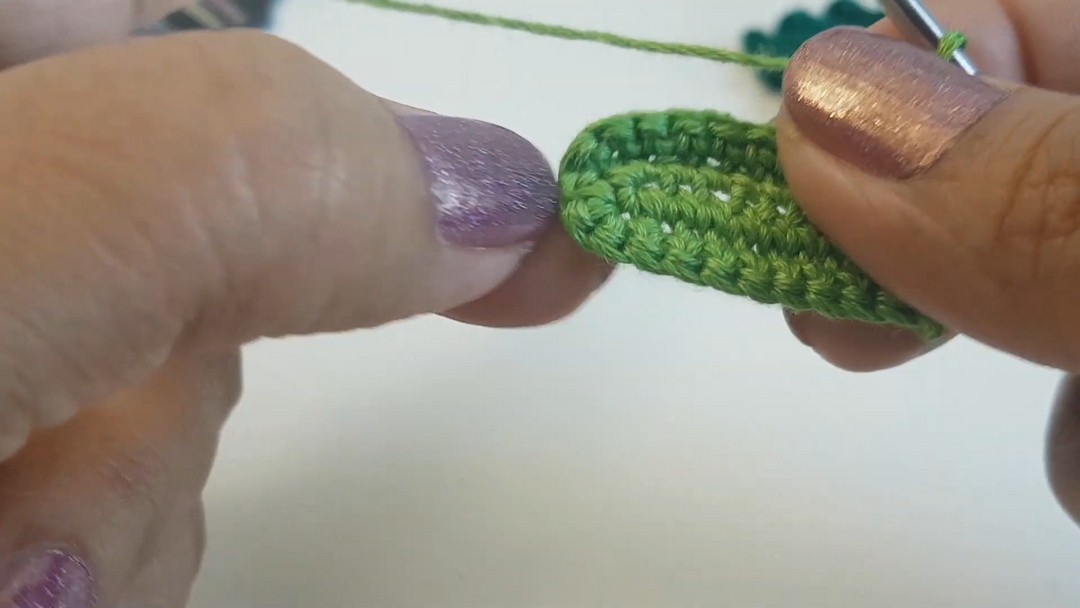
- Ch 12.

Row 1
- Skip the first ch from the hook.
- Sc in each of the next 11 ch.
- In the last ch where you made the 11th sc, work 2 more sc (3 sc total in that stitch).
- Turn to work along the back loops of the starting chain on the opposite side:
- Sc in the next 9 sts only.
- Leave the last 2 chains unworked.
Row 1 is complete.
Row 2
- Ch 1, turn. Skip the turning chain.
- Working in BLO, sc in each of the next 9 sts.
- In the next stitch (center/top), insert the hook through both loops and work 3 sc.
- Continue down the other side, working BLO, sc in each of the next 11 sts.
Row 2 is complete.
Row 3
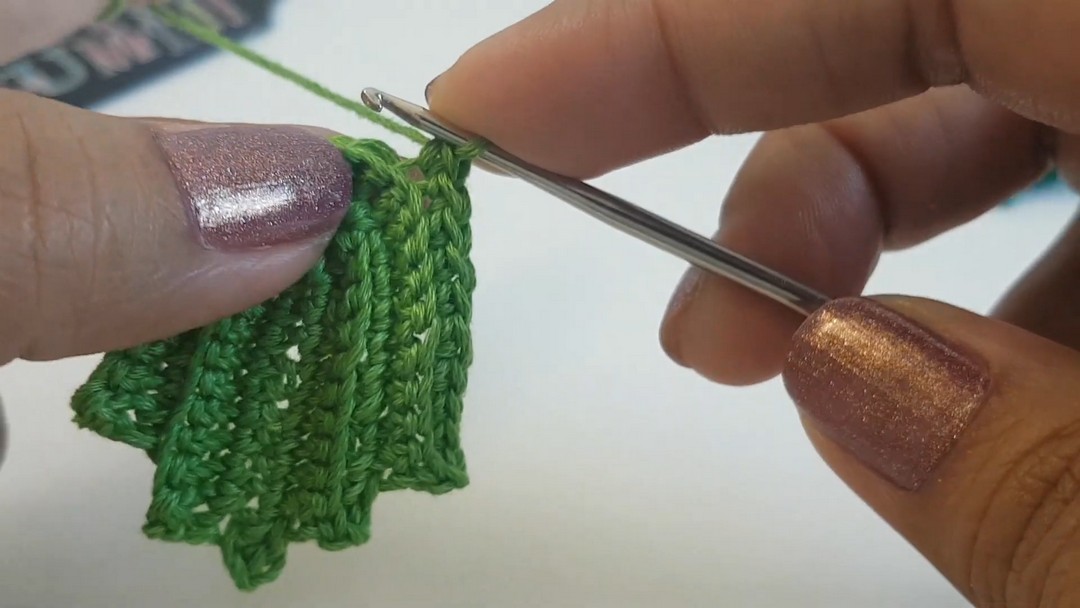
- Ch 1, turn. Skip the turning chain.
- In BLO, sc in each of the next 9 sts.
- In the next stitch (through both loops), work 3 sc.
- Work down the other side in BLO, sc in each of the next 10 sts, skipping the last 2 sts at the end of the row.
Row 3 is complete.
Row 4
- Ch 1, turn. Skip the first chain.
- In BLO, sc in each of the next 9 sts.
- In the next stitch, work 3 sc.
- Work down the other side, skipping the top 2 stitches at the end, and sc in each remaining stitch in BLO.
Row 4 is complete.
Row 5
- Ch 1, turn.
- In BLO, sc in each of the next 9 sts.
- In the next stitch (top), work 3 sc.
- Work down the left side stitches, skipping the last 2 sts at the end, and sc in each remaining stitch in BLO.
Row 5 is complete.
Rows 6–12 (Rib Repeat)
Repeat the established sequence:
- Ch 1, turn. Skip the turning chain.
- In BLO, sc in each of the next 9 sts.
- In the next stitch (center/top), work 3 sc (through both loops).
- Work down the opposite side in BLO, skipping the last 2 sts at the edge, and sc in each remaining stitch.
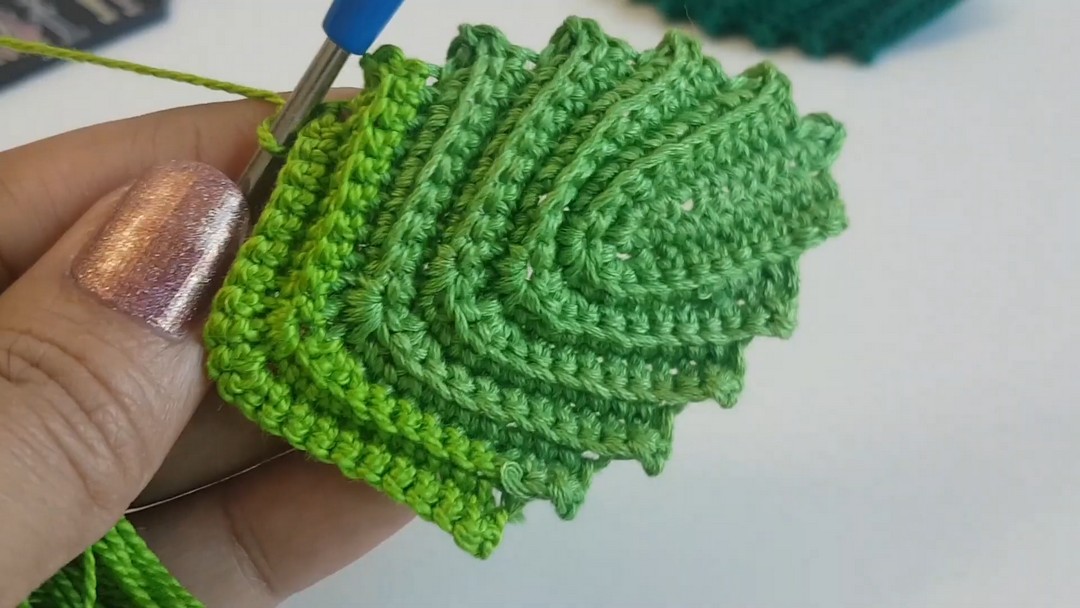
Continue repeating until you have a total of 6 rib structures on each side of the leaf.
To customize size:
Add more repeats (rows) following this same sequence to create additional ribs and a longer/larger leaf.
Final Row & Center Vein
On your final rib structure:
- Ch 1, turn.
- In BLO, sc in the next 9 sts.
- Then sc through both loops of the next 2 sts to position yourself in the center of the leaf.

Do not fasten off.
To form the center vein:
- Insert your hook into the spaces running down the middle line between the rib structures (these look like gaps between the rows).
- In each space, work 1 sl st, moving down the center of the leaf.
- This creates a raised chain-like line that mimics the leaf’s vein.
Fasten off and weave in ends with a needle.
Assembly Instructions
- No Assembly Required:
The leaf is worked as one continuous piece, eliminating the need for additional assembly steps.- [Referenced Timestamp: 12:39]
Customization Options
- Sizing:
- Adjust the leaf size by repeating the same stitch sequences, allowing you to add more rib structures for a larger design.
- [Referenced Timestamp: 02:03]
- Thread Choice:
- Use any thread type or color to personalize the leaf to match your project’s aesthetic.
- [Referenced Timestamp: 02:37]
Troubleshooting & Common Issues
- Counting Ribs:
- Track your turns carefully to ensure an even number of rib structures on both the left and right sides of the leaf profile.
- [Referenced Timestamp: 11:38]
Pattern Variations & Modification Ideas
- The finished leaf can be incorporated into a wide array of crochet projects, offering versatility in design applications.
- [Referenced Timestamp: 02:13]
Customization & Use
- Size: Repeat the rib sequence more times for a longer/larger leaf.
- Thread/Yarn: Use different colors or fibers to match your project (e.g., cotton, fine yarn, or even wool for a rustic look).
- Uses: Appliqué on scarves, hats, blankets, table decor, garlands, or as embellishments on other crochet pieces.