Looking for a fun holiday crochet project? This cute Santa plushie is quick to make and adds a cheerful handmade touch to Christmas!
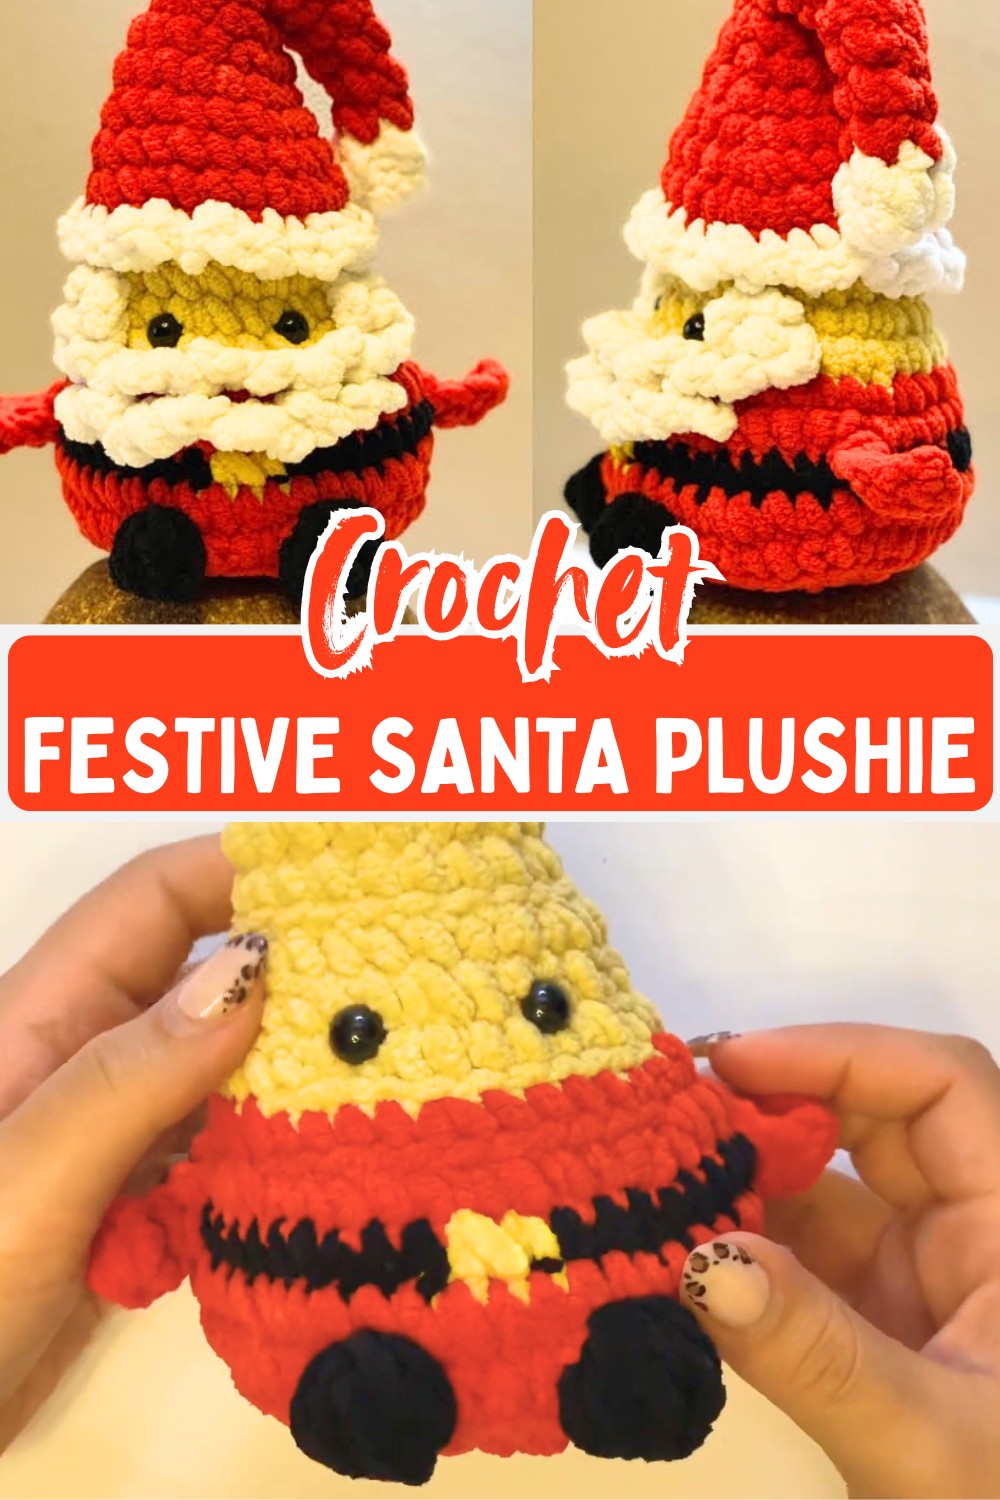
Crochet a Festive Santa Plushie Pattern
A festive crochet Santa plushie is a wonderful way to add handmade charm to your holiday decorations. This adorable design combines bright colors, textured details, and a classic Christmas look into a small creation that’s fun to make and display. Each crochet section comes together satisfyingly, making the final result even more rewarding.
The crochet pattern is worked in the round, starting from the body and finishing with a detailed hat, beard, and belt. Bobble stitches, looped beard details, and neat color changes gradually transform simple stitches into a cheerful Santa. Every stage naturally builds on the last, creating a polished holiday keepsake with an enjoyable crochet experience.
Credit Bita Crochet
Materials Needed
- Yarn colors: Black, Red, Yellow, White, Beige
- Polyester fiberfill stuffing
- Safety eyes
- 4 mm crochet hook
- Pins, Yarn needle, Scissors

Gauge
- Not strictly specified; maintain consistent stitching to enclose stuffing properly.
Finished Size / Measurements
- Not specified.
Key Features
- Seamless construction: worked in the round from top-down.
- Includes textured elements: bobble stitch base, arm flaps, belt detail, safety eyes, loop-stitch inspired beard.
Techniques & Key Stitches
- Magic Ring (MR)
- Stitch(es) (st)
- Slip Stitch (slst)
- Chain (ch)
- Single Crochet (sc)
- Increase (INC)
- Decrease (DEC)
- Half Double Crochet (HDC)
- Bobble Stitch (BO): creates 5 loops.
- Back Loop Only (BLO)
- Front Loop Only (FLO)
Pattern Abbreviations
MR: Magic Ring
st(s): Stitch(es)
slst: Slip Stitch
ch: Chain
sc: Single Crochet
INC: Increase
DEC: Decrease
HDC: Half Double Crochet
BO: Bobble Stitch (5 loops)
BLO: Back Loop Only
FLO: Front Loop Only
Helpful Tips Before You Start
- Use a stitch marker to keep track of the first stitch when working in continuous rounds.
- Tighten your bobble stitches for standout textures (e.g., Santa’s feet).

Pattern Overview & Making Process
The body begins with beige yarn in a magic ring and is worked seamlessly in continuous rounds. Gradual increases shape the head and body, while back-loop rounds prepare the sections for the beard and other decorative details. After the base is formed, the yarn changes from beige to red and then to black and yellow to create the suit and belt.
As the body grows, the pattern adds arm flaps with short chains and half double crochet stitches. Bobble stitches form textured accents before a series of decreases shapes the lower body. The piece is then firmly stuffed and closed to give the plushie its finished form.
The hat starts with white yarn before changing to red as it expands through steady increases. A white edging completes the hat, which is sewn onto the body after the beard is attached through the front-loop stitches left from earlier rounds. Finally, the safety eyes are placed, the stuffing is adjusted, and all parts are secured to complete the Santa plushie.
Step-by-Step Pattern Instructions
Santa Body (Starting with Beige)
- Row 1: 6 sc in MR (6)
- Row 2: (sc, INC) 3 times (9)
- Row 3: (sc, INC, sc) 3 times (12)
- Row 4: (3 sc, INC) 3 times (15)
- Row 5: (2 sc, INC, 2 sc) 3 times (18)
- Row 6: (5 sc, INC) 3 times (21)
- Row 7: (3 sc, INC, 3 sc) 3 times (24)
- Row 8: BLO in all stitches, (7 sc, INC) 3 times (27)
- Row 9: 4 sc, INC, 4 sc, BLO (2 sc), 2 sc, INC, 4 sc, BLO (2 sc), 2 sc, INC, 4 sc (30)
- Row 10: 9 sc, INC, BLO (2 sc), 7 sc, INC, BLO (2 sc), 7 sc, INC (33).

Switch to Red yarn and cut the Beige yarn.
- Row 11: 5 sc, INC, 6 sc, BLO (4 sc), INC, 6 sc, 4 sc, INC, 5 sc (36)
- Row 12: 9 sc, [make ch 5, crochet in the 2nd chain from hook: 4 HDC], 2 sc, INC, sc, BLO (10 sc, INC), 4 sc, [ch 5, crochet in 2nd chain: 4 HDC], 7 sc, INC (39).
Switch to Black yarn, alternating with Yellow yarn for the belt detail.
- Row 13: 6 sc, INC, 12 sc, INC, sc, 11 sc, INC, 6 sc (42).
Switch to Red yarn, alternating with Black yarn.
- Row 14: (13 sc, INC) 3 times (45).
- Row 15: 19 sc, BO, 5 sc, BO, 19 sc (45).
- Row 16: BLO in all stitches, (sc, DEC) 15 times (30).
- Row 17: (sc, DEC) 10 times (20).
- Row 18: DEC 10 times (10).
- Row 19: DEC 5 times (5).

Santa Hat (Starting with White)
- Row 1: 8 sc in MR (8).
- Row 2: 4 DEC (4).
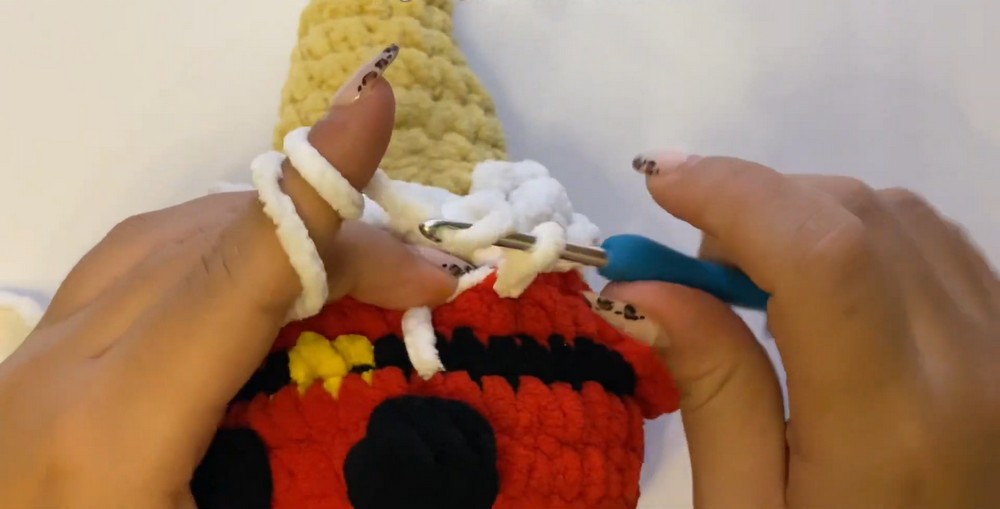
Switch to Red yarn.
- Row 3: (sc, INC) 2 times (6).
- Row 4: 6 sc (6).
- Row 5: (2 sc, INC) 2 times (8).
- Row 6: 8 sc (8).
- Row 7: (3 sc, INC) 2 times (10).
- Row 8: 10 sc (10).
- Row 9: (4 sc, INC) 2 times (12).
- Row 10: 12 sc (12).
- Row 11: (3 sc, INC) 3 times (15).
- Row 12: (2 sc, INC, 2 sc) 3 times (18).
- Row 13: (5 sc, INC) 3 times (21).
- Row 14: (3 sc, INC, 3 sc) 3 times (24).
- Row 15: (7 sc, INC) 3 times (27).
- Row 16: (8 sc, INC) 3 times (30).
Switch to White yarn.
- Row 17: (sc, ch 1) repeat 24 times.
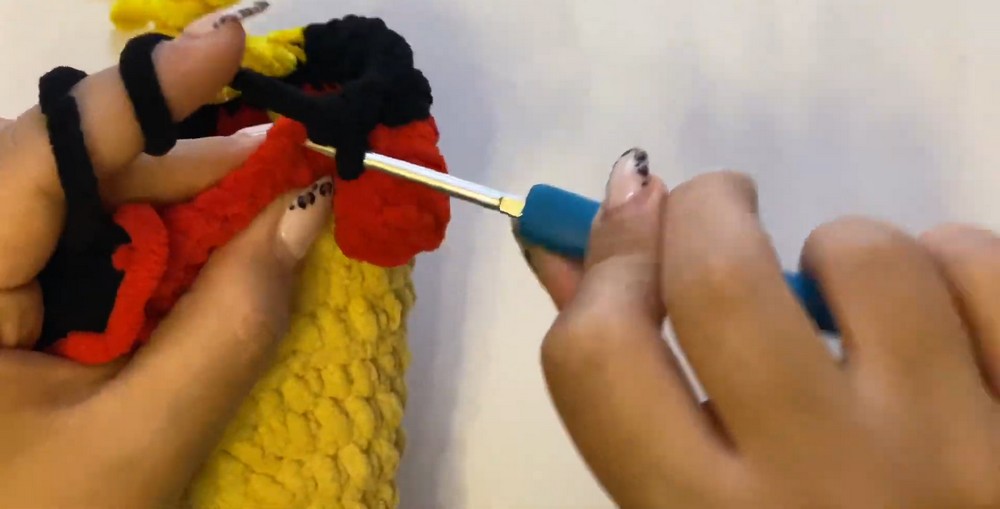
Assembly Instructions
Safety Eyes
- Attach eyes between Rows 9 and 10 of the body:
- Place the first eye between the 15th and 16th stitches.
- Place the second eye between the 19th and 20th stitches.
Stuffing
- Firmly fill polyester stuffing into the body before closing the bottom.
Beard Detail
- Attach White yarn to FLO stitches left open from Rows 8–11.
- Create the beard: ch 3, slst into the next FLO stitch. Repeat across.
Hat Attachment
- Fasten off the hat, leaving a long tail.
- Sew the hat securely from Row 2 to Row 13 of the body.

Customization Options
- None specified, but feel free to adjust colors or accessories for a personalized touch.
Troubleshooting Notes
- Ensure consistent stitch tension to avoid gaps or stuffing leaks.
- Tighten bobble stitches for more pronounced texture.
Pattern Variations & Modification Ideas
None specified in the video tutorial.