Learn to crochet a cute penguin ornament with simple shaping, neat details, and easy steps for Christmas trees, gifts, and décor.

Crochet a cute penguin ornament
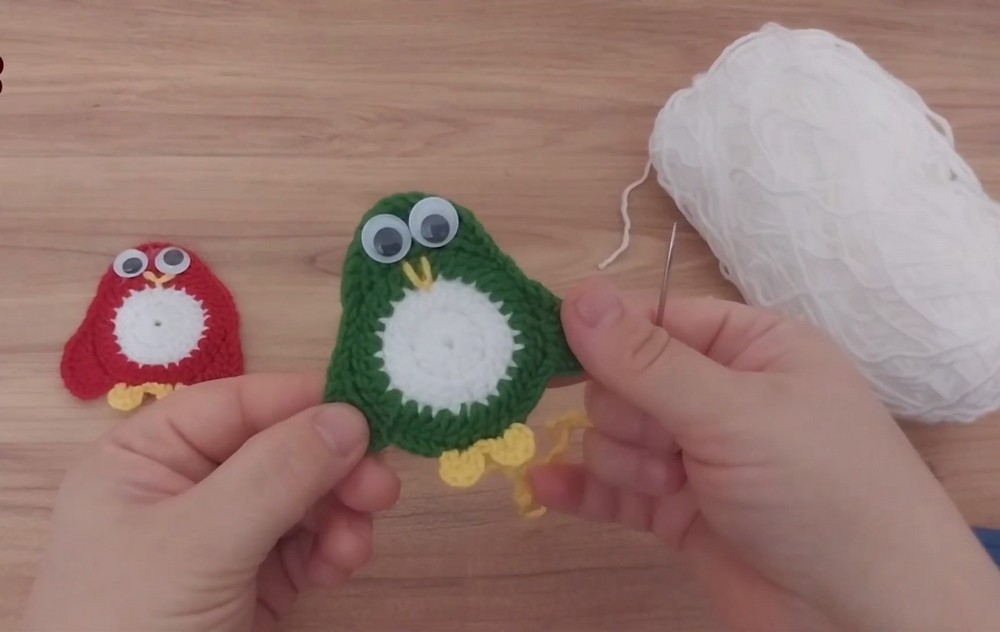
A penguin crochet ornament adds a playful handmade touch to Christmas trees, wreaths, gift tags, and festive displays. This crochet design begins with a simple round belly, then gradually takes shape through clever stitch changes, making each round reveal something new.
The tiny wings, rounded head, bright feet, and stitched beak are added in a smooth sequence that keeps the ornament neat without extra pieces. As the final details come together, the familiar crochet penguin shape becomes impossible to miss, making the finishing touches the most enjoyable part.
Credit Easy Knitting Crochet
Materials & Tools Needed
Yarn:
White yarn (for the belly)
Main body color (e.g., green, red, or classic black)
Yellow yarn (for the feet and beak)
Crochet Hook: A suitable small hook size (typically around 2.5mm to 3.5mm depending on your yarn choice) to keep your stitches neat and tight.
Other Craft Supplies:
Googly eyes (or small safety eyes)
Craft glue or a hot glue gun to attach the eyes
Yarn needle for weaving in ends and embroidering details
Scissors
Pattern Notes & Gauge
Pattern Note: This ornament is constructed in flat but layered rounds, making it a quick and accessible project for beginners and advanced crocheters alike.
Gauge: Consistency is key; make sure your stitches are firm so the ornament retains its structured, flat shape.
Key Construction Features
Layered Design: The ornament starts as a white circle for the belly, and the main body color is attached directly to work outward.
Shaping the Body: Clever use of taller stitches (like treble crochets) gives the penguin its characteristic tapered body and defined head shape.
Distinct Flipper Wings: The outer round uses alternating stitch heights to subtly shape the sides into adorable flippers.
Embellished Details: Cute yarn loops form the feet, while the beak is sewn on right between the glued-on googly eyes to bring the character to life.
Abbreviations & Terminology
Here is a list of abbreviations used in the pattern:
- ch: Chain
- sc: Single Crochet
- hdc: Half-Double Crochet
- dc: Double Crochet
- tr: Treble Crochet
- sl st: Slip Stitch
- st(s): Stitch(es)
Helpful Tips
Working in the Round:
When crocheting in the round, ensure each round starts and ends in the correct stitch. This will prevent misaligned shapes and make sure the penguin silhouette appears clean.
Tension Control:
This project works best with tight stitches to keep your ornament flat. If your stitches are too loose, you may need to go down a hook size.
Switching Yarn Colors:
To create smooth transitions between colors:
- Pull the new yarn color through the last loop when finishing the previous round. This will create a seamless join.
Magic Ring Guide:
For beginners who struggle with starting the magic ring, practice making a small circle with chains and a slip stitch first. As you improve, try switching to the magic ring method for a cleaner start.
Customization Ideas
Color Options:
- Make traditional penguins with black and white yarn.
- Experiment with festive colors like red, green, or metallic shades for holiday decor.
- Use soft pastel colors for a whimsical look.
Thread or Hanging Loops:
Finish the ornament by attaching a metallic or contrasting yarn loop at the top of the head. This makes it easy to hang on Christmas trees or garlands.
Decorative Embellishments:
Add small accessories (like bows or scarves) using leftover yarn to dress up your penguins. Hot-glue felt or small glittery shapes to create holiday-themed designs.

Pattern Overview & Making Process
The ornament starts with white yarn worked in the round to create the belly using a magic ring and two rounds of double crochet. The main body color is then joined, and evenly spaced increases expand the circle to prepare for the penguin’s full shape.
Next, a mix of treble, double, half-double, single crochet, and slip stitches forms the wings, body, and rounded head in one continuous round. These stitch changes shape the entire outline while keeping the ornament flat and well defined.
Yellow yarn is attached to create the two feet with chains and double crochets. The ornament is completed by stitching a small yellow beak in place and attaching the eyes, bringing the finished penguin to life with its simple final details.
Step-by-Step Pattern
Round Instructions:
Round 1 (White Yarn – Belly):
- Start with a magic ring or chain 3 and slip stitch to form a ring.
- Chain 3 (counts as first double crochet).
- Place 11 double crochets (dc) into the ring.
- Slip stitch to the top of the chain-3 to join. [12 stitches]
Round 2 (White Yarn – Belly Expansion):
- Chain 3.
- Place 2 dc into each stitch around.
- Slip stitch to join. Fasten off white yarn. [24 stitches]

Round 3 (Body Color Yarn – Expanding the Body):
- Join body color yarn to any stitch.
- Chain 3. Alternate between 2 dcs in one stitch and 1 dc in the next stitch all the way around.
- Slip stitch to join. [36 stitches]

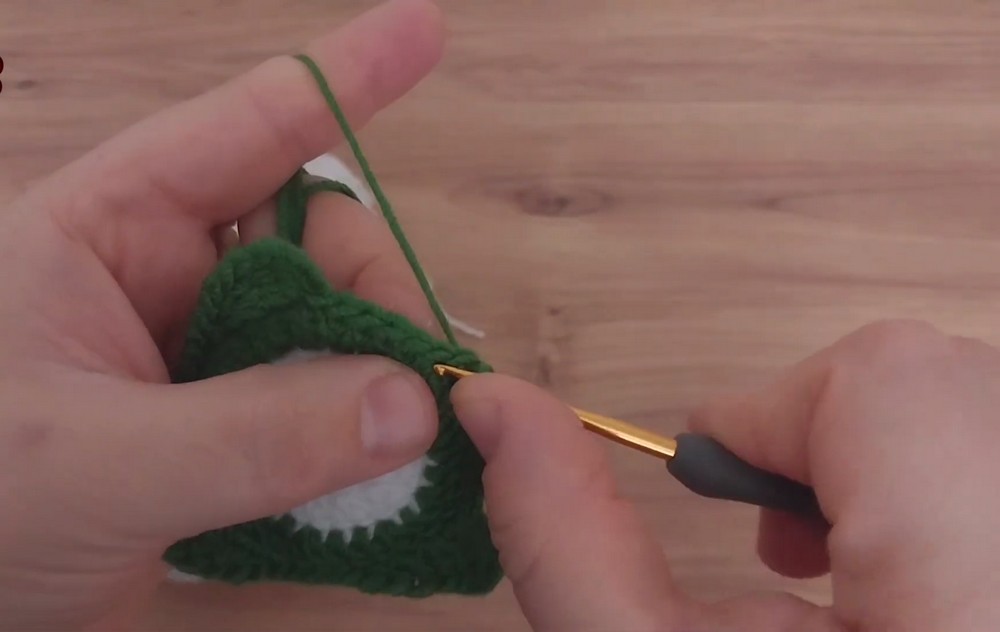
Round 4 (Body Color Yarn – Shaping):
First Wing:
- Chain 4; then place the following stitches sequentially:
- 2 treble crochets (tr)
- 2 double crochets (dc)
- 1 half-double crochet (hdc)
- 1 single crochet (sc)
- Work across the next few stitches to extend the left wing.
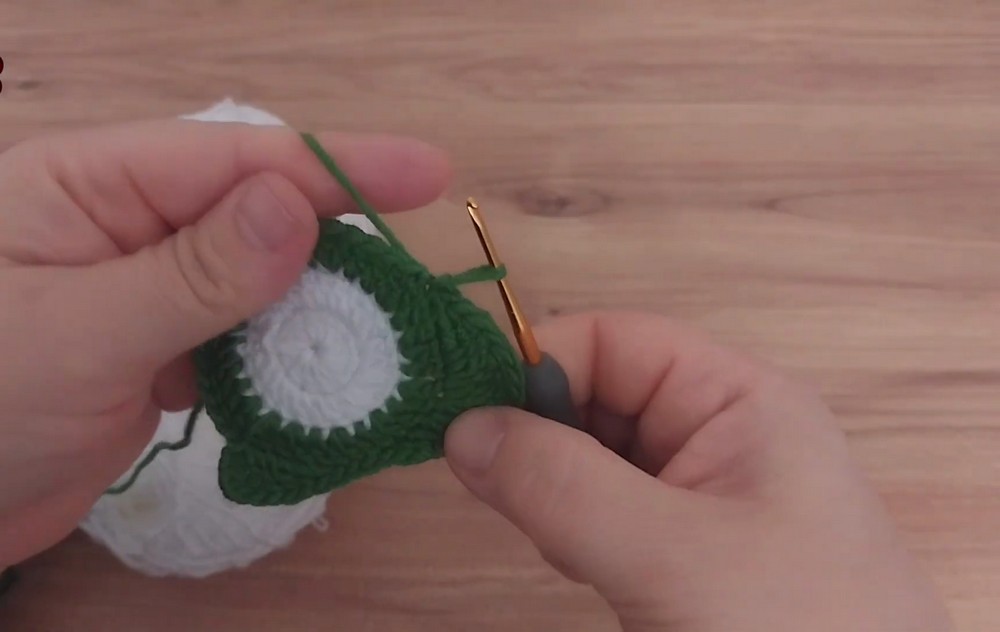
Body Bottom:
- Continue working slip stitches (sl st) across the bottom edge (4 sl st total).
Second Wing:
- Mirror the stitch sequence used on the first wing to form the opposite side:
- 1 sc
- 1 hdc
- 2 dc
- 2 tr
- 1 tr
- 1 half-treble crochet
Head:
- At the top edge, work a series of regular double crochets (dc) to create a rounded head shape.
- Slip stitch to join and fasten off.
Feet (Yellow Yarn):
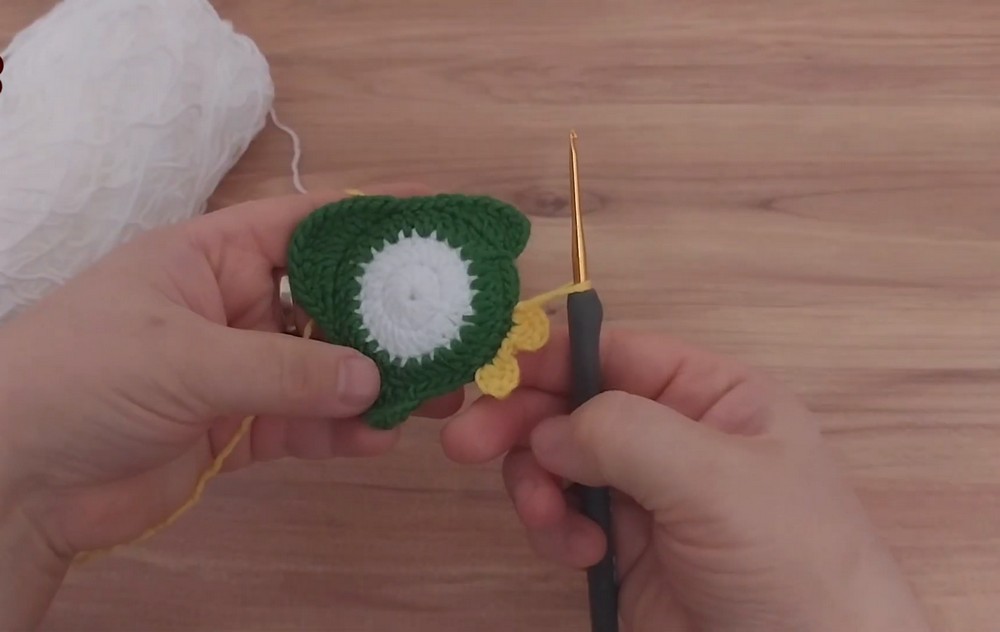
- Attach yellow yarn to one of the 4 slip stitches from Round 4’s bottom.
- Chain 3, then:
- Work 2 double crochets (dc) into the same stitch.
- Chain 3, then slip stitch back down to complete the first foot.
- Repeat in the adjacent stitch to form the second foot.
- Fasten off.
Finishing Touches:
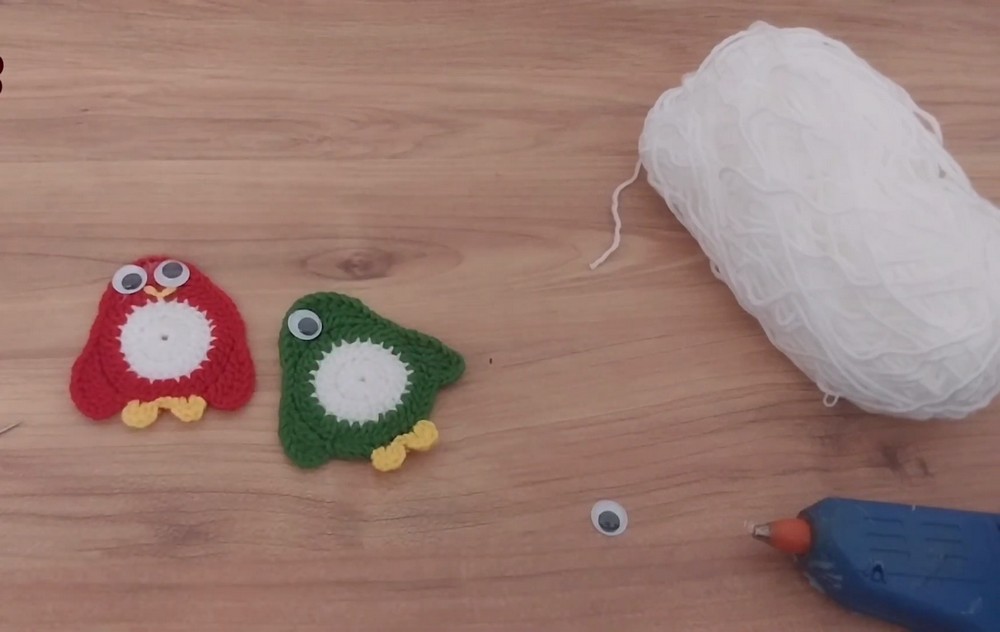
- Stitch a small triangular beak onto the penguin using yellow yarn and a yarn needle.
- Attach googly eyes with a hot glue gun or use black safety eyes placed just above the beak.
Finished Customization
Once completed, each penguin offers endless possibilities for personalization:
- Attach googly or safety eyes to enhance cuteness.
- Use alternative face designs (embroider cross-stitches instead of a triangular beak).
- Create penguin families with varying sizes by adjusting yarn thickness or hook sizes.
- Add a festive hat or accessories in contrasting colors for extra cheer.
Troubleshooting
Curling Edges:
If the ornament begins to curl:
- Check if any increases were skipped in Rounds 2 or 3.
- Relax your stitch tension or switch to a larger crochet hook.
Clean Color Transitions:
Avoid sharp lines when switching from white to the body color:
- Pull the new yarn color through the last loop of the closing stitch in Round 2.