Want a tiny starfruit charm with realistic ridges? This crochet carambola keychain combines three yellow circles, soft stuffing, and leafy green calyx for a playful finish.
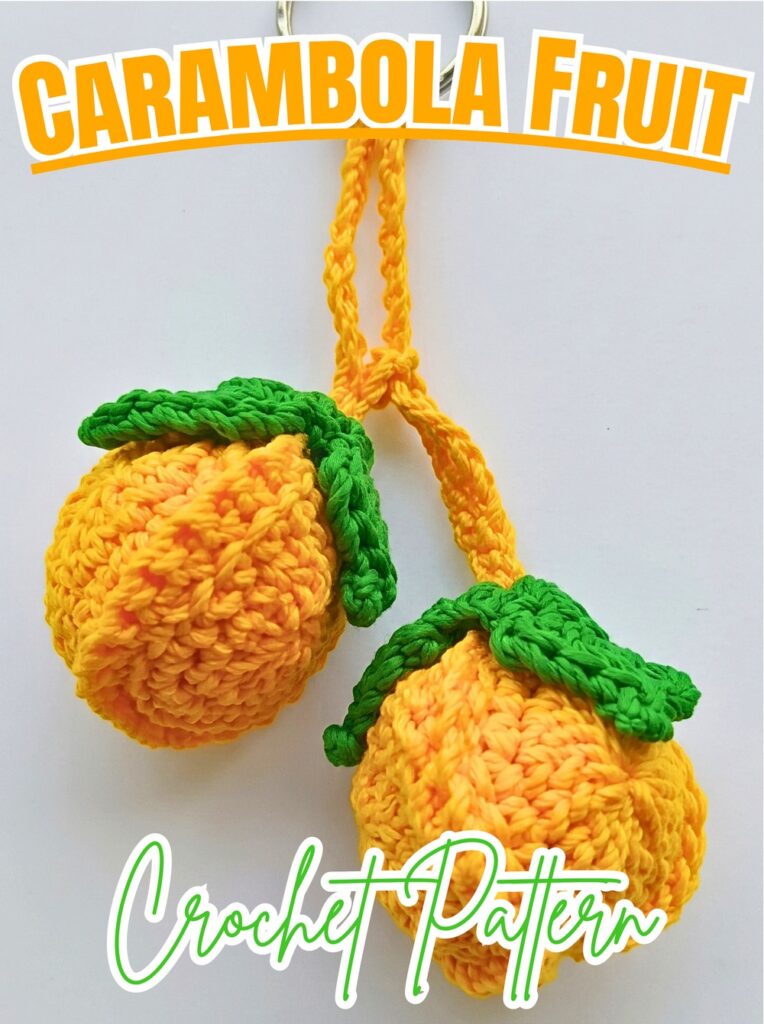
Starfruit has an instantly recognizable shape, but capturing its ridges in crochet can seem tricky when working from flat pieces. This crochet carambola design builds dimension by joining three simple yellow circles around a stuffed center.
This tutorial covers yarn and tools, circle construction, joining and stuffing, hanging-loop shaping, six green calyx petals, and final assembly. Color ideas also make it easy to give your finished crochet fruit a more natural look. Let’s get started.
Credit Erfin R. Tangdilintin
Materials & Tools
Prepare your yarn, hook, stuffing, and finishing supplies before beginning.
- Polyberry Onitsuga 100% polyester yarn, Light/Weight 3
- Yellow: Fruit body
- Green: Calyx
- 2.5 mm crochet hook
- Polyfill fiberfill stuffing
- Scissors
- Lighter or flame: For carefully securing synthetic yarn ends
- Glue gun
- Metal keyring
Finished Size & Customization
Finished carambola measures approximately 4 cm in length, making it compact enough for a lightweight keyring or bag charm.
For different effects, use multicolored gradient polyester yarn that shifts from light green toward vibrant yellow for a ripening starfruit appearance.
You can also replace the standard split ring with a swivel lobster clasp when you want to attach your finished fruit to different bags or accessories.
Pattern Abbreviations
- ch: Chain stitch
- sl st: Slip stitch
- sc: Single crochet
- dc: Double crochet
- inc: Increase – work 2 stitches into the same stitch
- st(s): Stitch(es)
- FO: Fasten off

Step-by-Step Crochet Carambola Keychain Instructions
Part 1: Make Three Yellow Fruit Pieces
The dimensional fruit begins with three identical flat yellow circles. Two circles will be finished separately, while the third keeps its working yarn attached for joining.
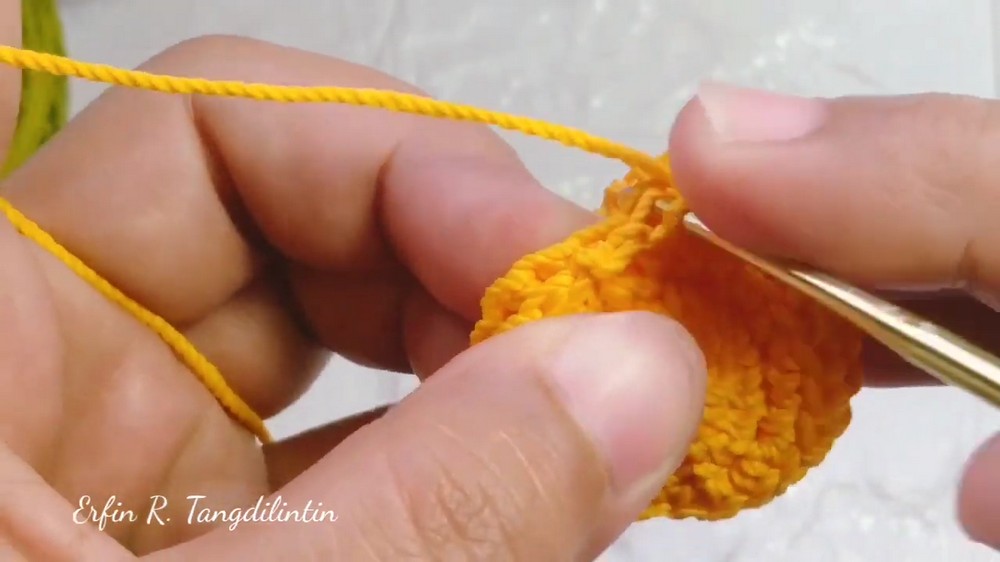
Step 1: Create the Magic Ring
Begin with Yellow yarn and form a magic ring.
Ch 3, then work 15 dc directly into the magic ring.
Join with a sl st in the first dc.
Keep the center ring snug so the first circle remains compact and even.
Step 2: Shape Round 2
Build the second round using single crochet increases.
Ch 1.
Work: (1 sc, sc 2 inc)
Repeat this sequence around the entire circle.
Finish with a sl st and ch 1.
The increase pattern expands the circle while keeping its shape suitable for joining.
Step 3: Complete Three Matching Circles
Repeat the complete circle instructions until you have 3 identical yellow pieces.
Fasten off and weave in the yarn tails on two circles.
On the third circle, leave the working yarn attached.
This remaining yarn will be used to join the three pieces, so do not fasten it off yet.
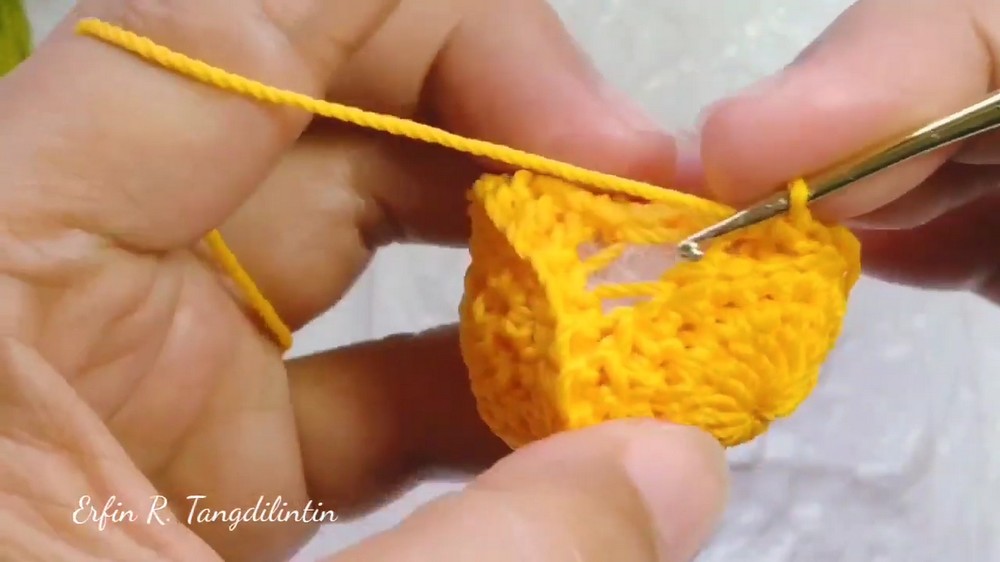
Part 2: Join and Shape the Fruit
Step 4: Position the Three Circles
Arrange the three yellow circles edge-to-edge back-to-back.
The placement of these pieces creates the sections that will become the raised starfruit ridges.
Keep their edges aligned as you begin joining.
Step 5: Join the First Edges
Using the attached yellow working yarn, begin connecting the circles.
Work 1 sc in each loop, 11 sc across the connecting edges.
Continue joining the yellow pieces according to the tutorial so the three flat circles begin forming one dimensional fruit shape.
Work carefully around each connection because these joined edges define the characteristic ridges.
Step 6: Add Fiberfill While Closing
As joining continues and the interior cavity becomes smaller, begin adding polyfill stuffing.
Firmly fill the hollow interior rather than waiting until the opening is completely closed.
Add enough stuffing to give the fruit noticeable dimension while maintaining its starfruit form.
Step 7: Complete the Fruit Body
Continue joining until the yellow body is fully sealed.
Check the shape as you close it. The connected sections should create raised ridges rather than leaving the fruit completely flat.
Once the body is completely closed, prepare the hanging loop.
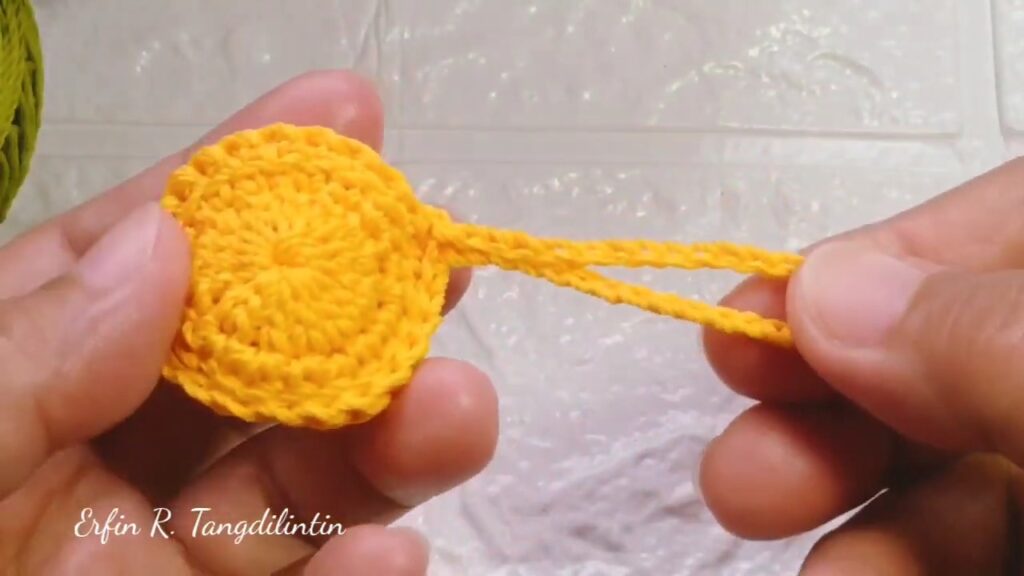
Step 8: Create the Hanging Loop
From the completed yellow body, ch 30.
Bring the chain back to its base and secure it with a sl st.
This creates the loop that will later pass through the green calyx and hold the metal keyring.
Step 9: Secure the Polyester Yarn
Fasten off.
Because polyester yarn can fray, carefully use a lighter or flame to melt and secure the synthetic yarn end as demonstrated in the tutorial.
Use caution with flame and keep it away from other yarn and materials.
Part 3: Crochet the Green Calyx
The green top consists of six individually shaped petals worked directly into one small center ring.
Step 10: Form the Calyx Center
Switch to Green yarn.
Make a slip knot, then ch 5.
Join with a sl st in the first chain to create a small center ring.
Keep this ring open enough to accommodate all six petals.
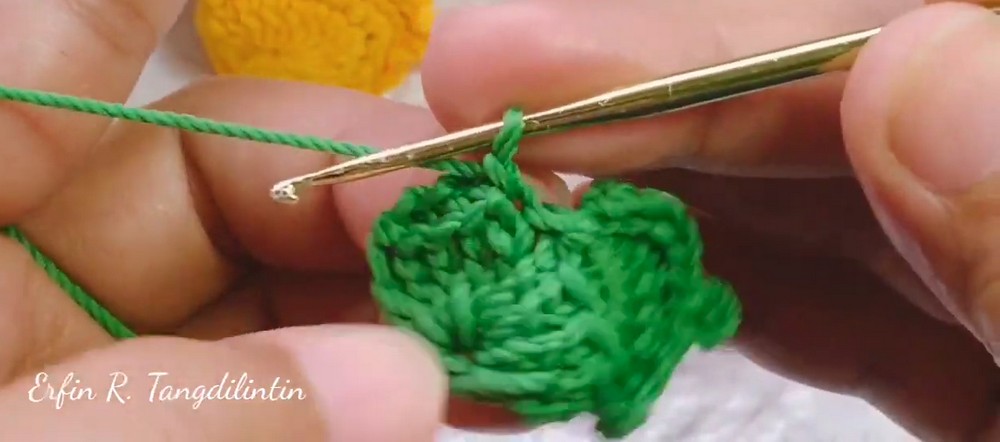
Step 11: Shape Petal 1
Work directly into the center ring.
Ch 3, 4 dc, ch 4, sl st into the center ring.
This creates the first pointed leaf section.
Step 12: Shape Petal 2
Continue around the same center ring.
Ch 1, 4 dc, ch 1, sl st into the ring.
Keep this petal beside the first rather than pulling it away from the center.
Step 13: Shape Petal 3
Build the next leaf section.
Ch 1, 5 dc, ch 3, sl st into the ring.
The additional double crochet gives this petal its fuller shape.
Step 14: Shape Petal 4
Continue directly into the center.
Ch 1, 4 dc, ch 3, sl st into the ring.
Arrange it beside previous petals so the calyx gradually spreads around its center.
Step 15: Shape Petal 5
Work the fifth petal: Ch 1, 4 dc, ch 1, sl st into the ring.
Check that the petals remain distributed around the center instead of bunching together.
Step 16: Shape Petal 6
Complete the final green petal.
Ch 1, 5 dc, ch 3, sl st into the ring.
Finish with a sl st, leave a short tail, and secure or melt the yarn end.
You should now have a six-petal green calyx ready to place over the top of the yellow fruit.
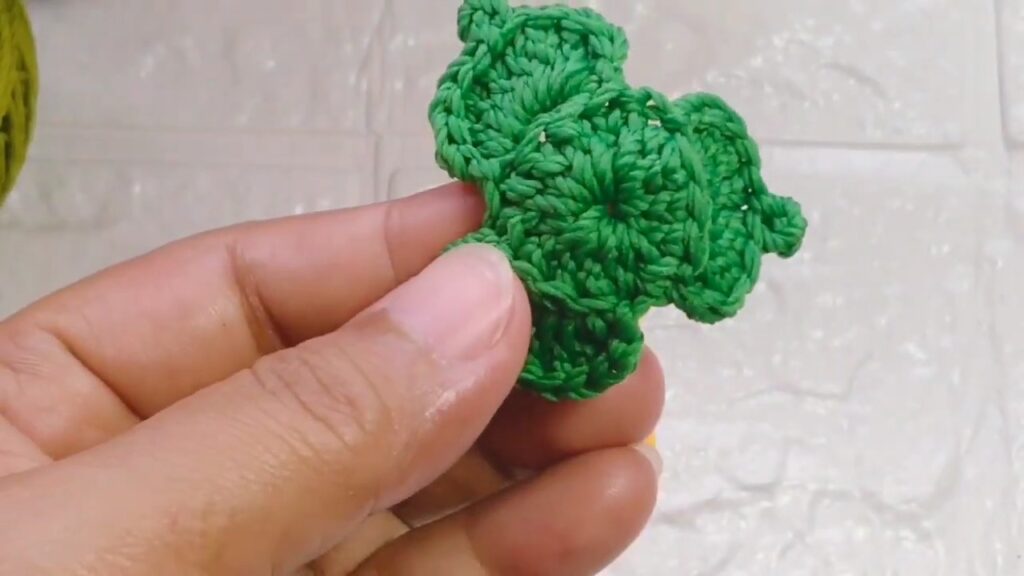
Part 4: Assemble the Carambola Keychain
Step 17: Position the Hanging Loop Through the Calyx
Take the yellow hanging loop attached to the fruit.
Thread it through the center opening of the green leaf calyx.
Pull it gently into position so green petals sit around the top of the yellow fruit.
Step 18: Attach the Green Calyx
Use your glue gun to affix the green leaves neatly around the top base of the yellow fruit.
Position the petals evenly before the glue sets.
Make sure the calyx remains securely attached around the fruit’s upper section.
Step 19: Add the Metal Keyring
Finish the accessory by attaching the metal keyring through the yellow hanging loop.
Check that the loop is secure and that the fruit hangs naturally from the ring.
Personalize Your Starfruit Keychain
For a more realistic ripening effect, choose gradient polyester yarn that moves between green and yellow tones.
For an alternate attachment style, use a swivel lobster clasp instead of a standard split ring.
These small changes can turn the same fruit shape into different bag charms, zipper accessories, or handmade gifts.
Finished Crochet Carambola
Your handmade carambola, or starfruit, keychain is complete. Three joined yellow circles create its dimensional body, firm stuffing gives it volume, and six green petals finish the top with a recognizable leafy detail.
The compact approximately 4 cm size makes this fruit easy to carry, gift, or attach to a favorite bag.