Learn to create a stylish and functional crochet mini bag keychain! This easy yet adorable project combines charm and practicality, making a perfect accessory for storing small essentials or enhancing your everyday look.
Its versatility and handcrafted appeal make it an ideal gift or personal craft.

This crochet mini bag keychain is both durable and fashionable, ideal for stashing coins, lip balm, or keys in a compact design. Its handmade charm pairs beautifully with outfits while offering everyday convenience. Lightweight yet sturdy, this project is both practical and aesthetically pleasing.
Materials and Preparation:
To crochet your mini bag keychain, gather the following materials:
- Yarn: Lightweight yarn, such as size 3 (DK weight), or cotton yarn for small projects. Choose your favorite color!
- Hook Size: 3.0 mm – 3.5 mm crochet hook (depending on yarn thickness).
- Additional Tools: Scissors, tapestry needle, and a small keyring or lobster clasp for attaching the keychain.
- Yarn Weight Requirement: Ensure your yarn is lightweight and comfortable to work with for small projects.
Abbreviations and Notes:
Here are common crochet abbreviations used in the pattern:
- SC: Single Crochet
- HDC: Half Double Crochet
- DC: Double Crochet
- CH: Chain
- SLST: Slip Stitch
Pattern Notes and Tips:
- Be sure to tighten your stitches evenly to prevent gaps in the bag’s surface.
- Use a smaller hook size than typically recommended for your yarn to create a tighter weave for durability.

Gauge, Approximate Size, and Pattern Notes:
Gauge: For small projects like this, gauge is less crucial. However, practice creating at least 5 rows with 5 stitches to measure approx. 1 x 1 inch in size.
Approximate Size: The finished mini bag should be around 2-3 inches wide and 2 inches tall, perfect for the size of a keychain.
Special Techniques:
This pattern includes sewing or crocheting the sides together and adding decorative stitching. You do not need a gauge swatch, but testing tension and stitch consistency on a practice row is recommended.
Step-by-Step Pattern:
Base of the Bag:
- CH 10 (or adjust the starting chain to make the bag wider/narrower).
- Start in the second chain from the hook and SC across (9 SC).
- Turn work, CH 1, and repeat another row of SCs.
- Continue SC rows until the rectangle’s height equals the desired height of the bag (approx. 8 rows for a small bag).

Sides of the Bag:
- Fold the rectangle in half so the short ends touch.
- Use SLST along the sides to join them together. The open space at the top will serve as the opening of your bag.
- Fasten off and weave in loose ends with a tapestry needle.
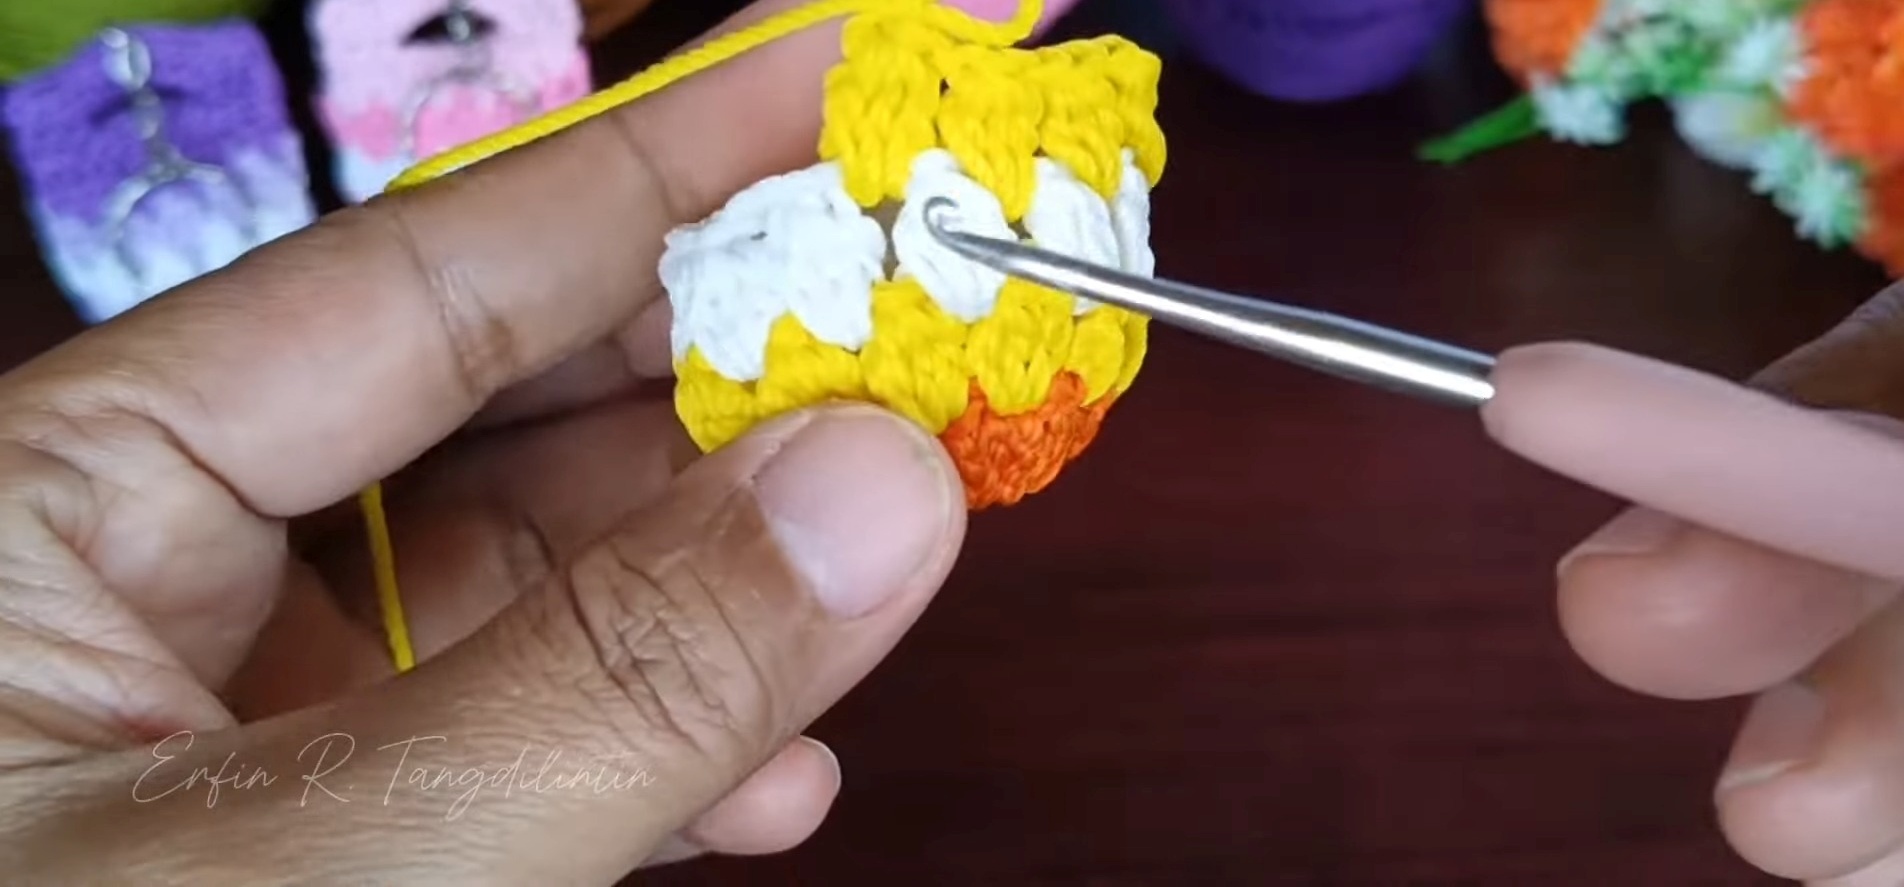
Decorative Flap (Optional):
- Attach yarn at the back starting edge of your bag and CH 7.
- Work DC across the chain for a decorative flap.
- Fasten off and tuck in ends. Sew the flap into place with a needle or leave it free for a snap closure.
Adding Details:
- Strap or Keychain Loop:
- CH 15 and attach the chain to each side of the bag using SLST.
- Alternatively, sew on a small length of leather strap for added style.
- Attach the keyring or lobster clasp to the strap.

Final Touch:
- Add embellishments like buttons, tiny flowers, or embroidery details to give your mini bag a personal touch.
- Try out different yarn colors or stripes for unique variations.
Key to Success:
- Use lightweight but durable yarn for optimal bag size and wearability.
- Opt for a reliable keychain clasp to ensure the bag’s functionality.
- Follow clear stitch instructions to achieve clean and even textures.
- Customize colors to match personal style or gift preferences.
Conclusion:
Crafting a crochet mini bag keychain is a fun and rewarding project that blends style and usability. Perfect for gifting or personal use, its charm and convenience make it a delightful addition to anyone’s accessory collection. Try it out and enjoy the creative journey!