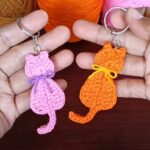
Discover the art of creating personalized crochet keychains with this step-by-step tutorial for letters T and O!
These adorable handmade designs are perfect as gifts, accessories, or keepsakes, combining style, functionality, and endless versatility. Add a touch of charm to your everyday essentials!
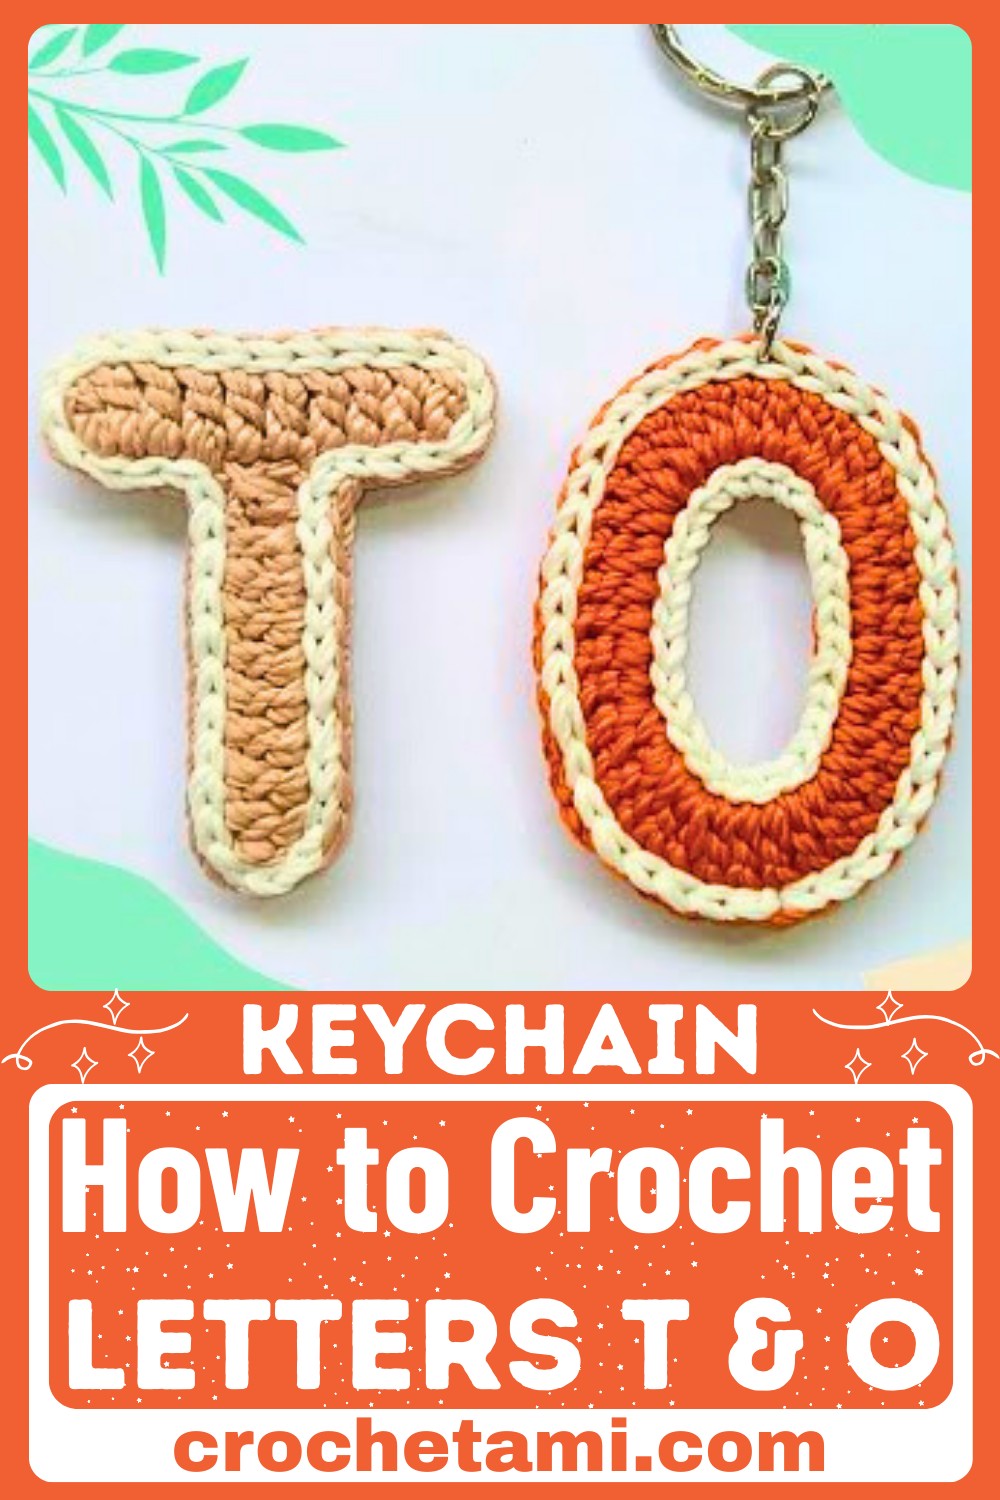
Crochet letter keychains are not only eye-catching but also durable and practical. Whether you attach them to bags, keys, or use them as decorative tags, their vibrant designs stand out.
Handmade from sturdy yarn, these keychains are both long-lasting and stylish, making them a perfect accessory for daily use or heartfelt gifting.
Materials and Preparation
For this project, you will need:
- Yarn: Medium-weight yarn (Category 4) in two colors (e.g., your favorite for the “T” and “O”).
- Crochet Hook: Size 4.0mm (US G/6).
- Keychain Ring: 2 rings (preferably metal for durability).
- Scissors
- Tapestry Needle: For weaving in ends.
- Stitch Marker (optional): To keep track of stitches.
Yarn Weight Requirement:
The project works best with medium-weight (Category 4) yarn. You can experiment with other yarn weights, but the dimensions may vary.
Abbreviations and Notes
Common crochet abbreviations used:
- CH: Chain
- SC: Single Crochet
- HDC: Half Double Crochet
- SS: Slip Stitch
- INC: Increase (multiple SCs worked into the same stitch).
- DEC: Decrease (combine two SCs into one).
Notes:
- The letters are crocheted separately and then attached to the keychain ring.
- Beginners may find it easier to use stitch markers to keep track of rounds.
- Use tight tension to ensure the letters hold their shape.
Gauge, Approximate Size, and Pattern Notes
Gauge:
Not critical for this project since it’s decorative, but approximately 8 SC x 8 rows = 2 inches square.
Finished Size:
The “T” and “O” letters measure approximately 2.5 inches tall and 2 inches wide each when using medium-weight yarn and a 4.0mm hook.
Special Techniques:
This pattern uses simple stitches (SC, HDC, etc.) and shaping techniques (increases and decreases) to form the desired letter shapes.
Gauge Swatch:
Not necessary for this project, but tight tension will produce the best results.

Step-by-Step Pattern
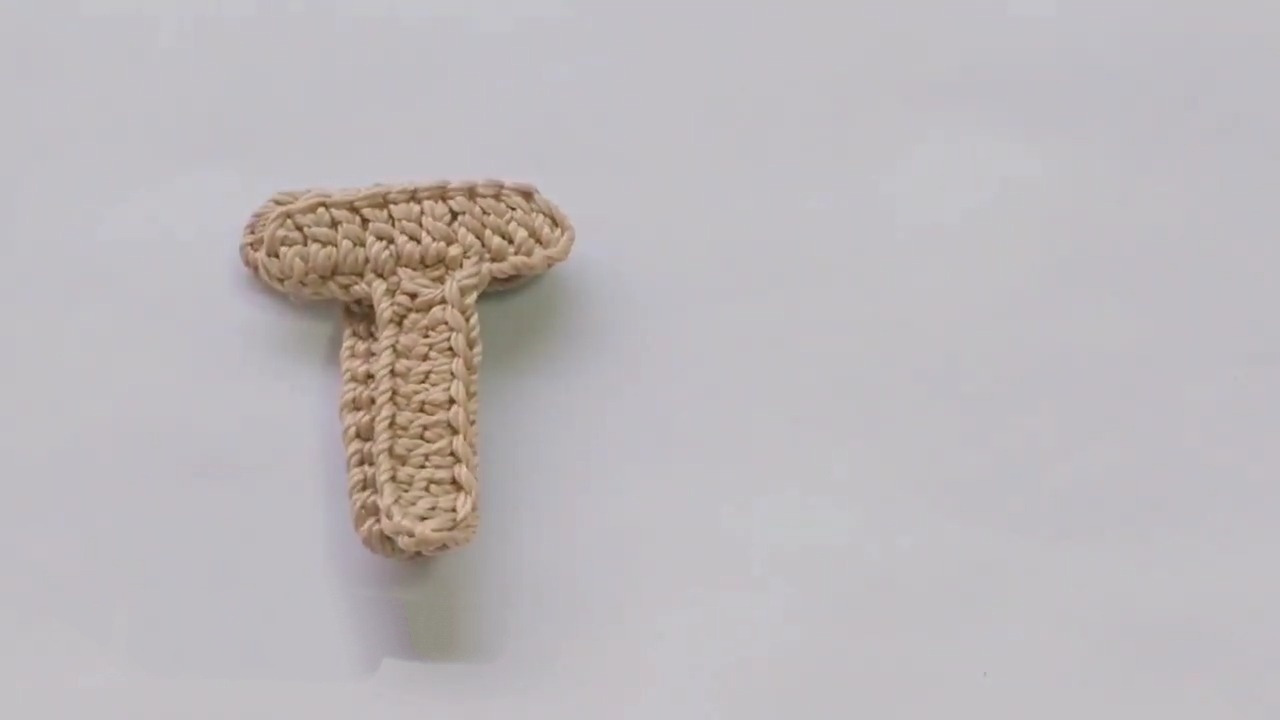
Crocheting the “T” Letter
- Foundation Row:
- CH 15 to start.
- SC in the second chain from the hook and SC across. (Total: 14 SC).
- Main Body:
- Continue working 14 SC for 8 rows in total. This forms the vertical stem of the “T”.
- Top Bar of the T:
- Attach yarn to the top corner of the vertical stem.
- CH 1. Work 6 SC across from the attachment point.
- Turn and work 6 SC back for 4 rows total to form the top horizontal bar.
- Finish:
- Fasten off and weave in all ends securely.
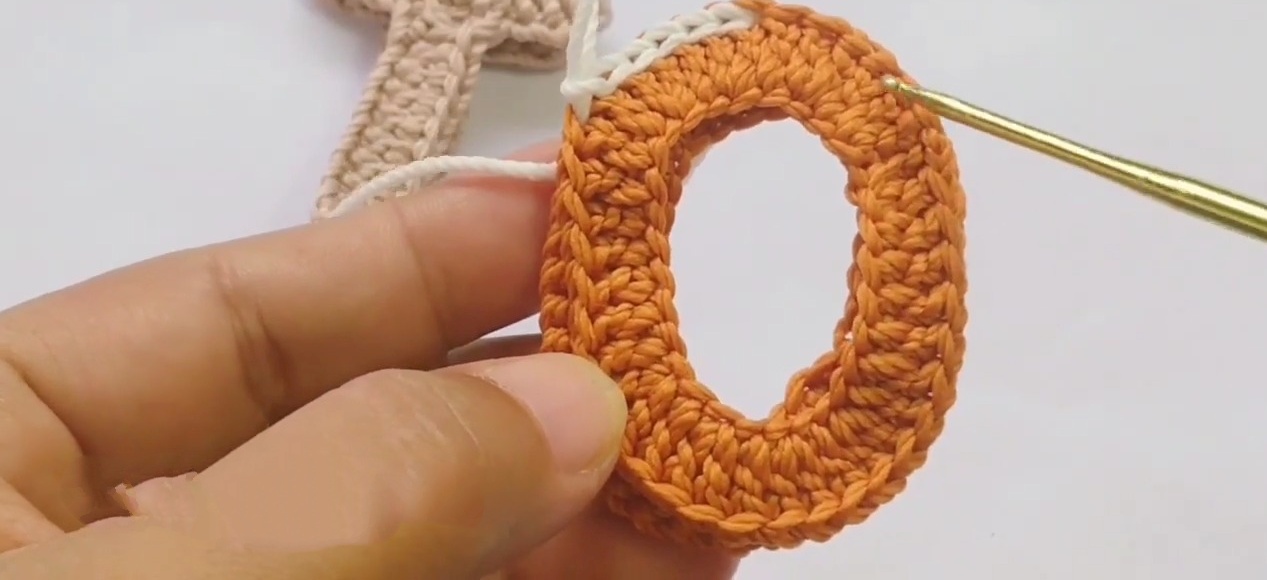
Crocheting the “O” Letter
- Foundation Ring:
- Start with a magic circle. CH 1, work 12 SC inside the magic circle. Pull to tighten.
- Round 2:
- CH 1. Work 2 SC into each stitch around (Total: 24 SC).
- Shaping the O:
- CH 1. SC into next stitch, then 2 SC into the next stitch. Repeat around (Total: 36 SC).
- Clean Edges:
- Work one final round in SC evenly. (Optional: Switch yarn color for an outline effect.)
- Finish:
- Fasten off, leaving a long tail for attaching to the keychain.
Assembly
- Attach the letters “T” and “O” to the keychain ring using the long yarn tails left from finishing each letter. Use a tapestry needle to secure the attachment. Make sure the letters hang freely and are well-balanced.
- Weave in all remaining ends, ensuring no tails are visible.
Tips for Success
- Durability: Tight tension ensures the letters stay firm and don’t lose shape over time.
- Customization: Use different yarn colors to personalize the keychain for gifts or preferences.
- Keychain Ring Placement: Experiment with placement to achieve the best look (e.g., side-by-side or slightly overlapping letters).