Need a tiny handmade bear for a keychain or bag charm? This mini crochet bear pattern combines a rounded chenille head, little ears, and simple embroidered features.
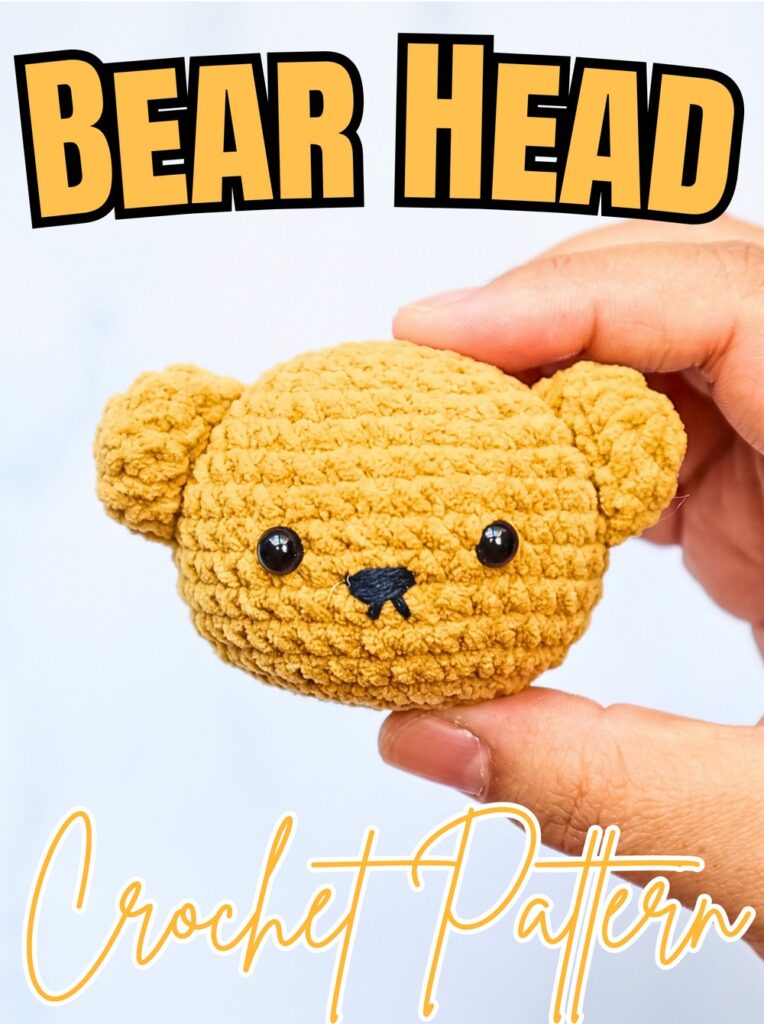
Tiny chenille bears are lovely little accessories, but shaping a neat round head with correctly placed eyes and ears can take some care. This crochet bear pattern keeps the design simple with continuous rounds and minimal finishing.
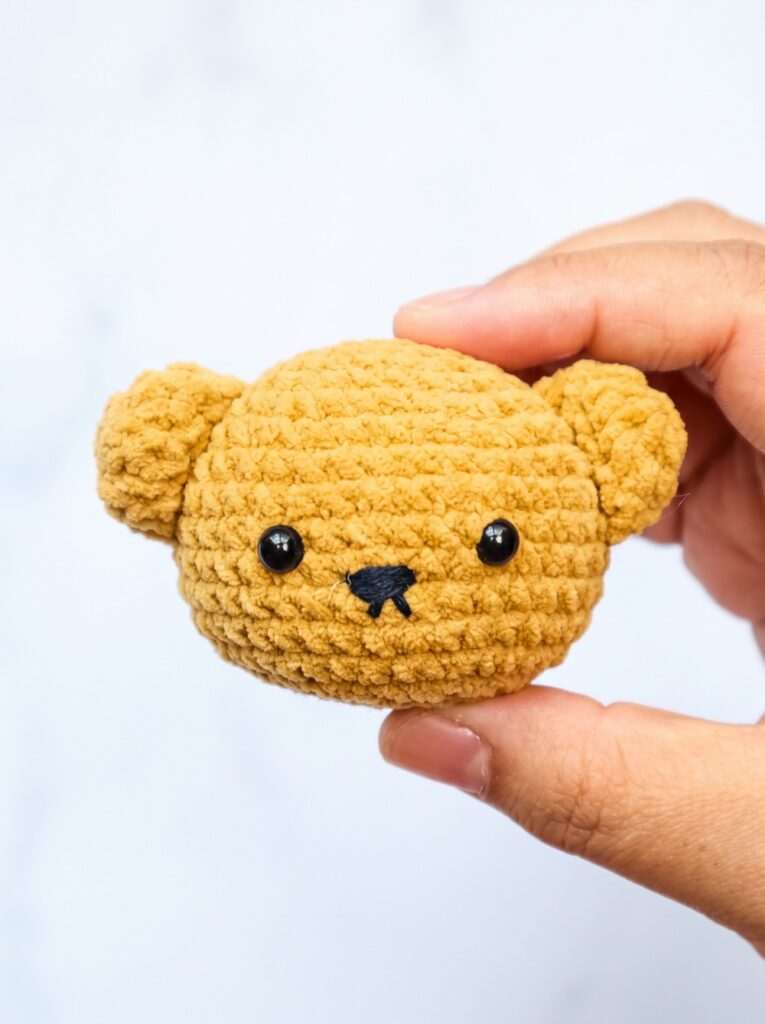
Follow this crochet tutorial to shape the head, position the safety eyes, crochet two small ears, and embroider a sweet nose. The finished bear head measures approximately 5 cm, making it suitable for miniature plush accessories.
Credit Odinka Studio
Materials & Tools
- Main Yarn: Size 2 fine chenille yarn in light brown.
- Accent Yarn: Black 3-ply soft cotton yarn for the nose and facial details.
- Crochet Hook: Approximately 2.5–3.0 mm, adjusted to your yarn and tension.
- Safety Eyes: For the bear’s face.
- Polyester Fiberfill: For stuffing the head.
- Yarn Needle: For sewing the ears and embroidering details.
- Stitch Markers: To track continuous rounds.
- Scissors: For cutting yarn.
Finished Size & Customization
The finished bear head measures approximately 5 cm (2 inches) in diameter, depending on yarn tension and hook size. It can be used for keychains, bag charms, or miniature plush accessories.
For a different look, use cream, honey, or dark brown chenille yarn. A tiny bow or scarf can also be added when adapting the head into a decorative character.
Pattern Abbreviations
US crochet terminology is used throughout.
- mr: Magic ring
- ch: Chain
- sc: Single crochet
- inc: Increase; work 2 single crochets in the same stitch
- dec: Decrease; crochet 2 stitches together
- ss: Slip stitch
- f/o: Fasten off
- st(s): Stitch(es)
- Rnd(s): Round(s)
Step-by-Step Crochet Instructions
Step 1: Form the Center of the Bear’s Head
Begin with light-brown chenille yarn and create a magic ring. This adjustable ring closes the small opening at the center of the head.
Round 1: Make a magic ring and work 6 sc into it. Pull the yarn tail to close the center. (6 sts)
Round 2: Work an increase in every stitch around. (12 sts)
Round 3: Repeat (1 sc, 1 inc) 6 times. (18 sts)
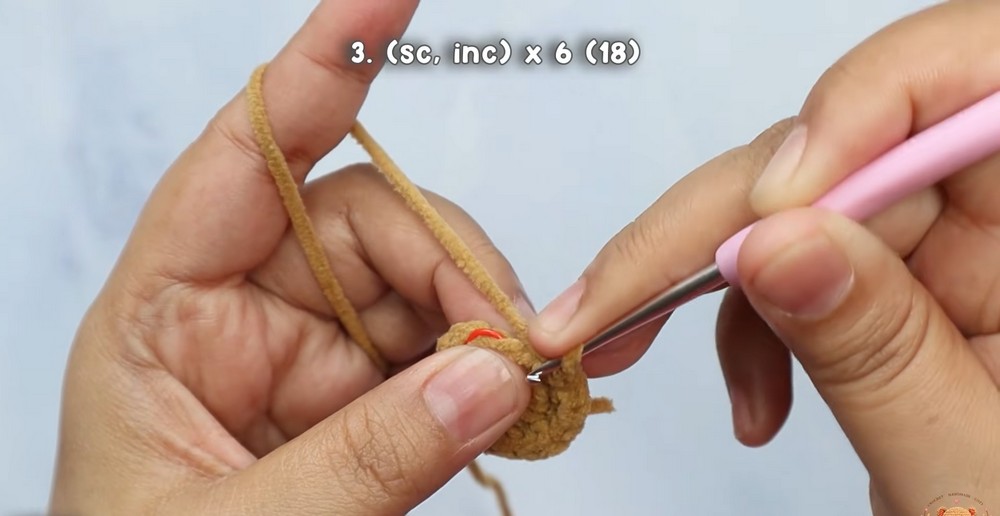
As the increases build outward, keep the stitches close together. Chenille fibers can make individual stitches difficult to see, so use a stitch marker to identify the beginning of each round.
Step 2: Expand the Head to Its Full Width
Continue increasing evenly to create a broad, rounded head.
Round 4: Repeat (2 sc, 1 inc) 6 times. (24 sts)
Round 5: Repeat (3 sc, 1 inc) 6 times. (30 sts)
Round 6: Repeat (4 sc, 1 inc) 6 times. (36 sts)
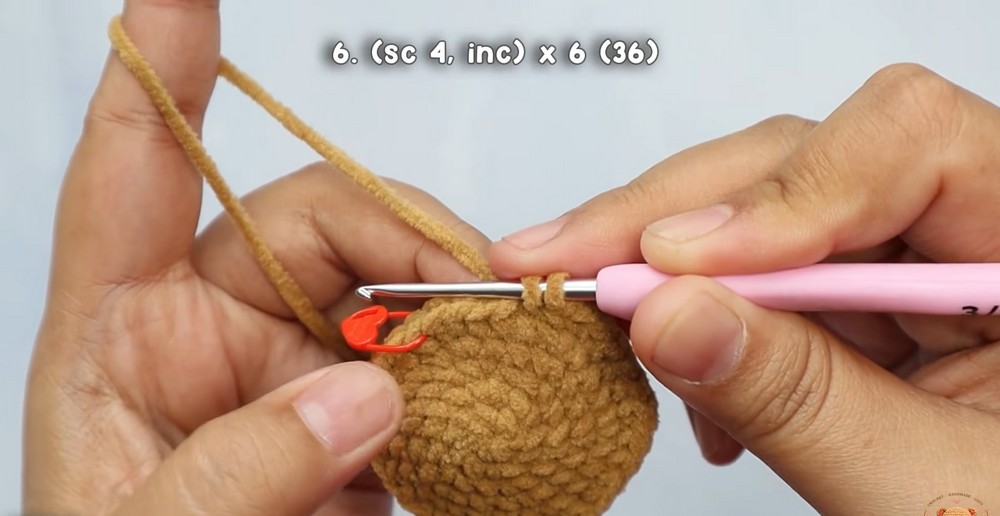
The stitch count should rise gradually from 24 to 36. These increases form the main width of the bear’s head.
Helpful tip: Avoid pulling the chenille yarn excessively tight. Stitches should be secure but loose enough for the hook to enter the next stitch without splitting or catching the fluffy fibers.
Step 3: Build the Height of the Head
Once the head reaches its full width, stop increasing and work straight rounds.
Rounds 7-14: Work 1 sc in every stitch around. (36 sts per round)
These even rounds create the height needed for the bear’s face and give the head its rounded, plush shape.
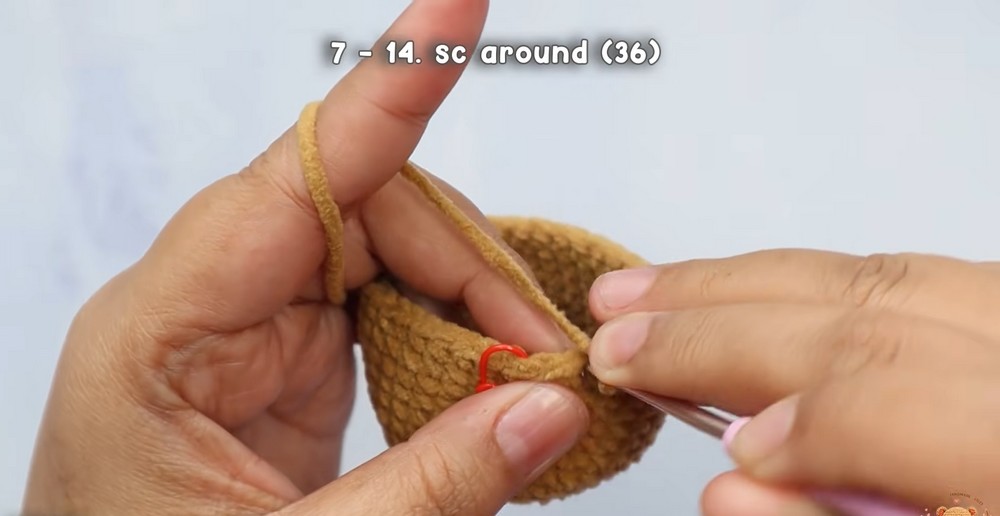
Keep the sides as even as possible. If your stitch marker shifts, reposition it before continuing so the round count remains accurate.
Step 4: Position the Safety Eyes
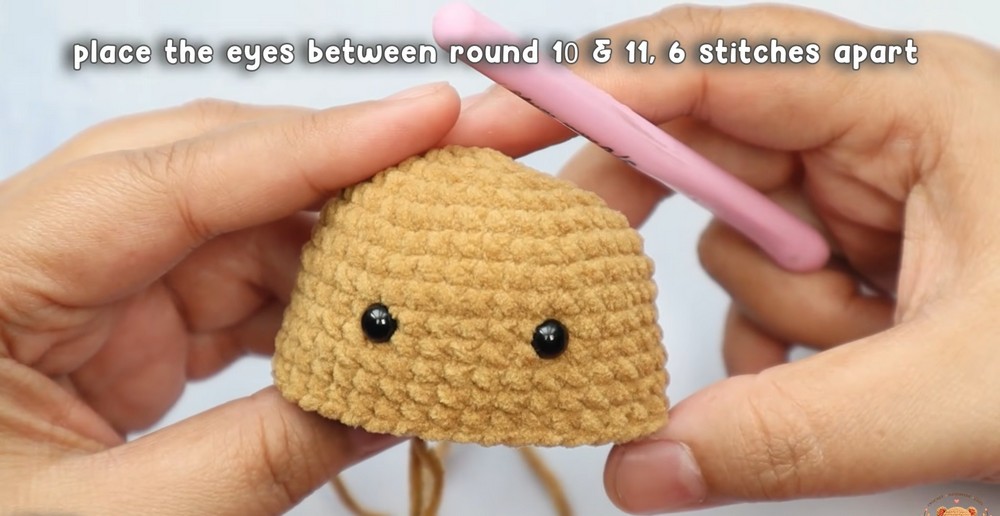
Place the safety eyes between Rounds 10 and 11, with approximately 6 stitches between them.
Before attaching the safety-eye backs, check the face from the front. The eyes should sit at a similar height and appear centered across the head.
Important: If this bear is intended for a young child, embroidered eyes are generally a safer option than plastic safety eyes. Safety eyes can detach and pose a choking hazard.
Step 5: Narrow the Head and Add Stuffing
Begin decreasing to close the lower opening of the head.
Round 15: Repeat (1 sc, 1 dec) 6 times. (18 sts)
Stuffing: Add polyester fiberfill through the opening. Distribute it evenly so the head remains rounded rather than lumpy.
Round 16: Work 12 decreases. (12 sts)
Round 17: Work 6 decreases to close the opening. (6 sts)
Result check: Before closing completely, check the head’s shape and add small amounts of stuffing wherever needed. Once the opening is too small, adjusting the filling becomes difficult.
Step 6: Close and Secure the Head
Leave a long yarn tail, cut the yarn, and pull it through the final stitch.
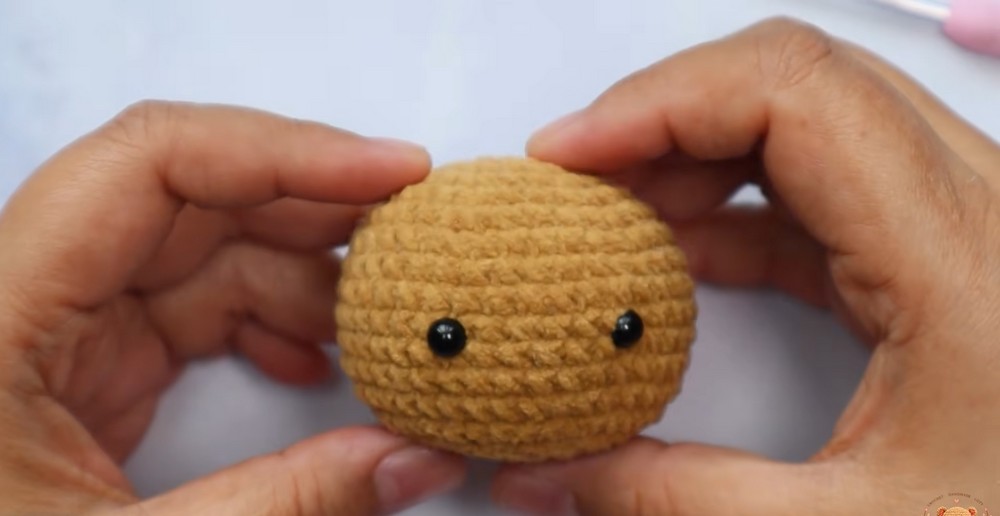
Thread the tail through the front loops of the remaining 6 stitches using a yarn needle. Pull gently until the opening closes, then secure the yarn and hide the remaining end inside the head.
The closed base should be firm without a large visible gap. Keep the yarn tail available only as long as needed for secure finishing.
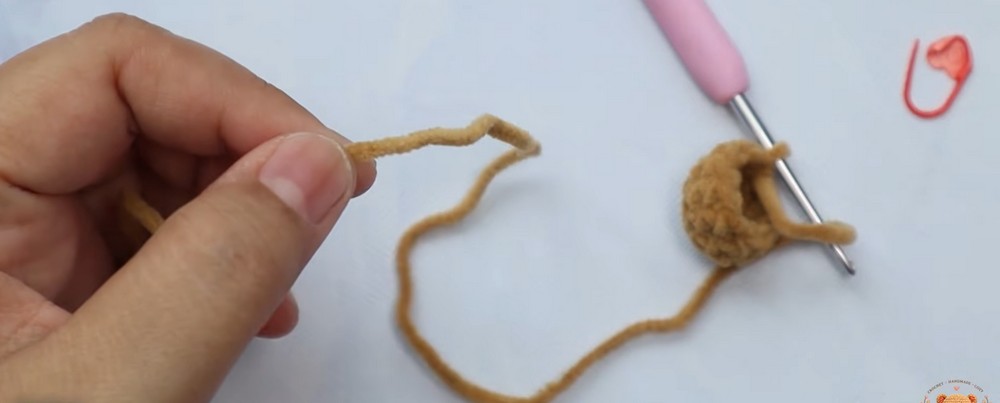
Step 7: Crochet the First Ear
Make two matching ears using the same light-brown chenille yarn.
Round 1: Make a magic ring and work 6 sc into it. Close the ring. (6 sts)
Round 2: Work an increase in every stitch around. (12 sts)
Round 3: Work 1 sc in every stitch around. (12 sts)
Round 4: Repeat (4 sc, 1 dec) 2 times. (10 sts)
Finish with a slip stitch in the next stitch. Cut the yarn, leaving a long tail for sewing.
Repeat these rounds to make the second ear. Compare both pieces before attaching them so they are similar in size.
Step 8: Position and Sew the Ears
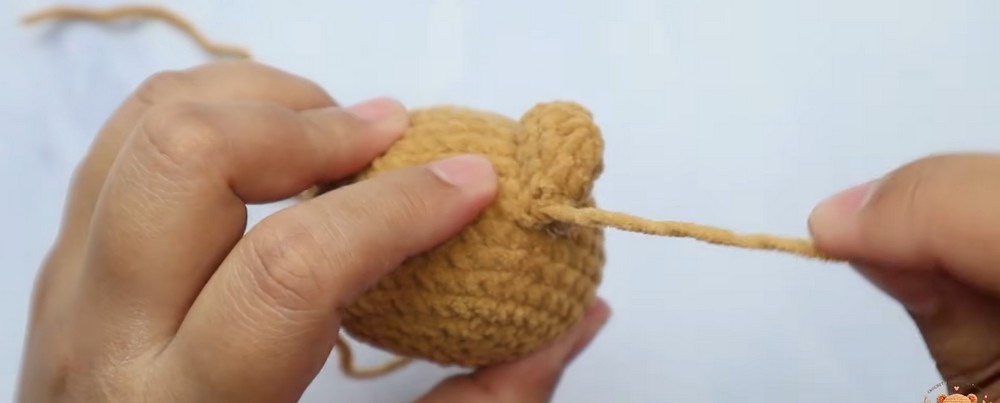
Place the ears symmetrically along the upper curve of the head, generally around Rounds 4–7 from the magic-ring center.
Use pins or stitch markers to hold them temporarily in place. Check the position from the front before sewing.
With the long yarn tails and a yarn needle, whip-stitch each ear securely to the head. Take small stitches through the ear base and the head fabric, keeping the attachment snug without flattening the ears completely.
Placement check: Both ears should sit at a similar height and angle. Make any adjustments before weaving in the yarn ends.
Step 9: Embroider the Nose and Snout
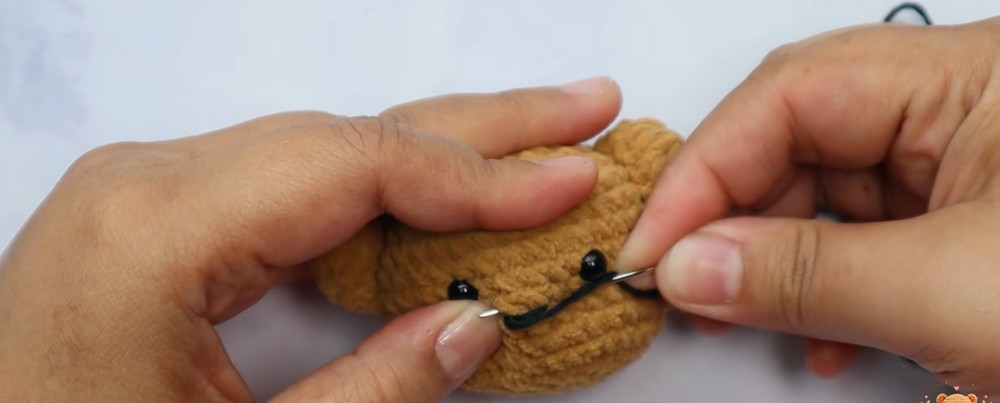
Use black 3-ply soft cotton yarn to embroider a small nose and snout centered between or just below the safety eyes.
Work with short, controlled stitches to create a neat shape that remains visible against the light-brown chenille. Check the face from the front as you embroider so the nose stays centered.
Secure the yarn on the inside of the head and hide any loose ends.
Step 10: Complete the Final Checks
Inspect the finished bear head before adding it to a keychain or bag charm.
- Check that both ears are firmly attached.
- Confirm that the nose is centered.
- Make sure the head opening is fully closed.
- Hide loose yarn tails inside the piece.
- If adding keychain hardware, attach it securely through a suitable reinforced point rather than relying on a loose yarn strand.
Your mini crochet bear head is now complete. Use the finished piece as a miniature plush decoration, bag charm, or starting point for a personalized bear character.