
A tiny bat with a playful shape and golden details makes this crochet keychain a fun little Halloween companion for your keys, backpack, or favorite everyday bag.
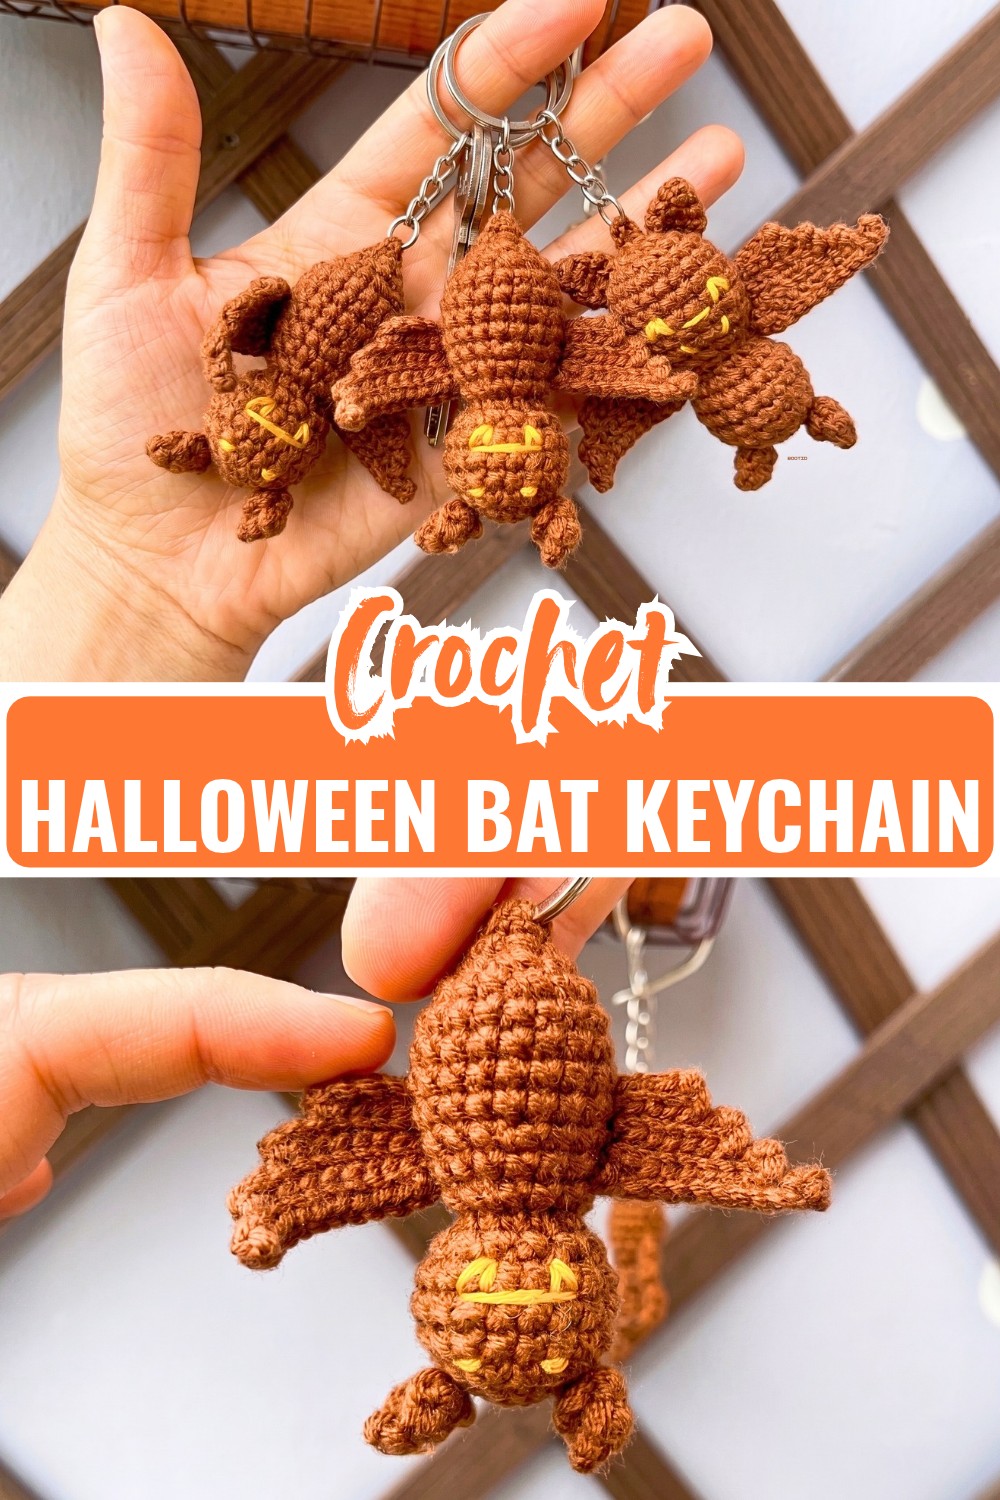
Some handmade charms are special because of their size, and this little crochet bat is a perfect example. Its compact body, pointed ears, and wide wings give it plenty of character without requiring a complicated construction, making it an easy addition to a Halloween-themed collection.
The small gold facial details are what really bring this crochet bat to life. Keep the body dark and classic for a spooky look, or experiment with the colors to create a softer, more playful charm. Once the head, body, wings, and ears come together, the final keychain has a surprisingly expressive shape for such a tiny crochet piece.
Credit Crochet Anywhere
Materials & Tools Needed
- Yarn: 4-ply Milk Cotton Yarn in brown and yellow/gold
- Crochet Hook: 2.0 mm
- Fiberfill: For lightly stuffing the head and body
- Yarn Needle: For sewing pieces and weaving in ends
- Scissors
- Keychain Ring: For turning the finished bat into a hanging charm
Crochet Abbreviations
- MR: Magic Ring
- ch: Chain
- sc: Single crochet
- inc: Increase – 2 sc in the same stitch
- dec: Decrease – sc 2 stitches together
- sl st: Slip stitch
- sk: Skip
- st: Stitch

Step-by-Step Crochet Pattern
Crochet the Bat Head
The head is worked in joined rounds, beginning with a small magic ring and gradually widening before decreasing toward the bottom. Keeping a stitch marker nearby can help you keep track of the beginning of each round.
Round 1: Make a MR, ch 1, work 6 sc into the ring, then sl st into the first stitch. [6 sts]
Round 2: Ch 1, work 6 inc around, then sl st to join. [12 sts]
Round 3: Ch 1, work (1 sc, inc) × 6, then sl st to join. [18 sts]
Rounds 4–5: Ch 1, work 18 sc around, then sl st to join each round. [18 sts per round]
Round 6: Ch 1, work (1 sc, dec) × 6, then sl st to join. [12 sts]
Fasten off, leaving a short tail, and lightly stuff the head with fiberfill. Do not overfill it, as you will later sew it to the body.

Crochet the Bat Body
The body starts smaller than the head and gradually widens before narrowing again toward the lower end. This shaping gives the finished bat its compact silhouette.
Round 1: Make a MR, ch 1, work 4 sc into the ring, then sl st to join. [4 sts]
Round 2: Ch 1, work (1 sc, inc) × 2, then sl st to join. [6 sts]
Round 3: Ch 1, work 6 inc around, then sl st to join. [12 sts]
Round 4: Ch 1, work (1 sc, inc) × 6, then sl st to join. [18 sts]
Rounds 5–8: Ch 1, work 18 sc around, then sl st to join each round. [18 sts per round]
Round 9: Ch 1, work (4 sc, dec) × 3, then sl st to join. [15 sts]
Round 10: Ch 1, work 15 sc around, then sl st to join. [15 sts]
Round 11: Ch 1, work (3 sc, dec) × 3, then sl st to join. [12 sts]
Fasten off, leaving a long yarn tail for assembly, and stuff the body with fiberfill. Keep the stuffing firm enough to hold the shape while leaving the opening accessible for sewing.
Make the Bat Wings
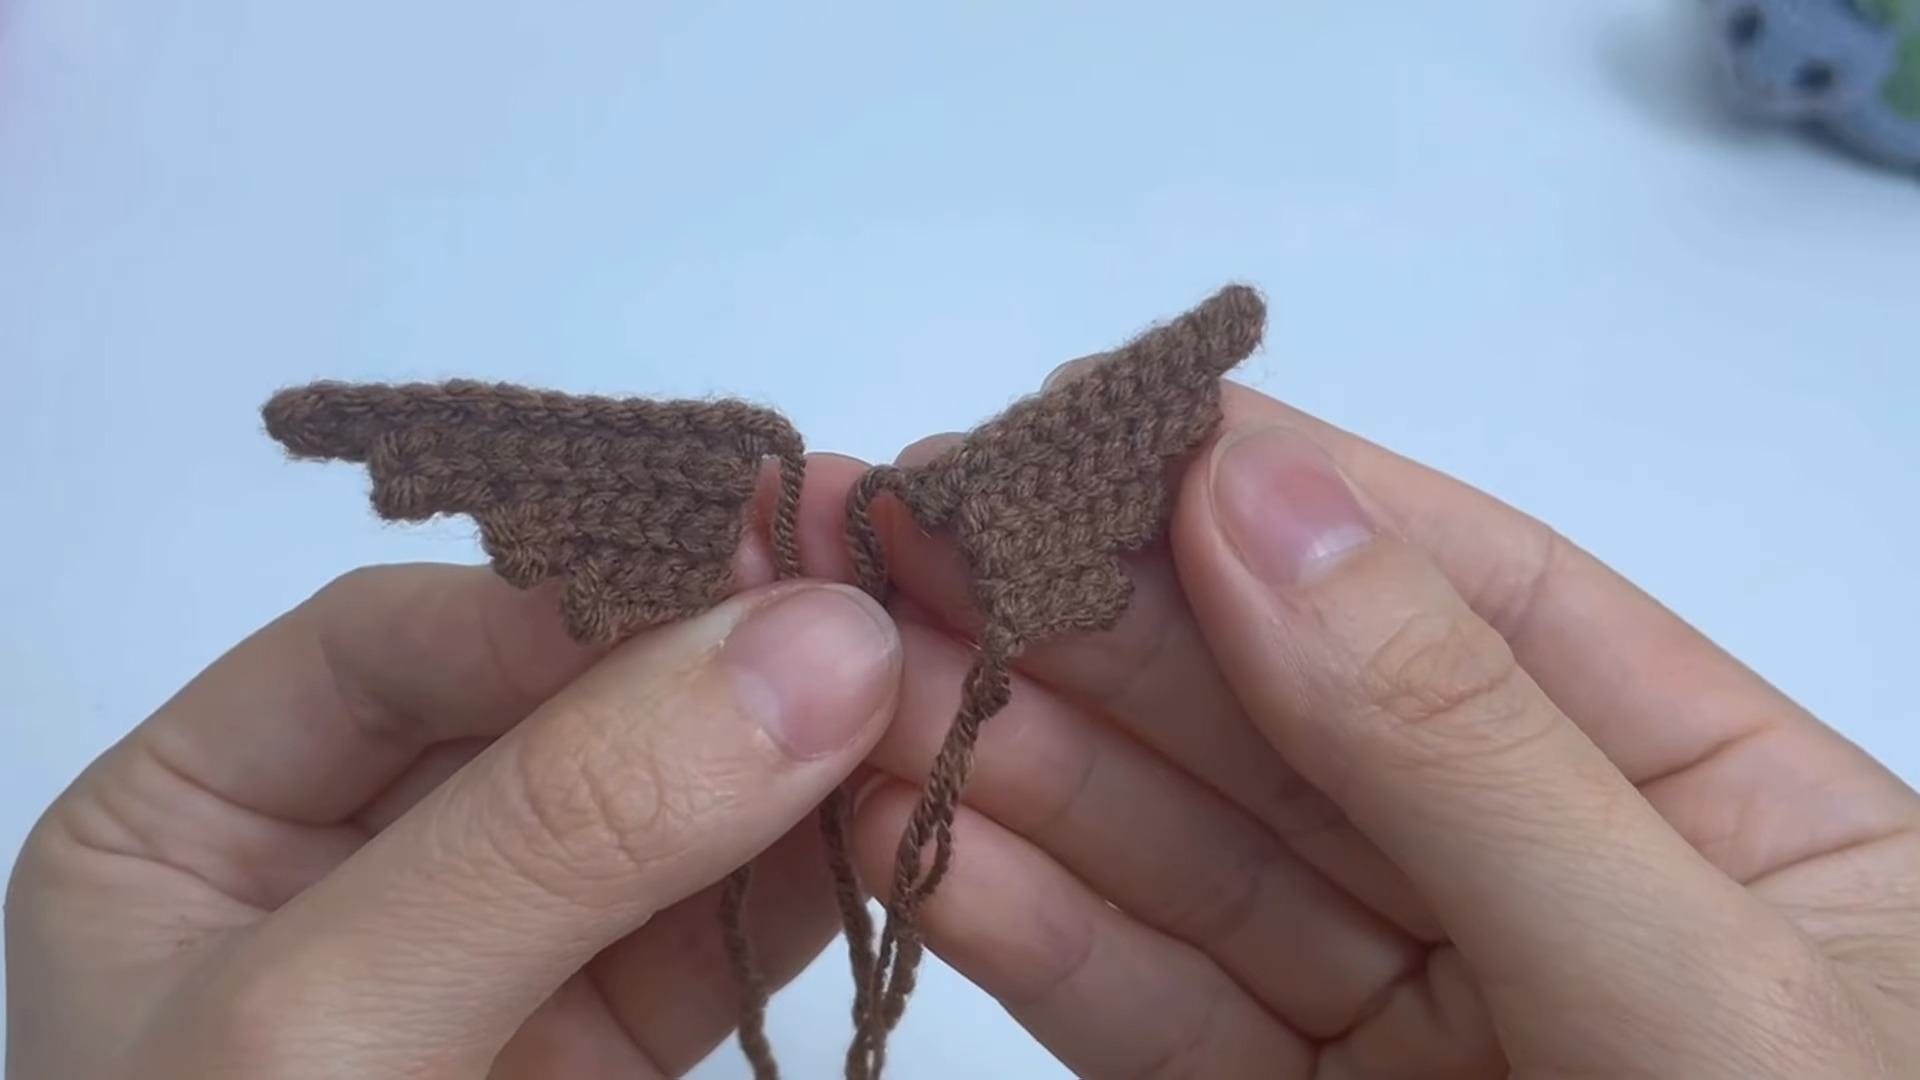
Make 2 wings. The wings are created with chains and slip stitches, with the stitch count decreasing as you move upward. This gives each wing its angled, bat-like shape.
Row 1: Make a slip knot, ch 11, turn, sk 1, then work 10 sl st across. [10 sl sts]
Row 2: Ch 1, turn, then work 8 sl st across. [8 sl sts]
Row 3: Ch 1, turn, then work 8 sl st across. [8 sl sts]
Row 4: Ch 1, turn, then work 6 sl st across. [6 sl sts]
Row 5: Ch 1, turn, then work 6 sl st across. [6 sl sts]
Row 6: Ch 1, turn, then work 4 sl st across. [4 sl sts]
Row 7: Ch 1, turn, then work 4 sl st across. [4 sl sts]
Ch 1 and cut the yarn, leaving a tail long enough to sew the wing onto the body.
Repeat the same instructions for the second wing.
Make the Bat Ears
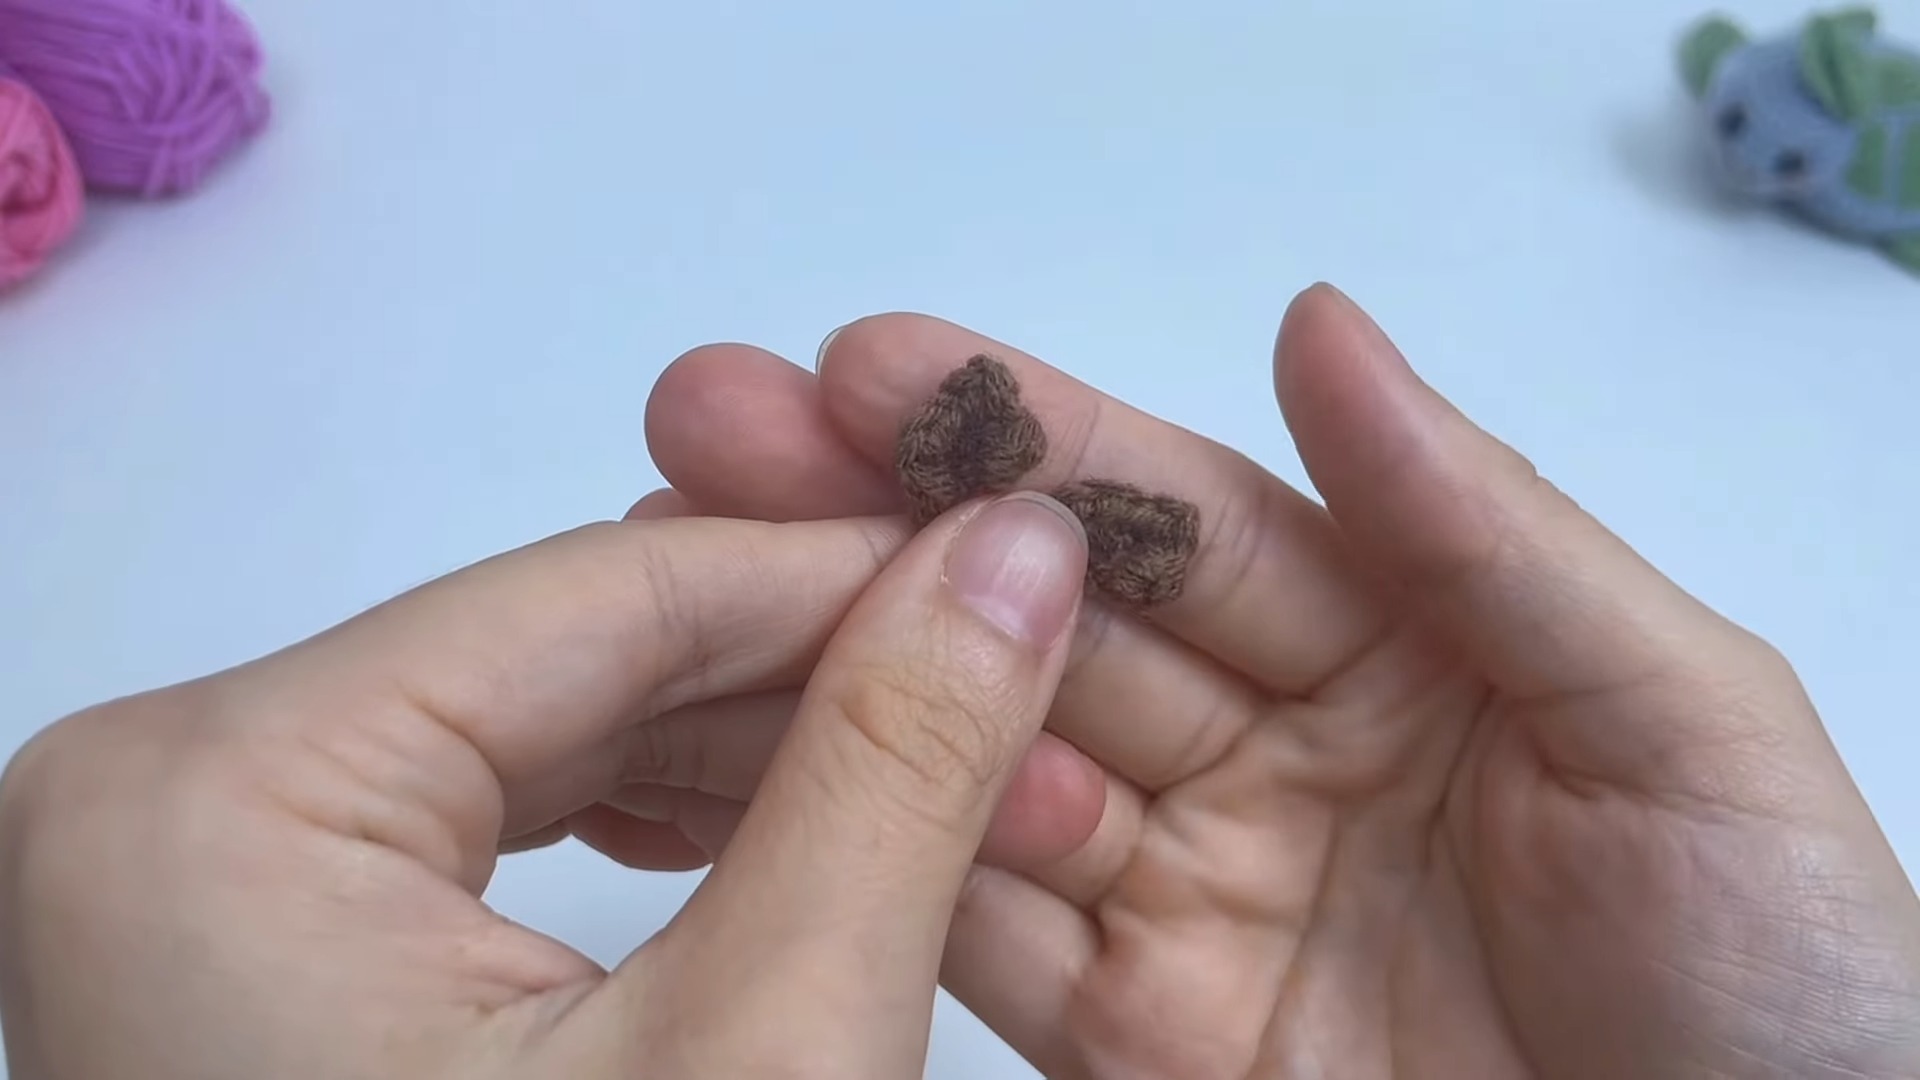
Make 2 ears. These small pointed pieces give the head its recognizable bat shape.
Ear: Make a slip knot, ch 3, turn, sk 1, then work an inc, followed by 1 ch and a sl st in the same stitch; work another inc, then 1 ch and sl st to the end.
Fasten off, leaving a sewing tail.
Repeat the same instructions to make the second ear.
Assemble the Bat
Now that the individual pieces are ready, assembly brings the shape together.
Join the Head and Body
Use the long yarn tail left on the body to sew the opening of the body to the bottom of the head. Work around the joining edge carefully so the two pieces sit securely together without leaving a visible gap.
Attach the Wings
Position the two wings symmetrically on the upper back of the body. Sew them securely in place, catching the wing stitches and the corresponding body stitches with the yarn needle.
Before securing the final stitches, check both sides from the front to make sure the wings sit at a similar height.
Attach the Ears
Place one ear on each side of the top of the head. Sew them firmly into position, keeping the pointed ends facing upward.
Add the Face & Keychain Loop
Use the yellow or gold embroidery thread to create the bat’s eyes and mouth on the front of the head. Keep the facial details small so they suit the compact size of the bat.
For the hanging loop, attach yarn to the bottom of the body, then chain until you reach your preferred hanging length. Bring the chain back toward the base, secure it into the body, and weave in the ends.
Finally, attach the keychain ring securely to the loop.

A Small Finishing Check
Give the wings, ears, and keychain loop a gentle tug before using the charm. The attachment points should feel firm, especially because the keychain will be handled and moved regularly.
Finishing
Weave in any remaining yarn tails neatly inside the bat and trim the excess. Gently shape the head, body, and wings with your fingers so everything sits evenly.
Your crochet Halloween bat keychain is now ready to hang from a backpack, purse, keys, or anywhere that could use a tiny handmade touch of Halloween character.


