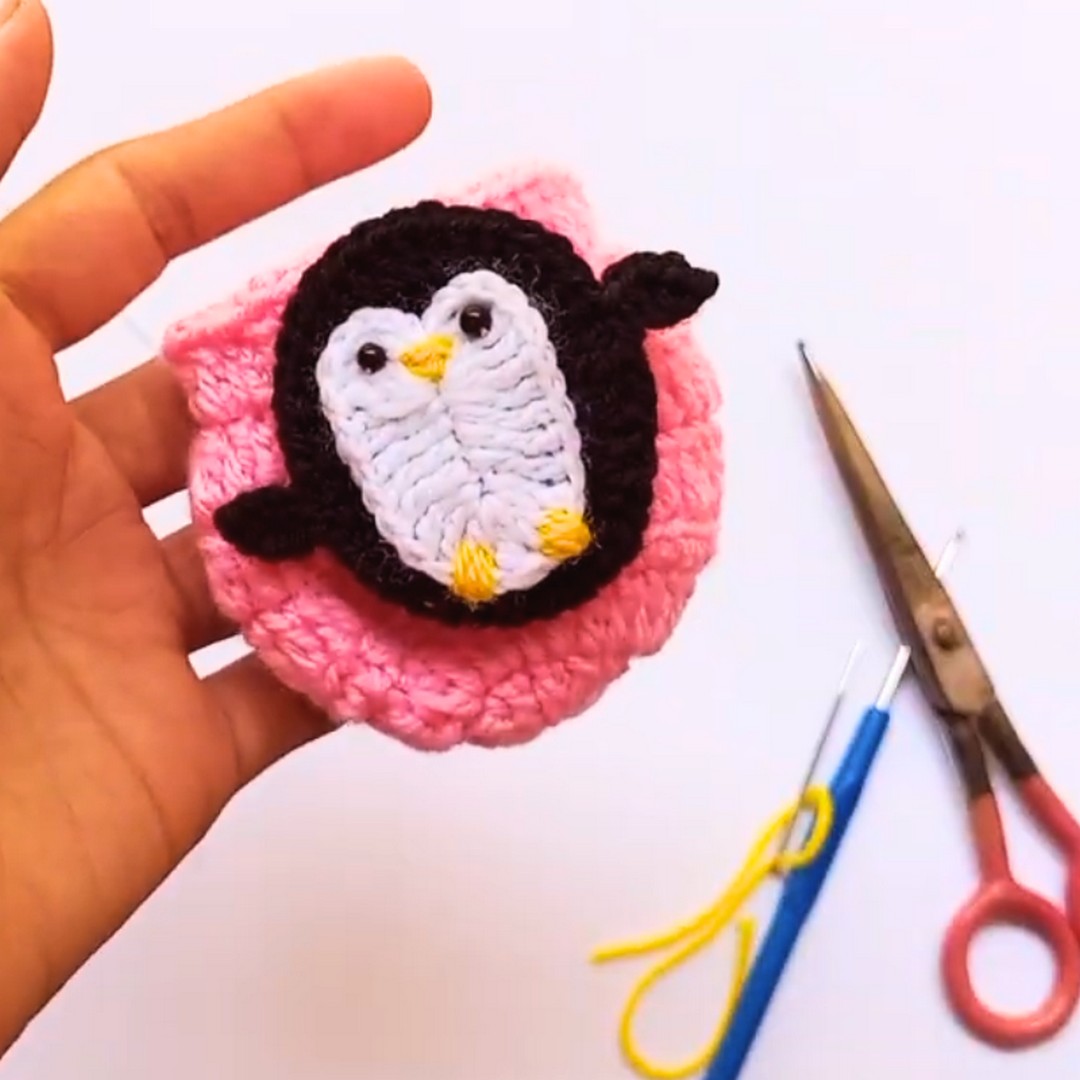
Looking for an adorable way to enhance your crochet creations? This Crochet Penguin Applique is a delightful choice!
With its charming design, it’s perfect for adding a playful touch to clothing, blankets, or decorations. Ideal for any skill level, it’s a versatile project that pairs simplicity with style.
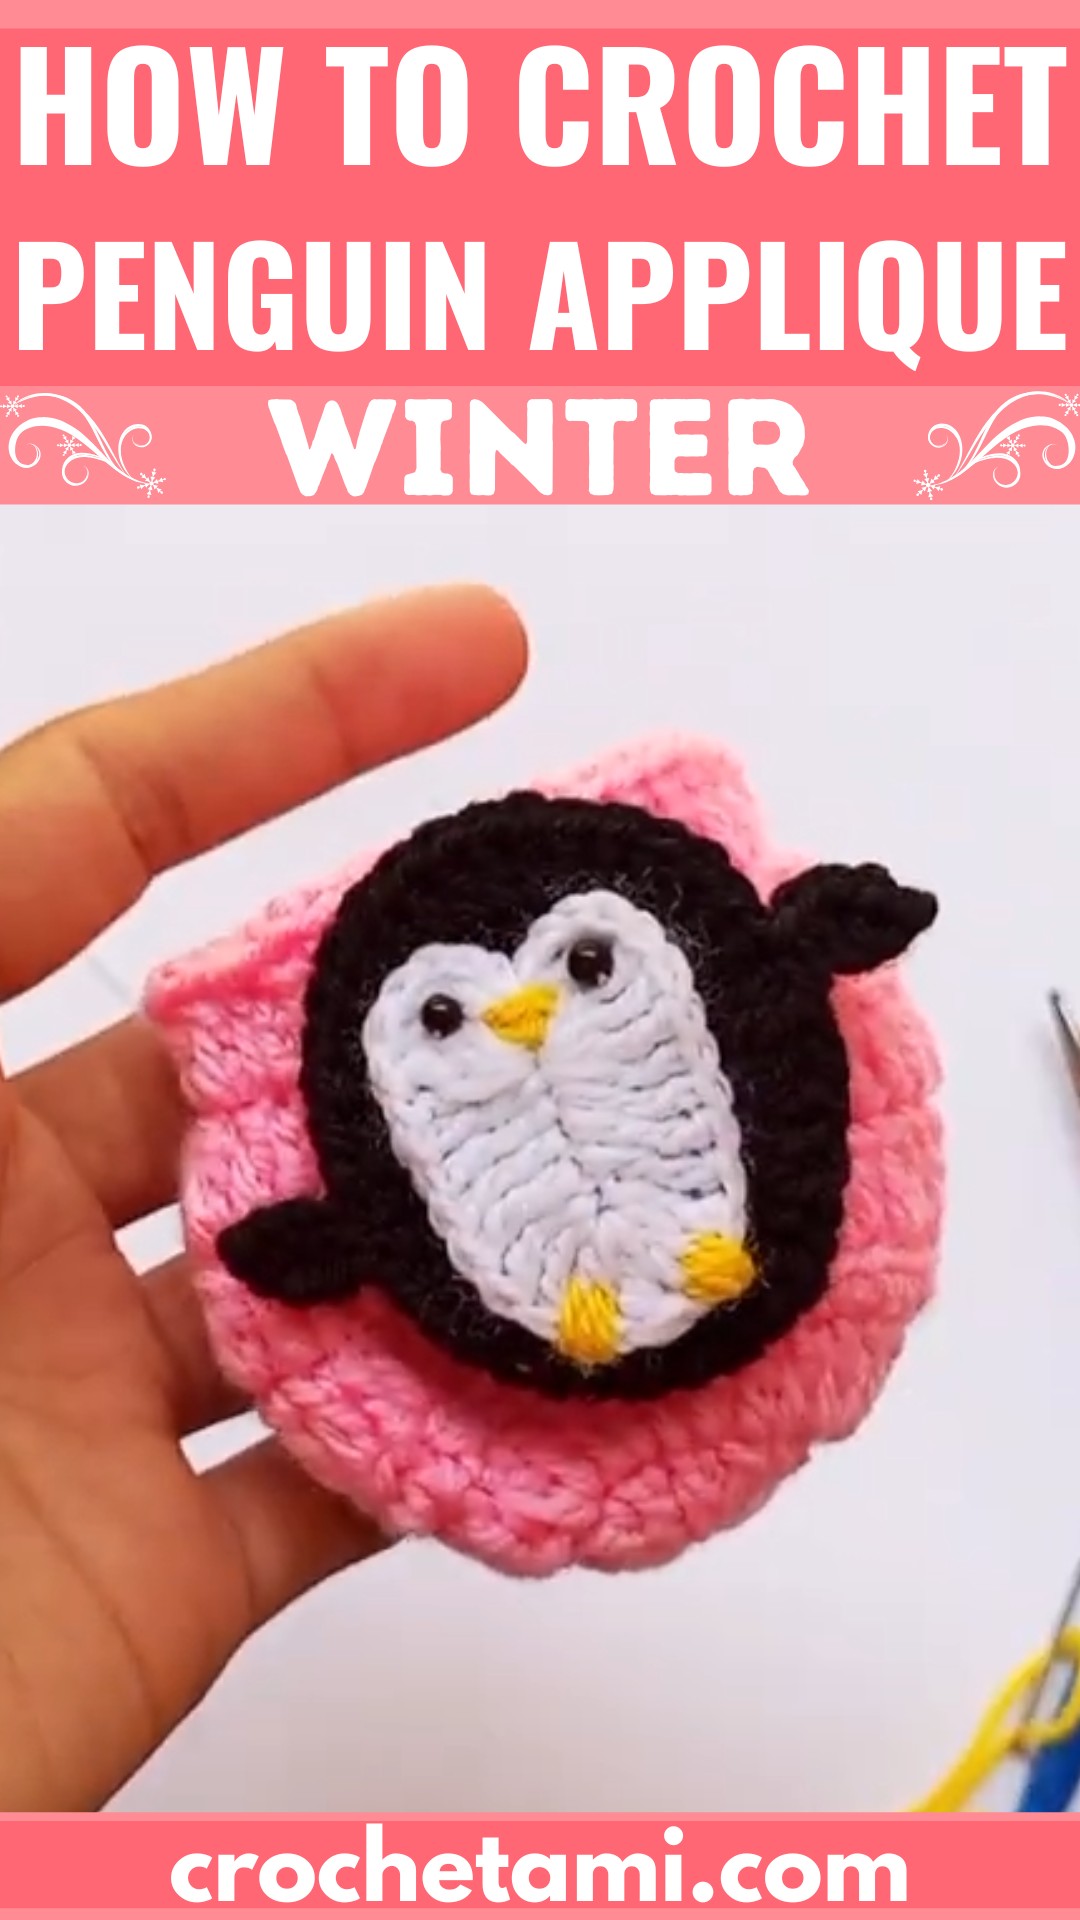
The Crochet Penguin Applique stands out with its cute design, making it a great addition to hats, bags, scarves, and other handmade projects.
Its durability ensures long-lasting beauty, and its universal appeal makes it suitable for kids and adults alike. Use it to personalize or gift your crafts a cheerful twist.
Credit Life with Mahnoor
In this post, you will find a step-by-step Crochet Penguin Applique pattern along with detailed instructions. However, if you encounter any difficulties or mistakes while creating your desired design, feel free to watch the video tutorial provided at the end of the blog post.
Materials and Preparation:
To create this adorable penguin applique, you will need the following materials:
- Yarn: 3-ply fine wool in three colors: Yellow, Black, and White.
- Crochet Hook: 1.10 mm crochet hook (or close equivalent).
- Additional Tools:
- Scissors
- Yarn needle
- Glue or glue stick
- Small beads or safety eyes (alternatively, you can embroider the eyes using yarn).

Optional: If you don’t have beads or safety eyes for the eyes, you can cut small round pieces from a felt sheet or crochet tiny black circles to use instead.
Abbreviations and Notes:
Here are the key abbreviations used in this pattern:
- CH: Chain Stitch
- SC: Single Crochet
- HDC: Half Double Crochet
- DC: Double Crochet
- TR: Triple Crochet
- ST: Stitch
- SL ST: Slip Stitch
Notes:
- This applique is worked in rounds and rows, beginning with a slip knot followed by chain stitches.
- Follow the instructions closely when shaping wings and other details to keep the applique symmetrical.
- Practice slow and consistent tension for smooth execution.
- The applique can be attached using glue for non-sewing projects, such as decorating a feeder cover.
Gauge, Approximate Size, and Pattern Notes:
- Gauge: Not critical for this project. However, working with 3-ply yarn and a 1.10 mm hook will give you a delicate and detailed applique.
- Approximate Size: The completed penguin applique is small, approximately 3-4 inches in height (depending on your tension and yarn thickness).
- Special Techniques:
- Mastering TR (triple crochet) stitches is essential as they help create the shape of the wings and body.
- For even detail placement (beak and feet), ensure you fasten off and sew neatly.
- A gauge swatch isn’t necessary, but if you’re a beginner, practice the triple crochet stitches before getting started.
Step-by-Step Pattern:
Part 1: The Base Shape
- Slip Knot and Chains: Make a slip knot and chain 8.
- Triple Crochet Foundation:
- Skip the first 3 chains, and triple crochet (TR) into the 4th chain from the hook.
- Continue making triple crochet in the next 3 chains (4 triple crochets in total).
- Round the Edge: In the last chain, make 6 TR to round the edge. This forms the curve of the penguin’s head.
- Opposite Side: Work 3 TR (one in each of the next stitches) on the opposite side of the foundation chain.
- Final Edge: In the last stitch, where you worked the first TR, add 5 TR to round off the body shape.
- Close the round with a slip stitch into the first TR.

At this point, you have created a symmetrical oval base that will shape the penguin’s body.
Part 2: Adding Wings
- First Wing (Left):
- Chain 4 to begin.
- Skip the first chain, HDC into the second chain, and DC into the third chain.
- In the DC, make a slip stitch and fasten off.
- Second Wing (Right):
- Repeat the same process as the first wing but work symmetrically on the opposite side of the body.

Part 3: Stomach (White Section)
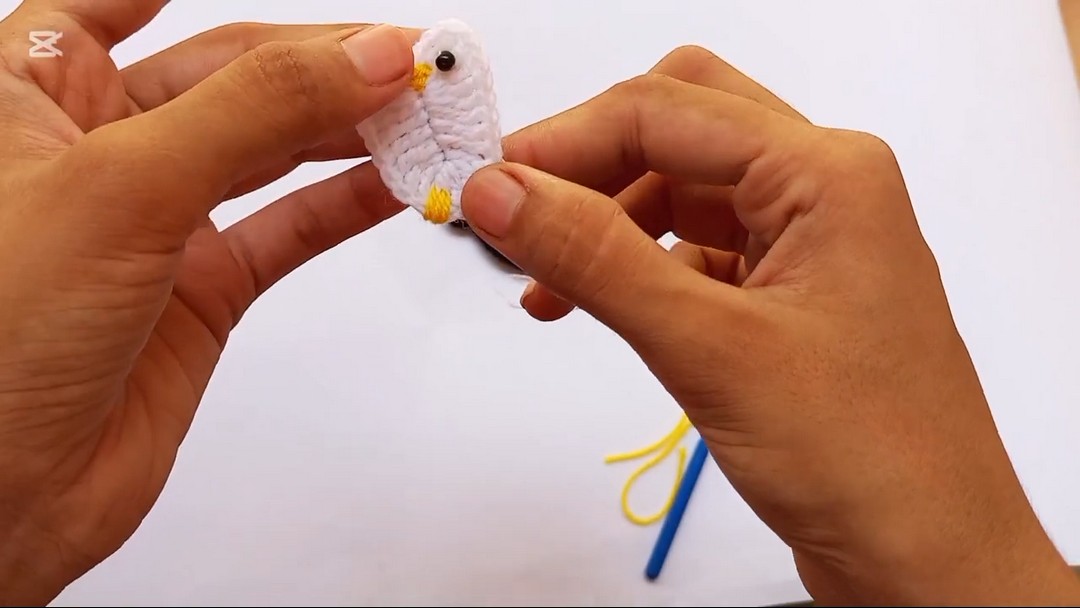
- Repeat Part 1, using white yarn instead of black, to create a smaller oval for the stomach.
- Attach the stomach to the main body using either glue or sewing. Align it symmetrically on the body.
Part 4: Feet (Yellow Section)
- With yellow yarn, make a simple triangular shape for the feet:
- Knot your yellow yarn and stitch it in a small triangular pattern for each foot.
- Alternatively, you can create two felt triangles and glue them to the bottom of the penguin.

Part 5: Beak and Eyes
- Beak (Yellow):
- With yellow yarn, create a tiny triangle shape in the center of the white section to form the penguin’s beak.
- Sew neatly to fasten it. Alternatively, cut a small triangle from yellow felt and glue it.
- Eyes:
- Use beads or safety eyes to attach two eyes on the black section above the white stomach.
- If you don’t have beads, you can crochet a few small stitches to make the eyes, or use black felt circles.
Part 6: Final Assembly
- Attach the white stomach onto the black body using glue or sewing.
- Add any final details for precision and trim off any yarn tails.
- If the penguin applique is going to decorate a feeder cover or another surface, secure it accordingly.
Tips and Final Adjustments:
- Use glue for quick and easy assembly. If sewing, ensure the stitches are small and neat to avoid uneven edges.
- Feel free to customize the colors for a fun twist! For example, use pink for the beak or blue for the stomach section.
Key to Success
- Use the right yarn for a neat and polished finish.
- Ensure consistent tension for a balanced design.
- Follow the video tutorial step-by-step for clarity.
- Customize colors to make your penguin unique.
- Take your time on small details for the best results.
Conclusion
This Crochet Penguin Applique is a delightful project that combines charm with practicality. Perfect as a decorative touch, it’s quick and enjoyable to create. Whether you’re a beginner or experienced crocheter, this design is a fun way to express your creativity. Give it a try and brighten your projects!