Easy Crochet Puffy Hearts Tutorial
Perfect for beginners, crocheting puffy hearts is a great way to add charm to your handmade items. With just a few basic materials like cotton yarn, a 2.5mm hook, and fiberfill, you can create mini hearts that are ideal for stylish keychains or heartfelt gifts. The tutorial emphasizes simple stitches, ensuring no-slip, no-confusion while working in rounds to achieve fun puffy shapes.

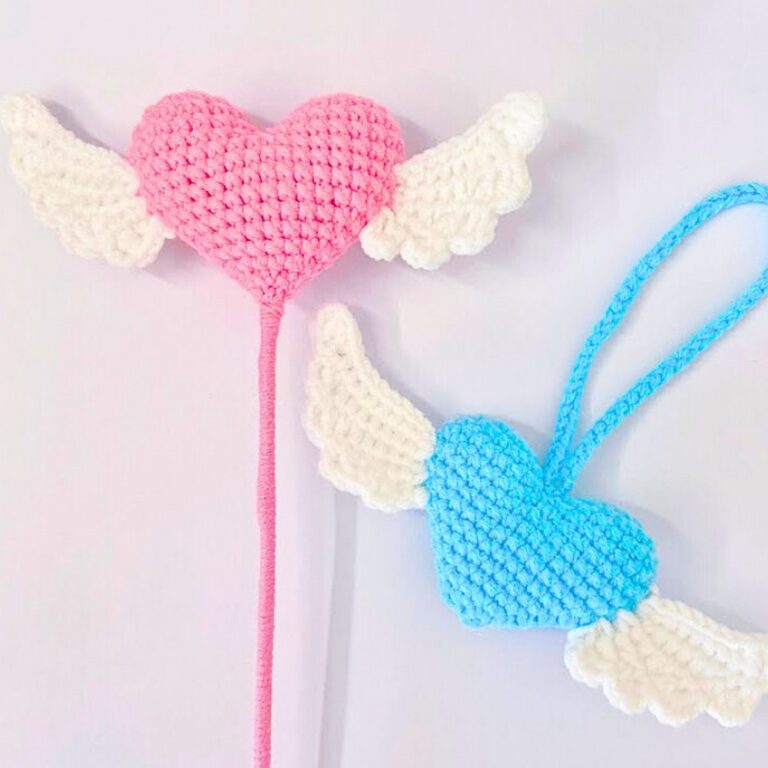
Crochet Puffy Hearts
Get creative with these mini hearts! Using a clever technique, pieces are joined seamlessly, resulting in a smooth, neat design. Reduction stitches help shape the bottom perfectly, while a bit of filling gives them their adorable puffiness. Whether for Valentine’s Day gifts or accessories, this pattern is a fantastic project for crafting enthusiasts of all levels.
Credit Dream Weaver Crochet
Materials and Preparation
To crochet these mini puffy hearts, you will need the following:
- 2.5mm crochet hook
- 4-ply cotton yarn (any color of your choice)
- Scissors
- Two stitch markers
- Tapestry needle
- Fiberfill (for stuffing the hearts)

Important Notes:
- This pattern works in continuous rounds, so no slip stitch is required to close each round.
- Be sure to use stitch markers to mark the beginning of each round for accuracy.
- Maintain tight stitches to hold the fiberfill securely inside the heart.
Step-by-Step Pattern
Begin with a Magic Circle (Round 1)
- Create a magic circle.
- Work 6 single crochets (sc) into the magic circle.
- Pull the tail to close the circle tightly.
Note: Since we’re working with continuous rounds, there is no need for slip stitches.

Round 2 – Increase
- Work 2 single crochets (increase) into each of the 6 stitches.
- Use a stitch marker to mark the first stitch of this round.
- By the end of Round 2, you should have 12 single crochets.
Round 3 and Round 4 – Work Evenly
- For Round 3, work 1 single crochet into each stitch around (no increases).
- Repeat the same process for Round 4.
- Use a stitch marker to track the start of each round.
- The stitch count will remain 12 single crochets for both rounds.
Create Two Pieces
- Complete Rounds 1–4 as above to form the first half of the heart.
- After Round 4, fasten off the yarn of the first piece and leave a tail.
- Repeat Rounds 1–4 to create the second half of the heart, but DO NOT fasten off after the fourth round—you’ll use this yarn to join the two pieces in the following steps.
Join the Pieces (Round 5)
- On the second piece, count three stitches backward from the last stitch and insert a marker in the fourth stitch.
- Begin Round 5 by removing the marker and working 1 single crochet into the marked stitch.
- Use another stitch marker to mark the first stitch of this round.
- Work 1 single crochet into each of the remaining stitches of the second piece until you reach its final stitch (9 single crochets total).
- Skip the next three stitches on the second piece (leave them unworked).
- Pick up the first piece and work 9 single crochets into the stitches, starting just after the slip stitch where the yarn was fastened off.

Key Notes:
- Total stitches for Round 5 = 18 single crochets (9 stitches from each piece).
- The skipped stitches from both pieces (3 each) will be joined later with a tapestry needle to form the heart’s top.
Sew the Skipped Stitches
- Align the edges of the skipped stitches together (from both halves).
- Use the tapestry needle and the leftover yarn from the first piece to secure the stitches.
- Tie knots to secure the seams, and push the remaining yarn into the heart’s interior.
Rounds for Shaping the Heart
Round 6 – Decrease Round
- Remove the stitch marker and work the first stitch of Round 6. Replace the stitch marker to track the round start.
- The sequence for Round 6 is:
Work 7 single crochets, then 1 single crochet decrease.
- To work a single crochet decrease:
- Insert your hook into the front loop of the next stitch.
- Then insert your hook into the front loop of the next stitch.
- You should have 3 loops on the hook. Yarn over and pull through all 3 loops.

- Continue the sequence (7 sc, 1 decrease) around, ending the round with 16 stitches.
Round 7 – Decrease Again
- Remove the stitch marker and begin Round 7.
- Place the stitch marker again after the first stitch.
- The sequence for Round 7:
Work 2 single crochets, then 1 single crochet decrease. - Repeat this pattern around to end the round, finishing with 12 stitches.
Round 8 – Final Reduction Round
- Before starting Round 8, stuff the heart generously with fiberfill using the back of your crochet hook.
- Remove the stitch marker and begin Round 8, marking the first stitch again.
- The sequence for Round 8:
Work 2 single crochets, then 1 decrease. - Repeat the sequence until only 9 single crochets remain.
Close the Heart
- Slip stitch into the next stitch and fasten off, leaving a long tail.
- Use the tapestry needle to close the remaining gap at the bottom of the heart:
- Work through the front loops of all 9 stitches.
- Pull tightly to close the gap and tie secure knots.
- Push the excess yarn tail into the heart, or neatly weave it through the stitches.

Conclusion
Your mini puffy heart is complete! These hearts are versatile and can be used to make keychains, earrings, or other decorative accessories.