Learn to crochet a festive Christmas tree with this easy video tutorial, a beginner-friendly pattern for holiday decor, gifts, and displays.
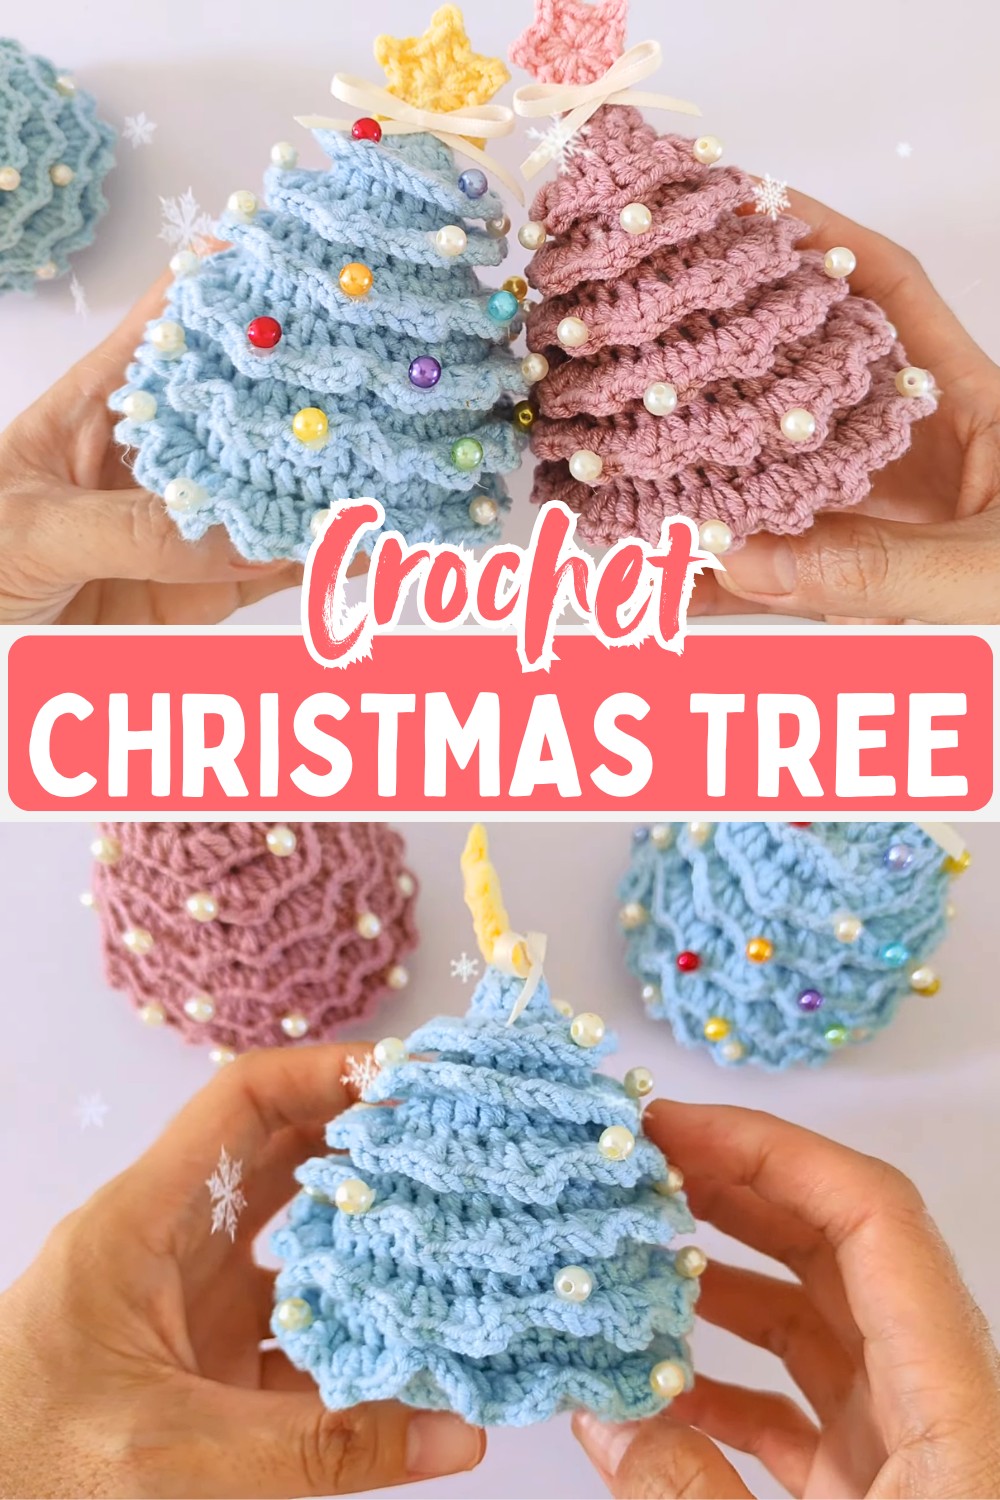
Crochet Christmas Tree Pattern
This tiny Christmas tree turns simple stitches into a cheerful holiday decoration that beginners and crochet lovers can enjoy making. The layered tree shape, colorful ornaments, and star topper create a charming seasonal piece for Christmas displays, gift wrapping, and handmade collections. Starting with a magic ring and easy rounds, this crochet pattern slowly builds into a decoration that feels special from the first stitch to the final detail.
The beauty of this crochet tree comes from the small techniques that bring the design together. BLO and FLO stitches create the layered effect, while the trunk, embroidered details, and festive accents add the finishing character. This step-by-step tutorial guides you through each stage, making it easier to create your own handmade crochet Christmas decoration with simple stitches and creative touches.
Credit Avocado Handmade
Materials and Tools Needed
Yarn:
- Forest Green: Approx. 80 yards of worsted weight yarn for the tree body.
- Bark Brown: Approx. 15 yards of worsted weight yarn for the trunk/base.
- Small scraps of Yellow and varied bright colors for the star and ornaments.
Crochet Hook:
- 3.5mm (US E/4).
Notions:
- 8mm safety eyes.
- Black embroidery floss for the smile.
- Polyester fiberfill stuffing.
- Tapestry needle.
- Stitch marker.
Pattern Notes
Rounds:
Worked in continuous rounds unless otherwise noted. Use a stitch marker to mark the beginning of each round.
Gauge:
20 single crochet stitches x 22 rows = 4 inches. While precise gauge isn’t critical, ensure your stitches are tight enough to prevent stuffing from peeking through.
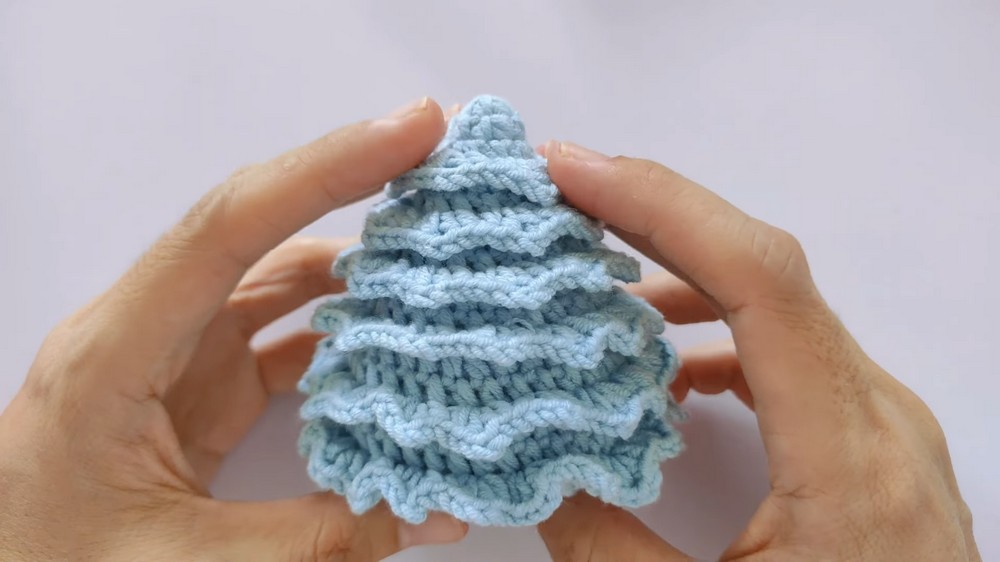
This pattern involves alternating Back Loop Only (BLO) and Front Loop Only (FLO) rounds to create a realistic layered effect.

Pattern Overview & Making Process
The pattern begins with green yarn and a magic ring, followed by continuous rounds of single crochet stitches to create the tree body. Increasing rounds gradually expand the shape, while BLO and FLO rounds are used throughout to form the layered effect of the tree.
Once the tree body is complete, the pattern switches to brown yarn to create the trunk and base. Decreasing rounds shape the lower section, and polyester fiberfill is added before the opening is closed securely.
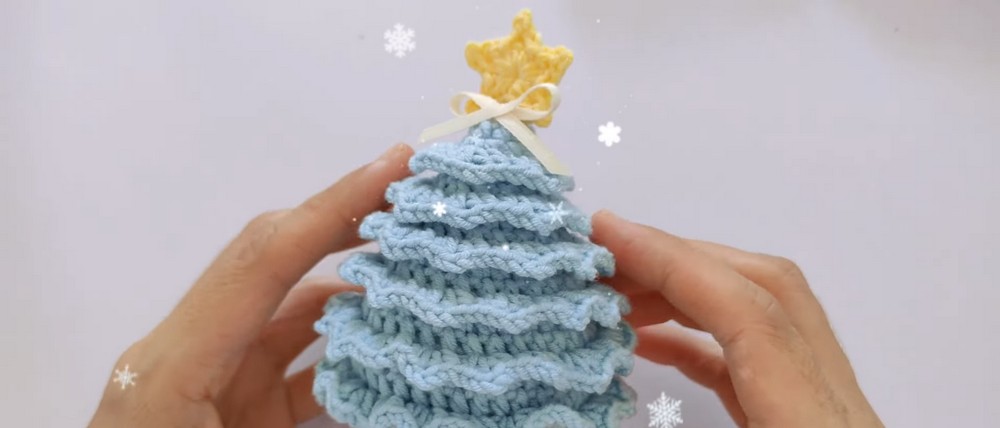
The final stage adds the festive features that complete the design. Safety eyes and an embroidered smile are attached, then a yellow star topper and colorful ornament details are added using yarn scraps or other decorative options.
Step-by-Step Instructions
Tree Body (Green Yarn)
- Round 1: Start with a magic ring. Work 6 single crochet (sc) into the ring. (6 stitches)
- Round 2: [Sc in next 2 stitches, 2 sc in next stitch] repeat around. (8 stitches)
- Round 3: [Sc in next stitch, 2 sc in next stitch] repeat around. (12 stitches)
- Round 4: Working in Back Loops Only (BLO) for the entire round, sc in each stitch around. (12 stitches)
- Round 5: [Sc in next 2 stitches, 2 sc in next stitch] repeat around. (16 stitches)
- Round 6: [Sc in next 3 stitches, 2 sc in next stitch] repeat around. (20 stitches)
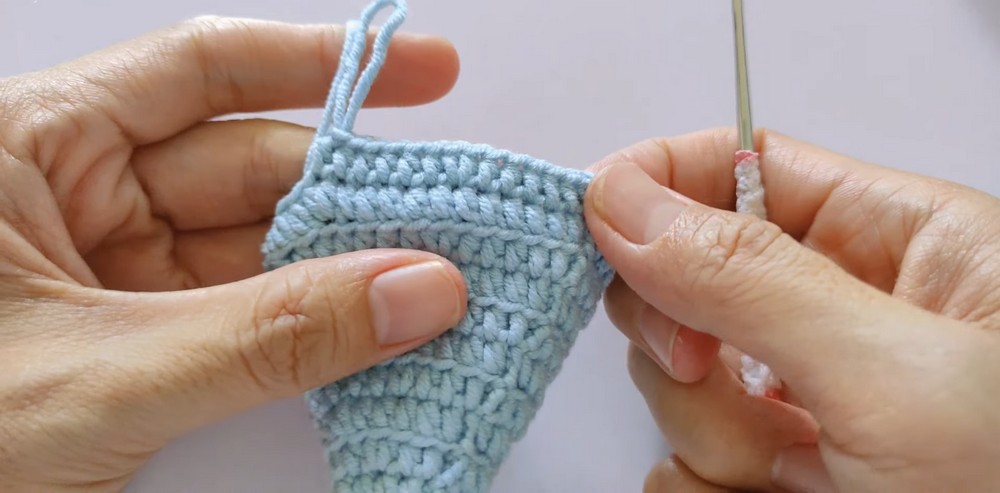
- Round 7: Working in BLO, sc in each stitch around. (20 stitches)
- Round 8: [Sc in next 4 stitches, 2 sc in next stitch] repeat around. (24 stitches)
- Round 9: [Sc in next 5 stitches, 2 sc in next stitch] repeat around. (28 stitches)
- Round 10: Working in BLO, sc in each stitch around. (28 stitches)
- Round 11: [Sc in next 6 stitches, 2 sc in next stitch] repeat around. (32 stitches)
- Round 12: [Sc in next 7 stitches, 2 sc in next stitch] repeat around. (36 stitches)
- Round 13: Working in BLO, sc in each stitch around. (36 stitches)
- Round 14: [Sc in next 8 stitches, 2 sc in next stitch] repeat around. (40 stitches)
- Round 15: Sc in each stitch around. (40 stitches)
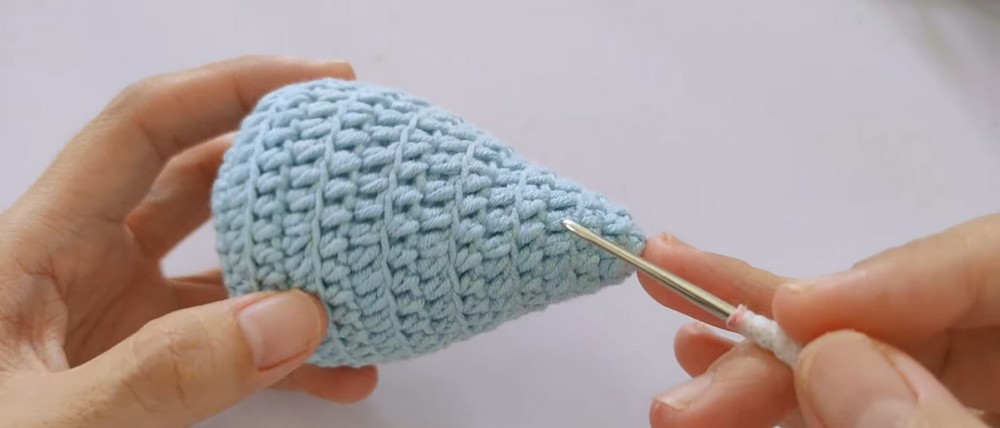
Attach Details:
- Insert 8mm safety eyes between Rounds 11 and 12, spacing them about 5 stitches apart.
- Use black embroidery floss to sew a small smile between the eyes.
Base & Trunk (Switch to Bark Brown Yarn)
- Round 16: Working in BLO, [sc in next 3 stitches, sc2tog] repeat around. (32 stitches)
- Round 17: [Sc in next 2 stitches, sc2tog] repeat around. (24 stitches)
Stuff Your Tree: Firmly fill the tree with polyester fiberfill at this point.
- Round 18: [Sc in next stitch, sc2tog] repeat around. (16 stitches)
- Round 19: [Sc2tog] repeat around. (8 stitches)
Closing the Base:
- Fasten off, leaving a long tail.
- Weave the tail through the remaining 8 front loops, pull tight to close the opening, and knot securely.
Topper and Decorations
- Star Topper:
- Using Yellow Yarn, crochet a simple five-point star (or use a star design of your choice). Sew it securely to the top of the tree.
- Ornaments:
- Use bright yarn scraps to embroider small French knots for colorful ornaments. Alternatively, attach mini pompoms, buttons, or beads.
Optional Enhancements
- For a Stable Base:
- Trace the bottom of the trunk onto thin, flexible plastic (e.g., a yogurt container lid).
- Cut the plastic slightly smaller than the base and slip it inside before closing the tree.
- Alternative Designs:
- Create a snowy effect by crocheting the tree in white yarn and using silver embroidery for a frosty look.
- Use fuzzy or textured yarn for a unique, plush texture.
Troubleshooting
- Visible Stuffing: If stuffing peeks through the stitches, use a smaller hook (e.g., 3.0mm).
- Leaning Tree: Ensure firm, even stuffing at the base and use a plastic stabilizer if necessary.