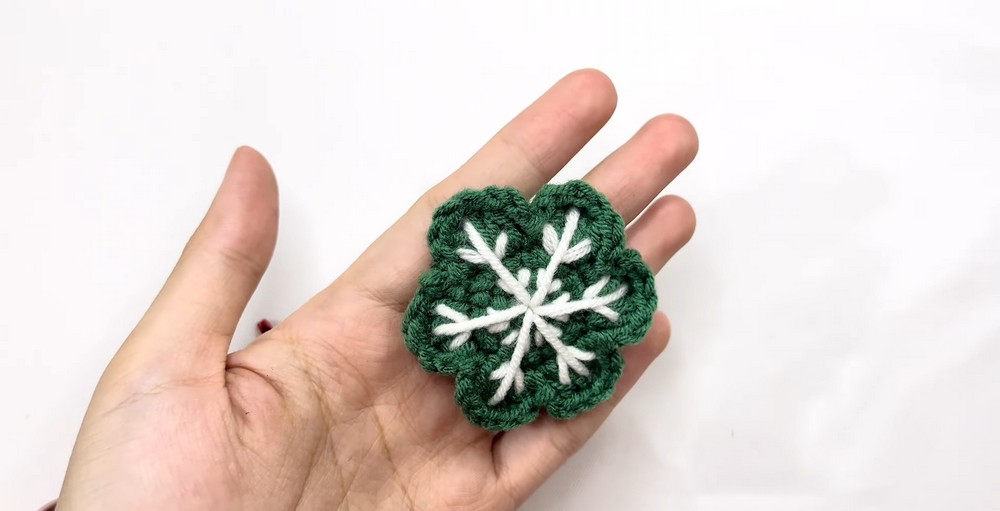
A tiny winter charm you’ll love! This easy crochet snowflake keychain makes a cute handmade gift or accessory with a festive touch.
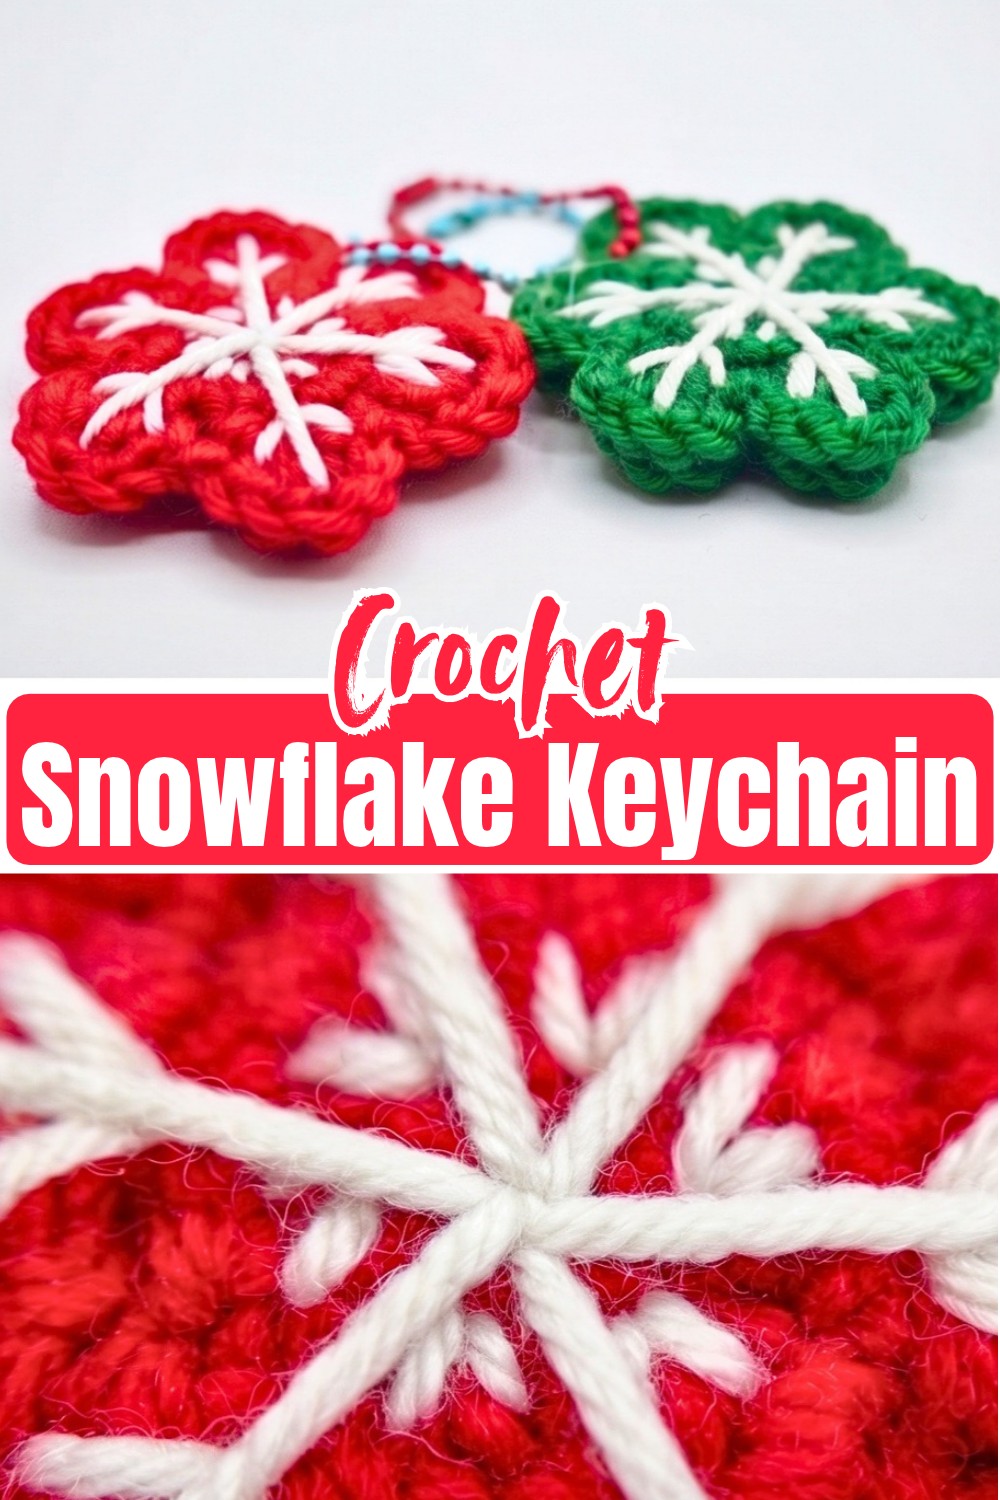
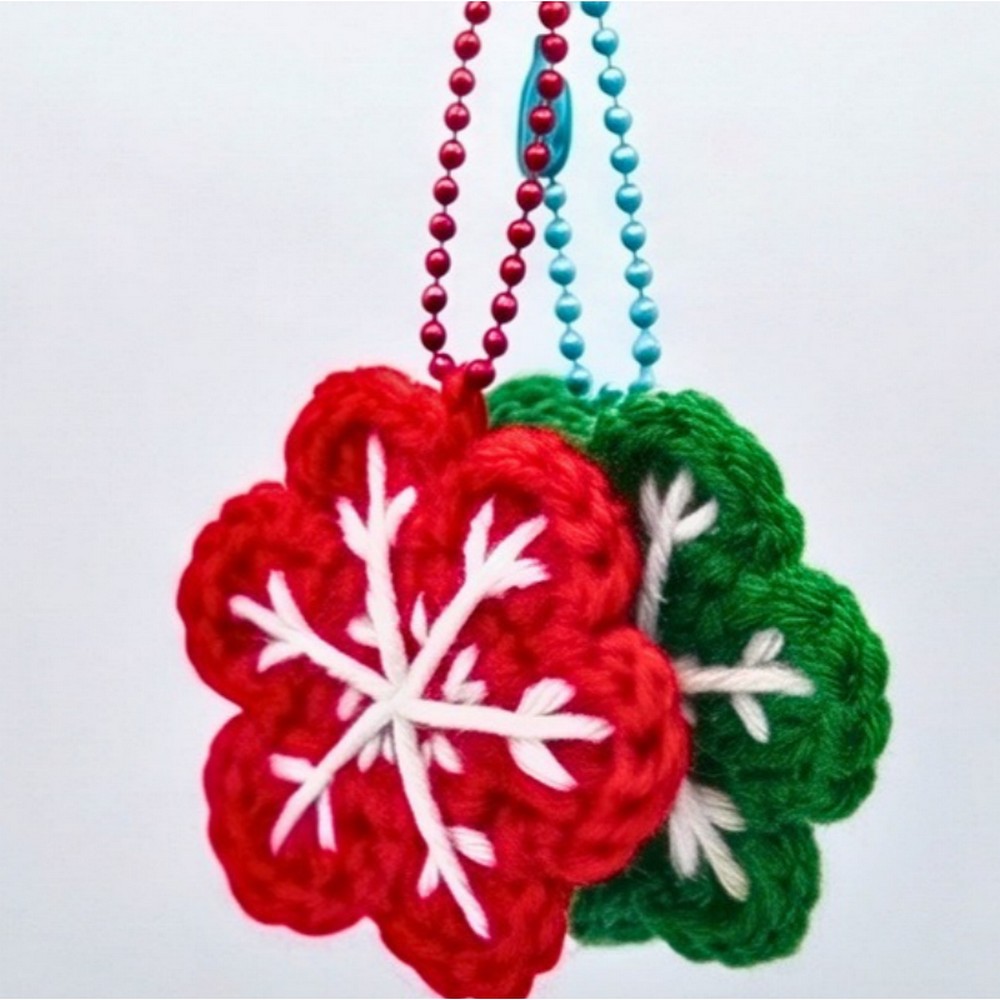
A tiny crochet keychain can add a festive winter charm to everyday essentials. While showing how a simple handmade idea can become a memorable seasonal piece. Its small size, classic snowflake shape, and creative crochet design make it a lovely accessory that brings a fresh winter accent wherever it is used.
This easy crochet snowflake keychain pattern is perfect for beginners who want to create a quick handmade gift or a practical accessory for keys, bags, and backpacks. The step-by-step tutorial guides you through each part of the design, helping you transform basic crochet stitches into a unique winter keepsake with a handmade touch.
Credit Ochy Crochet
Materials & Tools for Your Crochet Snowflake Keychain
- Yarn: Milk cotton yarn in:
- Main color (for the snowflake base)
- White yarn (for snowflake embroidery)
- Hook: 2.5 mm crochet hook
- Notions:
- Sewing/tapestry needle
- Stitch marker
- Keychain hardware (optional, not mentioned but implied)
Snowflake Design Features & Construction Details
- Magic Circle: Foundation for the snowflake design.
- Basic Stitches: Uses single crochet (SC), half double crochet (HDC), and slip stitches.
- V stitches: Adds texture and shaping between rows.
- Clusters: Beautiful snowflake points crafted in clusters for a unique finish.
- Working in the round: Seamless construction with no need for joining individual pieces.
Crochet Abbreviations & Stitch Guide
x / sc: Single Crochet
v / inc: Increase (2 single crochet in one stitch)
ch: Chain
sl st: Slip Stitch
hdc: Half Double Crochet
dc: Double Crochet
tr: Treble Crochet
Step-by-Step Snowflake Keychain Pattern Instructions
Round 1 – Center
- Make a magic ring (MR).
- Ch 1.
- Work 6 sc into the MR.
- Place a stitch marker in the first sc.
- Pull the tail to close the ring.
- Sl st into the first sc to join.
- (6 sts)
Round 2 – First Increase Round
- Ch 1.
- Work 2 sc (inc) in each stitch around.
- Sl st to the first sc to join.
- (12 sts)
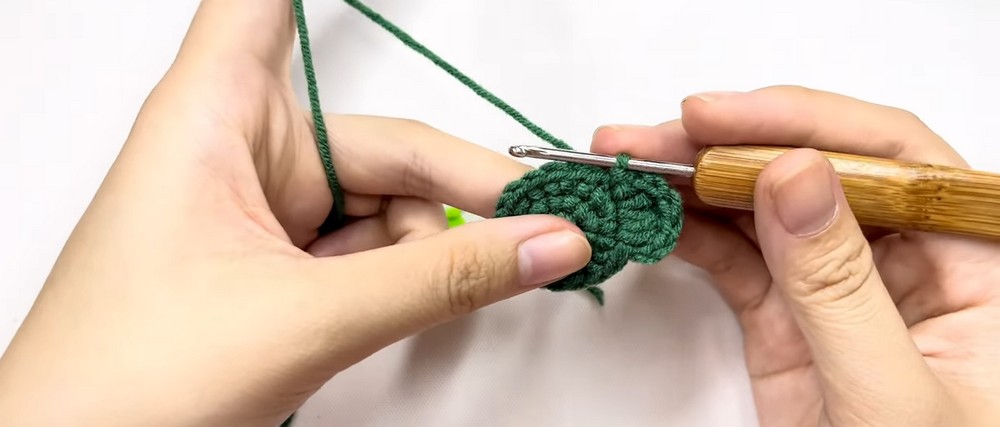
Round 3 – Second Increase Round
- Do not chain (following your notes, it goes straight into the round, but you can ch 1 if preferred for height).
- Work [1 sc, 1 inc] around, repeating the sequence to the end of the round.
- (18 sts)
- Join with a sl st to the first stitch.
You now have a small, flat circular base.
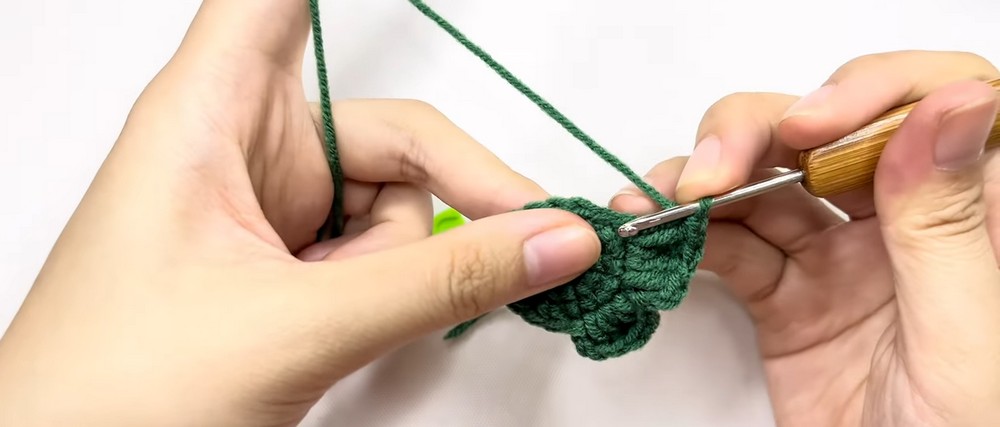
Round 4 – Forming the 6 Points/Petals
You’ll create a repeating cluster around the circle to make 6 points.
- Ch 2.
- In the first stitch: work 1 hdc.
- In the next stitch: work [1 dc, 1 tr, 1 dc] all into that same stitch.
- In the next stitch: work 1 hdc, then sl st into that same stitch.
This sequence forms one point.
- Repeat this 3-stitch cluster (steps 2–4) 5 more times around for a total of 6 points.
- At the end, you should have 6 evenly spaced petal/point shapes around the circle. Fasten off and weave in the base yarn tail.
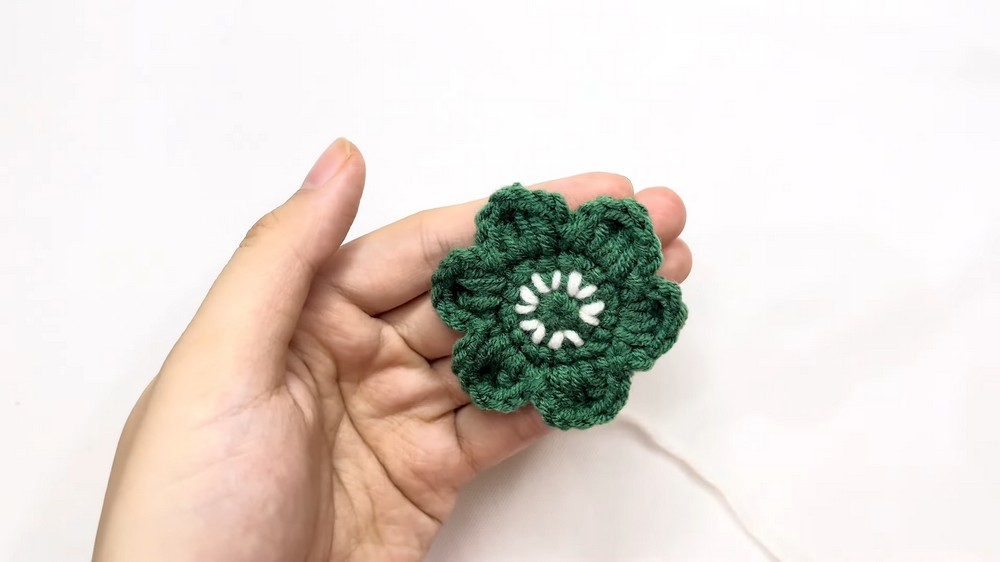
Snowflake Embroidery (Surface Stitching)
- Thread white yarn onto your tapestry needle.
- On the front side of the snowflake:
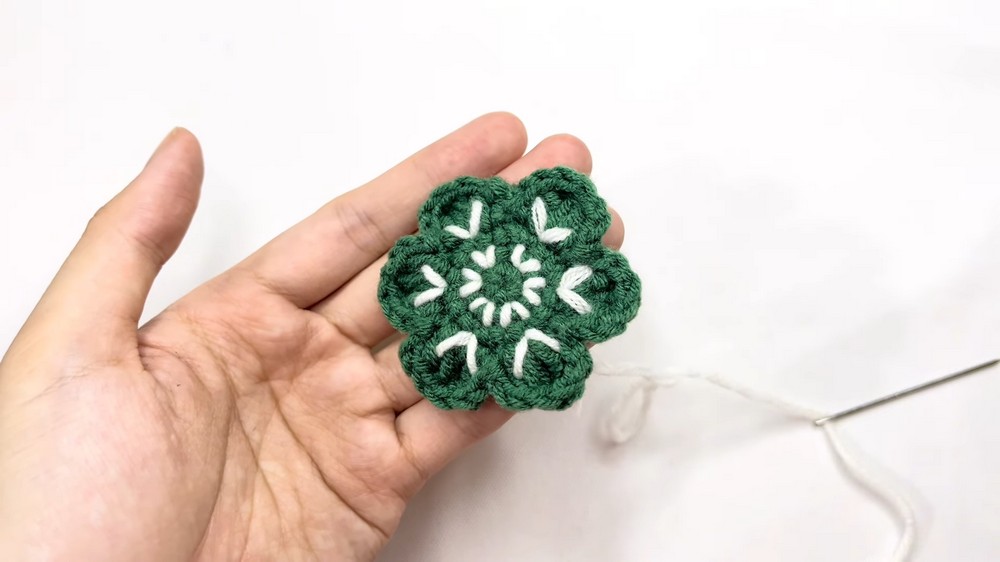
- Stitch straight lines radiating from the center toward the tips of each point.
- Add small diagonal or “branch” stitches off those lines to resemble a classic snowflake.
- Keep the embroidery fairly flat and even so it doesn’t distort the shape.
- Secure the ends on the back and weave in.
Snowflake Keychain Assembly
- Weave in all ends securely on the back of the piece.
- Attach keychain hardware through one of the points or at the top of the snowflake using the main yarn or a jump ring.
Customization Ideas & Helpful Notes
- Customization:
- Use metallic thread or glitter yarn for the white embroidery.
- Change the base color to match different holiday themes (blue/white, red/white, etc.).
- Common issues to watch for:
- If the circle ruffles, check that you have the correct stitch counts in Rounds 2 and 3.
- If the points are uneven, confirm you’re working the full cluster: hdc – (dc, tr, dc) – hdc + sl st.
Troubleshooting Common Snowflake Issues
Common Issues
- Uneven Stitches: Take time to consistently pull through loops—tighten stitches, especially on clusters.
- Magic Circle Slipping Open: Ensure the tail is firmly pulled and secured after forming the foundation row.
Creative Snowflake Design Modifications
- Color Variations: Experiment with pastel yarns or metallic threads for a glamorous look.
- Embellishments: Add beads or mini sequins to the snowflake points for extra sparkle.
- Adaptations: Turn the snowflake into an ornament by attaching a longer ribbon or string.