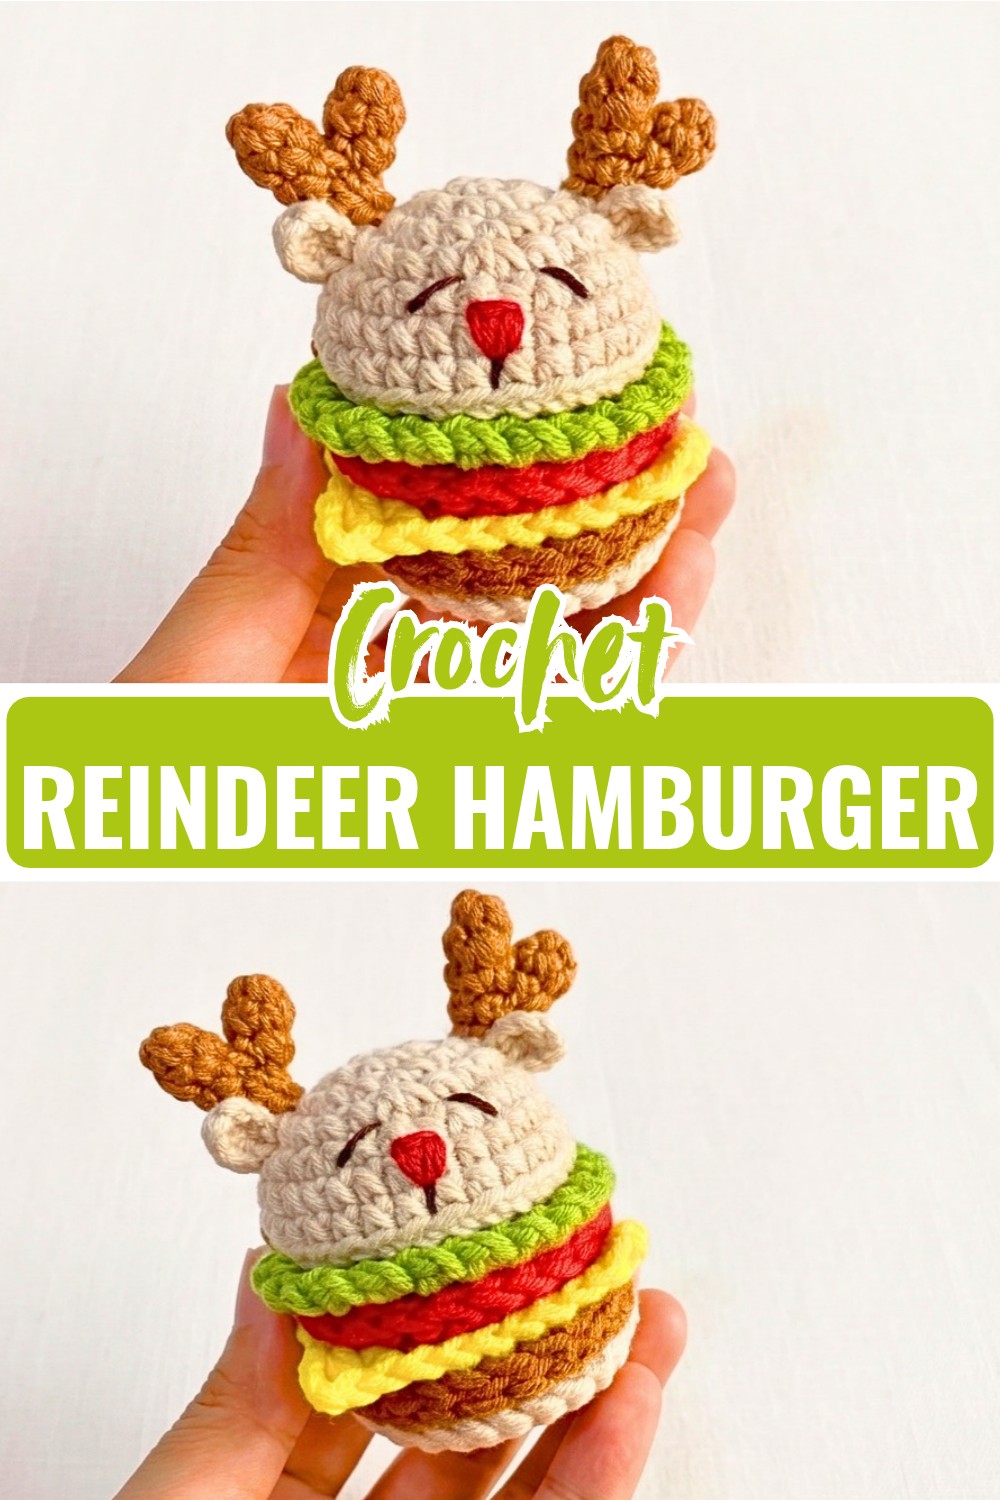
Give a small crochet burger a festive twist by turning the top bun into a cheerful reindeer face, complete with antlers, ears, colorful layers, and a keychain loop. The stacked construction is quick to assemble and easy to customize.
Crochet Reindeer Hamburger Keychain
A reindeer hamburger may sound unexpected, but that unusual combination is exactly what makes this little crochet accessory so much fun. The individual burger layers are simple shapes, while the reindeer head adds the character that turns an ordinary miniature food crochet design into something playful for a bag, keys, or holiday display.
The construction is easiest to manage when each layer is kept separate until the final assembly. The head is made first and stuffed before closing, while the cheese, lettuce, tomato, and patty remain flat. When you finally stack them, the center stitching pulls the layers together into one compact crochet piece, so keeping each circle centered will help the finished keychain look neat from every angle.
Credit Bua Crochet
Materials & Tools
- Yarn: 2 mm cotton yarn in:
- Beige/cream
- Light brown/tan
- Yellow
- Green
- Red
- Dark brown
- Crochet Hook: 2.5 mm
- Polyester fiberfill
- Yarn needle
- Scissors
- Keychain ring
- Dark brown thread for the embroidered eyes
- Red thread or yarn for the nose
Finished Size
Approximately 7 cm tall × 5 cm wide.
Abbreviations
US crochet terminology is used throughout.
- MR – Magic ring
- ch – Chain
- sc – Single crochet
- inc – Increase; 2 sc in the same stitch
- dec – Single crochet decrease
- dc – Double crochet
- sl st – Slip stitch
- BLO – Back loop only
- sk – Skip
- 2 dc – 2 double crochet in the same stitch

Crochet the Reindeer Head / Top Bun
The beige or cream head doubles as the top bun of the miniature hamburger. Work it in joined rounds as written.
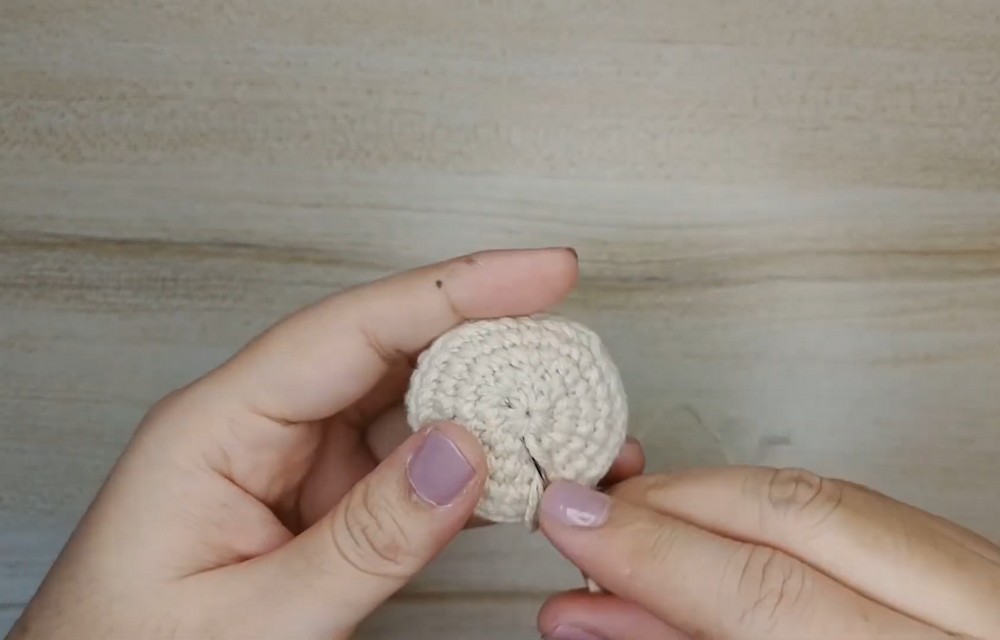
Round 1: Make a MR, work 6 sc into the ring, sl st to join. (6 sts)
Round 2: Ch 1, work 6 inc around, sl st to join. (12 sts)
Round 3: Ch 1, repeat [sc, inc] 6 times around, sl st to join. (18 sts)
Round 4: Ch 1, repeat [sc, inc, sc] 6 times around, sl st to join. (24 sts)
Round 5: Ch 1, repeat [3 sc, inc] 6 times around, sl st to join. (30 sts)
Rounds 6–7: Ch 1, work 30 sc around, sl st to join. (30 sts each round)
Round 8: Ch 1, work 30 sc in BLO around, sl st to join. (30 sts)
Why Round 8 Matters
The BLO round creates a subtle edge that helps distinguish the head from the lower burger layers. Make sure you are entering only the back loop of each stitch; working through both loops here will change the shape of the edge.
Round 9: Ch 1, repeat [3 sc, dec] 6 times around, sl st to join. (24 sts)
Round 10: Ch 1, repeat [sc, dec, sc] 6 times around, sl st to join. (18 sts)
Round 11: Ch 1, repeat [sc, dec] 6 times around, sl st to join. (12 sts)
Stuffing and Closing
Add fiberfill to the head before closing it.
Stuff it firmly enough to create a rounded face, but don’t pack it so tightly that the crochet fabric becomes stretched. Once the shape looks even, weave the yarn through the front loops of the remaining stitches and pull to close the bottom.
Secure the yarn and weave in the end.
Make the Antlers
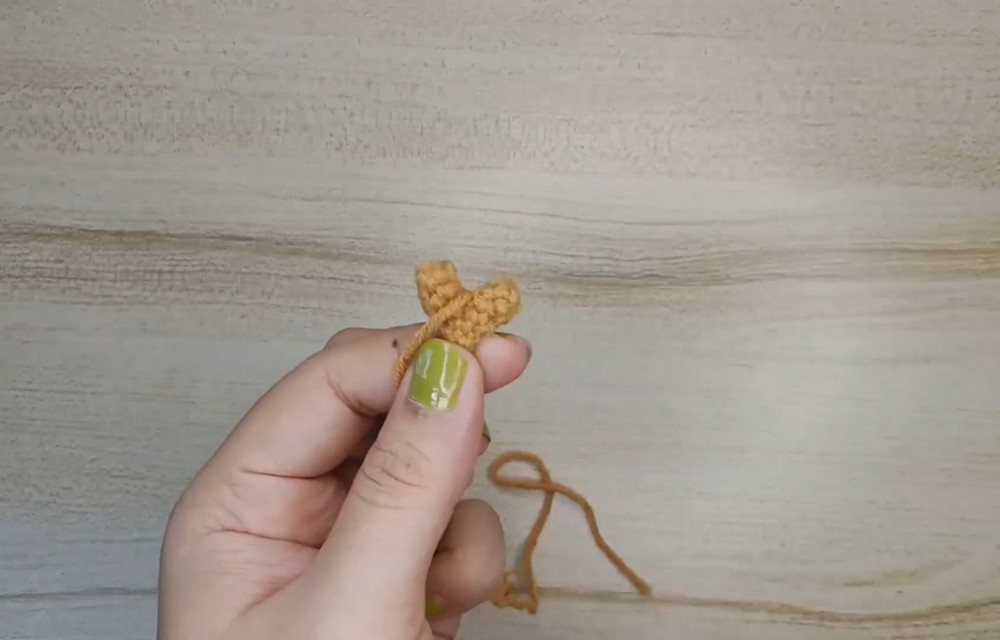
Make 2 antlers using light brown or tan yarn.
Each antler is built from two small crocheted sections that are joined together, so keep the first section available while making the second.
Part 1
Round 1: Make a MR, work 4 sc into the ring, sl st to join. (4 sts)
Round 2: Ch 1, work 4 sc around, sl st to join. (4 sts)
Fasten off Part 1.
Part 2
Repeat Rounds 1–2 for the second section, but do not cut the yarn after Round 2.
Join the Two Sections
Round 3: Ch 1, work 2 sc across Part 2, 4 sc across Part 1, then 2 sc across the remaining side of Part 2. Sl st to join. (8 sts)
Round 4: Ch 1, work 4 dec around, sl st to join. (4 sts)
Fasten off, leaving a long tail for sewing.
Antler Construction Tip
The joining round is what turns the two narrow sections into one branching antler. When arranging the pieces before joining, keep the sections aligned so the finished antler has a recognizable fork rather than a twisted shape.
Add the Reindeer Ears
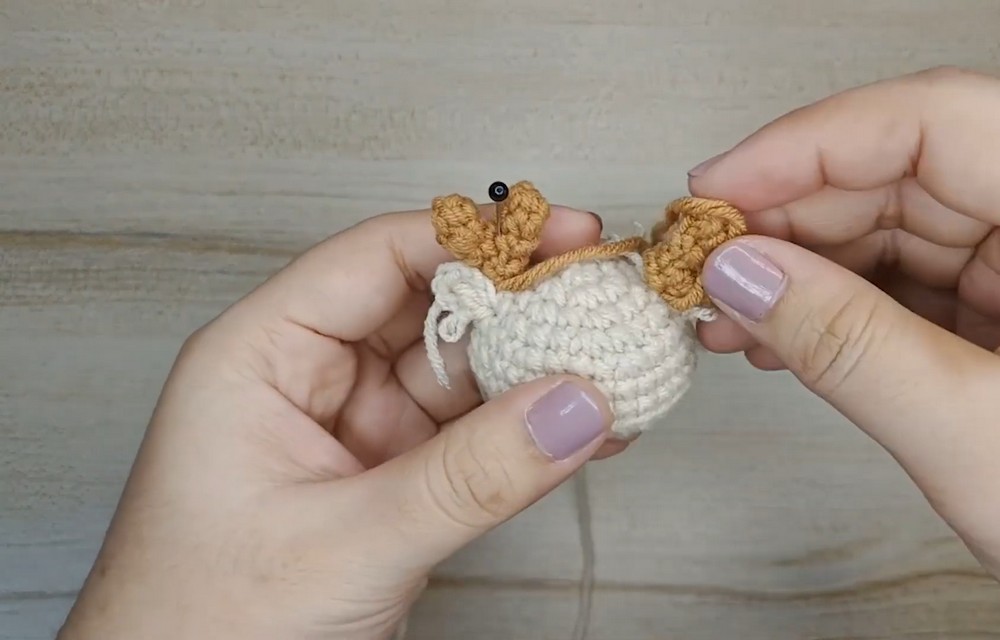
Make 2 ears directly onto the head using beige or cream yarn.
Attach the yarn around Round 6 or 7 of the head.
Ear: Ch 3, work 1 dc, ch 3, then sl st into the same stitch.
Fasten off and weave in the ends.
Placement Check
Before making the second ear, look at the head from the front. Keep both ears at similar heights and roughly equal distances from the center of the face. Because the head is small, uneven placement is easy to notice.
Crochet the Bottom Bun
Use beige or cream yarn.
Round 1: Make a MR, work 6 sc into the ring, sl st to join. (6 sts)
Round 2: Ch 1, work 6 inc around, sl st to join. (12 sts)
Round 3: Ch 1, repeat [sc, inc] 6 times around, sl st to join. (18 sts)
Round 4: Ch 1, repeat [sc, inc, sc] 6 times around, sl st to join. (24 sts)
Round 5: Ch 1, repeat [3 sc, inc] 6 times around, sl st to join. (30 sts)
Fasten off, leaving a long tail for assembly.
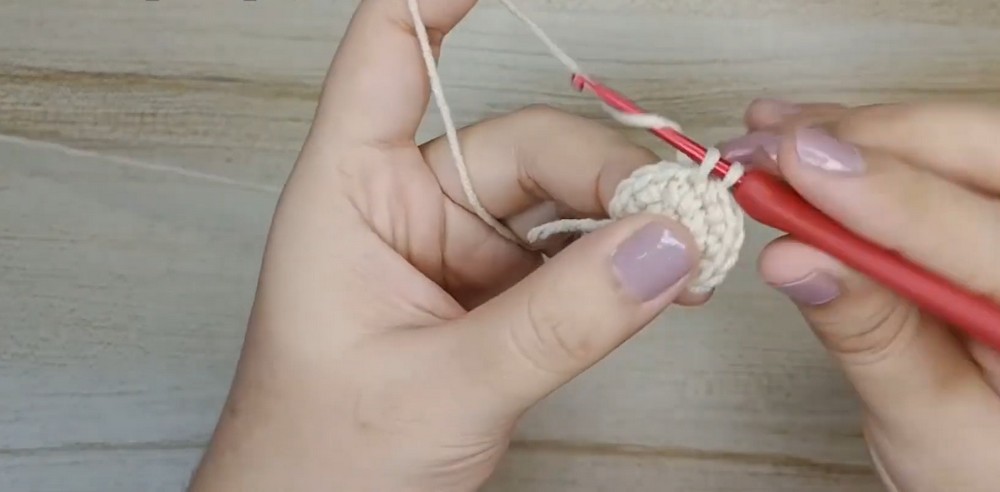
Crochet the Cheese Slice
Use yellow yarn.
Row 1: Make a slip knot, ch 12, skip 2 chains, then work 10 dc. (10 sts)
Rows 2–4: Ch 2, turn, work 10 dc across. (10 sts each row)
Fasten off.
The cheese remains a simple rectangle at this stage. Its slight overhang will help it read visually as a separate burger layer when everything is stacked.
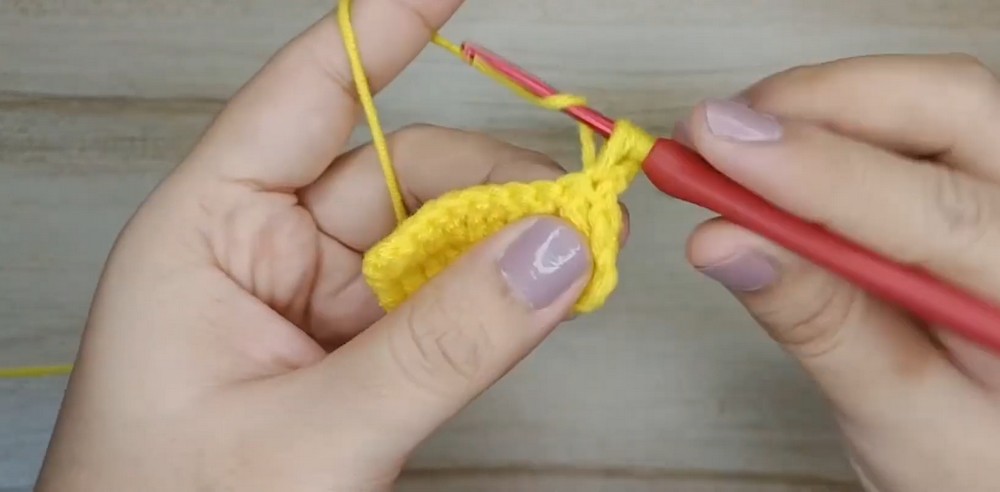
Crochet the Lettuce Layer
Use green yarn.
Round 1: Make a MR, ch 2, work 12 dc into the ring, sl st to join. (12 sts)
Round 2: Ch 3, work 2 dc in each stitch around, sl st to join. (24 sts)
Round 3 – Ruffled Edge: Repeat [ch 2, sl st in the next stitch] around. (24 repeats)
Fasten off.
Lettuce Tip
The short chain-and-slip-stitch sequence creates the uneven edge that makes this piece look more like lettuce rather than a plain crochet circle. Don’t pull the slip stitches excessively tight; allowing the chains to relax slightly helps the ruffle show.
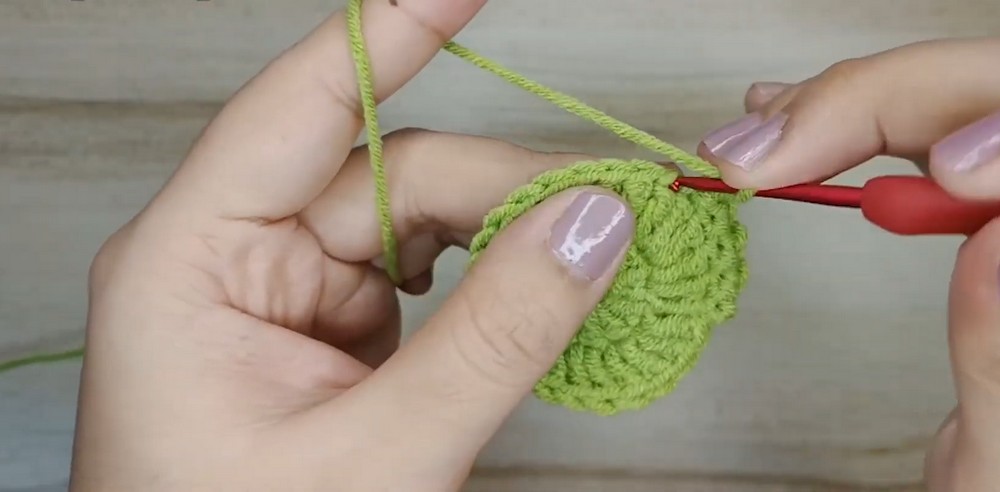
Crochet the Tomato Slice
Use red yarn.
Round 1: Make a MR, ch 2, work 12 dc into the ring, sl st to join. (12 sts)
Round 2: Ch 3, work 2 dc in each stitch around, sl st to join. (24 sts)
Round 3: Work 24 sl st around. (24 sts)
Fasten off.
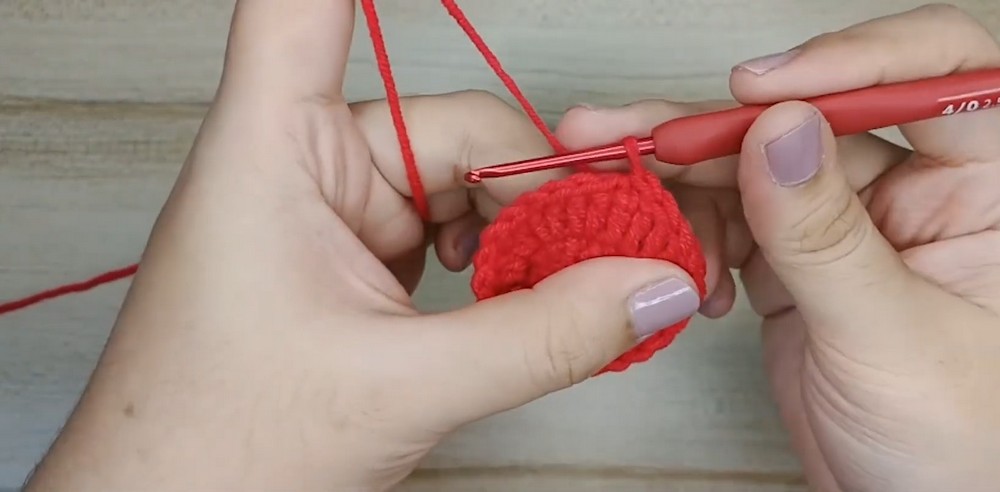
Crochet the Meat Patty
Use dark brown yarn.
Round 1: Make a MR, ch 2, work 12 dc into the ring, sl st to join. (12 sts)
Round 2: Ch 3, work 2 dc in each stitch around, sl st to join. (24 sts)
Round 3: Work 24 sl st around. (24 sts)
Fasten off.
Embroider the Reindeer Face
Before assembling the burger layers, finish the face on the beige head.
Using dark brown thread, embroider two small sleeping eyes onto the front of the head.
Add a small red nose below and centered between the eyes.
Face Placement
Take a moment to check the face before attaching the head to the other layers. The nose should sit on the vertical center of the head, while the sleeping eyes should be balanced on either side.
This is easier to correct now than after the entire burger has been secured together.
Attach the Antlers
Position the two antlers on the top of the reindeer head, with the ears sitting below them.
Use the long yarn tails and a tapestry needle to sew the antlers securely into place.
Keep both antlers facing outward so the branching sections remain visible from the front.
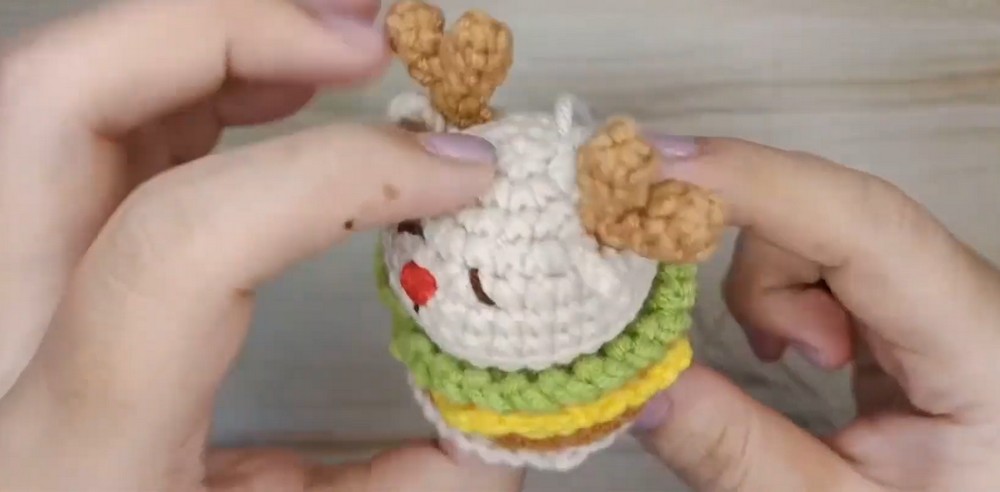
Stack the Hamburger Layers
The order matters because the finished piece is secured through the center.
Arrange the layers from bottom to top in this order:
- Bottom bun
- Meat patty
- Cheese slice
- Tomato slice
- Lettuce
- Reindeer head / top bun
Alignment Check
Before stitching, place all six layers on top of one another and check the center from above.
The circles should sit as centrally as possible. The cheese can extend beyond the round layers, but the patty, tomato, lettuce, and head should remain aligned around the same center point.
Secure the Burger Stack
Thread a long tapestry needle with beige yarn.
Pass the needle up and down through the center of all the stacked layers, drawing them together.
Pull firmly enough to hold the layers in place, but don’t pull so tightly that the cheese or lettuce disappears between the other pieces.
Secure the yarn at the bottom.
The central stitching is what transforms the individual crocheted pieces into one compact reindeer hamburger.

Attach the Keychain Ring
Attach the keychain ring to the top center of the reindeer head.
Make sure the attachment passes through a secure section of crochet rather than only catching a loose strand.
Check the connection by gently pulling on the ring before using the finished keychain.

Final Details & Shaping
Give the burger layers a gentle adjustment so each one remains visible.
- Straighten the cheese.
- Spread the lettuce ruffle around the patty.
- Center the tomato.
- Check that the reindeer face is facing forward.
- Adjust the antlers so they sit evenly.
- Make sure the keychain ring is centered.
Because the design combines food and animal details, keeping the layers clearly separated is what makes the finished shape immediately recognizable.