Shape five pointed crochet petals into a plump star ornament with textured edges, soft stuffing, and a simple hanging loop for festive seasonal decor.
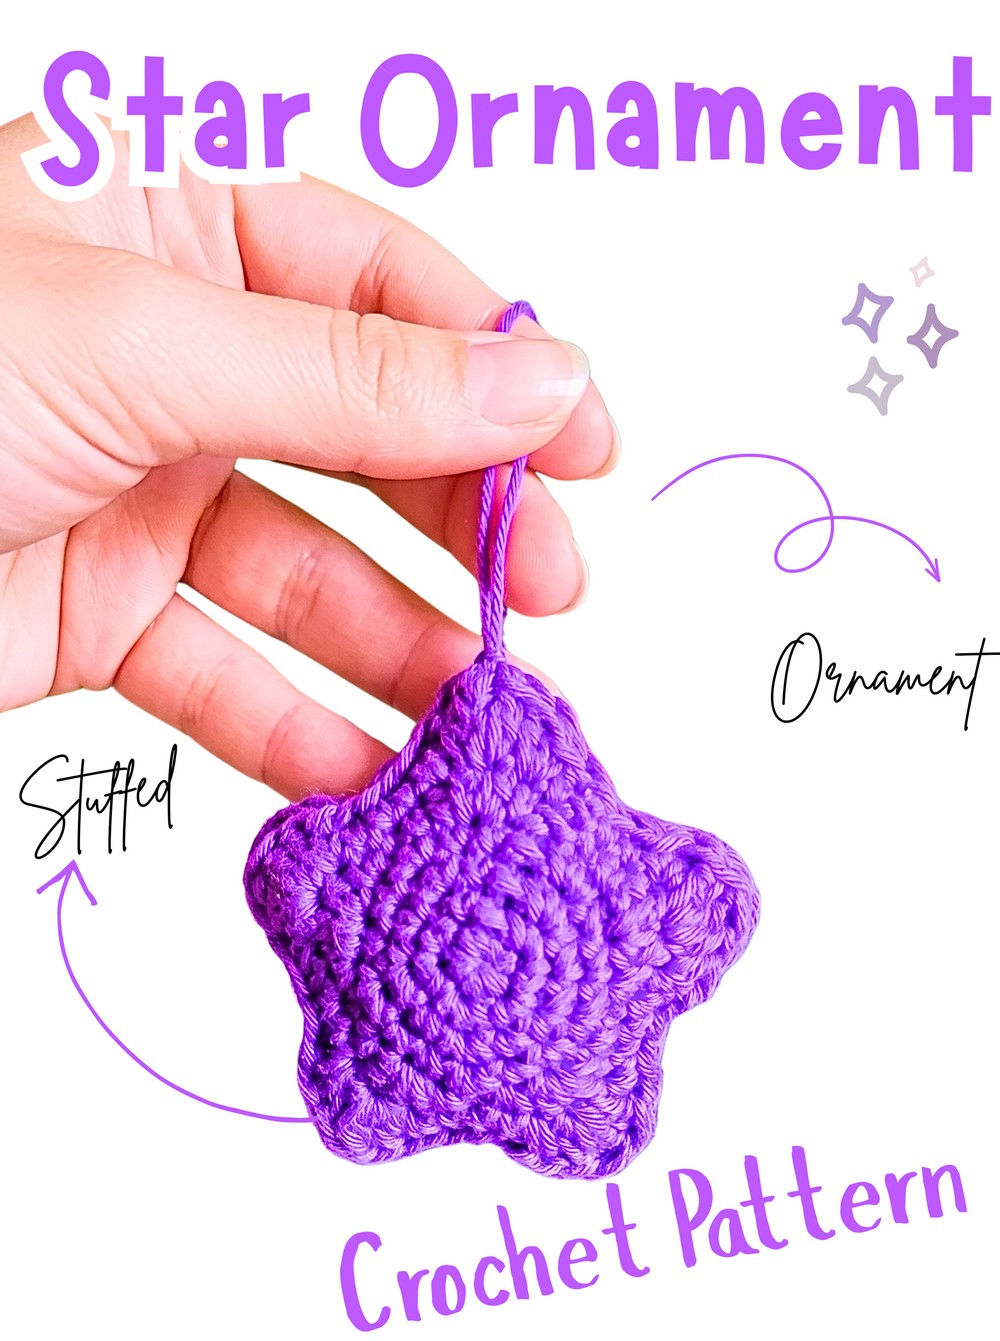
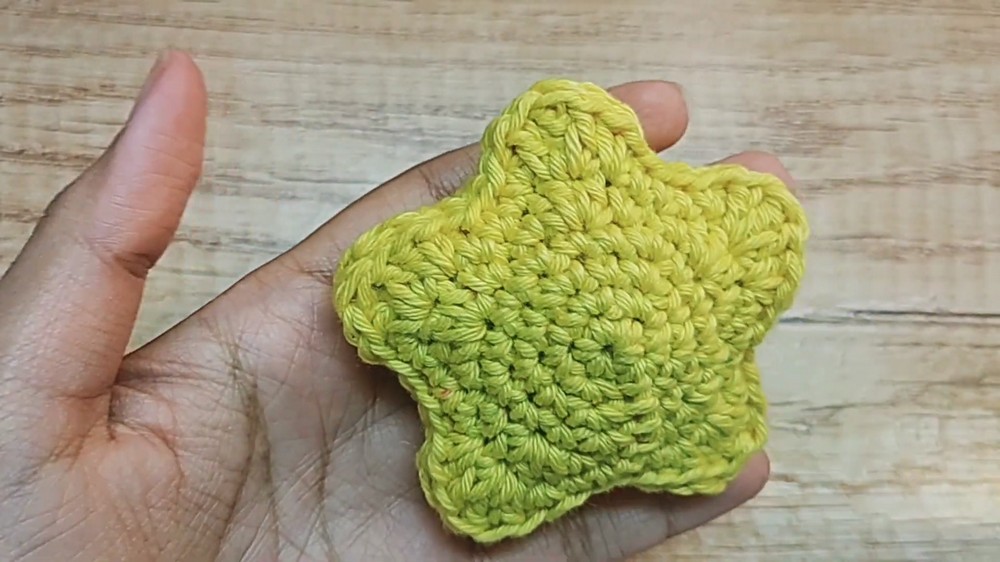
Five defined points give this stuffed crochet star its bold shape, while layered stitch heights create textured edges that stand out once both panels are joined. Its padded finish makes it useful for Christmas trees, garlands, bags, and keychains.
Star crochet shaping begins with five increases, then gradually changes stitch heights to form inner triangles and expanded points. Keep each repeated stitch sequence consistent around every round, and line up all five points carefully before sewing panels together so finished crochet star stays balanced.
Credit YarnIt Crochet
Materials & Tools Needed
- Yarn: Color of choice
- Crochet Hook: Appropriate size for chosen yarn
- Fiber Filling: Polyfill
- Tapestry Needle: For sewing panels together
- Scissors
Finished Size & Customization Ideas
Finished star size depends on yarn weight and hook size. Using different yarn and hook combinations allows you to create smaller or larger stars for different decorating needs.
For Christmas, try classic yellow or white. For Halloween, black and orange can create seasonal variations.
For extra character, embroider face details onto front panel before joining both pieces. This works especially well when creating cute hanging decorations or playful accessories.
Pattern Abbreviations
- MR: Magic Ring
- ch: Chain
- sl st: Slip Stitch
- sc: Single Crochet
- inc: Increase – 2 sc in same stitch
- hdc: Half Double Crochet
- dc: Double Crochet
- tr: Triple / Treble Crochet
- st(s): Stitch(es)
Round Note: Pattern is worked in joined rounds. At end of each round, join with sl st to first stitch of round and ch 1. Tutorial uses one solid color with no color changes.
First Star Panel
Round 1
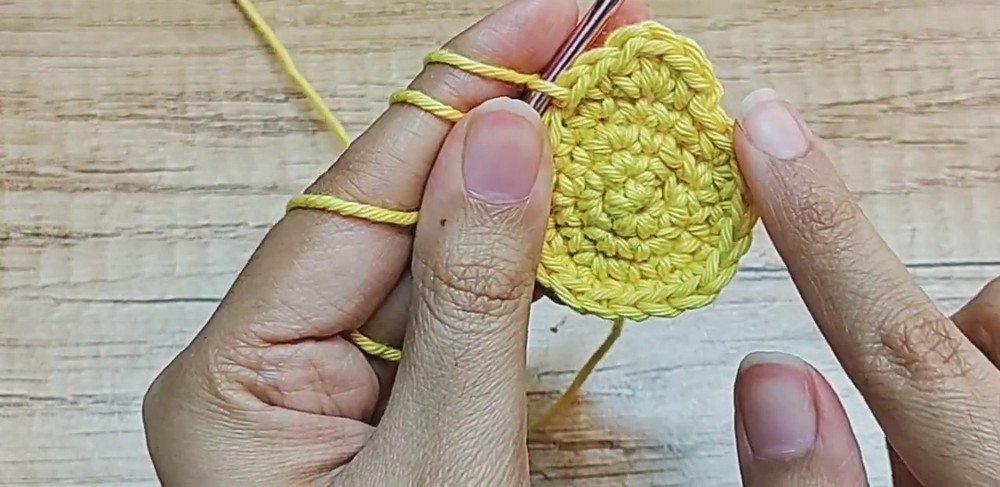
Start with MR, make 5 sc inside ring, pull tail to close ring tightly, join with sl st in first sc, ch 1. (5 sts)
Round 2
Work inc (2 sc) in each of 5 sts around, join with sl st in first st, ch 1. (10 sts)
Round 3
Repeat [1 sc in first st, 1 inc in next st] 5 times around, join with sl st in first st, ch 1. (15 sts)
Round 4
Repeat [1 sc in first st, 1 sc in next st, 1 inc in following st] 5 times around, join with sl st in first st, ch 1. (20 sts)
Round 5 – Creating Inner Points
Repeat [1 sc in first st, work (1 hdc, 1 dc, 1 hdc) in next st, 1 sc in next st, 1 sl st in next st] 5 times around; join with sl st in first st, ch 1. (30 sts)
This round begins forming five small triangular sections. Work all three stitches – hdc, dc, hdc – into same stitch so each section develops its raised center.
Round 6 – Expanding Points
Repeat [1 sc in first st, work (1 sc, 1 hdc) in next st, work (1 dc, 1 tr, 1 dc) in next st, work (1 hdc, 1 sc) in next st, 1 sc in next st, 1 sc in next st] 5 times around; after final point, join with sl st in first st. (50 sts)
Tall tr stitches create highest part of each star point, while surrounding hdc and dc stitches step gradually back down. Keep each five-stitch point sequence consistent so all points develop similar proportions.
Finish Star Panels
First Panel
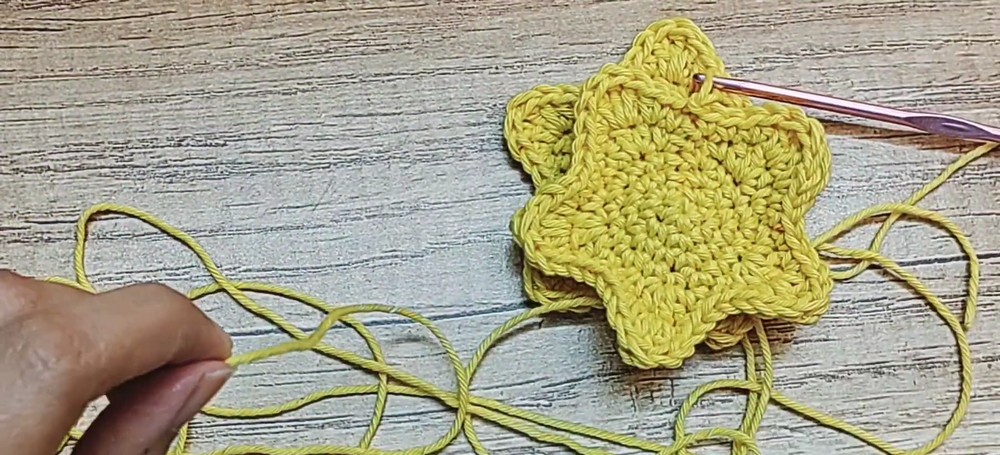
After completing Round 6, cut yarn, tie knot at back, and weave in tail ends.
Second Panel
Crochet second star using exactly same six-round pattern.
After completing Round 6 and joining with sl st, do not cut yarn short. Leave very long yarn tail for sewing both panels together, then fasten off.
Before assembly, place both stars on top of each other and check all five points. Rotate one panel if needed until every point lines up with corresponding point underneath.
Join and Stuff Star
Step 1: Place both completed star panels flush against each other, matching all points and outer edges.
Step 2: Thread long yarn tail from second panel onto tapestry needle.
Step 3: Begin sewing through corresponding stitches of both panels along star perimeter.
Step 4: Continue sewing around outer edge. Stop just before final side is closed.
Step 5: Add fiber filling through remaining opening. Push stuffing gently into each point so star develops full, defined shape.
Step 6: Finish sewing remaining gap closed. Hide remaining yarn tail inside stuffed star and trim excess.
Keep stuffing distributed between center and five points. Filling only center can leave points flat, while forcing too much fiber into narrow tips can distort their shape.
Add Hanging Loop
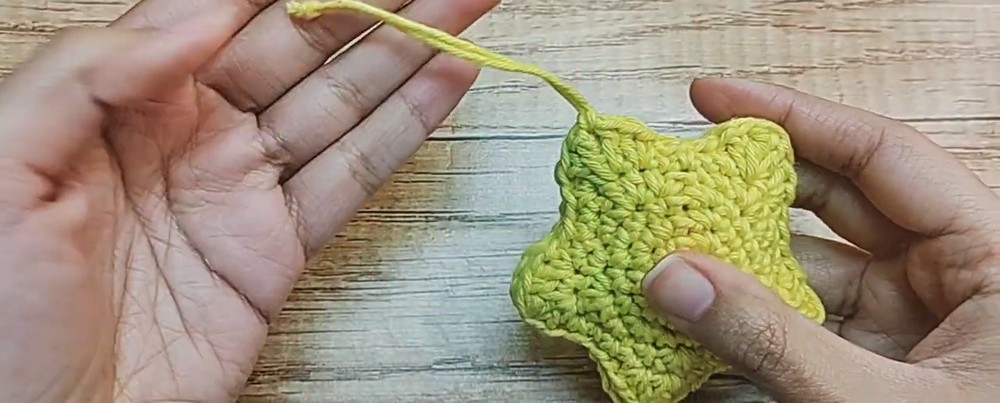
Attach separate piece of thread or yarn to top-most point.
Tie securely to create hanging loop, then trim and hide excess ends.
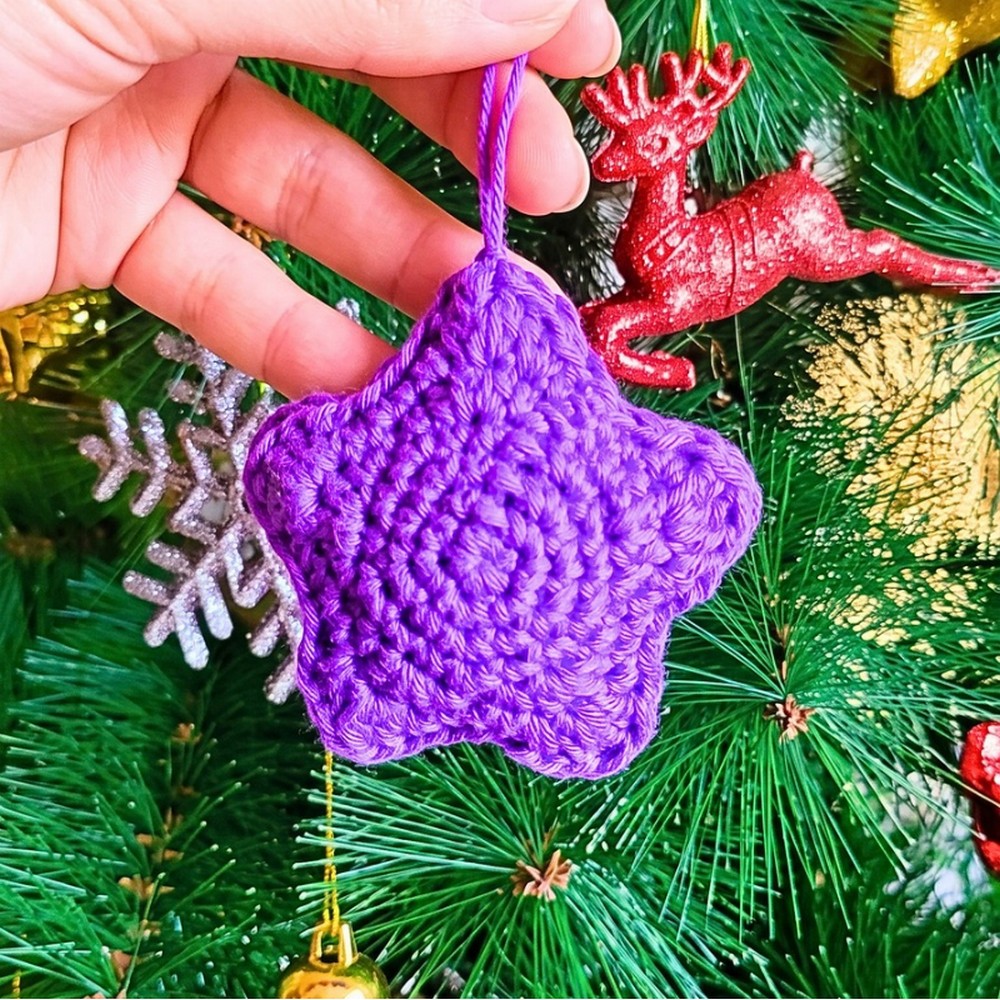
Finished star can now hang from Christmas tree, seasonal garland, or another decorative display.
Seasonal Variations
Change yarn color to match different holidays without altering six-round pattern. Yellow, white, silver, or gold can suit Christmas displays, while black, orange, or other contrasting shades can create Halloween versions.
For bag or keychain accessories, use smaller yarn and suitable hook size to create compact stars, then attach finished piece securely using its top loop.