Learn how to crochet Christmas bauble ornaments. Add warmth to holiday décor, customize colors, or gift these cheerful handmade ornaments.
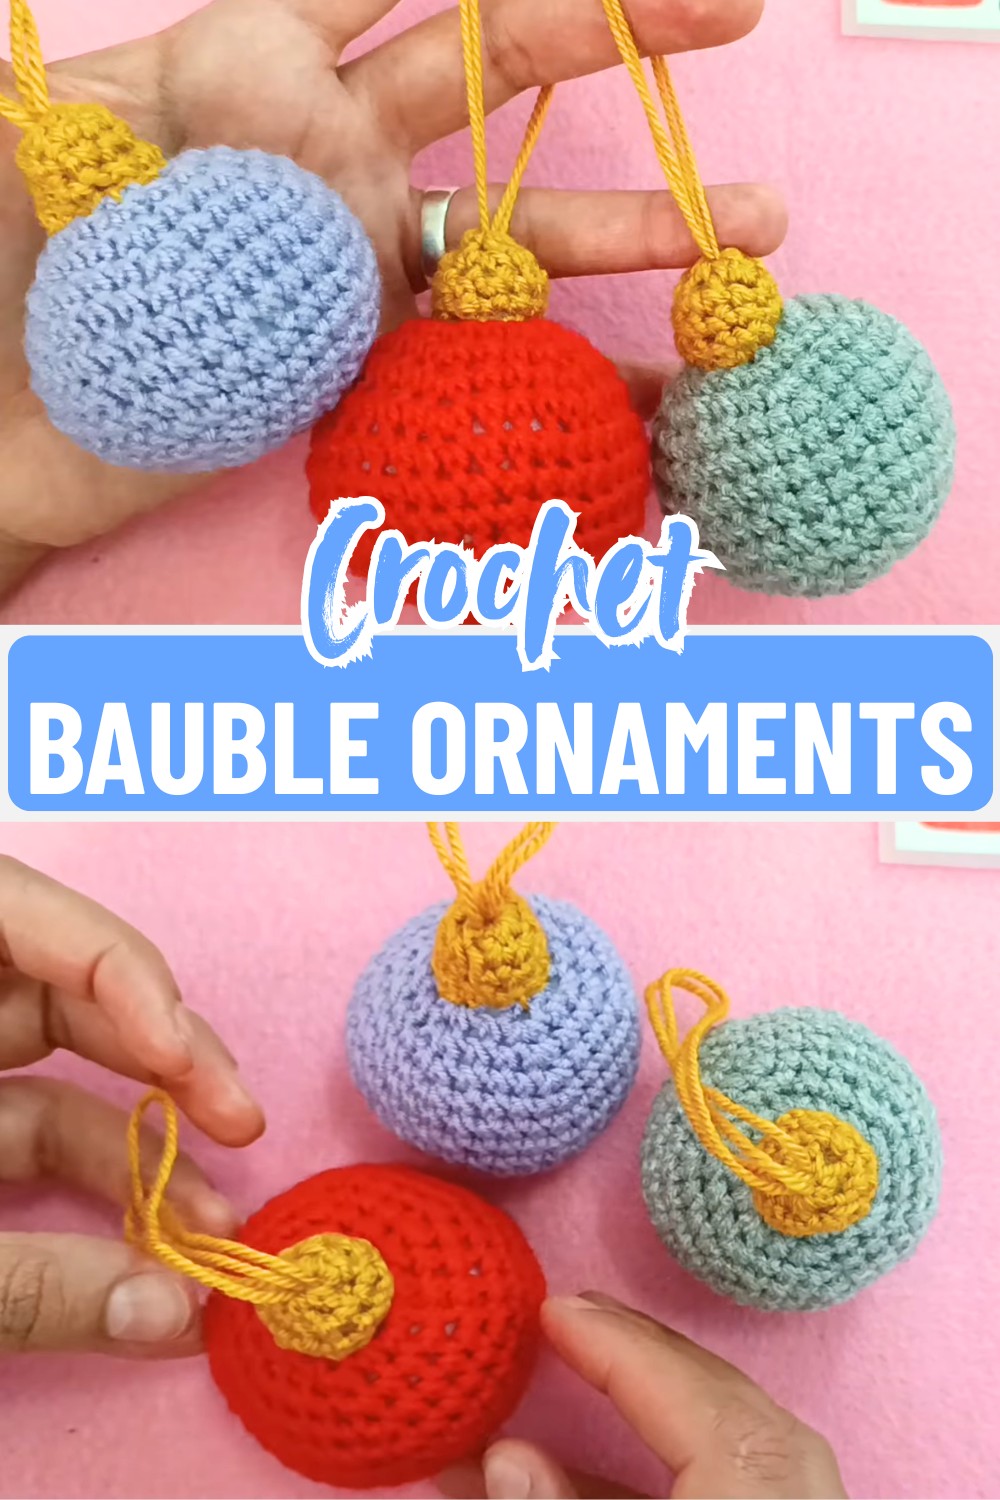
The most memorable Christmas ornaments often begin with just a little yarn and a few simple stitches. Christmas crochet bauble ornaments bring warmth and a personal touch to any holiday display. This crochet pattern creates lightweight, textured baubles using only a small amount of yarn. They look beautiful on Christmas trees, garlands, and festive tables. With every round, the classic bauble shape becomes clearer, making it hard to stop before starting the next one.
It doesn’t take long before one crochet ornament turns into a colorful collection you’ll enjoy displaying every year. These crochet baubles also make thoughtful gifts, charming gift toppers, and lasting keepsakes for family and friends. The simple pattern is easy to repeat, so you can create ornaments in different colors for any holiday theme or home décor. Soon, your collection will be ready to brighten every festive corner with timeless crochet Christmas charm.
Credit Lemon Crochet
Key Features
- Classic Round Shape
Worked entirely in the round for a perfectly symmetrical holiday sphere. - Continuous Stitching
Uses seamless rounds of single crochet (sc) to avoid visible seams and keep texture uniform. - Two-Tone Ornament Design
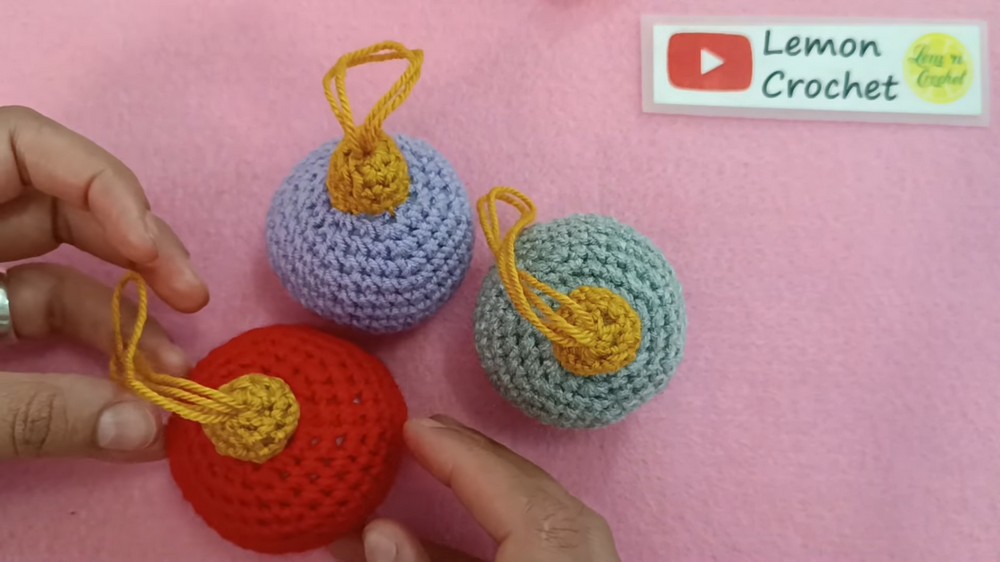
Main color for the bauble body plus a contrasting color (e.g., metallic/gold) for the cap to mimic real glass ornaments. - Integrated Hanging Loop
Built-in chain loop at the top for easy hanging on branches, garlands, or wreaths.
Materials & Tools
- Yarn:
- 100% acrylic, approx. 100g / 350m skein
- Main festive color (red, sage green, soft lavender, etc.)
- Contrasting color for the cap (metallic, gold, silver, etc.)
- Hook: 2.5 mm crochet hook (or smaller if you need tighter stitches)
- Notions:
- Tapestry (yarn) needle
- Stitch marker or scrap yarn
- Scissors
- Polyester fiberfill stuffing
Gauge
Exact gauge is not critical. What matters:
- Stitches should be tight and dense.
- Fiberfill should not show through the fabric.
If you see stuffing peeking through, try tightening your tension or going down to a 2.0 mm hook.
Abbreviations (US Terms)
- ch – chain
- sc – single crochet
- st(s) – stitch(es)
- inc – increase (2 sc in same stitch)
- dec – decrease (single crochet 2 stitches together)
- sl st – slip stitch
- MR – magic ring / magic circle

Pattern Overview / Making Process
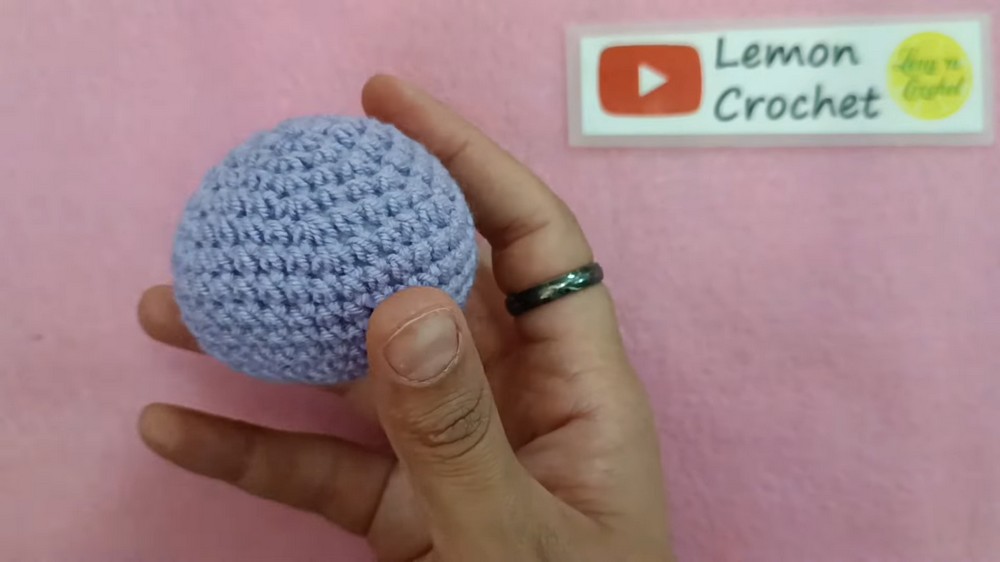
The project begins by crocheting the bauble body in continuous rounds using the main color. The stitches gradually increase to form the round shape, followed by several even rounds before decreasing to close the ornament. Fiberfill is added near the end to create a smooth, full shape.
Once the bauble body is complete, the ornament cap is worked separately with a contrasting color. This small piece is crocheted in the round and finished with a simple hanging loop, giving the ornament its classic Christmas bauble appearance.
The final step is assembling both pieces by sewing the cap securely onto the top of the bauble. After weaving in the yarn ends, the ornament is ready to hang on a Christmas tree, wreath, or festive display, and the same pattern can easily be repeated in different colors.
Part 1: Bauble Body (Main Color)
Work in a continuous spiral (do not join at the end of rounds). Place a stitch marker in the first stitch of each round to keep track.
- Round 1
- Start with an MR.
- Ch 1, work 6 sc into the ring. Pull tight.
- (6 sts)
- Round 2
- 2 sc in each st around (6 inc).
- (12 sts)
- Round 3
- 1 sc, 1 inc, repeat around 6 times.
- (18 sts)
- Round 4
- 2 sc, 1 inc, repeat around 6 times.
- (24 sts)
- Round 5
- 3 sc, 1 inc, repeat around 6 times.
- (30 sts)

- Round 6
- 4 sc, 1 inc, repeat around 6 times.
- (36 sts)
- Rounds 7–10
- Sc in each st around for 4 rounds.
- (36 sts per round)
- Round 11
- 4 sc, 1 dec, repeat around 6 times.
- (30 sts)
- Round 12
- 3 sc, 1 dec, repeat around 6 times.
- (24 sts)
- Round 13
- 2 sc, 1 dec, repeat around 6 times.
- (18 sts)
- Round 14
- 1 sc, 1 dec, repeat around 6 times.
- (12 sts)
- Stuffing
- Pause here and firmly stuff the bauble with fiberfill.
- Shape it into a round, plump ball.
- Round 15
- Work 6 dec around.
- (6 sts)
- Sl st into the next st, ch 1, leave a tail for weaving, cut yarn.
- Use the tail and tapestry needle to close the remaining opening securely.
Part 2: Ornament Cap (Contrasting Color)
Again, worked in the round.
- Round 1
- MR, ch 1, 6 sc into ring, pull tight.
- (6 sts)
- Round 2
- 2 sc in each st around.
- (12 sts)
- Rounds 3–4
- Sc in each st around.
- (12 sts per round)

Hanging Loop
- Attach contrasting yarn at the center top of the cap.
- Ch 15–20 (depending on desired loop length).
- Sl st back into the same stitch or adjacent stitch to secure the loop.
- Fasten off, leaving a long tail for sewing.
Part 3: Assembly
- Position the cap neatly over the closed top of the bauble body.
- Using the long tail and a tapestry needle, sew the cap to the body:
- Work through both loops of the cap and a corresponding stitch on the bauble.
- Keep stitches evenly spaced so the cap sits flat and centered.
- Tie off securely.
- Hide yarn tails inside the bauble using your tapestry needle.
Troubleshooting & Tips
- Stuffing Shows Through
- Tension is likely too loose.
- Use a smaller hook (e.g., 2.0 mm) or tighten your stitches.
- Losing Track of Rounds
- Place a stitch marker (or scrap yarn) in the first stitch of every round.
- Move it up as you start each new round.
- Color & Decoration Ideas
- Add stripes by changing colors every 2 rounds between Rounds 7–10.
- Sew on small seed beads after assembly for “twinkling lights.”
- Use metallic thread alongside your yarn for a subtle shimmer.