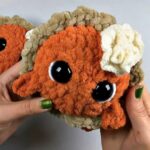
Want to crochet a candy-inspired plush with a fun 3D face? This Sour Patch Kid pattern combines a simple stuffed body with ridged hair, hollow eyes, and a stitched V-shaped smile.
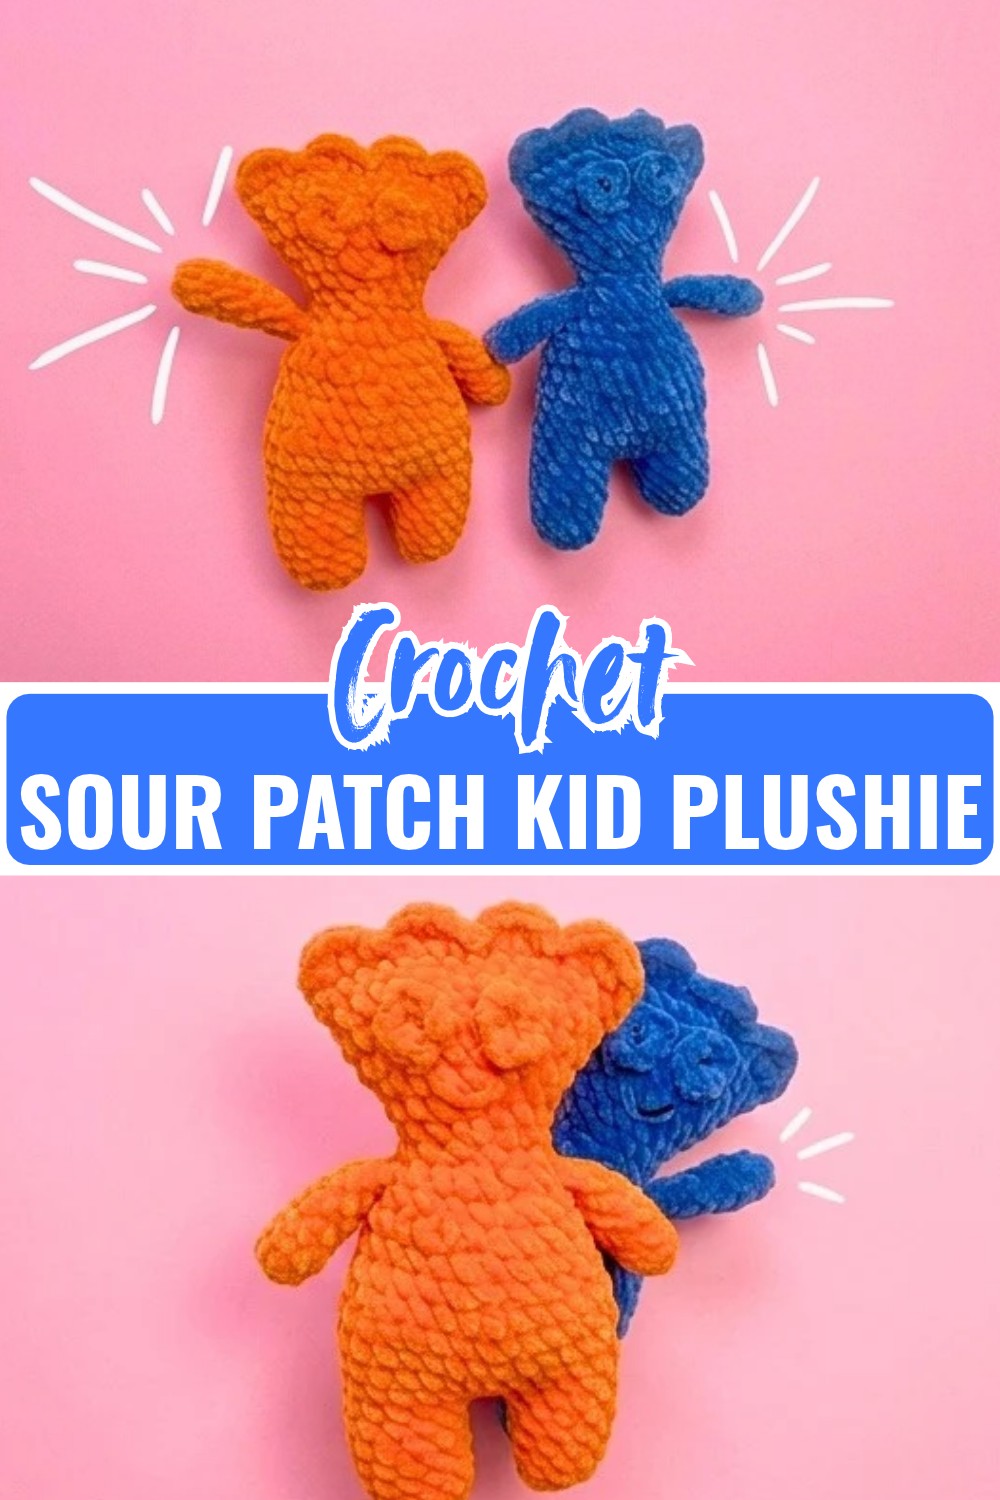
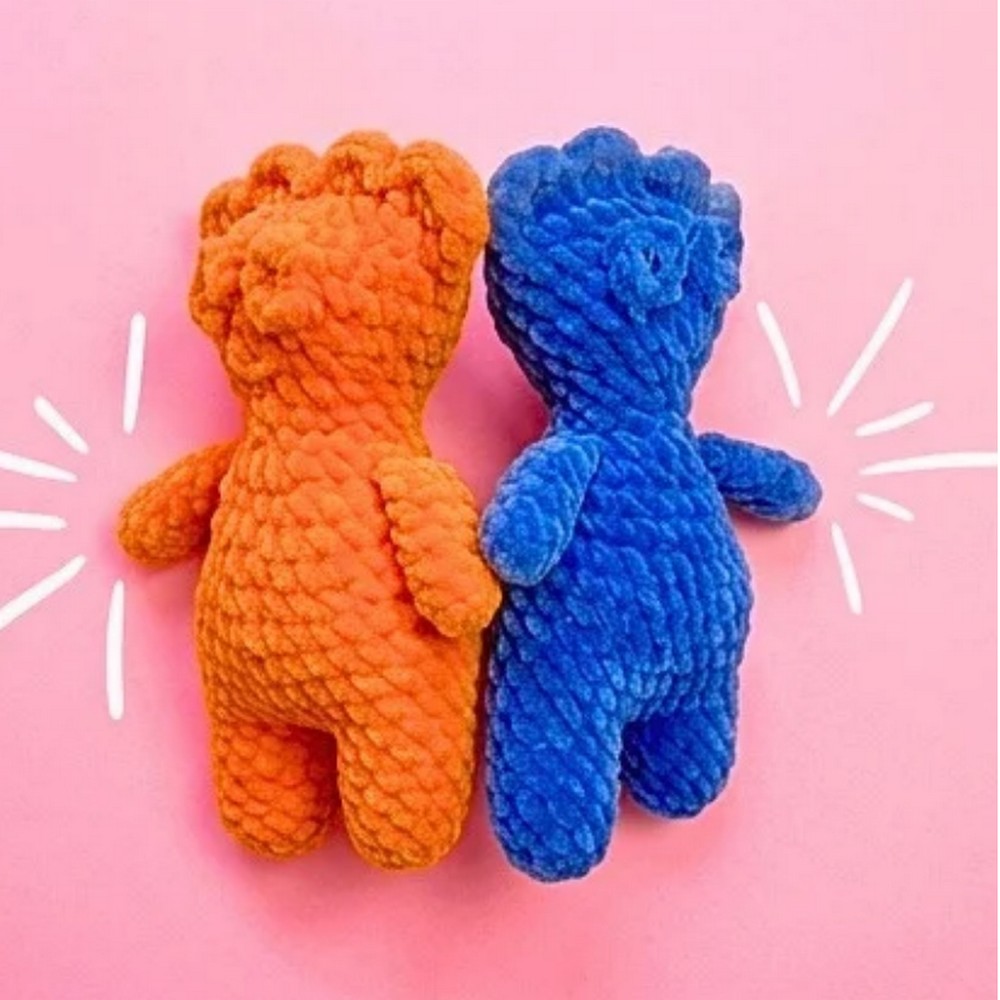
The familiar candy character comes to life in plush form with a rounded body, chunky arms, raised head ridges, and unusual hollow crochet eyes. Made with soft chenille yarn, this Sour Patch Kid has a playful silhouette that looks especially fun when crocheted in bright candy-inspired colors.
This tutorial takes you from the two separate legs through the joined body, neck shaping, expanding head, and distinctive closed top. You’ll also learn how to keep the eye rings dimensional while sewing them on, where to place the arms, and how to create the simple V-shaped mouth so the finished crochet face keeps its recognizable expression.
Credit Coffee Crochet Repeat
Materials & Tools Needed
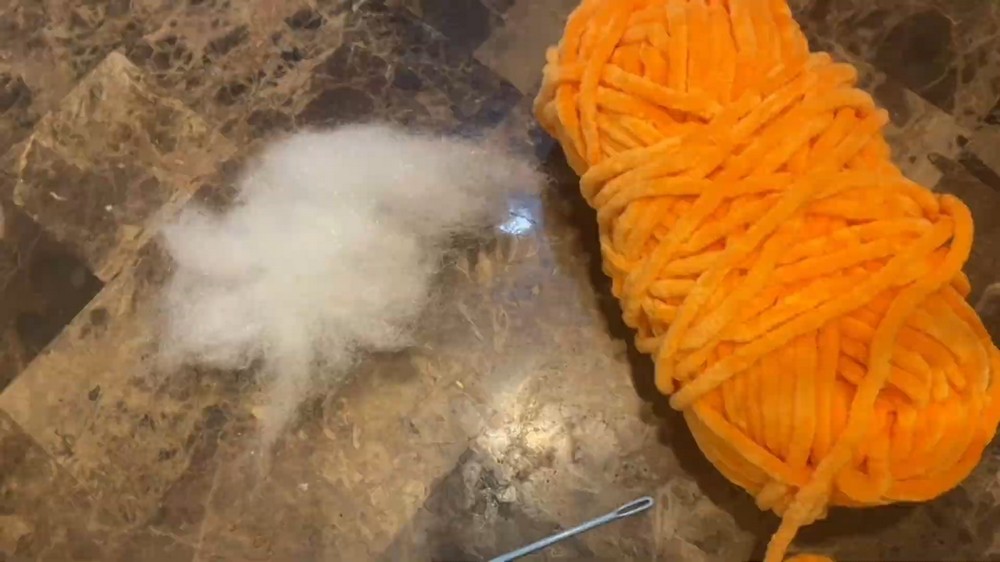
- Yarn: Premier Parfait Chunky yarn; the tutorial uses Tangerine, but any bright color can be used.
- Crochet Hook: 5.0 mm
- Stuffing: Polyfill
- Notions: Sewing or tapestry needle and scissors
- Optional: Fabric glue or hot glue if you prefer to attach the mouth instead of embroidering it
Finished Size & Customization
The exact finished dimensions will vary with your yarn, hook, and tension. With chunky yarn and a 5.0 mm hook, the result is a soft, huggable plushie.
For a candy-inspired collection, make several in bright colors such as red, green, yellow, and blue.
You can also change the feel of the arms. Lightly stuff them for a fuller shape, or leave them empty so they rest flatter against the body.
If embroidering the mouth feels awkward, a short strand of yarn can be shaped into the V and attached with fabric glue instead.
Pattern Abbreviations
- CH: Chain
- SC: Single crochet
- HDC: Half double crochet
- DC: Double crochet
- INC: Increase – 2 SC in the same stitch
- DEC: Decrease – invisible decrease recommended
- SL ST: Slip stitch
- FO: Fasten off
- [ ] / ( ): Repeat the sequence inside the brackets or parentheses as directed
Crochet the Two Legs
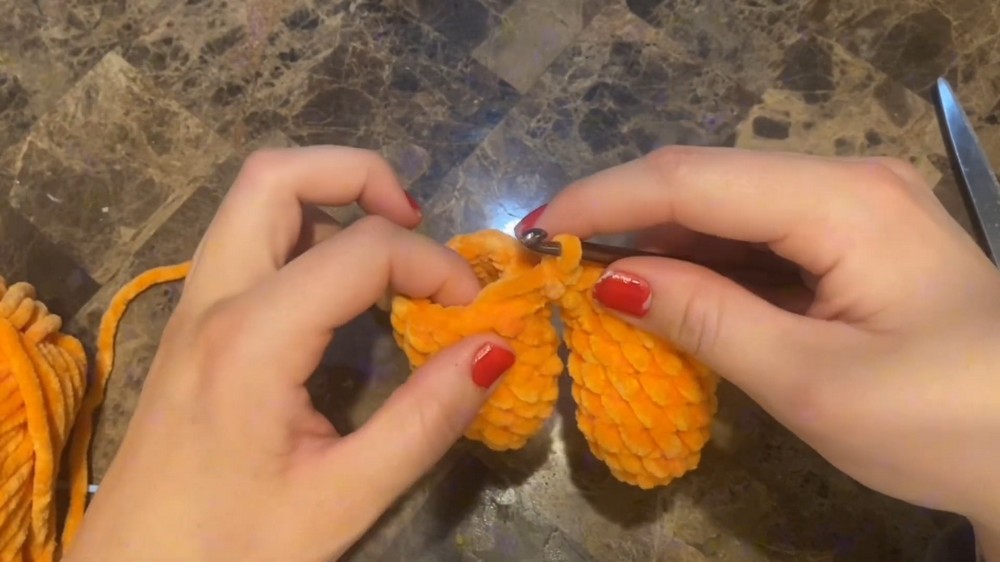
The plushie starts with two small cylindrical legs. They are made separately first, then joined together to form the bottom of the body.
Make both legs using the same instructions.
Round 1: CH 2, then place 6 SC into the first chain. Alternatively, make a magic circle and place 6 SC inside. (6 sts)
Round 2: INC in each stitch around. (12 sts)
Rounds 3–7: SC in each stitch around for 5 rounds. (12 sts)
For the first leg, cut the yarn and fasten off.
For the second leg, work the same rounds but do not cut the yarn. Keep the working yarn attached because it will be used to connect the two legs.
Leg Check: Before joining the pieces, place the legs side by side and make sure they are oriented the same way. The working yarn should remain attached to the second leg.
Join the Legs and Build the Body
This joining round is where the two separate legs become one continuous body. Take a moment to count the stitches carefully because the next decreases depend on having the correct total.
Round 8: From the second leg, CH 2. Attach the legs by placing a SL ST into the stitch where you finished the first leg. SC in the remaining 11 stitches around the first leg. SC across the 2 chains. SC in the 12 stitches around the second leg. Finally, SC across the opposite side of the 2 chains. (30 sts)
Count Check: You want exactly 30 stitches at the end of this round. If you have 28 or 29, add an increase where needed to reach 30. If you have 31, work a decrease to bring the count back to 30.
This count matters because the following shaping rounds are designed around groups that divide evenly into the body.
Rounds 9–12: SC in each stitch around for 4 rounds. (30 sts)
Narrow the Body Into the Neck
The next decrease changes the body from a wider lower section into a narrower upper section.
Round 13: (SC in next 3 sts, DEC) repeat around. (24 sts)
Rounds 14–16: SC in each stitch around for 3 rounds. (24 sts)
Start Stuffing
Begin adding stuffing during this section and continue gradually as you crochet upward.
Add enough Polyfill to give the body a firm, rounded shape, but do not pack it so tightly that the crochet fabric stretches and exposes the filling.
Round 17: (SC in next 2 sts, DEC) repeat around. (18 sts)
Rounds 18–19: SC in each stitch around for 2 rounds. (18 sts)
Round 20: (1 SC, DEC) repeat around to create the narrowest part of the neck. (12 sts)
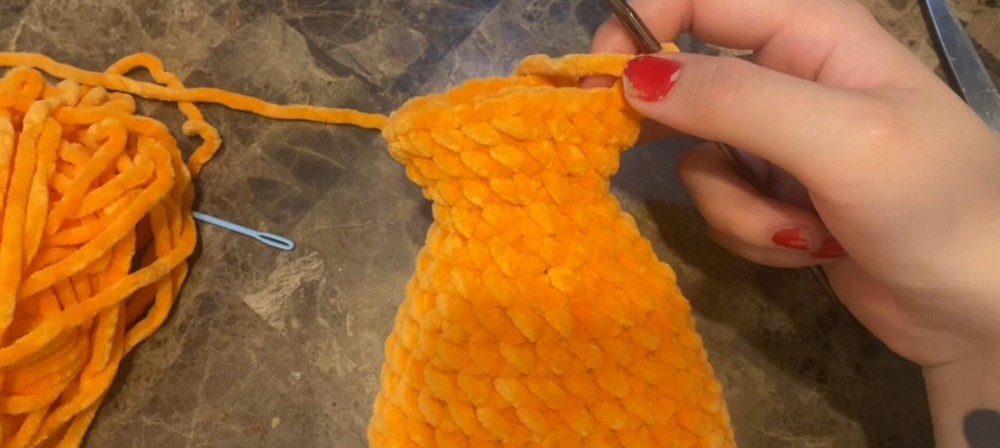
Shape Check: At this point, the body should clearly narrow at the neck. If the lower body still feels loose or flat, adjust the stuffing before moving farther into the head.
Expand the Head
After creating the narrow neck, the next three increase rounds open the shape back out for the head.
Round 21: (1 SC, INC) repeat around. (18 sts)
Round 22: (SC in next 2 sts, INC) repeat around. (24 sts)
Rounds 23–24: SC in each stitch around for 2 rounds. (24 sts)
Round 25: (SC in next 3 sts, INC) repeat around. (30 sts)
Before closing the head, make sure the plushie is firmly stuffed. Add more Polyfill if the head still feels soft or collapses when gently squeezed.
Create the Characteristic Hair Ridges
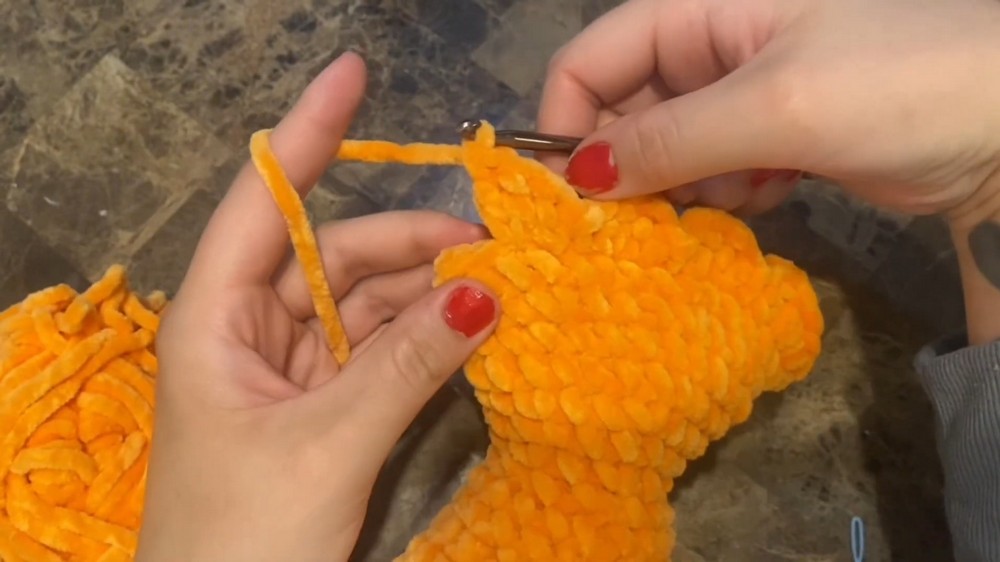
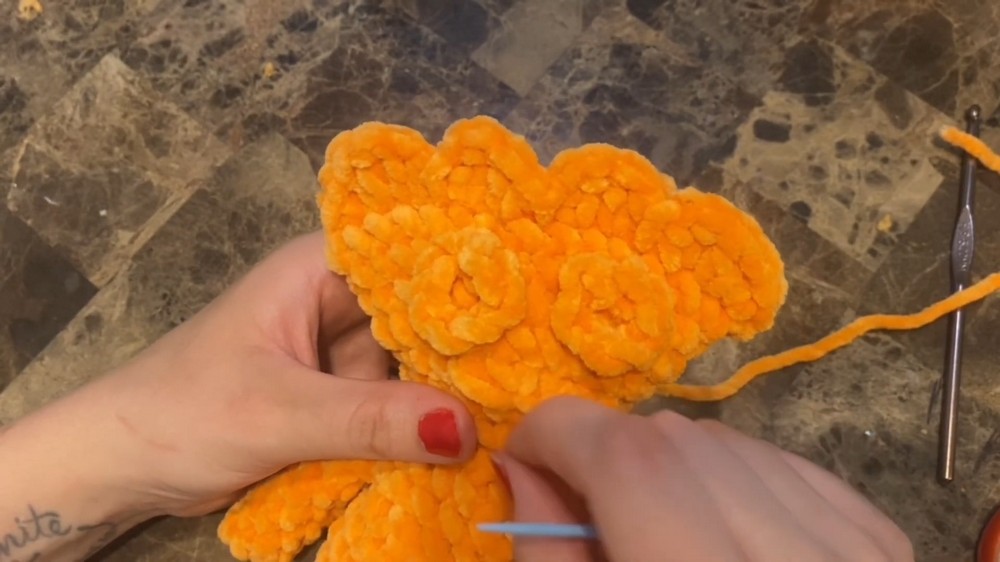
The final round does more than close the head. By flattening the top and crocheting through both layers, the stitches create four raised ridges that give the plushie its distinctive Sour Patch Kid-inspired silhouette.
Round 26: Flatten the top of the head so you can work through both the front and back loops to close the opening.
Ridge 1: SC into the first stitch through both layers. In the next stitch, place 1 HDC and 1 DC. In the next stitch, place 1 DC and 1 HDC. SL ST into the next stitch.
Ridge 2: In the next stitch, place 1 HDC and 1 DC. In the next stitch, place 1 DC and 1 HDC. SL ST into the next stitch.
Ridge 3: In the next stitch, place 1 HDC and 1 DC. In the next stitch, place 1 DC and 1 HDC. SL ST into the next stitch.
Ridge 4: In the next stitch, place 1 HDC and 1 DC. In the next stitch, place 1 DC and 1 HDC. SC in the next stitch, then close with a SL ST at the end.
FO, cut the yarn, and weave the tail inside the head.
Ridge Check: Before weaving in the tail completely, look at the head from the front. The four raised sections should read as separate ridges rather than one flat row. Small adjustments to the flattened top can make the texture much more noticeable.
Crochet the Arms
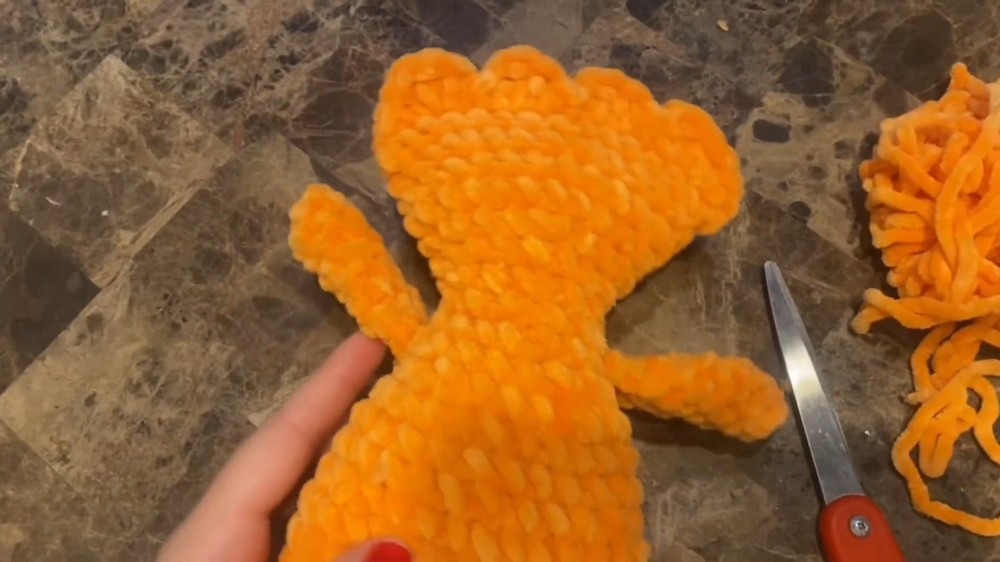
The arms are simple narrow tubes that can be made either softly stuffed or left empty.
Make 2.
Round 1: CH 2, then place 6 SC into the first chain. (6 sts)
Rounds 2–8: SC in each stitch around for 7 rounds. Alternatively, SC around continuously for 42 stitches. (6 sts)
Lightly stuff each arm if you want a fuller appearance. For flatter arms, leave them empty.
Flatten the top of the arm and SC across both sides to close it, approximately 3 SC. FO and leave a long yarn tail for sewing.
Make the Hollow Eyes
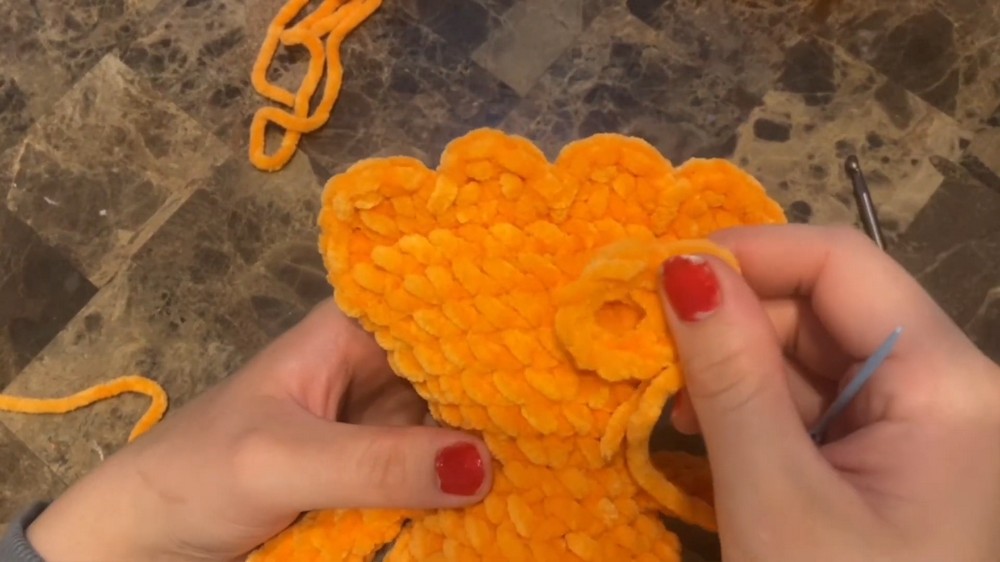
The eye pieces are intentionally left open in the center. That small detail gives the face more dimension than a flat crocheted eye.
Make 2.
Round 1: CH 9. Bring the two ends together and SL ST into the first chain to form a circle.
FO and leave a long tail for sewing.
Assemble the Plushie
Attach the Arms
Position the arms on the sides of the body, approximately one row below the narrowest part of the neck.
Sew each arm securely into place using the long yarn tail.
Check the position from the front before finishing the second arm. This makes it easier to keep both sides at a similar height.
Sew on the 3D Eyes
Place the eye rings high on the face, fairly close together. Pin them temporarily if that helps you judge their position.
Thread the yarn needle with the eye’s long tail and sew through the chains of the eye while catching the crochet stitches of the face underneath.
Eye Shape Check: Do not pull the sewing yarn tightly. The eye ring should remain slightly raised with its center visibly open. If you pull too firmly, the ring will flatten against the face and lose the three-dimensional effect.
Once you have sewn around the eye, tie the two loose ends together in a double knot behind it. Weave the ends into the head.
Repeat for the second eye.
Embroider the V-Shaped Mouth
The mouth is made from one strand of yarn and only requires a few needle movements.
Cut a strand of yarn and thread it onto your needle.
Insert the needle through the back of the head and bring it out halfway beneath the center of the first eye.
Insert the needle into the center point of the face to create the first side of the V. Bring it back out beneath the middle of the second eye.
Insert it down into the same center point to complete the second side of the V.
Finally, bring the needle through the same hole at the back of the head. Tie the two ends securely, trim them, and use your hook or needle to push the knot inside the body.
If you prefer not to embroider the mouth, you can instead shape a short piece of yarn and secure it with fabric glue or hot glue.
Shape the Finished Plushie
Give the body, arms, and head a gentle squeeze to settle the stuffing into place. Check that the four head ridges remain visible and that the eyes still have their open centers.
The finished plushie should have a rounded body, a narrower neck, a fuller head, raised hair ridges, and arms sitting naturally at the sides. A final small adjustment to the stuffing can make a noticeable difference in the overall silhouette.