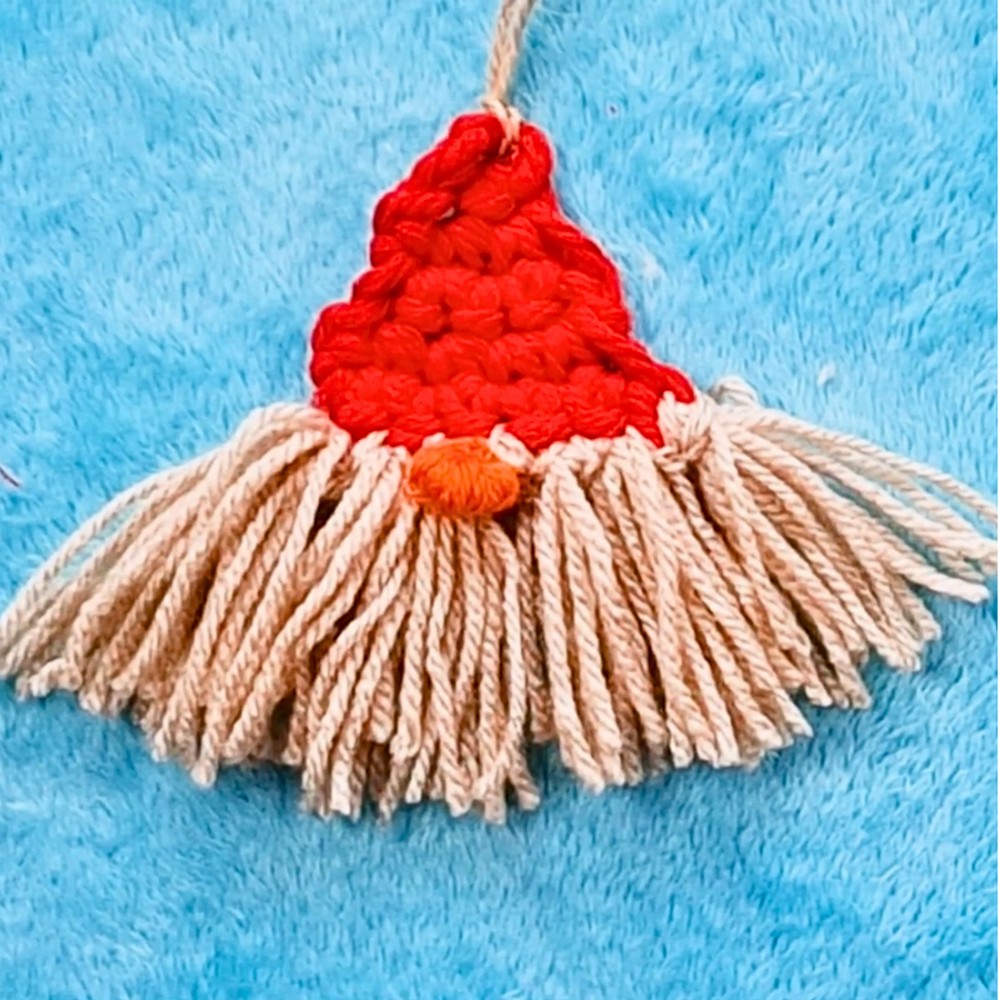
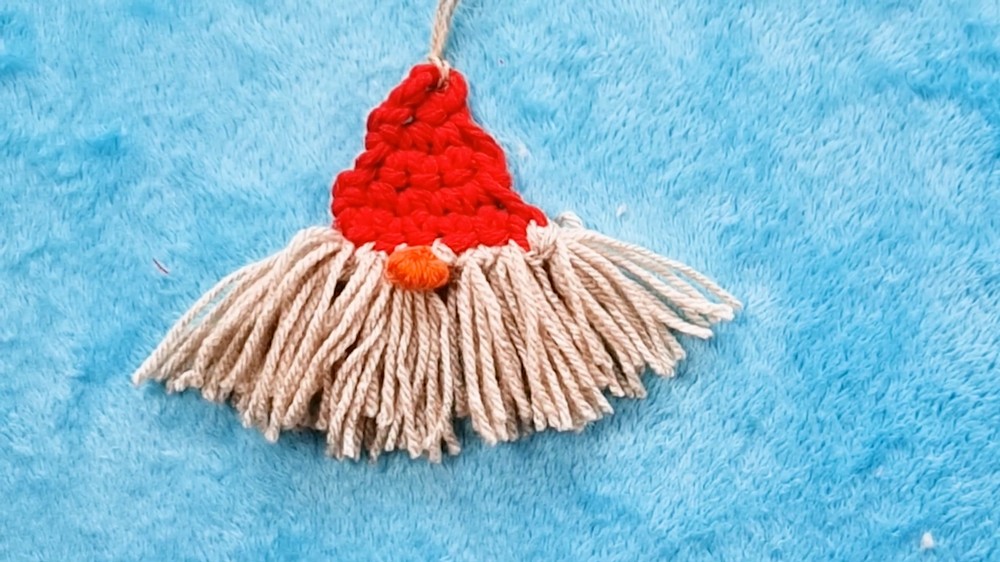
Here’s a cozy handmade touch to your Christmas tree with this easy crochet gnome ornament, featuring a pointed hat, fluffy gray beard, round nose, and simple hanging loop.
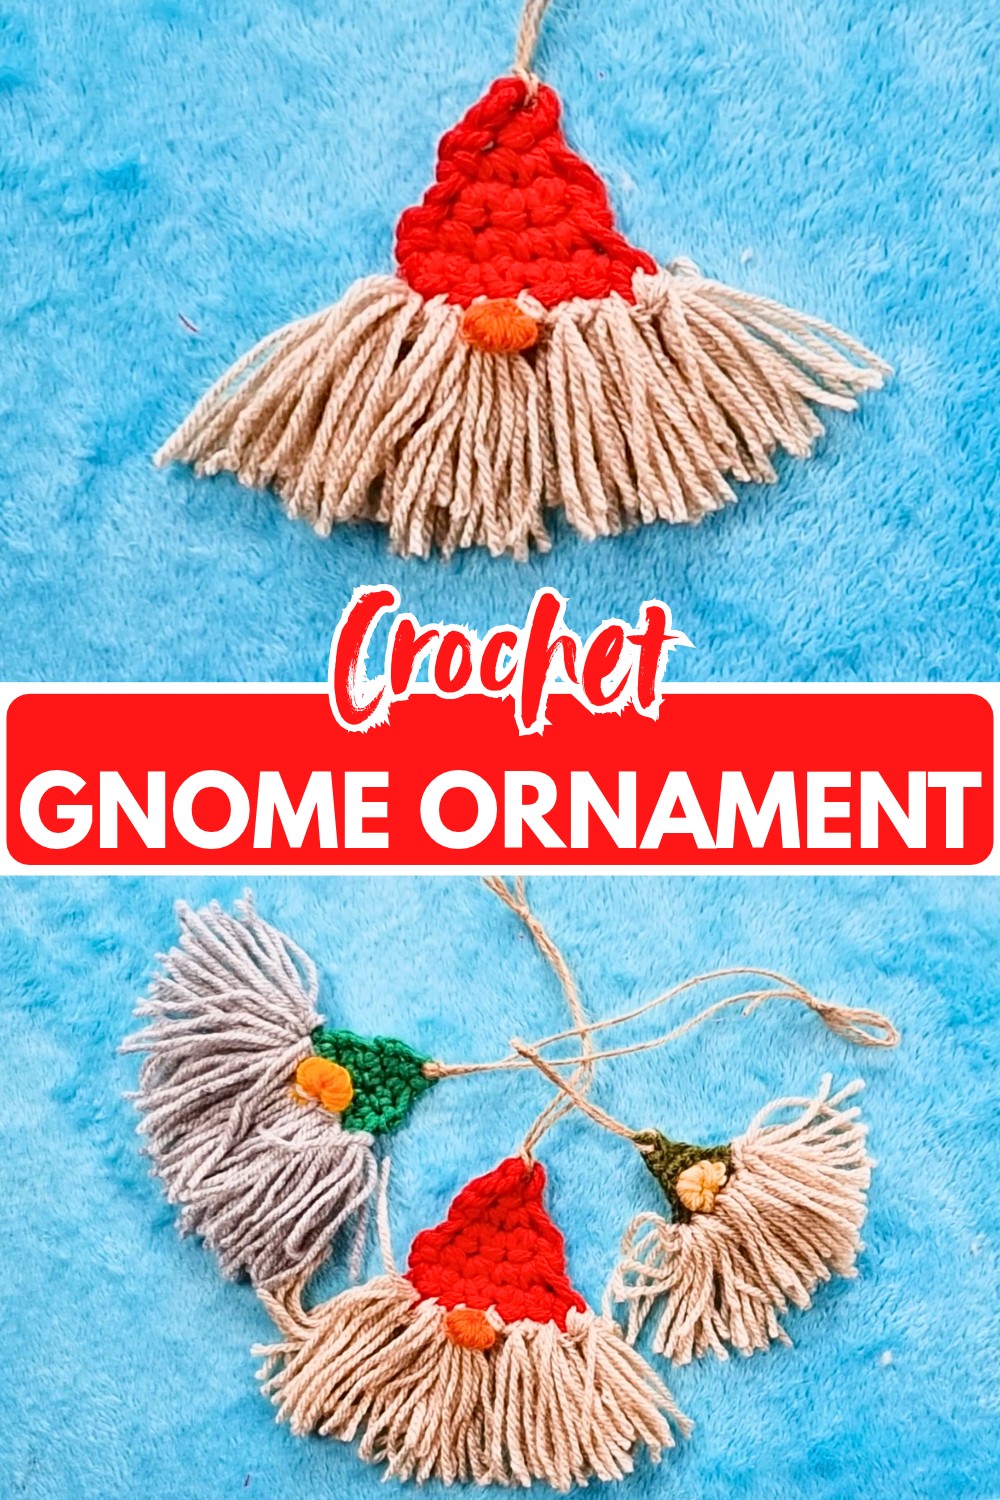
A tiny crochet gnome can bring plenty of personality to a Christmas tree without taking up much space. This rustic ornament pairs a pointed crochet hat with a bushy gray beard and a little rounded nose, creating a cheerful handmade decoration with a cozy holiday feel.
The beauty of this gnome is how much character comes from a few simple crochet details. The finished look can change with your yarn choice too: a 5mm cord gives the hat a firmer, sturdier appearance, while standard 100g yarn creates a smaller, softer ornament. The basic single crochet stitches make the hat approachable, while the beard and wrapped yarn nose add the playful finishing touches.
Credit Goga Hook
Materials & Tools Needed
For the Hat
- Hat Yarn: 5mm cord for a steadier, firmer shape. You can also use 3mm cord or standard 100g yarn. Standard yarn will produce a slightly smaller and softer hat.
- Main Crochet Hook: 5.0mm hook, or a size appropriate for your chosen hat yarn or cord.
For the Beard and Nose
- Beard Yarn: 100g yarn in Gray.
- Nose Yarn: A small amount of contrasting yarn, such as beige or pink.
- Threading/Tapestry Needle: Choose one with an eye large enough to accommodate multiple strands of yarn.
Other Supplies
- Hanging String: Approximately 30 cm of string or twine.
- Detailing Hook: A smaller crochet hook, such as a 3.0mm hook, for weaving in ends and pulling strings through tight spaces.
- Scissors: For cutting yarn and trimming the beard.
Finished Size & Customization Ideas
The finished size depends on the thickness of the yarn you choose. A 5mm cord creates a larger, sturdier gnome ornament, while standard 100g yarn gives you a smaller, more delicate piece.
For a larger gnome hat, continue the row-by-row increase pattern by adding one single crochet before the increase in each new row until the triangle reaches your desired size.
Pattern Abbreviations
This pattern uses US crochet terms:
- Ch = Chain
- Sc = Single Crochet
- Inc = Increase (2 single crochets in the same stitch)
- Sl St = Slip Stitch
- St(s) = Stitch(es)
- [ ] = The number inside the brackets indicates the total stitch count at the end of the row.
How to Crochet the Gnome Hat
The hat is worked in rows with a simple increase pattern that gradually widens the triangle. Use your 5.0mm hook and chosen hat cord or yarn.
Start the Hat
Step 1 – Base Chain: Start with a slip knot and Ch 2.
Row 1: Insert your hook into the 2nd loop from the hook, which is the very first loop you made, and work 2 Sc in the same loop. [Stitch Count: 2]
Row 2: Ch 1, turn your work. Work 1 Sc in the first st, then Inc (2 Sc) in the next st. [Stitch Count: 3]
Row 3: Ch 1, turn your work. Work 1 Sc in each of the next 2 sts, then Inc (2 Sc) in the last st. [Stitch Count: 4]
Row 4: Ch 1, turn your work. Work 1 Sc in each of the first 3 sts, then Inc (2 Sc) in the last st. [Stitch Count: 5]
Row 5: Ch 1, turn your work. Work 1 Sc in each of the first 4 sts, then Inc (2 Sc) in the last st. [Stitch Count: 6]
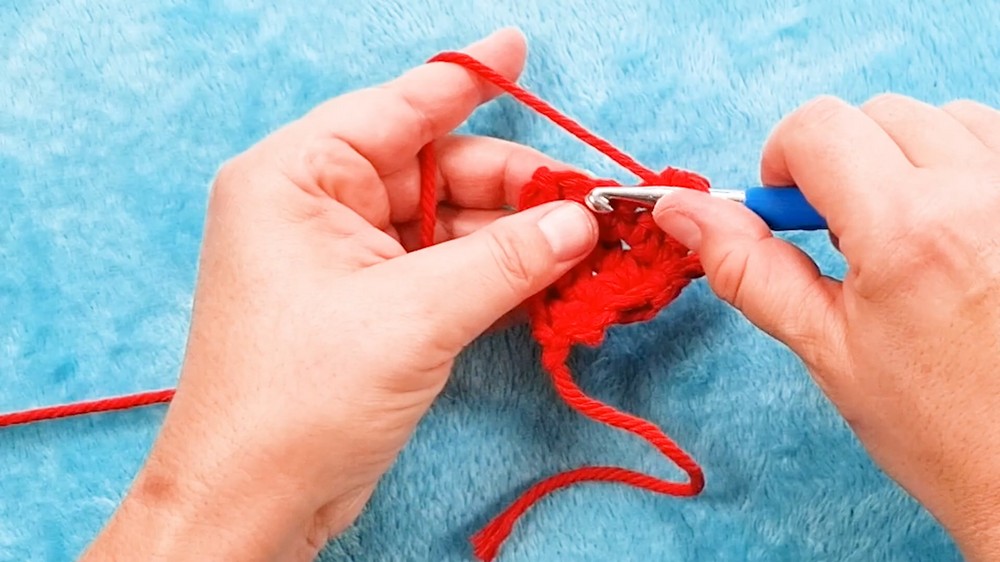
Notice the pattern as the triangle grows: each new row adds one more single crochet before the increase. Keeping that progression consistent is what gives the hat its gradually widening shape.
Finish the Hat
Finishing the Hat: Make a Sl St to finish the edge. Cut the yarn, leaving a small tail, and pull it through the loop to secure your work.
Weaving Ends: Take your smaller crochet hook, such as a 3.0mm hook. Insert the hook under the stitches along the side edge of your triangle and pull the excess tail strings through to completely weave them in and hide them. Trim off any remaining excess string.

Make the Yarn-Wrapped Nose
Use a small amount of contrasting nose yarn and your 3.0mm hook, or a small stick, as a wrapping base.
Step 1: Cut a separate piece of string or yarn to use as a tie and lay it parallel alongside the shaft of your 3.0mm hook.
Step 2: Take your working nose yarn and wrap it tightly around the hook and over the tie string approximately 40 times to create a thick bundle.
Step 3: Secure the beginning and end of the wrapped yarn with a knot and trim the excess working yarn.
Step 4: Using the straight string laid down in Step 1, make a tight double knot around the entire wrapped yarn bundle to cinch it in the center.
Step 5: Slide the bundle off the crochet hook. Secure it again with another tight double knot to form a firm, rounded nose puff.
The tighter the center is secured, the more clearly the wrapped yarn will hold its rounded nose shape.
Attach the Beard
Use your 100g Gray yarn and a threading needle.
Step 1 – Threading: Cut approximately 1 meter of gray yarn. Fold it over 4 times to create 4 thick strands, then thread the folded end through your tapestry needle. You will now be working with 8 strands simultaneously to create a bushy beard.
Step 2 – Looping: Insert your needle from back to front through the first loop on the bottom edge of the hat. Bring the needle back around and insert it into the next stitch.
Step 3 – Sizing the Beard: Leave a loop of about 5 cm (2 inches) dangling down—do not pull the yarn completely tight. This dangling loop becomes the hair of the beard.
Step 4 – Continuing: Repeat this process across the bottom row of the hat, inserting into the next stitch and leaving a 5 cm loop each time. If your yarn runs too short, cut it off, tie it, and repeat the threading process to finish the row.
Step 5 – Securing the Loops: Take a single strand of gray yarn on your needle. Thread it through the first bottom stitch of the hat and tie a knot to secure it. Sew back and forth across the base of the loops, going under the hat and bringing it to the front over the beard yarn to lock the loops firmly in place. Continue all the way across the bottom row. Secure with a double knot at the end and cut the excess.
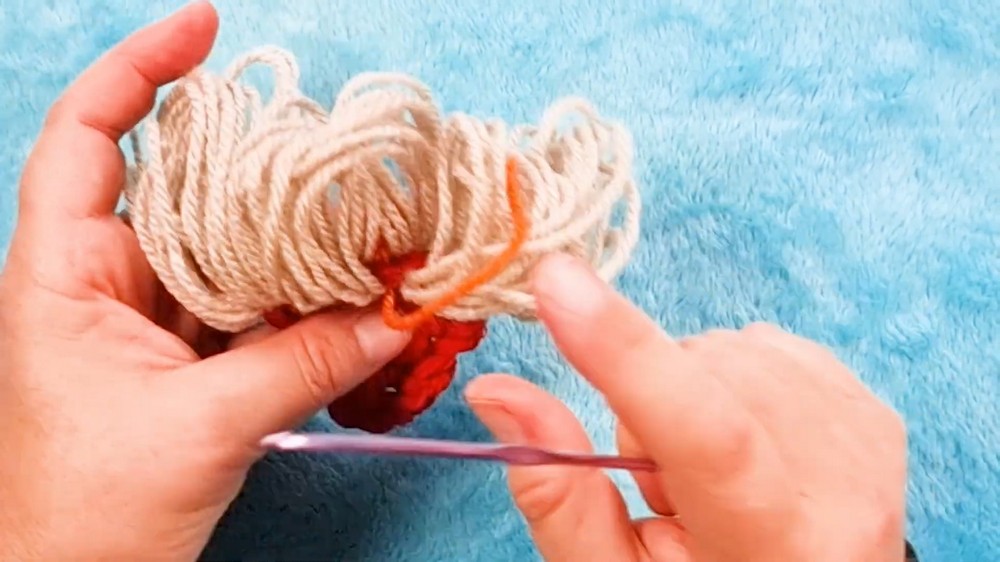
Beard Length Check
Before cutting the beard loops, check that they are hanging at roughly the same 5 cm length across the bottom edge. This gives you a more even starting point for trimming and makes it easier to create the pointed beard shape afterward.
Step 6 – Trimming: Take your scissors and cut through all the bottom loops of the beard so the strands hang free. Brush all the yarn strands downward in one direction, then use your scissors to trim the beard into a neat, pointed shape.
Attach the Nose
Step 1: Take your completed nose bundle. Using your smaller crochet hook, pull one of the long tie strings through a stitch in the center of the hat’s bottom row, sitting right over the beard.
Step 2: Pull the second tie string through an adjacent stitch.
Step 3: Flip the hat over and tie the two strings together in a tight double knot on the back of the hat. Weave the excess string into the back of the hat to hide it.
Placing the nose over the beard area gives the face its recognizable gnome shape, while securing the ties at the back keeps the front clean.
Add the Hanging Loop
Step 1: Take your 30 cm piece of string and fold it in half.
Step 2: Use your small crochet hook to pull the folded loop end through the very top stitch, or tip, of your triangle hat.
Step 3: Secure the string to the hat with a knot, then tie another knot at the very top of the string to close the loop.
Your crochet Christmas gnome is now ready to hang on the tree.
Customize Your Gnome
Once you are comfortable with the basic version, the same pattern gives you room to make a little collection of gnomes with different personalities.
Use different hat cord colors, change the beard color, or continue the increase pattern for a larger triangle. Using different yarn thicknesses will also naturally change the finished size, so you can create a mix of sturdy and delicate ornaments for your Christmas tree.