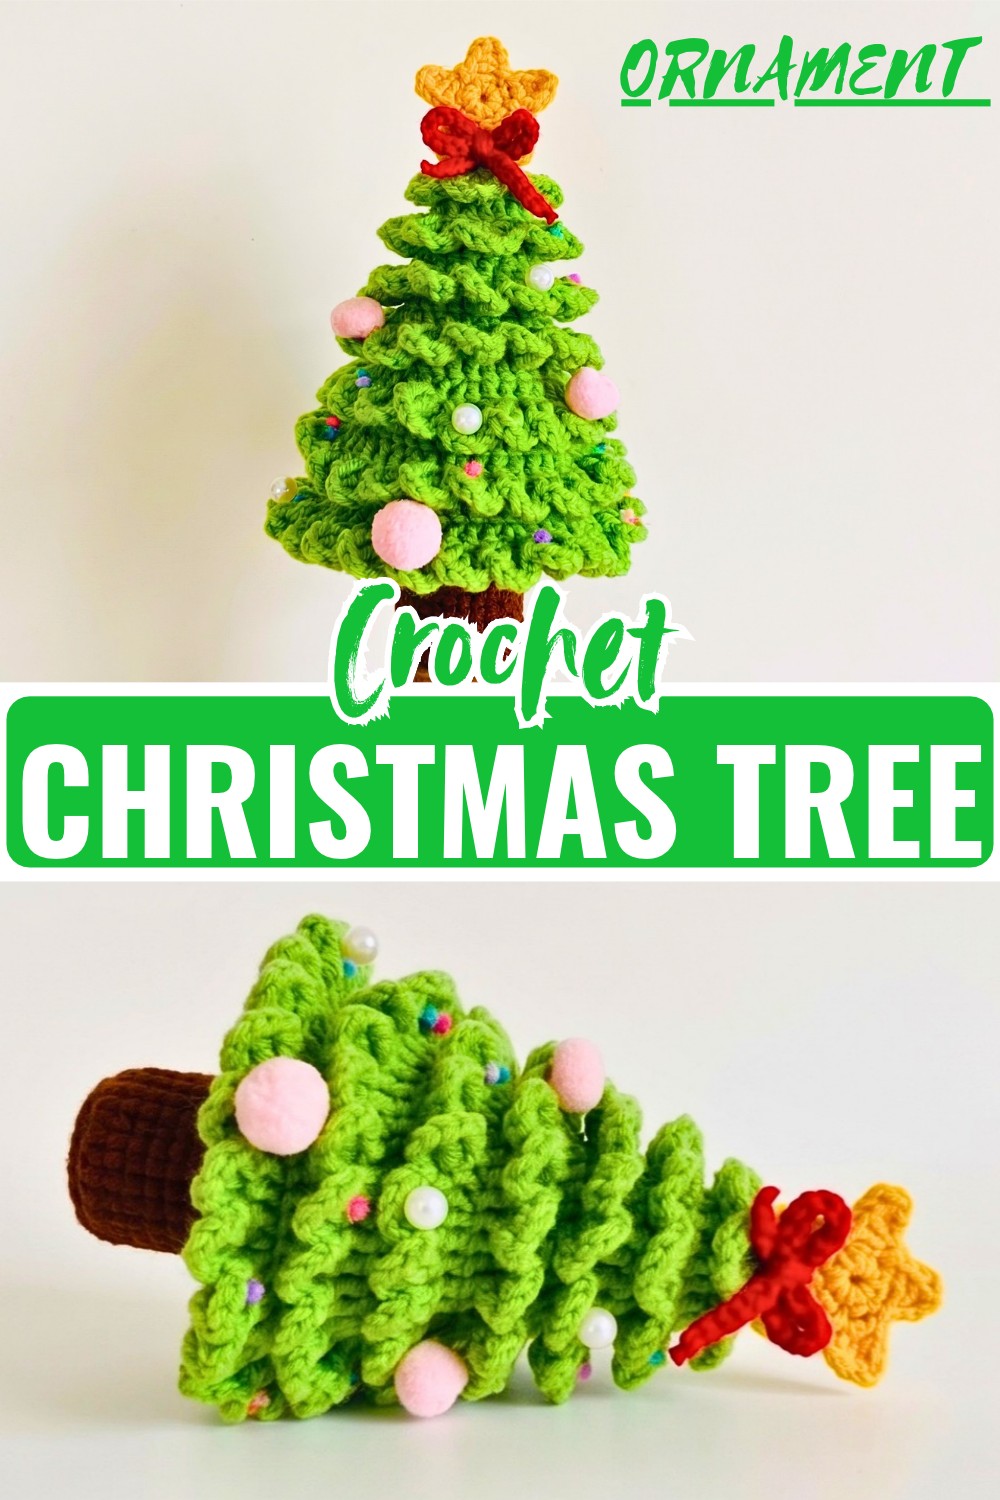
Looking for a little handmade sparkle for your holiday decorating with this small crochet Christmas tree ornament. The tiered ruffles create a dimensional shape, while beads, sequins, or a star let you give each tree its own festive finish.
How to Crochet Christmas Tree Ornament
A tiny crochet Christmas tree can make a surprisingly charming holiday accent. This crochet design builds the tree from a tapered, stuffed cone with several ruffled tiers worked into the front loops, giving the branches a layered look without requiring separate leaf pieces. Its compact size also makes it easy to display on a crochet Christmas tree, add to a gift, or use as part of a festive arrangement.
The construction is beginner-friendly, but there are a few places where careful attention will make the finished tree much neater. The front loops left behind on selected rounds create the ruffle tiers, so those loops need to remain untouched when the main cone is crocheted. The tree is also stuffed before the bottom is closed, making it easier to control the firmness and shape as you work.
Credit Cici baby crochet
Materials & Tools
- Yarn: 4-ply yarn in:
- Green for the tree
- Brown for the trunk
- Red for the optional pot or base accent
- Crochet Hook: 2.5 mm
- Fiberfill: Toy or fiberfill stuffing
- Decorations: Mini beads, pearls, sequins, small bells, pom-poms, or a star embellishment
- Tapestry/Yarn Needle
- Scissors
- Hot Glue Gun and Glue Sticks: For optional decorations or securing the pot
- Optional: Needle and sewing thread for lightweight embellishments
Finished Size & Customization
The finished ornament is approximately 3–4.5 inches tall, depending on your yarn, hook, and tension.
You can easily change the look by:
- Using chunky or plush velvet yarn with a 4.0–5.0 mm hook for a larger tree.
- Choosing white, sage, pastel green, or another color instead of traditional green.
- Adding tiny beads, sequins, pearls, bells, or pom-poms to the ruffled tiers.
- Wrapping a strand of metallic yarn around the tree to imitate garland.
- Adding a small crocheted five-point star or a lightweight wooden/plastic star at the top.
Size Tip: If you change the yarn weight, the stitch counts will remain the same, but the finished height and width will change. The main thing to watch is the shape of the cone and whether it still has enough room for the intended stuffing.
Pattern Abbreviations
- MR: Magic Ring
- ch: Chain
- sl st: Slip Stitch
- sc: Single Crochet
- inc: Single Crochet Increase – 2 sc in the same stitch
- dec: Single Crochet Decrease – sc 2 stitches together
- hdc: Half Double Crochet
- dc: Double Crochet
- dc-inc: Double Crochet Increase – 2 dc in the same stitch
- BLO: Back Loop Only
- FLO: Front Loop Only

How to Crochet the Christmas Tree Ornament
The tree is worked in several sections: first the green tapered cone, then the ruffled tiers, followed by the separate bottom cover, trunk, and optional red pot. The cone is stuffed before the bottom is attached.
Crochet the Tree Cone
Work the main tree body in Green yarn in continuous spiral rounds unless otherwise specified.
Round 1: Make a MR and work 6 sc into the ring. (6 sts)
Round 2: Repeat (1 sc, 1 inc) around. (9 sts)
Round 3: Work 1 sc in each stitch around. (9 sts)
Round 4: Repeat (2 sc, 1 inc) around. (12 sts)
Round 5: Work 1 sc in each stitch around. (12 sts)
Round 6: Repeat (1 sc, 1 inc) around. (18 sts)
Round 7: Work 1 sc in the BLO of each stitch around. (18 sts)
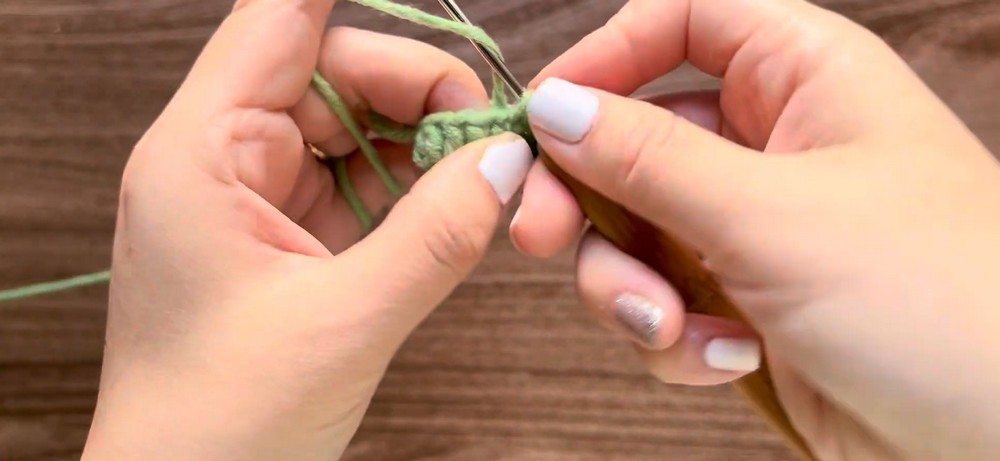
Important: This round creates the first ridge for the ruffled branches. Only work through the back loops here. The front loops from this round must remain available for the first ruffle tier.
Round 8: Repeat (2 sc, 1 inc) around. (24 sts)
Round 9: Work 1 sc in each stitch around. (24 sts)
Round 10: Repeat (3 sc, 1 inc) around. (30 sts)
Round 11: Work 1 sc in the BLO of each stitch around. (30 sts)
Checkpoint: After this round, you should have another unused front-loop ridge ready for a ruffle. Avoid accidentally working into those front loops on a later round.
Round 12: Repeat (4 sc, 1 inc) around. (36 sts)
Round 13: Work 1 sc in each stitch around. (36 sts)
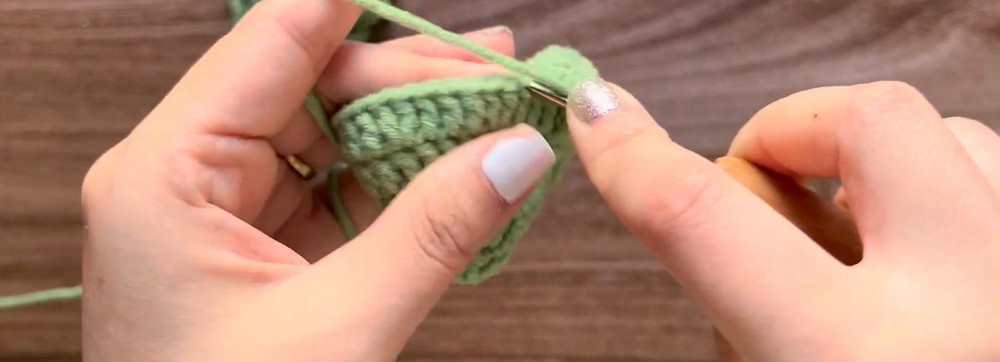
Round 14: Repeat (5 sc, 1 inc) around. (42 sts)
Round 15: Work 1 sc in the BLO of each stitch around. (42 sts)
This creates the third designated front-loop ridge for the layered branches.
Round 16: Repeat (6 sc, 1 inc) around. (48 sts)
Round 17: Work 1 sc in each stitch around. (48 sts)
Fasten off.
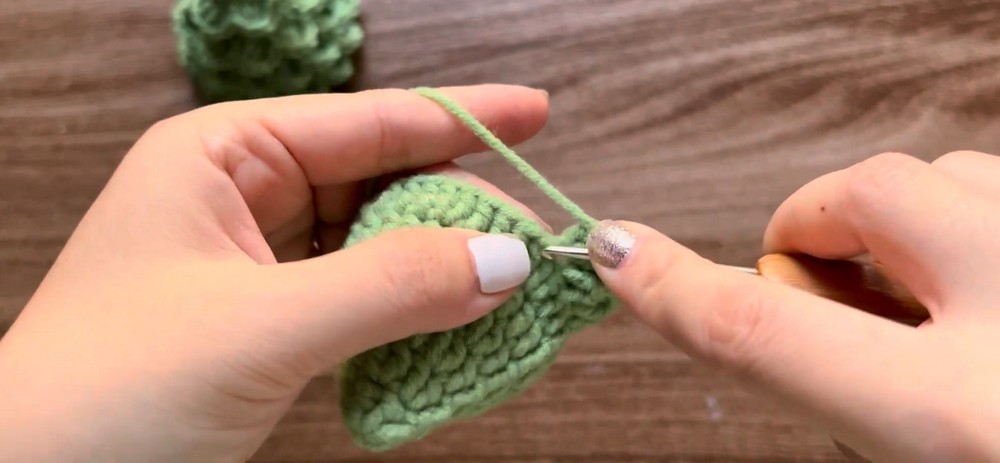
Shape & Stuffing Check
Before attaching the bottom, fill the tree with fiberfill.
Add the stuffing gradually rather than packing it all in at once. Start at the narrow top and work downward, gently distributing the filling as you go. The cone should feel firm enough to hold its shape, but the stitches should not look stretched.
Why this matters: The ruffles will emphasize the outline of the tree. If the cone is under-stuffed, the center can look collapsed; if it is overstuffed, the stitches may become too tight and distort the tapered shape.
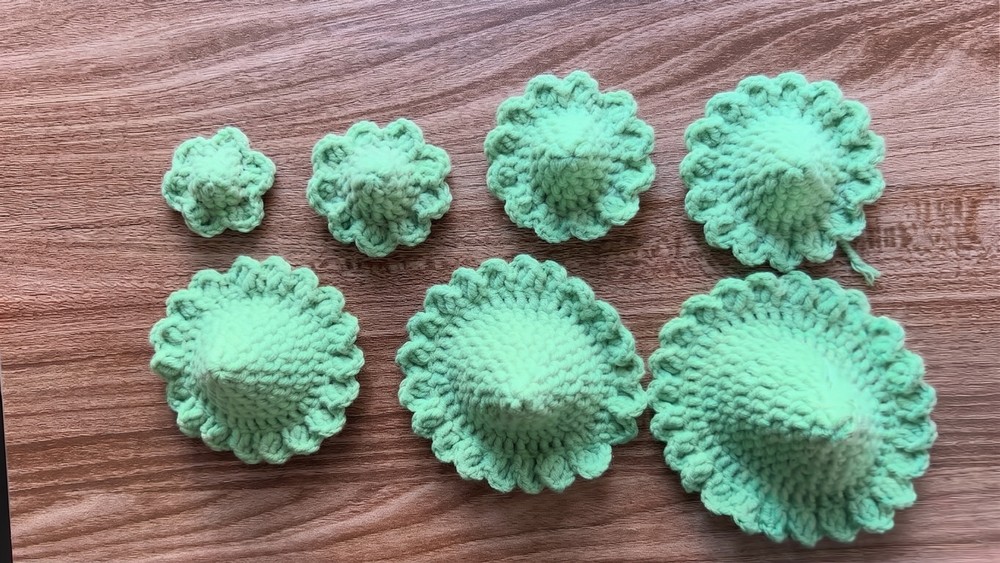
Add the Tiered Tree Ruffles
The ruffles are worked into the unworked front loops that were deliberately left behind on Rounds 7, 11, and 15.
You will also work a finishing ruffle around the bottom edge of the tree.
Ruffle Tier 1: Round 7 Front Loops
Attach Green yarn with a sl st to the first available front loop of Round 7.
Work the following scallop into each front loop around: (1 sc, 1 hdc, 1 dc, 1 hdc, 1 sc). Continue around the entire ridge, then sl st to the beginning and fasten off.
Ruffle Tier 2: Round 11 Front Loops
Attach Green yarn to the first available front loop of Round 11.
Repeat: (1 sc, 1 hdc, 1 dc, 1 hdc, 1 sc) around the entire round. Sl st to the beginning, fasten off, and weave in the end.
Ruffle Tier 3: Round 15 Front Loops
Attach Green yarn to the first available front loop of Round 15.
Repeat:(1 sc, 1 hdc, 1 dc, 1 hdc, 1 sc) around. Sl st to the beginning, fasten off, and weave in the end.
Bottom Ruffle
Attach Green yarn around the bottom edge of the tree and work the same scalloped sequence:(1 sc, 1 hdc, 1 dc, 1 hdc, 1 sc) around the edge.
Fasten off and weave in the remaining end.
Ruffle Placement Tip
The three upper ruffles should sit at different heights because they are attached to Rounds 7, 11, and 15. Keep each scallop facing outward as you work so the tiers remain visible instead of folding inward against the cone.
The ruffles do not need to be pulled tightly. A relaxed tension helps the taller dc stitches form the leafy, scalloped edge.
Crochet the Bottom Cover
The bottom cover closes the stuffed tree and gives you a clean surface for attaching the trunk.
Work in Green yarn.
Round 1: Make a MR and work 6 sc into the ring. (6 sts)
Round 2: Work 2 sc in each stitch around. (12 sts)
Round 3: Repeat (1 sc, 1 inc) around. (18 sts)
Round 4: Repeat (2 sc, 1 inc) around. (24 sts)
Round 5: Repeat (3 sc, 1 inc) around. (30 sts)
Round 6: Repeat (4 sc, 1 inc) around. (36 sts)
Round 7: Repeat (5 sc, 1 inc) around. (42 sts)
Round 8: Repeat (6 sc, 1 inc) around. (48 sts)
Fasten off, leaving a long yarn tail for sewing.
Size Check
The completed bottom should have 48 stitches, matching Round 17 of the main tree. If the two pieces look noticeably different in size, check your tension before sewing them together.
Make the Brown Tree Trunk
Work in Brown yarn.
Round 1: Make a MR and work 6 sc into the ring. (6 sts)
Round 2: Work 2 sc in each stitch around. (12 sts)
Round 3: Work 1 sc in the BLO of each stitch around. (12 sts)
Rounds 4–6: Work 1 sc in each stitch around. (12 sts per round)
Add a small amount of fiberfill to the trunk, then fasten off and leave a yarn tail for attaching it to the tree.
Stuffing Tip: The trunk only needs light stuffing. Too much filling can make it difficult to position neatly beneath the tree.
Optional Red Pot
The red pot is an optional accent, so you can leave it out if you prefer the simpler green-and-brown version.
Work in Red yarn.
Round 1: Make a MR and work 6 sc into the ring. (6 sts)
Round 2: Work 2 sc in each stitch around. (12 sts)
Round 3: Repeat (1 sc, 1 inc) around. (18 sts)
Round 4: Work 1 sc in the BLO of each stitch around. (18 sts)
Rounds 5–7: Work 1 sc in each stitch around. (18 sts per round)
Fasten off and weave in the end.
Assembly
Once the crocheted sections are finished, assemble them in this order so the tree stays balanced.
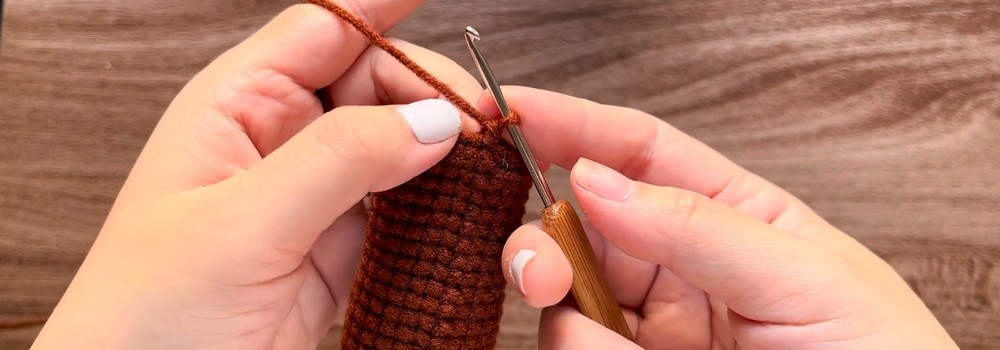
Close the Bottom of the Tree
Place the 48-stitch bottom cover against Round 17 of the stuffed tree cone.
Use the long Green yarn tail and a yarn needle to whipstitch the two edges together.
Work around the entire opening, keeping the stitches evenly spaced.
Assembly Check: Before closing the final section, make sure the fiberfill is distributed evenly. This is the easiest point to correct the tree’s shape; once the bottom is fully sewn closed, adjusting the stuffing becomes much harder.
Attach the Trunk
Center the Brown trunk underneath the green bottom cover.
Use its remaining yarn tail to stitch it securely in place.
Take a moment to check the position from the side before finishing the stitches. The trunk should sit directly beneath the center of the tree rather than leaning toward one edge.
Add the Red Pot
If you are using the optional Red pot, fit it around the trunk and bottom section.
Secure it with a few yarn stitches or a small amount of hot glue.
For a softer finished ornament, stitching is preferable; use glue only where you want a firmer attachment.
Decorate the Tree
Arrange your chosen embellishments across the ruffled tiers.
You can use:
- Mini beads
- Pearls
- Sequins
- Tiny pom-poms
- Small bells
- Lightweight stars
Sew lightweight decorations in place with a needle and thread or matching yarn. Hot glue can be used for suitable non-fabric embellishments.
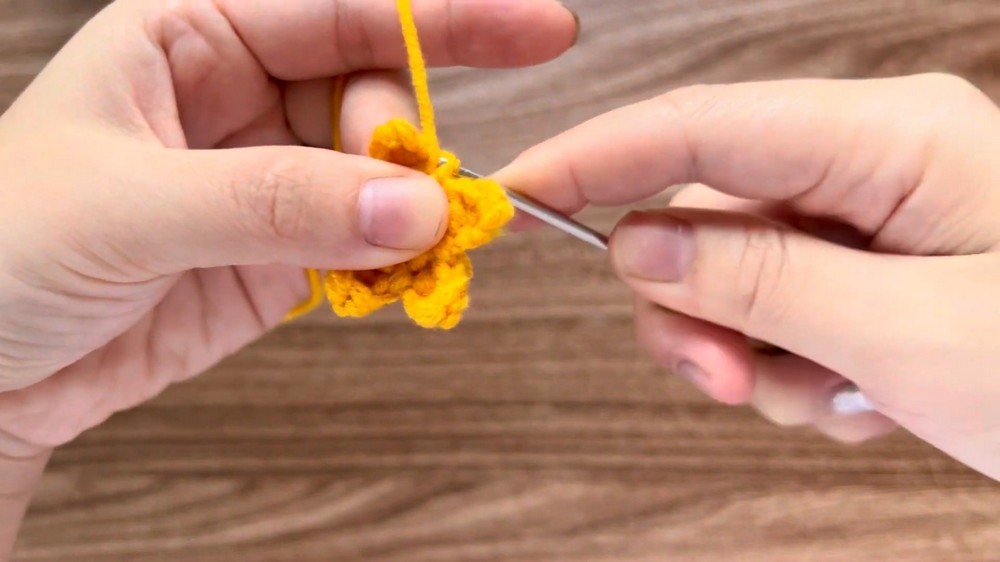
Decoration Tip
Arrange the decorations before securing them permanently. Because the ruffles are already layered, spreading the embellishments across the different tiers will make the tree look fuller than placing everything on one level.
Add a small yellow star or another lightweight topper to the top point.
Finishing the Ornament
Weave in all remaining yarn ends and trim them neatly.
Give the ruffled tiers a gentle adjustment with your fingers so the scallops face outward. Check the tree from the front and sides to make sure the trunk is centered and the decorations are balanced.
If you want to hang the finished tree from a Christmas tree branch, add a small loop of matching yarn at the top.

A Few Helpful Tips
Keep the Front Loops Clear
The BLO rounds are not just shaping rounds. Their unused front loops are what create the layered ruffles later. If you accidentally work through both loops on Rounds 7, 11, or 15, there will be no clear ridge for that tier.
Keep the Tree Firm but Not Stretched
The stuffing gives the ornament its three-dimensional form. Add enough to prevent the cone from collapsing, but stop before the crochet fabric begins to look stretched.
Match the Bottom Pieces Before Sewing
Both the main tree and bottom cover have 48 stitches at the joining point. Matching those stitches one by one will give you a much cleaner closure.
Keep Embellishments Lightweight
Small decorations work particularly well here because the tree is compact. Heavy ornaments can pull down the ruffles or make a hanging version tilt.

Conclusion
With its tapered green body, layered ruffle branches, small trunk, and optional red pot, this crochet Christmas tree has a dimensional look while relying on straightforward crochet techniques. Add beads, sequins, tiny pom-poms, or a star to make the finished ornament suit your own holiday colors, then display it on the Christmas tree, add it to a gift, or use it as a small festive accent around your home.