Need a quick handmade decoration to brighten your Christmas tree? These colorful crochet light bulbs come together with simple shaping and festive charm.

Nothing brings extra holiday spirit to a Christmas display like a string of handmade crochet light bulbs. Their bright colors, classic shape, and tiny size make every garland, wreath, or tree feel more cheerful while adding a personal touch that lasts for many seasons. The clever shaping creates a polished look from just a few basic crochet stitches.
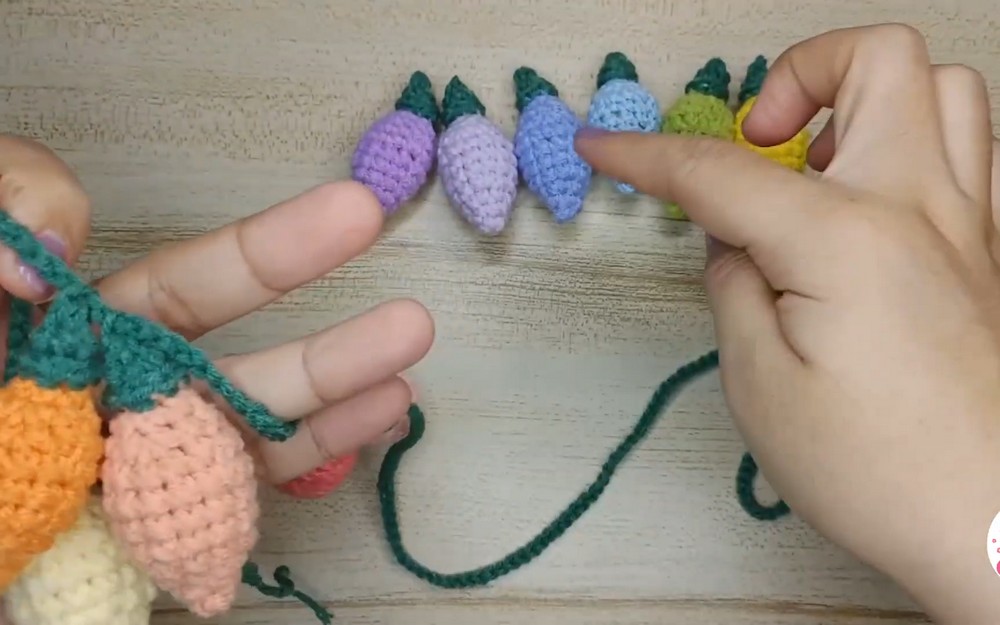
This crochet pattern keeps the process simple by building each bulb in the round, adding soft stuffing, and finishing with a neat green cap before attaching every piece to a long chained garland. The easy construction comes together step by step, leading to a festive decoration that’s ready to brighten your holiday home.
Credit Bua Crochet
Materials & Tools Needed
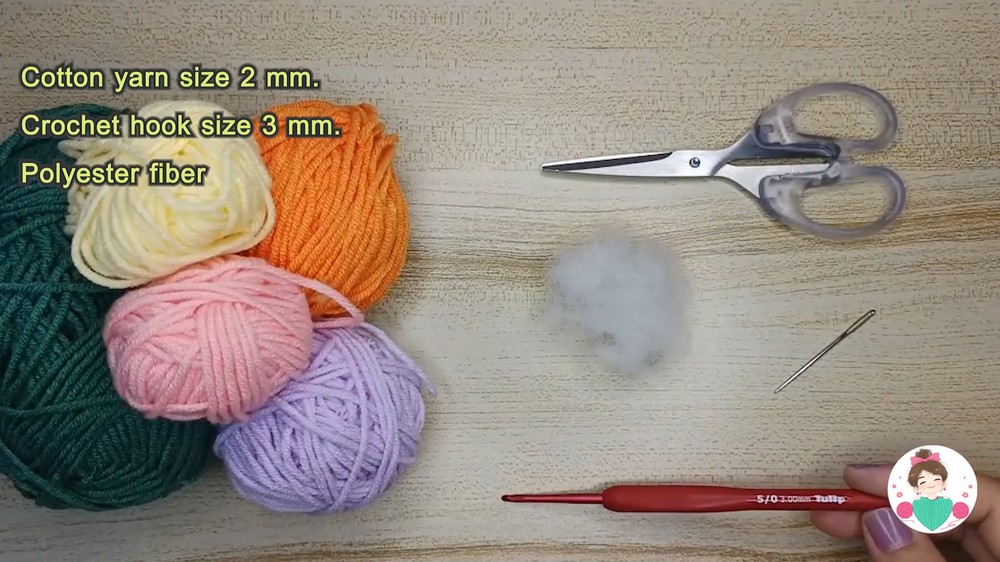
Materials:
- Cotton yarn (size 2 mm): Ensure vibrant holiday colors like red, green, or gold for an enchanting effect.
- Polyester fiber: Ideal for stuffing to give the bulb a plump and defined shape.
Tools:
- Crochet hook size 3 mm: Perfect for tight stitches and sharp detailing.
- Basic crochet tools: Scissors and a yarn needle for finishing touches.
Gauge:
Gauge is not specified, but working tightly creates a sturdy and well-shaped bulb.
Finished Size:
Height: 6 cm
Width: 3 cm
Abbreviations & Terminologies:
mr: magic ring
sc: single crochet
inc: single crochet increase
dec: single crochet decrease
blo: back loop only
flo: front loop only
slst: slip stitch
ch: chain
Techniques & Key Stitches Used
- Magic Ring (mr): Perfect for seamless starting rounds.
- Single Crochet (sc): Essential for this pattern’s structure.
- Slip Stitch (slst): Used for clean transitions and finishing edges.
- Chains (ch): To create the base and defining parts.
- Increase (inc) and Decrease (dec): For shaping the top and bottom of the bulb.
- Back Loop Only (blo) and Front Loop Only (flo): Add texture and definition.
Key Features:
- Worked in the round for seamless construction.
- Textured shaping using blo and flo techniques.
- Simple embellishments to create a polished holiday look.

Detailed Step-by-Step Instructions
Part 1: The Bulb (Main Color)
Work in joined rounds. Each round begins with a ch 1 (which does not count as a stitch) and ends with a slip stitch into the first sc of that round.
Round 1:
Start with a Magic Ring.
Work 4 sc into the ring.
Pull the tail tight to close the center hole.
Sl st into the 1st sc to join.
(4 stitches)
Round 2:Ch 1.
[1 sc in next st, 2 sc in following st]repeat 2 times.Sl st to the first sc to join.
(6 stitches)
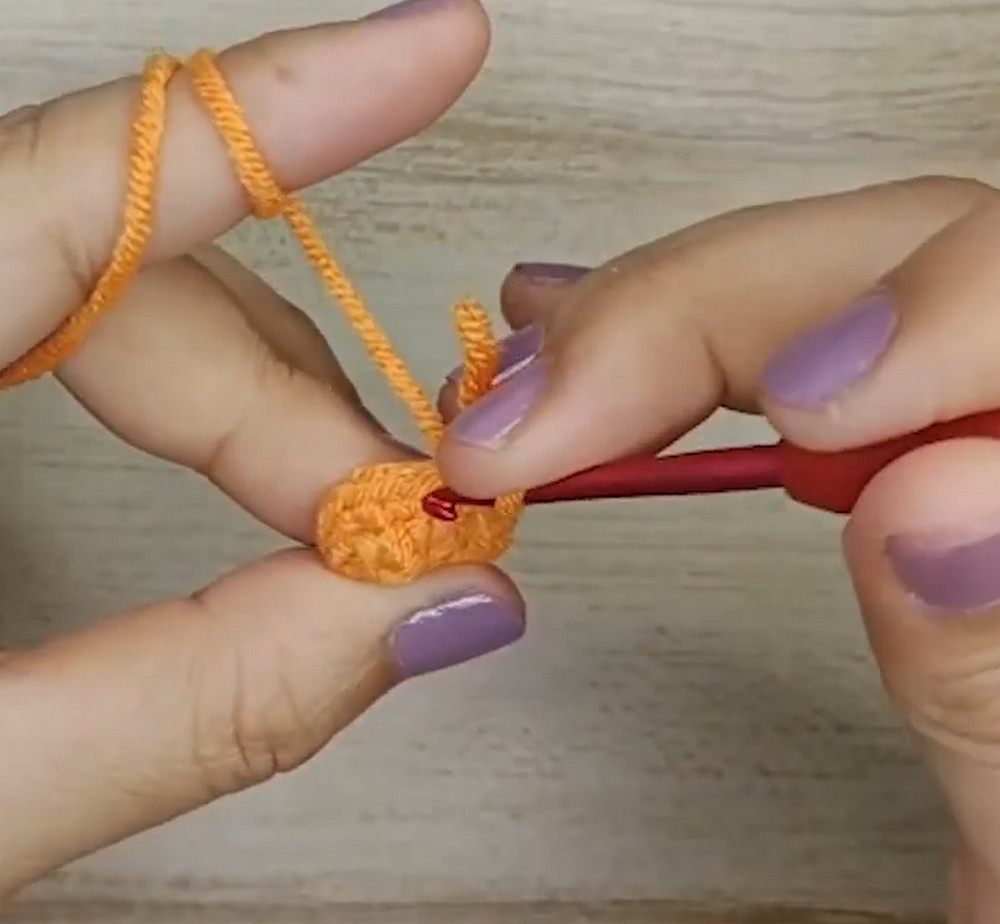
Round 3:
Ch 1.
[1 sc in next st, 2 sc in following st]repeat 3 times.Sl st to the first sc to join.
(9 stitches)
Round 4:
Ch 1.
[1 sc, 2 sc in next st, 1 sc]repeat 3 times.Sl st to the first sc to join.
(12 stitches)
Rounds 5–6:
Ch 1.
Work 1 sc into each stitch around (12 sc total).
Sl st to the first sc to join.
(12 stitches in each round)
Round 7:
Ch 1.
[3 sc, 2 sc in next st]repeat 3 times.Sl st to the first sc to join.
(15 stitches)
Round 8:
Ch 1.
[3 sc, dec over next 2 sts]repeat 3 times.Sl st to the first sc to join.
(12 stitches)
Round 9:
Ch 1.
[1 sc, dec over next 2 sts, 1 sc]repeat 3 times.Sl st to the first sc to join.
(9 stitches)
Round 10:
Ch 1.
[1 sc, dec over next 2 sts]repeat 3 times.Sl st to the first sc to join.
(6 stitches)
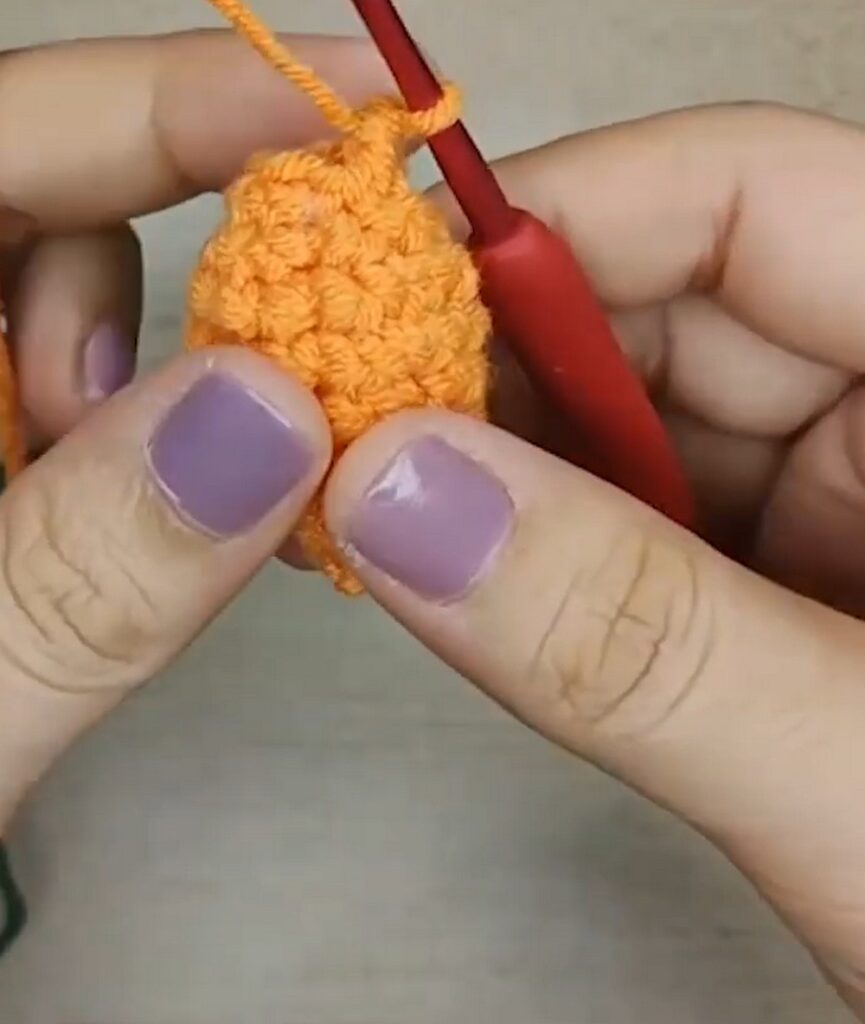
Stuffing:
Take a small pinch of polyester fiberfill.
Stuff the bulb firmly, shaping the pointed tip and rounded body.
Cut the main color yarn, leaving a short tail.
Part 2: The Socket / Base (Green Yarn)
Round 11 (Socket Base):
Attach green yarn into the Back Loop Only (BLO) of the first stitch of Round 10.
Ch 1.
Working in BLO only: 1 sc in each of the 6 stitches around.
Sl st to the first sc to join.
(6 stitches)
(Note: Leave the remaining front loops free—you will work into them next for the lip/ridge).
Round 12 (Socket Top):
Ch 1.
Working through both loops normally: 1 sc in each of the 6 stitches around.
Sl st to the first sc to join.
(6 stitches)
Cut green yarn leaving a tail of about 15–20 cm.
Use a tapestry needle to thread through the 6 stitches of Round 12, pull to close the top flat, weave the end inward, and trim.
Socket Ridge / Rim (Adding the 3D Lip):
Turn the bulb upside down so the base faces you.
Join green yarn to the unused Front Loops (FLO) left over from Round 10.
Ch 1.
Work 1 sc in each of the 6 front loops around.
Sl st to the first sc to join.
(6 stitches)
Fasten off, pull the yarn tail to the inside of the bulb with your needle, and hide all remaining loose ends.

Part 3: Garland String & Assembly
Garland Cord:
Using green yarn, make a slip knot.
Chain 220 stitches (or chain until you reach your desired hanging length).
Fasten off and knot the ends.
Attaching Bulbs:
Decide how many bulbs you want on the garland (e.g., spaced 15–20 chains apart).
Thread a needle with green yarn.
Pass the needle through the top of the green socket of a bulb, loop securely through the garland chain, and knot neatly inside the socket cap to conceal the join.
Repeat for all bulbs across the chain.