Give your crochet collection some K-pop-inspired charm with Hetmongi, featuring rounded shaping, oversized ears, tiny facial details, and plenty of room for color changes.
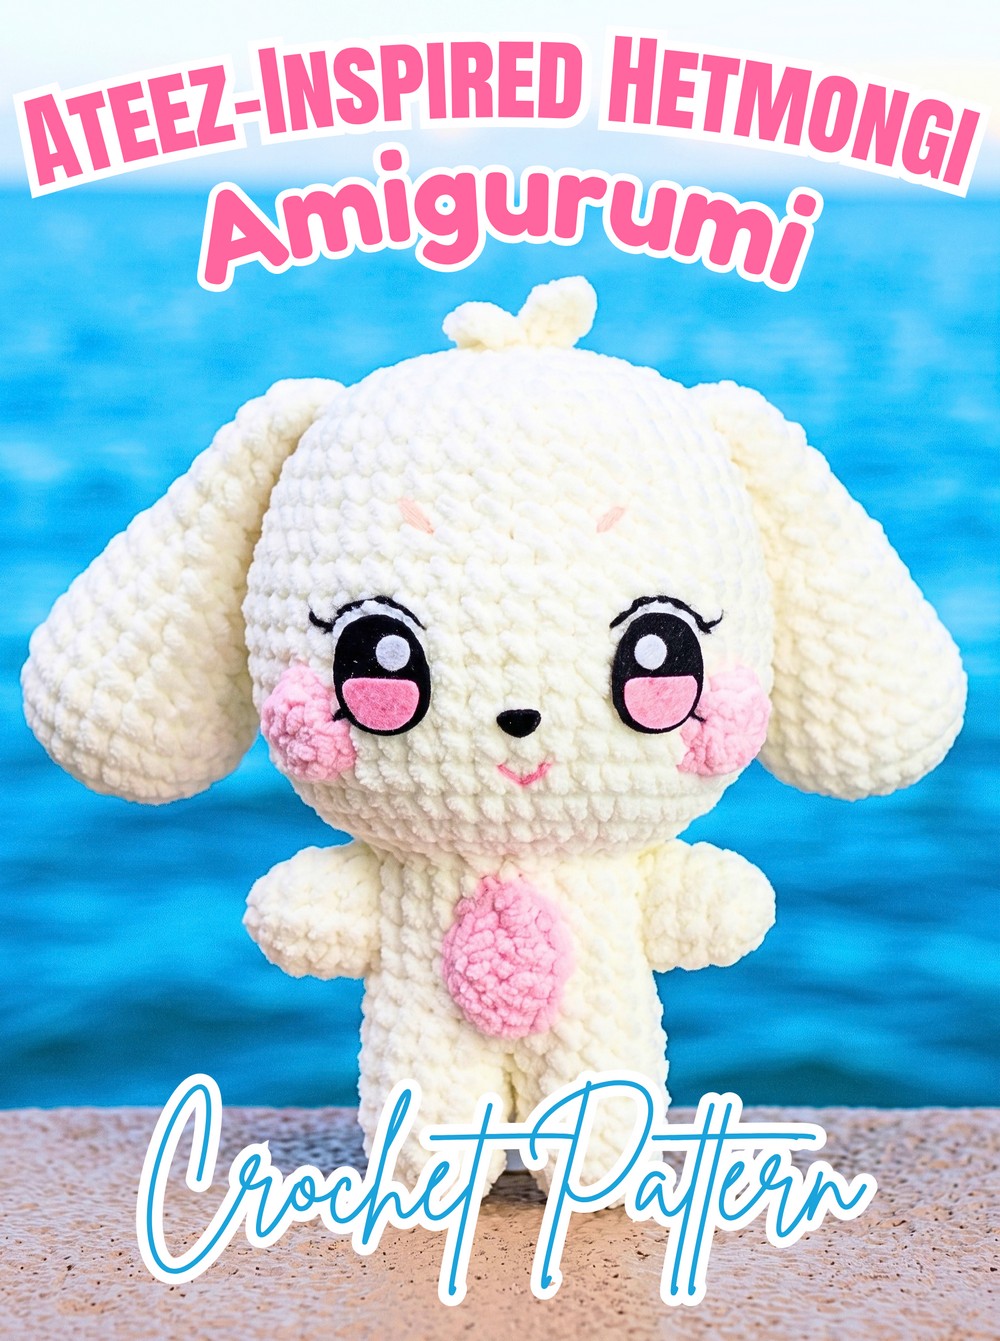
Hetmongi crochet plushie combines rounded shaping, oversized ears, embroidered facial details, and compact accent pieces for Ateez-inspired charm. This crochet design stays small enough for display, gifting, or carrying beside favorite collectibles.
With this crochet pattern, you’ll work through simple amigurumi stitches while learning how increases, decreases, and FLO shaping change body proportions. Your crochet piece can reach roughly 10–15 cm, with yarn weight, hook size, accent colors, and facial embroidery giving you flexible customization choices.
Credit Tata Crochet Patterns
What to Know Before You Start
Finished Size and Customization
Finished height is approximately 10–15 cm, depending on yarn weight and hook size. Worsted-weight or DK yarn works well within supplied guidance, while hook size should suit yarn closely enough to keep amigurumi stitches tight without visible gaps.
For smaller results, use lighter yarn with suitable hook sizing; for larger plushie-style results, move toward heavier yarn and an appropriate hook. Accent colors can change Hetmongi’s overall mood, while embroidered facial expressions can create different looks. Keep tension consistent whenever changing yarn or hook size, since both choices affect final proportions.
Pattern Level
Pattern level is best suited to crocheters who know basic amigurumi work and can follow sc, hdc, dc, sl st, increases, decreases, magic ring, and simple sewing. Written counts provide checkpoints throughout shaping.
Materials and Tools
- Yarn: Worsted-weight or DK yarn in primary character colors, typically white or cream for Hetmongi, plus accent colors for features.
- Crochet Hook: Appropriate size for chosen yarn; 2.0 mm to 2.5 mm can suit amigurumi when tight stitches are needed.
- Polyester fiberfill stuffing
- Yarn needle for weaving ends and sewing
- Stitch markers
- Embroidery floss or yarn for eyes and nose
- Scissors
Pattern Abbreviations
- st(s): Stitch(es)
- ch: Chain
- sc: Single crochet
- hdc: Half double crochet
- dc: Double crochet
- sl st: Slip stitch
- inc: Increase; work 2 single crochets in same stitch
- dec: Decrease; work 2 single crochets together
- FLO: Front loops only
- MR: Magic ring
- [#]: Total stitch count at end of round or row

Step-by-Step Crochet Process
Build Head and Body Shape
This section establishes Hetmongi’s main rounded form, so stitch counts matter from start through closure. Use your stitch marker consistently and check counts after every listed round, especially when increases change 6 stitches into 12, then 24, then 48.
Why this stage matters: Early increases establish width, while later decreases bring body volume back inward. Keeping counts correct here makes later facial placement and ear attachment easier.
Before moving on: Confirm each round count before continuing. If count is off, correct it before adding more rounds rather than carrying an error upward.
Round 1: Work 6 sc in MR. [6]
Round 2: Work 1 inc in each st around. [12]
Rounds 3–6 (4 rounds): Work 12 sc around. [12]
Transition: Work 4 sc extra.
Round 7: Work 12 sc + 12 sc into base. [24]
What to watch: Round 7 creates an important jump in stitch count. Check that both sets of 12 stitches are worked as instructed before continuing.
Round 8: Work 24 sc around. [24]
Rounds 9–13 (5 rounds): Work 24 sc around. [24]

Why these rounds matter: Repeated sc rounds give added height before shaping begins. Keep tension even so body width does not drift.
Round 14: (2 sc, 1 dec) × 6. [18]
Round 15 (FLO): Work 18 inc in front loops only. [36]
Why FLO matters: Working into front loops creates this shaping change at this point. Insert hook only through front loops for this round.
Round 16: (2 sc, 1 inc) × 12. [48]
Rounds 17–24 (8 rounds): Work 48 sc around. [48]
Check before shaping: Body should now hold its widest listed stitch count. Keep stuffing guidance in mind because closing rounds are approaching, but do not close body yet.
Round 25: (6 sc, 1 dec) × 6. [42]
Rounds 26–28 (3 rounds): Work 42 sc around. [42]
Round 29: (5 sc, 1 dec) × 6. [36]
Round 30: (4 sc, 1 dec) × 6. [30]
Round 31: (3 sc, 1 dec) × 6. [24]
Round 32: (2 sc, 1 dec) × 6. [18]
Round 33: (1 sc, 1 dec) × 6. [12]
Round 34: Work 6 dec. [6] Fasten off, leave yarn tail, and weave tail through front loops of remaining stitches to pull opening closed tightly.
Stuffing check: Firmly stuff head and body as final rounds approach, before full closure. Add fiberfill gradually so body stays firm without distorting stitch shape.

Shape Both Arms
Arms are worked separately in short rounds, then finished with long tails for sewing. Make 2 matching pieces and keep their orientation consistent during assembly.
Why this stage matters: Matching stitch counts help both arms sit evenly when sewn onto body.
Rounds 1–5: Follow each listed count carefully and keep tension similar between both arms.
Round 1: Work 5 sc in MR. [5]
Round 2 : Work 5 inc. [10]
Rounds 3–5 (3 rounds): Work 10 sc around. [10]
Finish: Fasten off, leaving long yarn tail for sewing.
What to check: Compare both arms before assembly. Similar length and fullness will help maintain balanced placement.

Form Both Ears
Ears need more shaping than arms, with increases building width before gradual decreases narrow each piece. Make 2 ears and use stitch counts as checkpoints throughout.
Why this stage matters: Ear width and gradual taper create their final rounded silhouette. Count changes closely so both pieces match.
Round 1: Work 8 sc in MR. [8]
Round 2: Work 8 inc. [16]
Round 3: (1 sc, 1 inc) × 8. [24]
Rounds 4–6 (3 rounds): Work 24 sc around. [24]
Round 7: (2 sc, 1 dec) × 6. [18]
Rounds 8–9 (2 rounds): Work 18 sc around. [18]
Round 10 [24:29]: (4 sc, 1 dec) × 3. [15]
Round 11: Work 15 sc around. [15]
Round 12: (3 sc, 1 dec) × 3. [12]
Rounds 13–14 (2 rounds): Work 12 sc around. [12]
Round 15: (2 sc, 1 dec) × 3. [9]
Rounds 16-17 (2 rounds): Work 9 sc around. [9]
Round 18: Work 4 sc, shifting stitches as needed for alignment. Fasten off and leave tail for assembly.
Before assembly: Place both ears side by side and compare shape. If stitch alignment differs, use supplied shift instruction before fastening off.

Crochet Accent and Tail Details
These flat pieces use rows rather than continuous rounds, so turning direction and stitch placement become important. Make 2 pieces and keep completed pieces ready for later assembly.
Why this stage matters: Row shaping creates flat decorative forms that differ from rounded amigurumi sections.
Row 1: Chain 12, skip 2 chains, work cluster/double crochet variations across: 2 dc in next, 2 dc in next, then 7 dc, and 3 dc in final st. [14]
Row 2: Chain 1 to turn, 1 sl st, 1 sc, 1 hdc, [1 dc + 2 dc in next st] × 3, 1 hdc, 1 sc, sl st. [15]
Row 3: Chain 1 to turn, skip 1, 1 sc, 1 hdc, 1 dc, [1 dc + 2 ch + sl st], 1 sc, 1 hdc, 1 dc, [1 dc + 2 ch + sl st], 1 sc, 1 hdc, 1 sc, sl st.
What to watch: Row 3 includes chain spaces and slip stitches, so pause at each bracketed group rather than trying to read entire row in one pass.
Add Facial Features and Finish Assembly
Assembly is easiest after all crocheted pieces are complete. Facial placement should happen before final attachment of ears and arms, giving you room to adjust alignment while body remains accessible.
Why this order matters: Eyes and nose placement define expression, while ear and arm placement affects overall balance. Finishing facial details first lets you check expression before completing remaining attachments.
Nose placement: Embroider nose securely around Round 20 using embroidery floss or contrasting yarn.
Eyes placement: Position eyes aligned with Round 20, leaving approximately 5 sc between them. Sew or embroider securely.
What to check: View face straight on before securing features completely. Confirm both eyes sit at similar height and maintain supplied spacing.
Ear positioning : Attach ears securely between Rounds 29 and 30, keeping both sides symmetrically aligned.
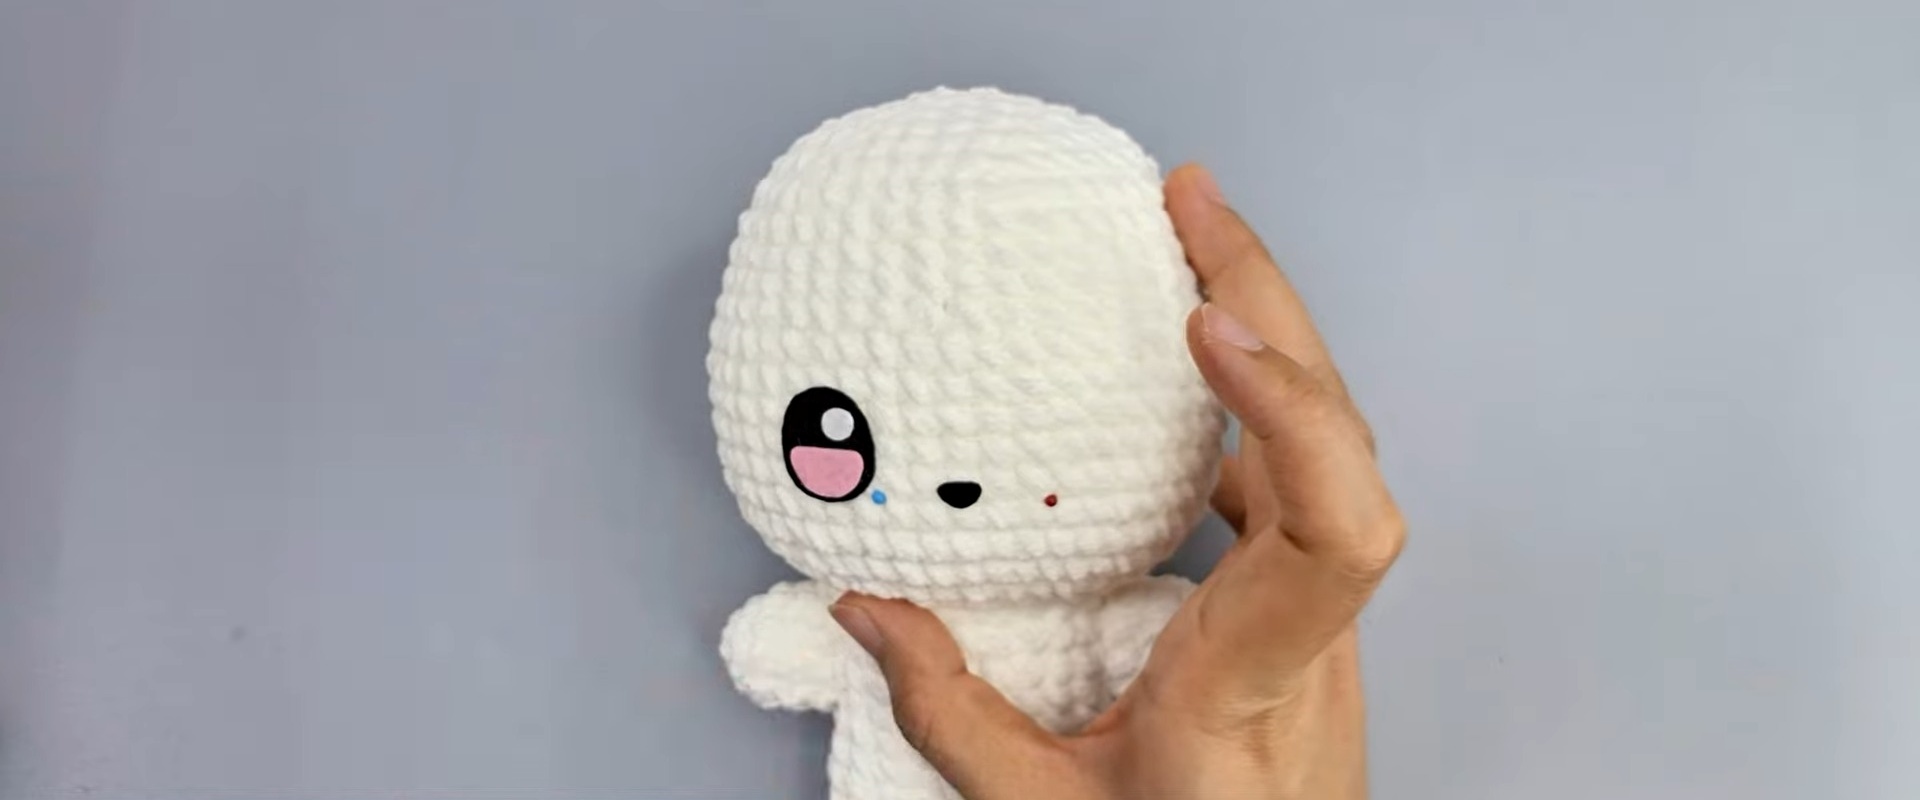
Arm attachment: Sew arms onto sides of body using long yarn tails.
Final yarn work: Weave remaining loose yarn ends securely inside plushie.
Accent pieces: Keep completed accent/tail details with finished assembly pieces. Supplied instructions do not give exact attachment placement for these pieces, so use your visual tutorial reference rather than inventing placement.
Final Shape Check
Before calling Hetmongi finished, inspect body firmness, facial alignment, ear symmetry, arm placement, and loose ends.
What to check: Body should remain firmly stuffed, eyes should sit around Round 20 with supplied spacing, ears should align between Rounds 29 and 30, and all sewing tails should be secured inside.

If something looks uneven: Adjust loose attachment points before trimming remaining yarn. Once tails are trimmed and woven in, repositioning becomes less convenient.
Hetmongi is now ready for display, gifting, or personal collection use. Color changes and embroidered expressions can give future versions different personalities while keeping core shaping intact.