Learn how to make cute crochet heart keychains in simple steps. Perfect for gifts, accessories, or decorations. Easy and fun for beginners!
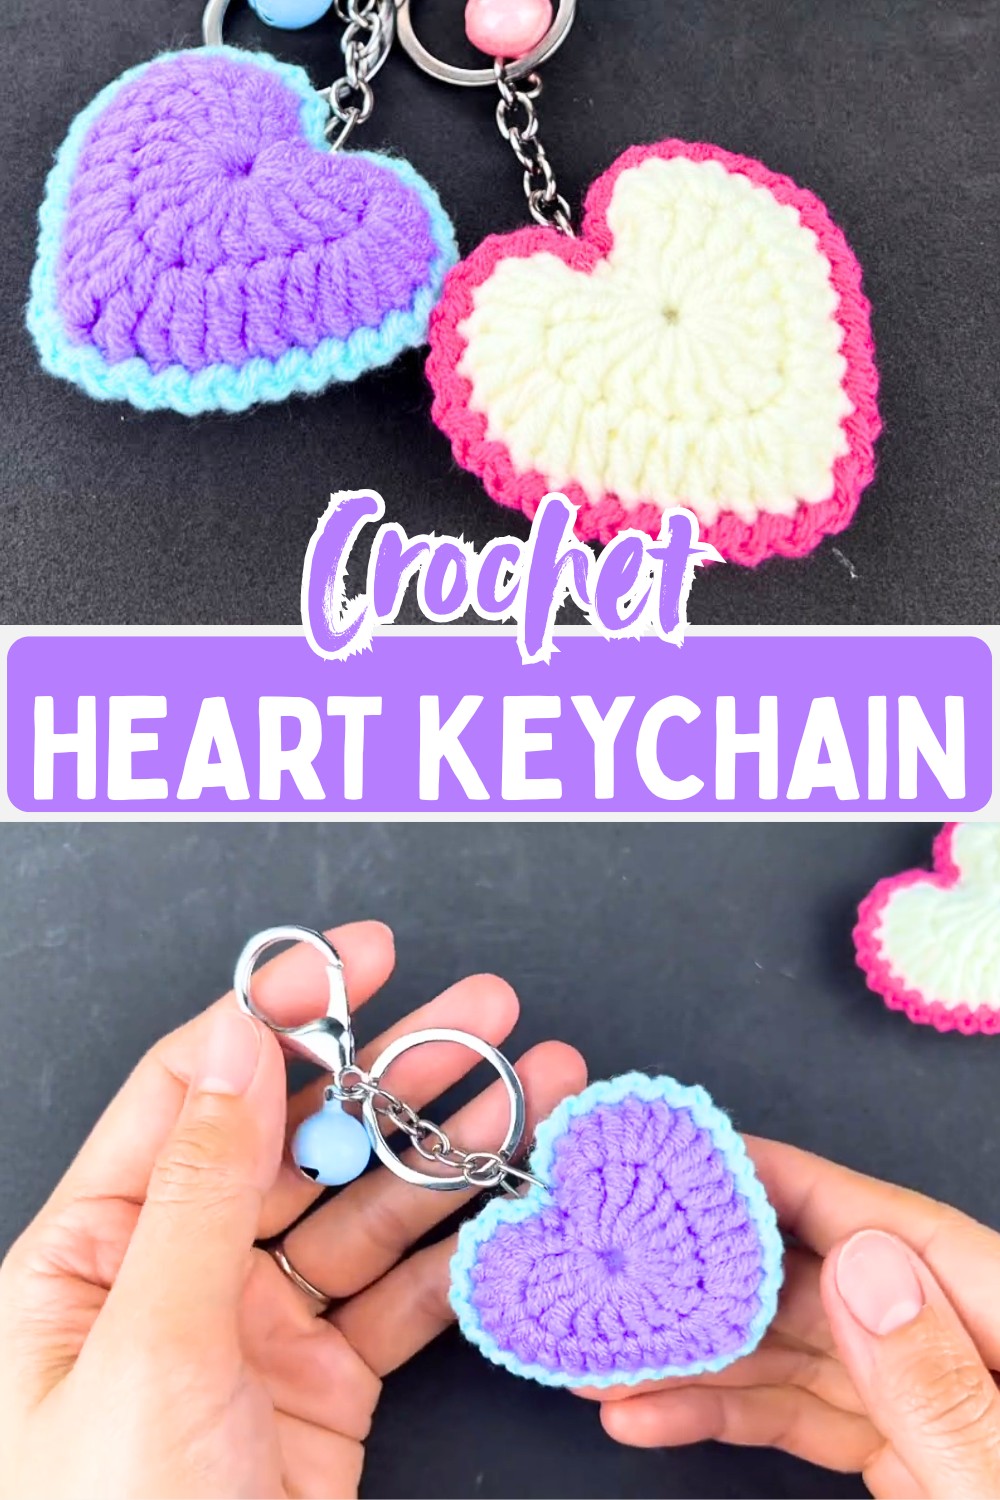
Crochet Heart Keychain Pattern
A handmade heart always carries a little extra meaning, and this crochet keychain is a lovely way to share it. Made from two matching heart pieces joined into a soft 3D shape, it comes together quickly while leaving plenty of room to play with your favorite colors. The final touch makes the crochet design even more delightful as it starts to take its finished form.
Small enough to carry every day, this crochet heart is perfect for keys, bags, or thoughtful handmade gifts. The simple stitch combhttps://crochetami.com/crochet-spiral-heart-coaster-for-table-decor/ination keeps the process enjoyable, while light stuffing gives the heart its plush look before the keychain hardware is attached. Every crochet step naturally builds toward a neat little accessory that’s both practical and full of handmade charm.
Credit Rin Crochet
Design Details
Pattern Type: Heart-shaped keychain / quick gift item
Construction Style: Made by joining two identical panels with fiberfill stuffing
Key Features: Flat-sided panels transform into a 3D plush heart when assembled
Techniques & Key Stitches Used
Magic ring/loop
Chain (ch)
Slip stitch (sl st)
Single crochet (sc)
Double crochet (dc)
Treble crochet (tr)
Materials Needed
Worsted weight or amigurumi yarn (recommended colors: Purple, Mint Green, etc.)
Fiberfill stuffing
Keychain hardware components
Tools Required
Crochet hook (Size 5/0 – 3.00mm)
Yarn needle/tapestry needle
Scissors
Pliers (for attaching the keychain hardware ring)
Finished Size / Measurements
Standard small keychain size. Exact measurements will depend on your tension and yarn choice.
Abbreviations & Terminologies
ch: Chain
sl st: Slip stitch
sc: Single crochet
dc: Double crochet
tr: Treble crochet
Helpful Tips Before You Start
Begin your magic ring with a long yarn tail to ensure it can be closed tightly.
If you’re replicating the alternating border look, keep two contrasting yarn colors ready.

Pattern Overview & Making Process
The pattern begins with a magic ring, where treble crochet, double crochet, chains, and a slip stitch shape the foundation of the heart. A second round adds more stitches around the edges to create smooth curves before the yarn is fastened off. The same steps are repeated to make two identical heart panels.
Once both pieces are complete, they are placed together with the wrong sides facing inward. The edges are joined using slip stitches and chains with a contrasting yarn, leaving a small opening before the heart is fully closed.
Fiberfill is added to create the soft 3D shape, then the remaining edge stitches seal the heart securely. After weaving in the yarn ends, the keychain hardware is attached with pliers, completing a compact handmade accessory that’s ready to use or gift.
Step-by-Step Pattern Instructions
Panel 1 & Panel 2 (Make 2 identical shapes)
Start with a Magic Ring
Begin by creating a magic ring. This allows you to start crocheting in the round.
Round 1
Chain 2 (Ch 2)
Into the magic ring, work the following stitches consecutively:
3 Treble Crochet (3 tr)
3 Double Crochet (3 dc)
1 Double Crochet (1 dc)
1 Treble Crochet (1 tr)
1 Double Crochet (1 dc)
3 Double Crochet (3 dc)
3 Treble Crochet (3 tr)
Finish with Chain 2 (Ch 2) and Slip Stitch (sl st) into the center of the magic ring.
Pull the loop of the magic ring tight to close the center.
Chain 1 (Ch 1) and turn your work.

Round 2
Start with 1 Single Crochet (1 sc) in the beginning stitch.
Next, work 3 Double Crochet in the same stitch; repeat this three times: (3 dc in the same stitch) x 3
Continue with: 3 Double Crochet in each subsequent stitch.

2 Double Crochet in the same stitch, repeat this two more times: (2 dc in the same stitch) x 3
Then, work: 1 Treble Crochet (1 tr)
Repeat: 1 Treble Crochet (1 tr)

Resume with: 2 Double Crochet in the same stitch, repeat once: (2 dc in same stitch) x 2
3 Double Crochet in each subsequent stitch.
Finish with another set of: (3 dc in the same stitch) x 3
Complete with a Single Crochet (sc), Slip Stitch (sl st), then Chain 1 (Ch 1).
Cut the yarn and securely weave in the end using a yarn needle.
Repeat the above steps to create two identical heart panels. Once completed, these panels will be joined together in the assembly phase to create your heart keychain!
Assembly Instructions
Align the two panels together, with the wrong sides facing inward.
Insert the hook through the corresponding edge stitches of both panels.
Pull up the accent yarn (Mint green) and begin joining with: Sl st followed by ch 1 along the edges to bind the panels.
Before fully sealing the heart, generously stuff it with fiberfill.
Complete the remaining stitches, join with a sl st, and weave in final yarn ends securely.
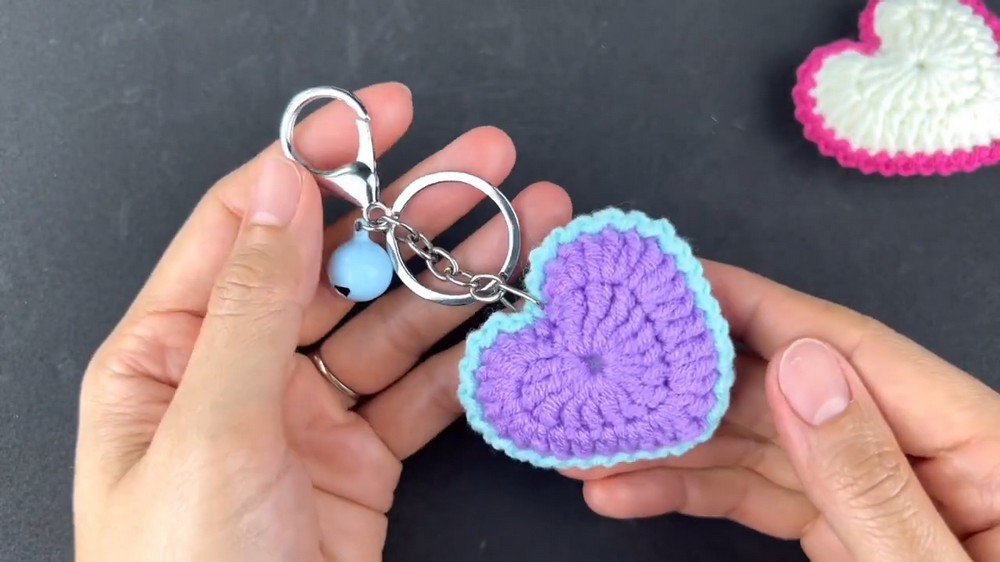
Use pliers to attach the keychain hardware to the top of the heart.\
Customization Options
Change yarn colors to create seasonal themes (e.g., Red & White for Valentine’s Day or Green & White for Christmas).
Experiment with multicolor borders or embellishments for added flair.
Troubleshooting & Common Issues
Loose Center: Ensure your magic ring is pulled tightly before proceeding to the border assembly.
Pattern Variations
Switch yarn colors to personalize the hearts for special occasions!
Add embroidered initials or tiny decorative elements to make them unique.
Conclusion
This beginner-friendly pattern by Rin Crochet is perfect for creating adorable, heartfelt gifts in no time. Whether you craft them for friends, loved ones, or as quick shop fillers, these crochet heart keychains are sure to bring joy and charm!