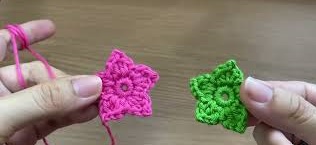
Want to add handmade sparkle to your everyday accessories? This tiny crochet star keychain uses simple stitches to create five pointed tips in a colorful, pocket-sized design.
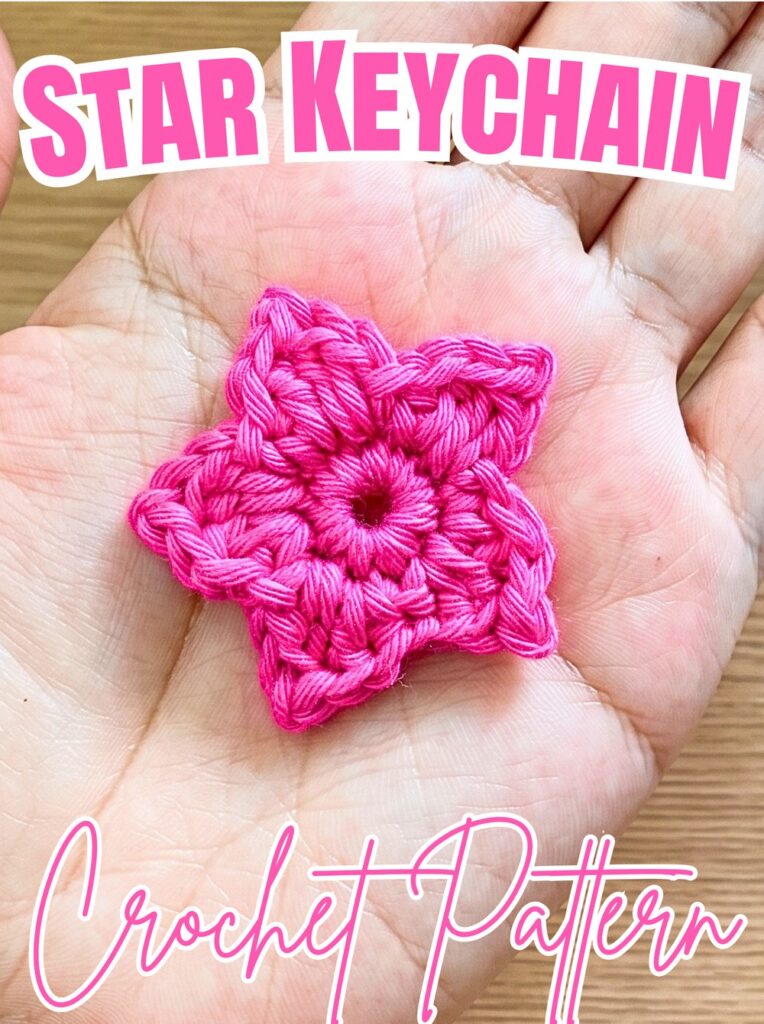
Small handmade accessories can make everyday items feel more personal, and this crochet star is designed to stand out without needing a complicated pattern. Its five pointed tips give it a recognizable crochet star shape, while cotton yarn lets you choose anything from a single bright color to a playful multicolor finish.
This tutorial walks you through crocheting a small center ring, shaping five star points, and finishing the piece for use as a keychain or bag charm. You’ll also learn how to form the pointed tips with a picot detail, secure loose yarn ends, and attach keychain hardware neatly.
Credit Bua Crochet
Materials & Tools
- Yarn: 4-ply cotton yarn, approximately 2 mm thick.
- Crochet hook: 3.0 mm.
- Tapestry needle: For weaving in yarn ends.
- Scissors: For cutting yarn.
- Stitch markers: Optional, to help track the starting point.
- Ball chain or keychain hardware: For attaching the finished star.
Finished Size & Customization
The finished star measures approximately 1.5–2 inches across, making it suitable for compact keychains, bag charms, or phone strap decorations.
Try gradient or multicolor cotton yarn for a changing-color effect. You can also experiment with sport-weight or velvet yarn and a matching hook to make a larger or smaller star. Different yarns can change how sharply the points hold their shape, so check the outline as you crochet.
Pattern Abbreviations
- MR: Magic ring
- SC: Single crochet
- SLST: Slip stitch
- CH: Chain
- HDC: Half double crochet
- DC: Double crochet
- Picot: A small pointed detail formed by making a chain and slip stitching into its base or designated loops.

Step-by-Step: How to Crochet a Star Keychain
Step 1: Create the Center Ring
<text color=”secondary” size=”sm”>Yarn: Cotton · Hook: 3.0 mm</text>
The center ring forms the base for all five star points. Keeping this circle compact helps the points spread evenly around the edge.
- Make a magic ring.
- Work 10 single crochet stitches into the ring.
- Pull the yarn tail to close the center hole securely.
Check your work: Count all 10 stitches before moving on. If the ring is loose, gently tighten the tail so the center does not leave a large gap.
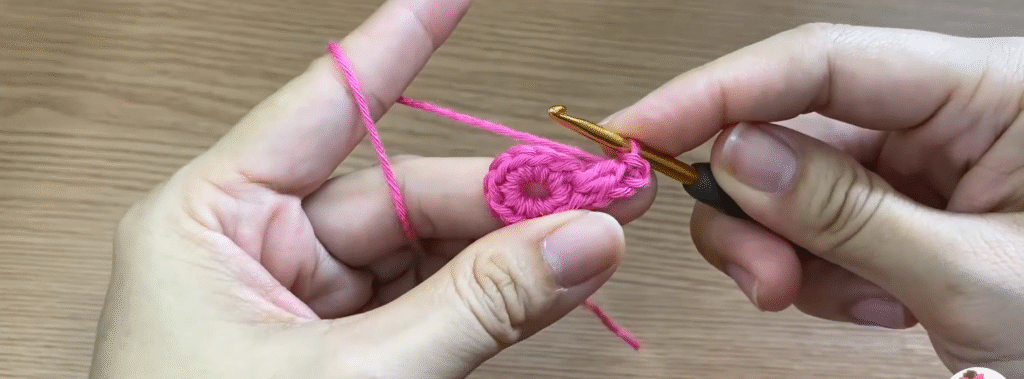
Step 2: Begin Shaping the First Star Point
The second round forms five points around the original ring. Each point uses a sequence of shorter and taller stitches to create its sloping sides and pointed tip.
- Work a slip stitch into the next stitch.
- Chain 1.
- Work 1 half double crochet into the same space.
- Work 1 double crochet.
- Chain 1 to begin forming the tip.
Keep the stitches relaxed enough to work into, but avoid making the chains overly loose. Consistent tension helps the star outline look balanced.
Step 3: Form the Picot Tip
The picot creates the sharp-looking end of each star point.
- After the chain, make a slip stitch into the designated base or side loops of the chain and double crochet, following the demonstrated method.
- Work 1 double crochet.
- Work 1 half double crochet.
The taller stitches create the outer slope, while the picot marks the tip. If the point looks rounded, check that the picot is anchored in the correct loops and that the chain is not too loose.
Step 4: Repeat to Make All Five Points
Repeat the same point-making sequence around the center ring until all five points are complete.
For each point, follow this order:
- Slip stitch into the next stitch.
- Chain 1 and work a half double crochet into the same space.
- Work a double crochet.
- Chain 1 and form the picot.
- Work a double crochet and a half double crochet.
Important pattern note: The supplied instructions describe repeating the sequence five times, but do not specify every stitch placement between the points in full detail. Follow the original video’s placement carefully to distribute all five points evenly around the 10-stitch center ring.
Teaching tip: Pause after completing each point and compare it with the previous one. Similar height, width, and tension help prevent the star from becoming lopsided.
Step 5: Fasten Off the Yarn
Once the fifth point is complete, secure the final loop so the crochet work cannot unravel.
- Cut the yarn, leaving a short tail.
- Pull the cut end completely through the final loop.
- Gently tighten the yarn to secure it.
Avoid pulling so hard that the final point bends or becomes smaller than the others.
Step 6: Weave in the Yarn Ends
Neat finishing helps the back of the star look tidy and keeps loose strands from catching on other items.
- Thread the yarn tail onto a tapestry needle.
- Weave the tail through several stitches on the back of the star.
- Change direction slightly as you weave to help secure the end.
- Trim excess yarn without cutting through the stitches.
Repeat for the center-ring tail if it remains loose. Check both sides before attaching the hardware.
Step 7: Attach the Keychain Hardware
The final step turns the crocheted star into a portable accessory.
- Locate the top point of the star.
- Loop the ball chain or keychain ring through the top point, taking care not to split or damage the yarn.
- Close the chain or ring securely.
- Hold the star by its hardware and check that it hangs with a point facing upward.
Helpful tip: Attach the hardware through a sturdy section near the top point rather than through a loose yarn tail. If the crochet fabric feels too delicate to support the fitting, reinforce the attachment area before regular use.
Finishing Checks
Before using or gifting your star, check the following:
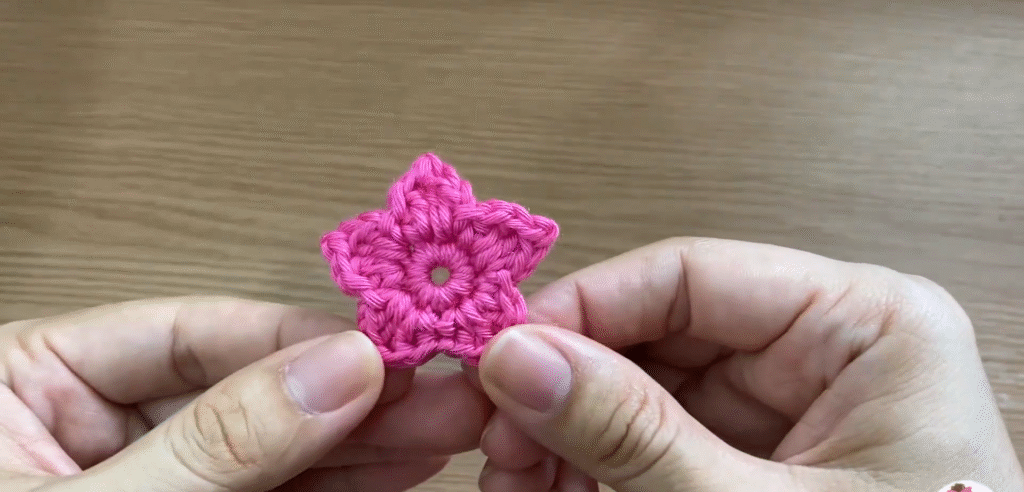
- All five points are clearly shaped and spaced evenly.
- The picot tips are secure and not overly loose.
- The center ring is closed.
- Yarn ends are woven in and trimmed neatly.
- Keychain hardware is firmly closed and attached.
Your Crochet Star Keychain Is Ready
Your little crochet star is now finished and ready to decorate keys, bags, or phone straps. With its five pointed tips and compact size, it makes a quick handmade accessory and can also be a thoughtful small gift or a useful addition to a craft-market collection.