Looking for a sweet handmade keepsake? This crochet teddy bear pattern guides you through shaping a cuddly bear with simple stitches, embroidered features, and clear assembly instructions.
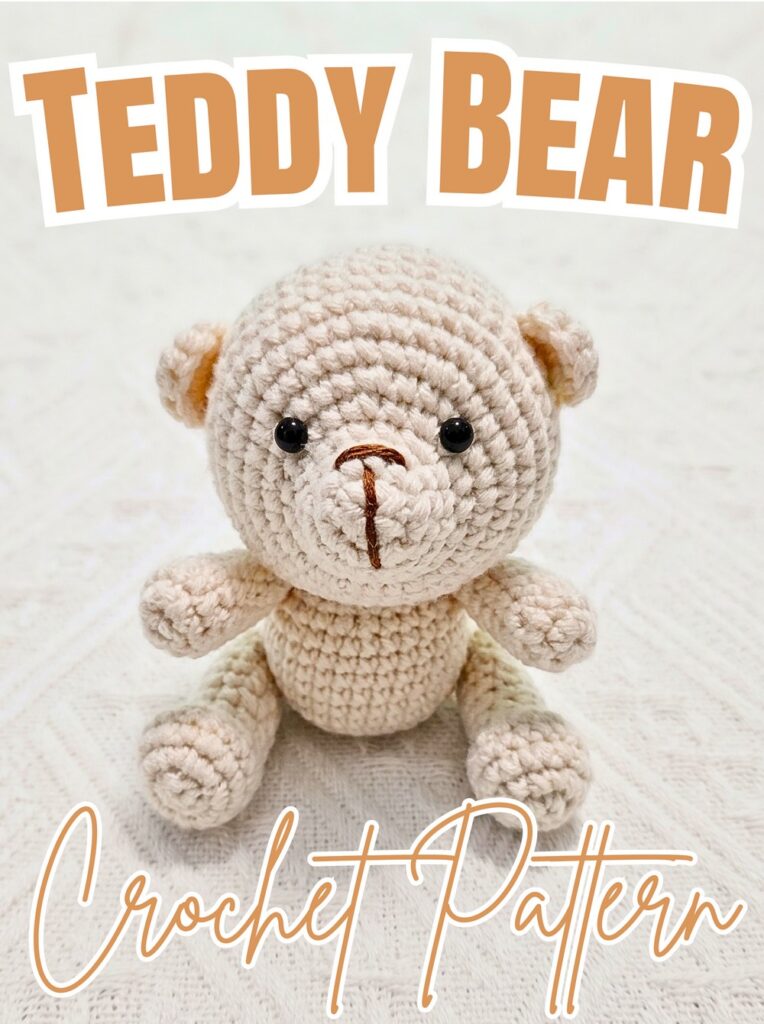
Crocheting a tiny teddy bear gives you a chance to turn simple stitches into a lovable little companion. Rounded features, small ears, and an embroidered expression give this crochet teddy bear its gentle, cuddly character, making it a charming gift or keepsake.
This crochet tutorial guides you through shaping the head and body, making separate arms, legs, ears, and tail, then joining everything into a finished toy. You’ll also learn where to place facial features and how to add personal touches with different yarn colors or a miniature scarf. Let’s make your teddy bear.
Credit Eny’s crochet
Materials & Tools
- Yarn: Light-colored worsted-weight or sport-weight yarn in your chosen main color.
- Crochet Hook: 2.0 mm crochet hook.
- Eyes: Safety eyes or black embroidery thread for stitched eyes.
- Embroidery Floss: Brown floss for the nose, muzzle, and mouth.
- Stuffing: Polyester fiberfill.
- Notions: Yarn needle, stitch markers, pins, and scissors.
Finished Size & Customization
The completed teddy bear measures approximately 12–15 cm (4.5-6 inches) tall, depending on yarn thickness, hook choice, and individual tension.
- Pastel bear: Try pink or mint green yarn for a softer look.
- Classic teddy: Combine brown and beige shades if you want a traditional appearance.
- Tiny accessory: Add a crocheted scarf or small ribbon around the neck.
- Personal detail: Embroider a contrasting heart on the belly after assembly.
Crochet Abbreviations
- MR: Magic Ring
- st(s): Stitch(es)
- sl st: Slip Stitch
- ch: Chain
- sc: Single Crochet
- inc: Increase – work 2 single crochets in the same stitch.
- dec: Decrease – combine 2 stitches using an invisible decrease.
- [ ]: Total stitch count at the end of a round.
- ( ) x N: Repeat the instructions inside the parentheses the specified number of times.
Before starting: Work in continuous rounds unless your pattern instructions indicate otherwise. Use a stitch marker to identify the first stitch of each round, and check the stitch count before moving on.

Step-by-Step Crochet Teddy Bear Pattern
Step 1: Crochet the Head
The head creates the bear’s main facial shape. Begin with a small ring, increase gradually to form a rounded section, then decrease toward the bottom opening.
Follow these rounds:
- R1: 6 sc in MR [6]
- R2: 6 inc [12]
- R3: 12 sc [12]
- R4: (1 sc, 1 inc) x 6 [18]
- R5: 3 sc, (1 sc, 1 inc) x 6, 3 sc [24]
- R6: 4 sc, 1 inc, (2 sc, 1 inc) x 5, 4 sc [30]
- R7: 3 sc, (3 sc, 1 inc) x 6, 3 sc [36]
- R8: 5 sc, 1 inc, (4 sc, 1 inc) x 5, 5 sc [42]
- R9–R14: 42 sc around for 6 rounds [42]
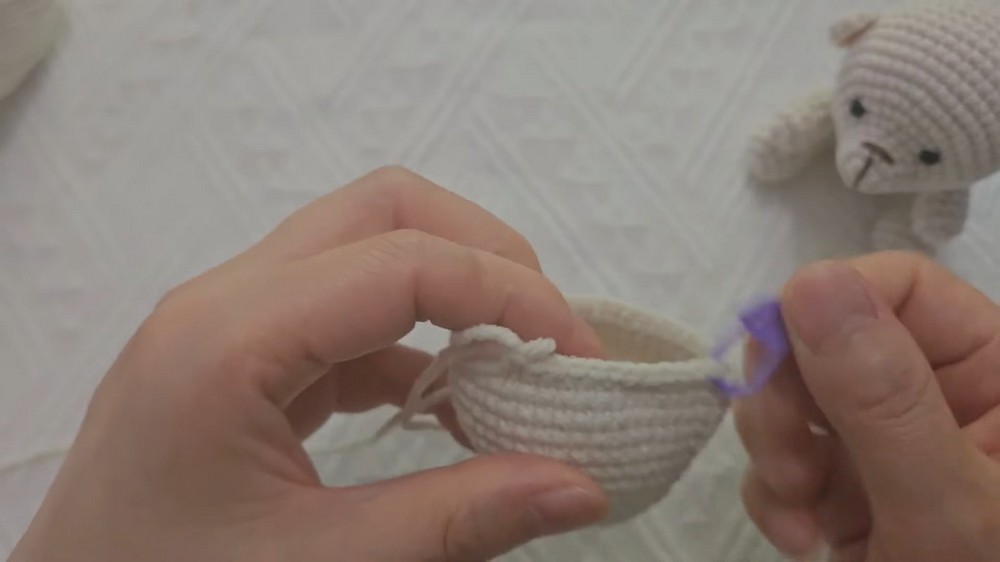
- R15: (5 sc, 1 dec) x 6 [36]
- R16: 36 sc around [36]
- R17: (4 sc, 1 dec) x 6 [30]
- R18: (3 sc, 1 dec) x 6 [24]
- R19: (2 sc, 1 dec) x 6 [18]
Stuff the head now. Add fiberfill evenly, paying attention to the sides so the head keeps a rounded shape without becoming lumpy.
- R20: (1 sc, 1 dec) x 6 [12]
- R21: 6 dec [6]
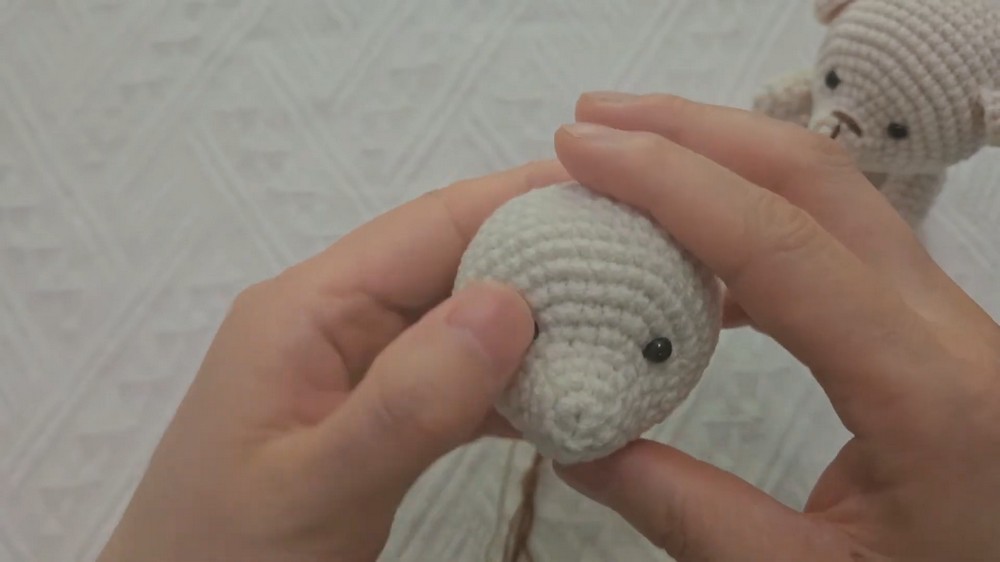
Cut the yarn, leaving enough length to close the opening. Thread the tail through the front loops of the remaining 6 stitches, pull tight, and hide the end inside the head.
Place the facial features before closing the head completely whenever possible. Insert safety eyes between Rounds 5 and 6, leaving approximately 6 stitches between them. Check that they sit level before securing their backs. If making the bear for a young child, use securely embroidered eyes instead of safety eyes, which can pose a choking hazard.
Using brown embroidery floss, stitch the nose and muzzle details centered beneath and between the eyes. Add the mouth carefully, keeping both sides balanced for a friendly expression. The supplied tutorial places this embroidery.
Step 2: Shape the Body
The body starts wider at the base and gradually narrows toward the neck. This shaping helps the bear sit naturally once its legs are attached.
- R1: 6 sc in MR [6]
- R2: 6 inc [12]
- R3: (1 sc, 1 inc) x 6 [18]
- R4: (2 sc, 1 inc) x 6 [24]
- R5: (3 sc, 1 inc) x 6 [30]
- R6–R8: 30 sc around for 3 rounds [30]
- R9: 4 sc, (1 dec, 2 sc) x 5, 1 dec, 4 sc [24]
- R10–R11: 24 sc around for 2 rounds [24]
- R12: (2 sc, 1 dec) x 6 [18]
- R13–R14: 18 sc around for 2 rounds [18]
- R15: (1 sc, 1 dec) x 6 [12]
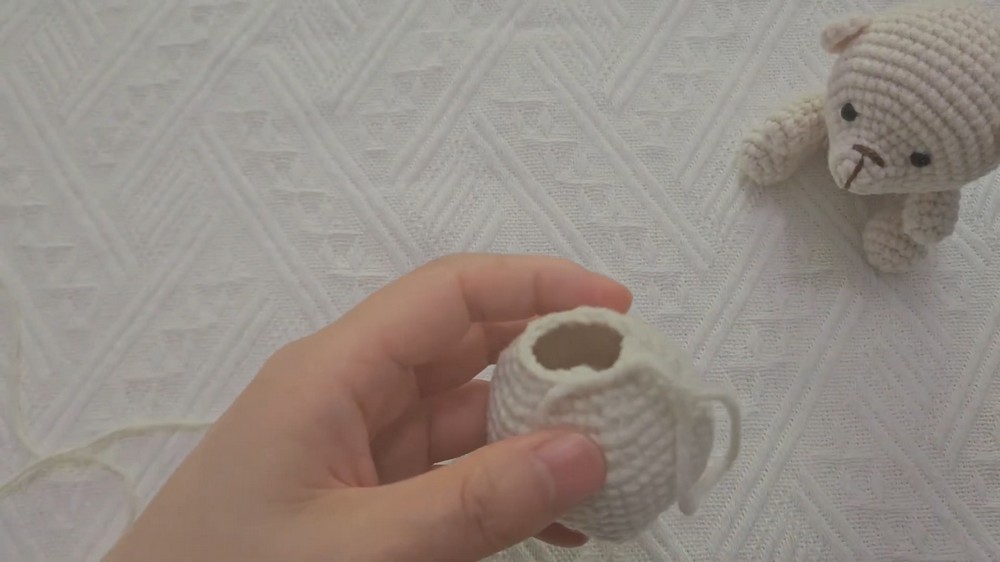
Fasten off, leaving a long yarn tail for sewing the body to the head. Stuff the body firmly but evenly, especially around the lower portion, so it holds its shape.
Shape check: The body should have a fuller lower section and a narrower top. Keep the last opening accessible for joining it to the head.
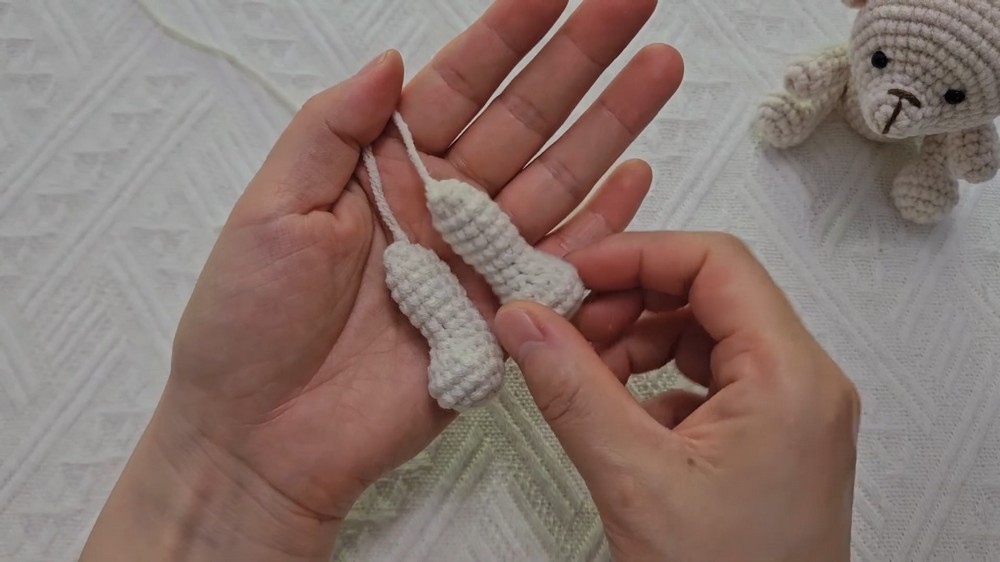
Step 3: Make Two Legs
Each leg begins with a rounded foot, then continues into a narrow section. Make two matching pieces, checking their stitch counts and lengths as you work.
- R1: 6 sc in MR [6]
- R2: 6 inc [12]
- R3: (1 sc, 1 inc) x 6 [18]
- R4: 18 sc around [18]
- R5: 3 sc, 6 dec, 3 sc [12]
- R6: 3 sc, 3 dec, 3 sc [9]
- R7: 9 sc around [9]
- R8: (2 sc, 1 inc) x 3 [12]
- R9–R12: 12 sc around for 4 rounds [12]
- R13: 6 dec [6]
Fasten off, lightly stuff each leg, and close its opening with a yarn needle. Leave a long tail for attaching the legs to the body.
Helpful tip: Keep both feet facing the same direction when you finish them. Matching their orientation makes it easier to position them evenly during assembly.
Step 4: Crochet Two Ears
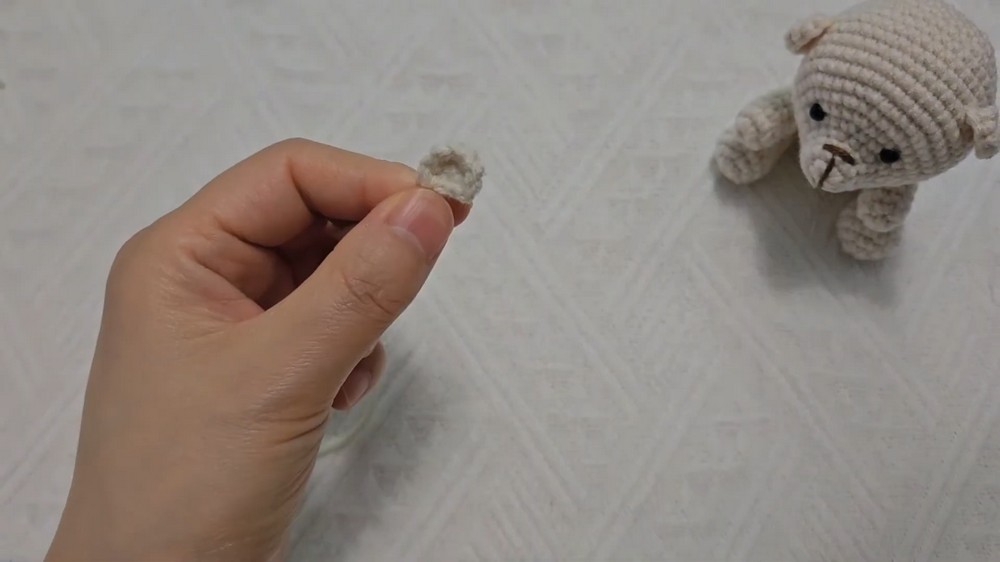
The ears are small, flat pieces that add the familiar teddy bear silhouette. Make two, keeping the stitches relaxed enough to preserve their shape without stretching the magic ring.
- R1: 5 sc in MR [5]
- R2: 1 sc, 1 inc, 1 sc, 1 inc, 1 sc [7]
Fasten off and leave a long tail for sewing. Do not stuff the ears. Flatten each piece gently before attaching it.
Step 5: Make Two Arms
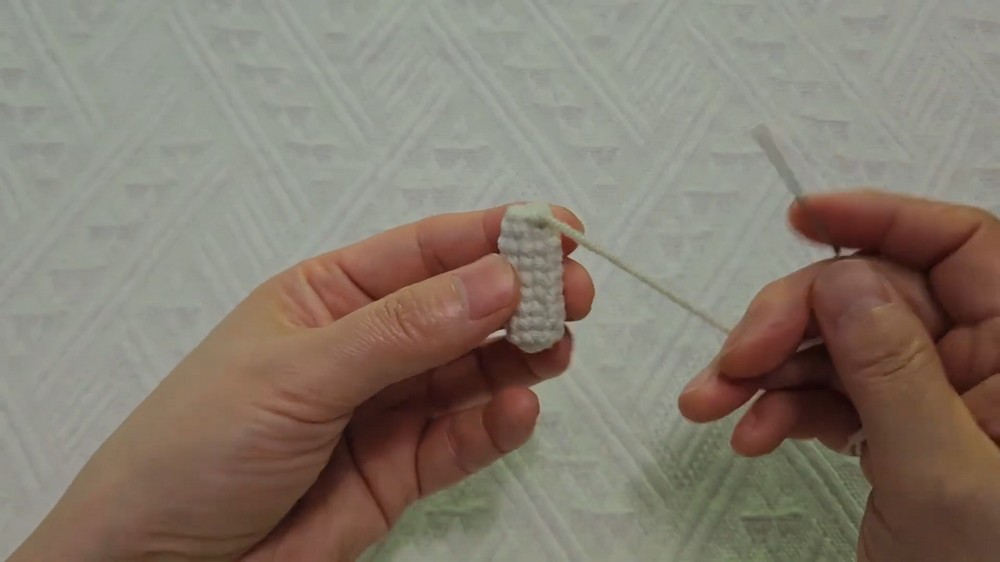
The arms begin with a slightly rounded end and continue as narrow tubes. A small amount of stuffing at the lower end gives them shape without making them stiff.
- R1: 6 sc in MR [6]
- R2: 6 inc [12]
- R3: (2 sc, 1 dec) x 3 [9]
- R4–R8: 9 sc around for 5 rounds [9]
- R9: (1 sc, 1 dec) x 3 [6]
Fasten off, lightly stuff the lower portion of each arm, and leave a long tail for sewing.
Check before joining: Both arms should be approximately the same length, with enough unstuffed space near the top to make sewing them onto the body easier.
Step 6: Crochet the Tail
The small tail is made in just two rounds, making it one of the quickest pieces to complete.
- R1: 6 sc in MR [6]
- R2: 6 sc around [6]
Fasten off, leaving a sewing tail. Keep this small piece unstuffed unless extra shaping is needed; the supplied instructions do not specify stuffing.
Step 7: Attach the Head and Body
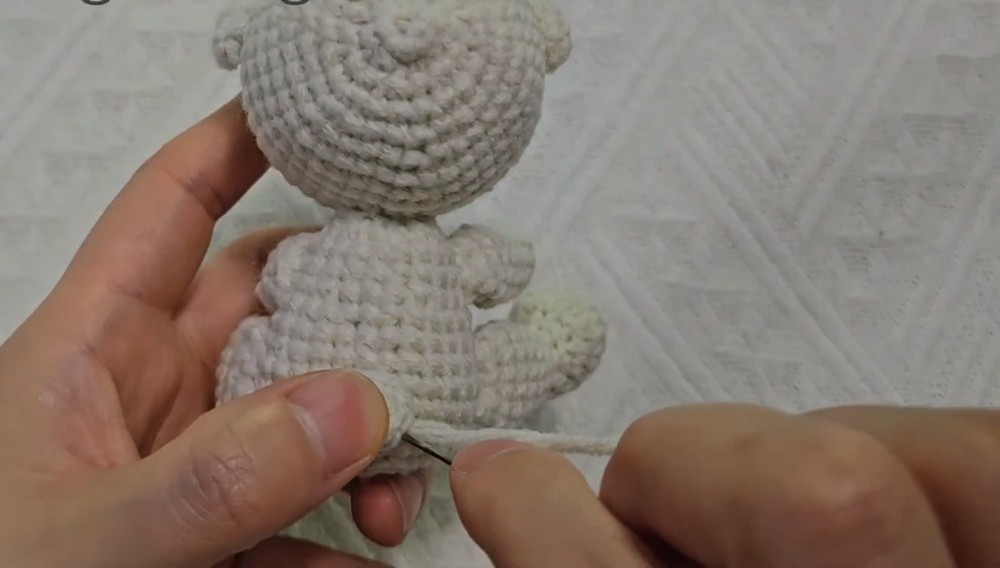
With all pieces finished, begin joining the largest sections. Align the bottom opening of the head with the top opening of the body, using pins to hold both parts in place.
Use the long yarn tail left on the body to whipstitch around the join, catching corresponding stitches from both pieces. Work around the entire opening, then check the seam before securing the yarn.
Alignment tip: Look at the bear from the front and sides while pinning. The face should point forward, and the head should sit straight rather than leaning to one side.
Step 8: Sew on the Ears
Position the ears symmetrically on the upper sides of the head, between Rounds 11 and 12, approximately 12 stitches apart.
Pin both ears first and compare their height from the front. Sew each one securely using its yarn tail, keeping it flat or slightly curved according to your preferred look.
Result check: Both ears should appear balanced, with neither sitting noticeably higher or farther forward than the other.
Step 9: Attach the Arms
Place the arms symmetrically on the upper sides of the body, just beneath the neck joint. Pin them before sewing so you can compare their height and angle.
Use the remaining yarn tails to sew each arm securely to the body. Keep the arms positioned naturally at the sides rather than pulling them too tightly against the torso.
Step 10: Position the Legs
Sew the legs to the lower front and sides of the body. Their placement matters because it determines how comfortably the teddy bear sits.
Pin both legs first, then sit the bear on a flat surface to check its balance. Adjust their position before sewing them firmly in place.
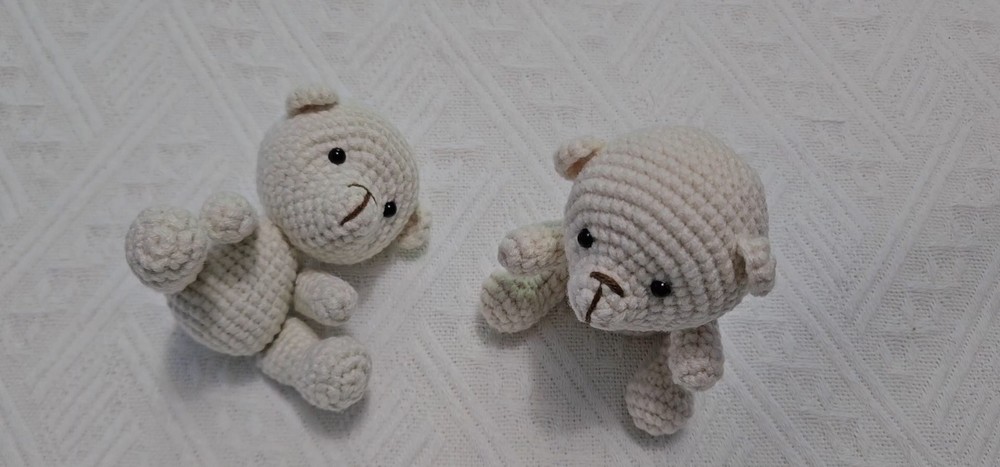
Helpful tip: If the bear tips forward or sideways, check whether the legs are aligned evenly and whether the stuffing is distributed consistently. Make any adjustments before finishing the seams.
Step 11: Sew on the Tail
Center the small round tail on the lower back of the body. Pin it in place, check its position from behind, and sew around its edge with the yarn tail.
Secure the yarn without pulling so tightly that the tail loses its round shape.
Step 12: Finish and Personalize Your Teddy Bear
Weave any remaining loose yarn ends into the body components and trim excess yarn carefully. Check all seams, facial embroidery, and attached pieces before considering the bear finished.
For a personal touch, add a tiny scarf, tie a ribbon around the neck, or embroider a contrasting heart on the belly. Pastel pink, mint green, brown, and beige yarn can each give the same pattern a different personality.
Your handmade crochet teddy bear is now complete, ready to display, gift, or add to a collection of small crocheted keepsakes.