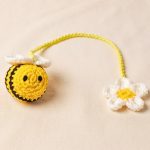
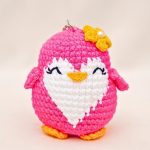
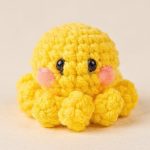
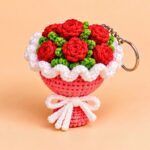
Here’s a sweet little crochet companion you can personalize with your favorite yarn colors and a custom hanging loop, making it a lovely handmade accessory or gift.
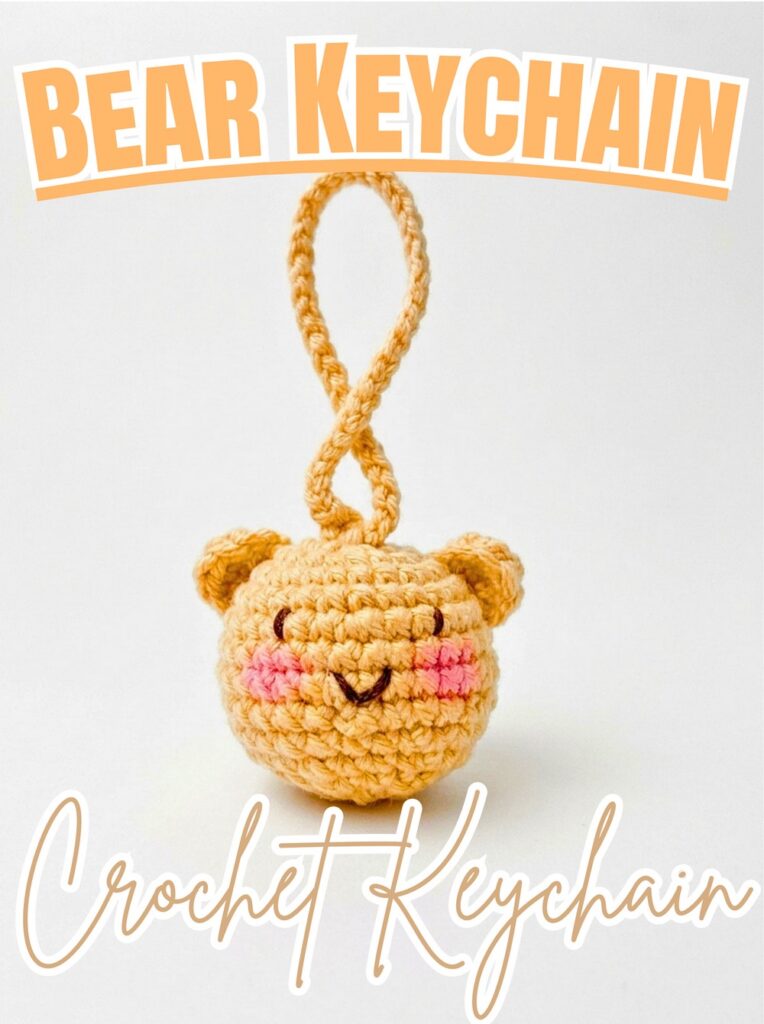
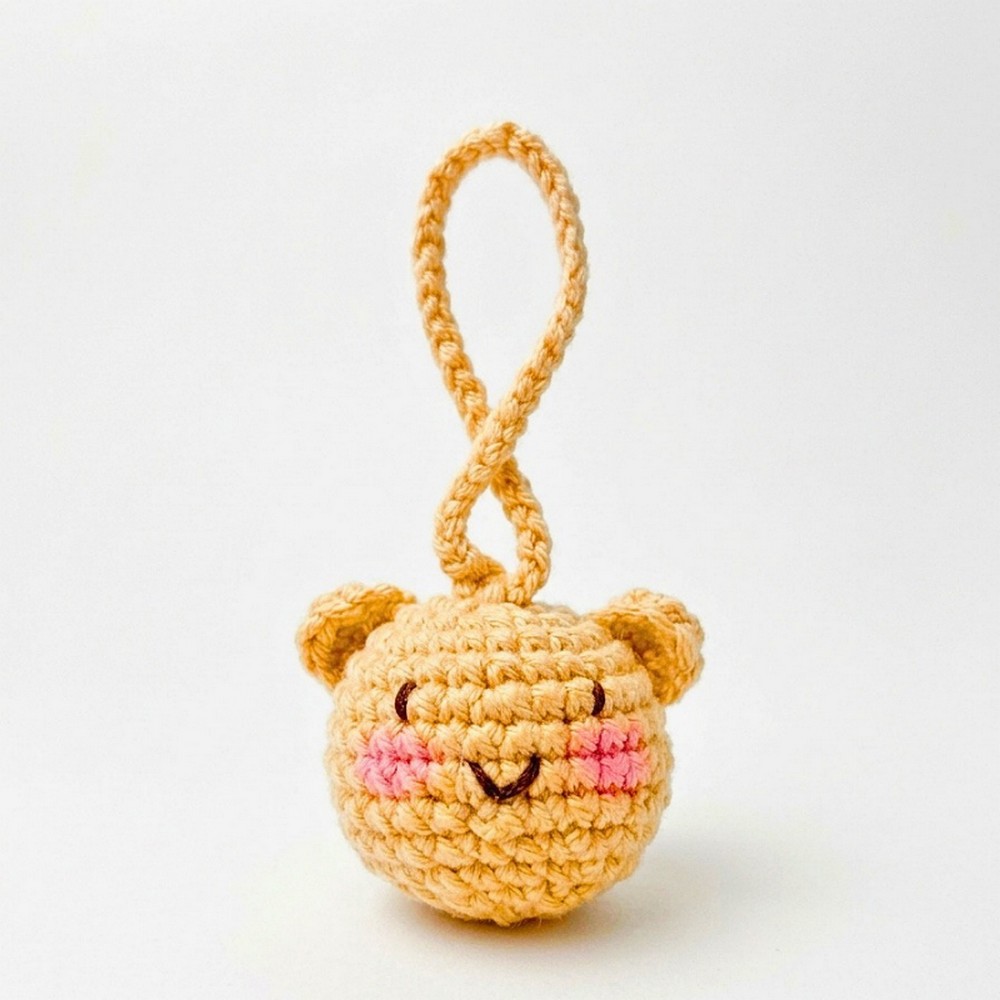
Two tiny crochet bears make a charming matching pair, especially in complementary colors. Rounded heads, curved little ears, and personalized facial details give each bear its own character while keeping the pair visually connected.
Start by shaping the main figure, then add the ears and finishing touches, and then form the hanging loop. This tutorial walks you through the crochet rounds, stuffing, assembly, and strap adjustment so you can complete your miniature bear and customize it for keys, bags, or gifting.
Credit Meio Crochet
Materials & Tools
- Yarn: Sport, DK, or worsted-weight yarn in your chosen bear color. Use different colors if making a matching pair.
- Crochet hook: Approximately 2.0–3.5 mm, matched to your yarn.
- Stuffing: Fiberfill or cotton stuffing.
- Yarn needle: For sewing the opening closed and weaving in ends.
- Scissors: For trimming yarn.
Finished Size & Customization
This miniature amigurumi bear is designed to hang from a bag, keyring, or accessory. Its exact size depends on your yarn and hook.
For a matching couple, choose complementary shades such as brown and cream, pink and white, or two contrasting pastels. You can also add a tiny bow, embroidered nose, or blush details. Adjust the hanging loop to suit the item you plan to attach it to.
Pattern Abbreviations & Terminology
- ch: Chain
- sc: Single Crochet
- hdc: Half Double Crochet
- dc: Double Crochet
- inc: Increase – work 2 sc in the same stitch
- dec: Decrease – crochet 2 stitches together
- sl st: Slip Stitch
- MR / mr: Magic Ring
- st(s): Stitch(es)
- Rnd: Round
- Row: Row
Step-by-Step Crochet Bear Keychain Tutorial
Work the bear in rounds, starting with a small magic ring. Increases establish the shape, several even rounds build the middle, and decreases close the bottom. Make the ears and hanging loop separately, then attach them afterward.
Step 1: Start the Bear with a Magic Ring
Begin with your chosen yarn and create a magic ring. Work 6 single crochet stitches into the ring, then pull the tail to close the center.
Round 1: 6 sc (6 stitches).
This small starting circle forms the center of the bear’s rounded head and body.
Step 2: Increase the First Rounds
Gradually build the piece by adding stitches around the circle.
- Round 2: Inc in every stitch (12).
- Round 3: (1 sc, inc) repeat around (18).
- Round 4: Work 1 sc in each of the first 2 stitches, then inc in the next stitch; repeat around. The supplied pattern lists 21 stitches.
Teaching tip: Count the stitches after each round. The supplied stitch totals and increase sequences don’t fully agree in every round, so check the shape and follow the linked video when they differ.

Step 3: Build the Wider Section
Work one even round before increasing again. These rounds create the bear’s broader part.
- Round 5: 1 sc in every stitch (21).
- Round 6: Work 1 sc in each of the first 3 stitches, then inc in the next stitch; repeat around. The supplied pattern lists 30 stitches.
- Rounds 7-8: 1 sc in every stitch around for 2 rounds (30).
Result check: The piece should widen in the increase round, then maintain its shape over the next two even rounds.
Step 4: Shape the Lower Section
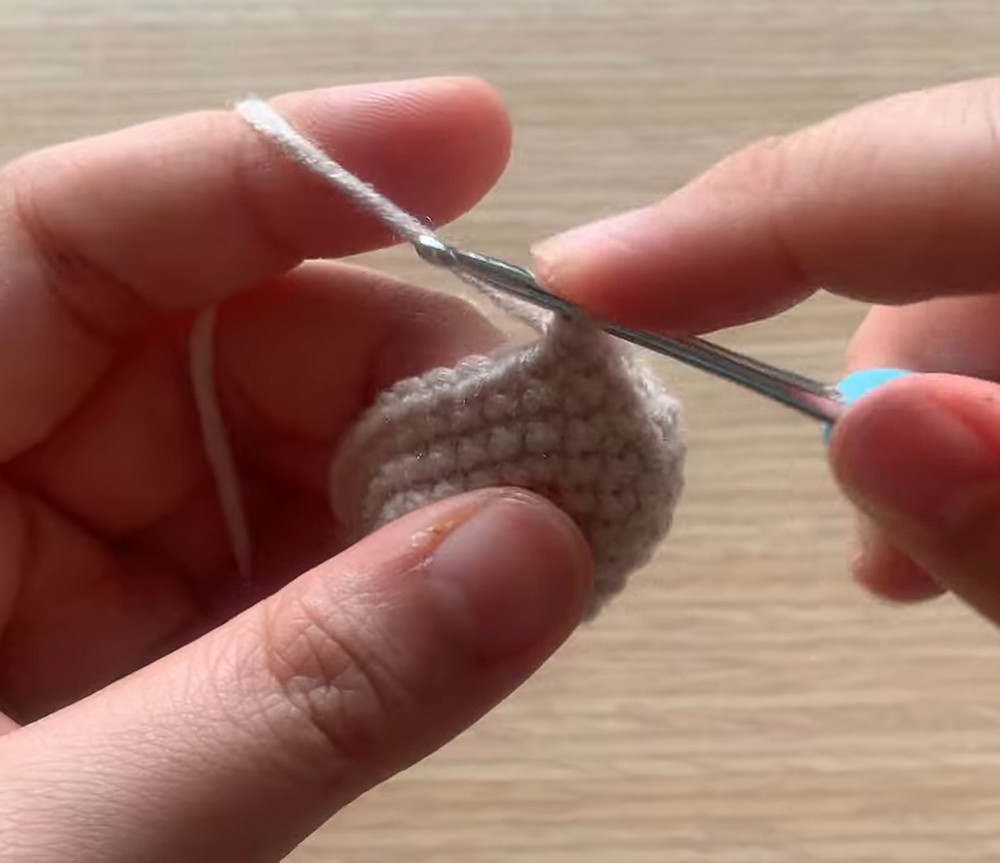
Begin decreasing to narrow the piece and prepare it for closing.
- Round 9: (3 sc, dec) repeat around (24).
- Round 10: 1 sc in every stitch (24).
- Round 11: (1 sc, dec, 1 sc) repeat around (18).
- Round 12: (1 sc, dec) repeat around (12).
Teaching tip: Keep decreases evenly spaced where possible. This helps the shape close smoothly rather than forming an uneven point.
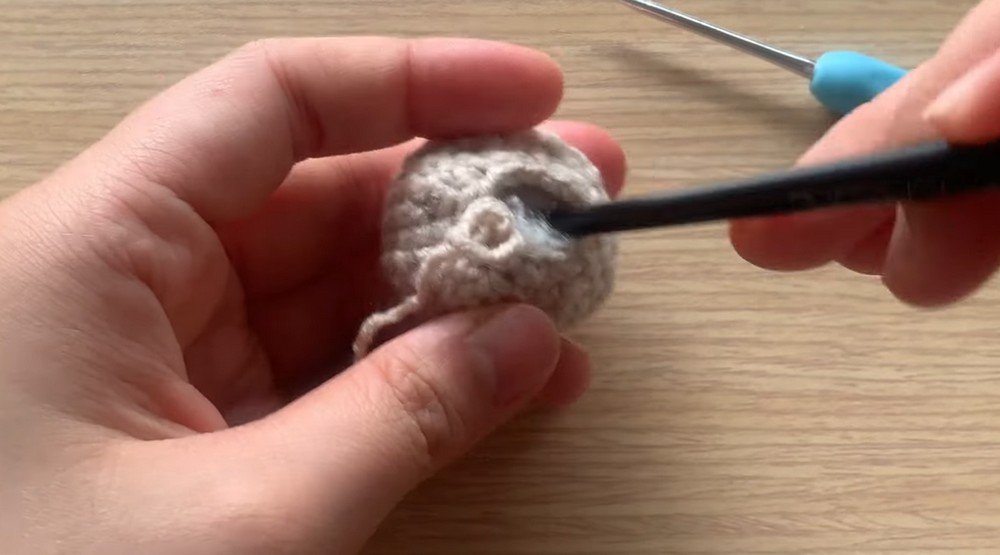
Step 5: Stuff and Close the Bear
Before closing the final opening, fill the piece firmly with fiberfill or cotton stuffing.
- Round 13: Work 6 decreases to close the opening (6 stitches).
Fasten off, leaving a tail. Thread it through a yarn needle, close the remaining hole, and weave in the end securely.
Result check: The bear should feel evenly filled without being stretched so tightly that the stitches open up.

Step 6: Crochet Two Curved Ears
Make two ears using the same yarn as the bear. Each ear is formed by working different stitch heights into a magic ring, creating a small curved shape.
- Create a magic ring.
- Work 1 sc into the ring.
- Work 1 hdc.
- Work 1 dc.
- Work 1 hdc.
- Work 1 sc.
Fasten off, leaving a long sewing tail. Pull the magic ring tight to form the curved ear.
Repeat for the second ear.
Teaching tip: The taller double crochet creates the fuller part of the curve. Keep the stitch sequence consistent so the ears look like a matching pair.

Step 7: Attach the Ears
Position the ears on the upper sides of the bear’s head. Check their placement from the front before sewing them securely in place with the yarn tails.
Result check: The ears should sit at similar heights and angles, giving the bear a balanced silhouette.

Step 8: Make the Hanging Loop
Create a chain of 45 stitches for the strap. You can add or remove chains to change the length.
Insert the hook into the top center of the bear’s head and secure the loop with a slip stitch. Fasten off, then use the yarn needle to hide the remaining yarn neatly inside the head.
Teaching tip: Before fastening off, check that the loop is long enough to hang comfortably from your chosen bag or accessory.
Step 9: Finish and Personalize Your Bear
Check that both ears are secure, the lower opening is fully closed, and the hanging loop is firmly attached. Weave in any remaining yarn ends.
For a more expressive finish, embroider a small nose or smile. You can also add a tiny bow or a touch of blush to personalize the bear.
To make a matching couple, repeat the pattern in a second color and keep the loop lengths similar. Small changes in color and decoration can distinguish each bear while preserving the coordinated look.
Your Crochet Bear Keychain Is Ready
Your miniature crochet bear is now ready to hang from a bag, use as a key accessory, or give as a handmade gift. Make a second bear in a complementary color to create a matching pair, or experiment with different shades and facial details to give every little bear its own personality.