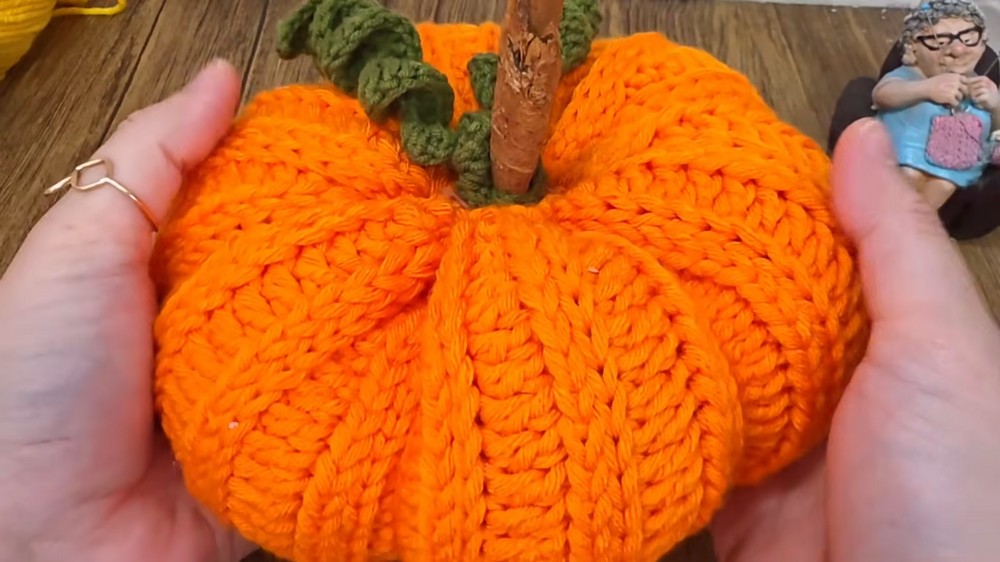
Need a cozy crochet pumpkin for fall? Raised ridges, six sculpted sections, a cinnamon-stick stem, and curly green vine create a rustic seasonal accent.
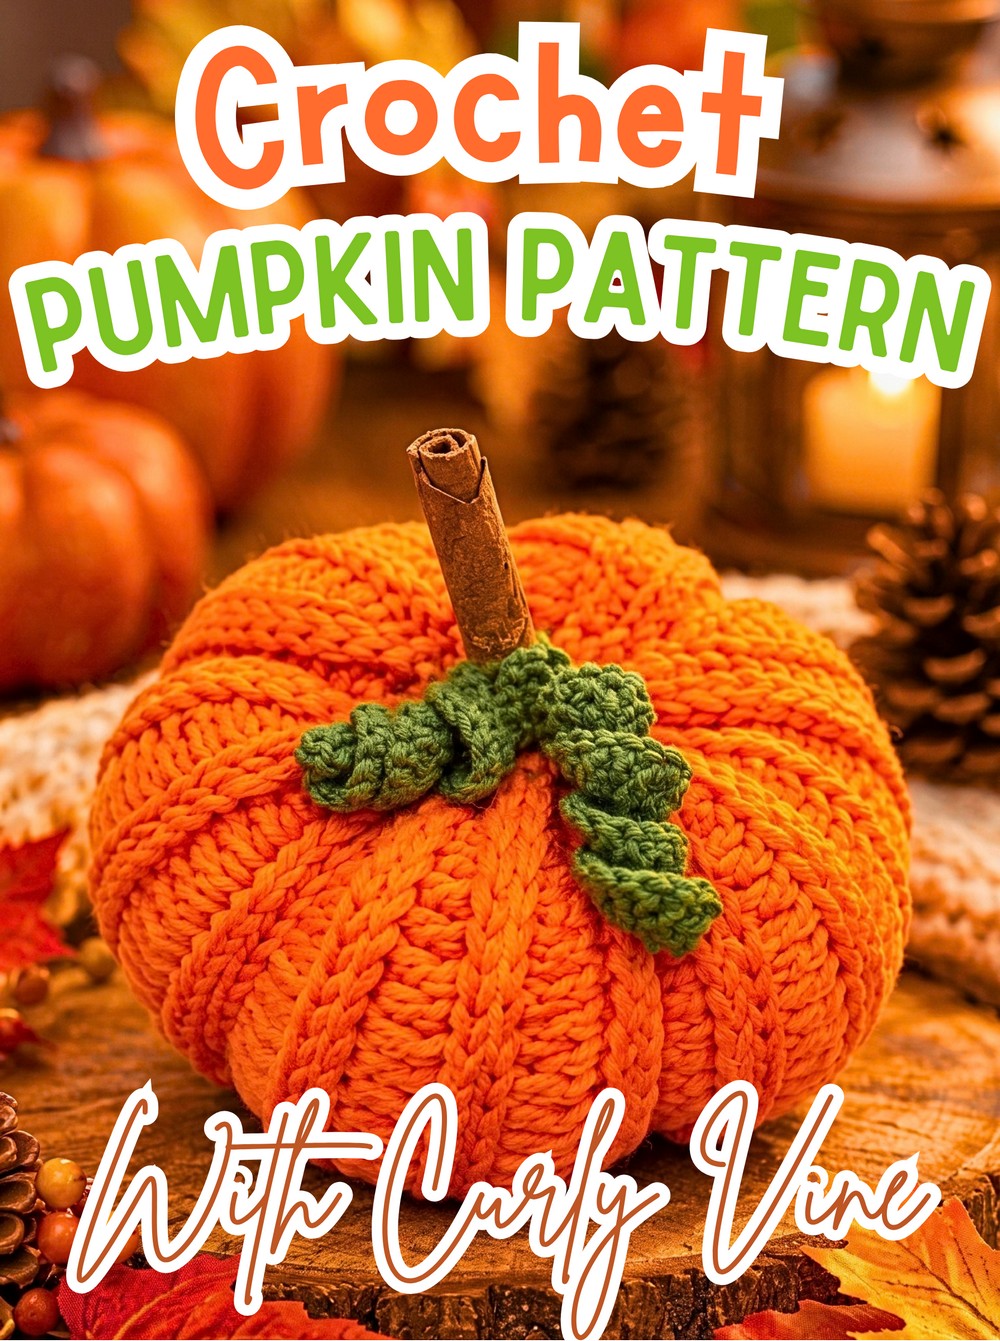
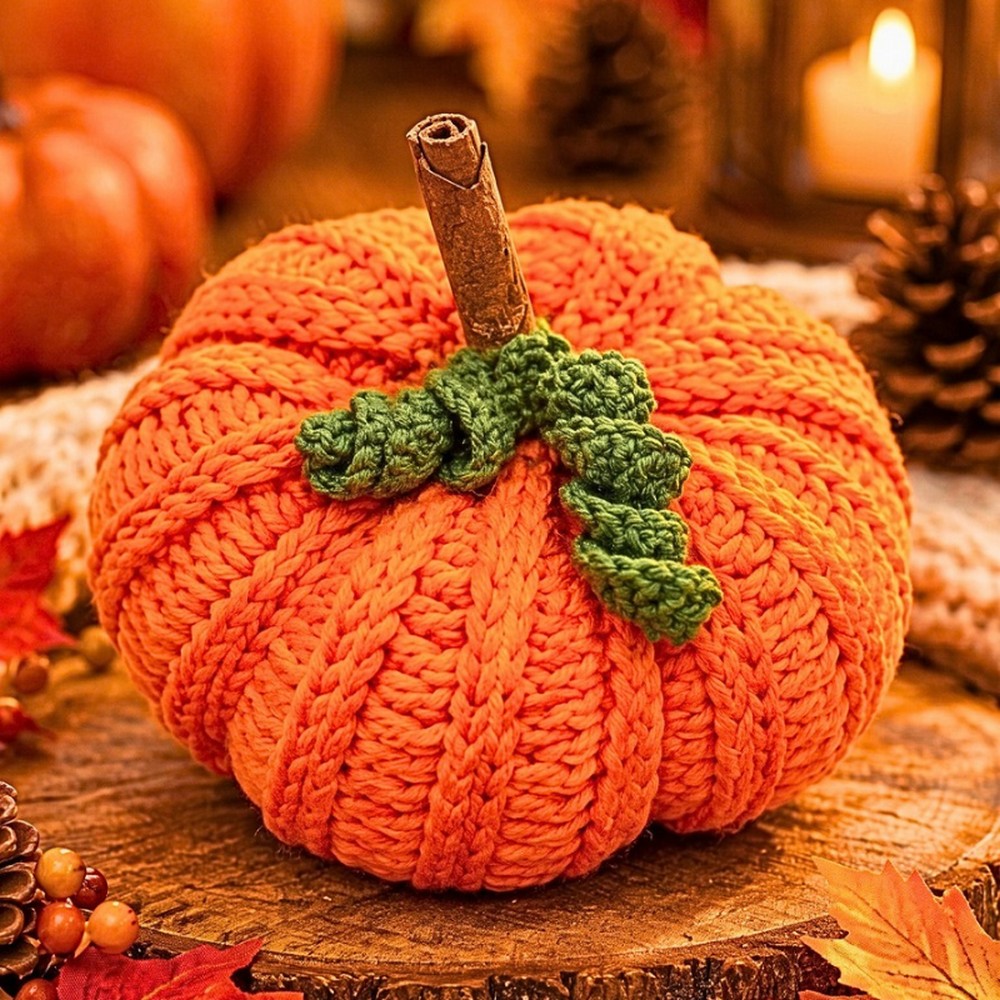
Rustic texture meets classic autumn charm in this chunky crochet pumpkin. The raised ridges give the flat crocheted rectangle plenty of visual interest before gathering and stuffing transform it into a rounded pumpkin shape. A real cinnamon stick adds a natural stem, while the curled green vine brings a playful finishing touch.
Working mainly with simple stitches and an alternating row texture, this pumpkin is approachable even if you are new to shaping crochet pieces. The finished rectangle measures about 20 cm tall by 40 cm wide before it is seamed and gathered, and the instructions also explain how to adjust the size for tiny Halloween decorations or oversized seasonal pillows. Along the way, you will see where each stitch belongs, how to check the texture, how to gather the openings, and how to create evenly spaced pumpkin segments.
Credit Simple Crochet
Materials & Tools Needed
- Chunky Monkey yarn or another bulky/chunky weight yarn
- 5.5 mm crochet hook
- 5.0 mm crochet hook if your tension is loose, so the stuffing does not show through
- Scrap green yarn for the curly vine
- Fiberfill stuffing
- Cinnamon stick or small natural wooden branch for the stem
- Tapestry needle
- Scissors
- Hot glue gun, optional, for securing the stem
- Stitch markers
Finished Size & Customization
The unseamed flat rectangle measures approximately 20 cm tall by 40 cm wide.
For a smaller Halloween decoration, such as a keychain or earring, switch to lightweight mercerized cotton with a 2.0 mm hook. For an oversized floor pillow, use super bulky velvet yarn and adjust the starting chain for the desired height, then continue the alternating rows until the piece reaches the circumference you need.
Keep in mind that changing yarn weight and hook size will change the final dimensions, so use the measurements of your own crocheted rectangle rather than relying only on the original size.
Pattern Abbreviations & Special Stitches
- CH: Chain
- ST(s): Stitch(es)
- SC: Single Crochet
- HDC: Half Double Crochet
- DC: Double Crochet
- BLO: Back Loop Only
- FLO: Front Loop Only
- SL ST: Slip Stitch
- Stacked SC: Single crochet in the stitch, insert the hook into the left vertical bar of the SC just made, pull up a loop, yarn over and pull through both loops. This creates a straight edge without using a starting chain-3.
- Linked SC Decrease: Insert your hook into the same stitch just worked and pull up a loop. Insert the hook into the next stitch and pull up a loop. Yarn over and pull through all loops on the hook.
Before You Begin
The pumpkin begins as a flat textured rectangle, so do not expect the pumpkin shape to appear while you are crocheting the rows. The alternating rows create raised ridges that later become the visual texture running around the finished pumpkin.
Pay particular attention to the edges. The turning chain and the final stitch placement are what keep the rectangle straight enough to seam neatly later. If your edges begin slanting, stop and check the stitch count before continuing.
The supplied tutorial lists 30 stitches for Row 1 while describing 30 starting chains, three skipped chains, and double crochet beginning in the fourth chain. Use the stated 30-stitch count as the pattern’s checkpoint and verify your source/tutorial visually if your actual stitch count differs. Do not continue increasing or decreasing simply to force a different count.
Step-by-Step Crochet Pumpkin Pattern
1. Crochet the Pumpkin Body
The body is worked flat in rows. The goal here is to create a rectangle with pronounced horizontal ridges that will wrap around the pumpkin once the sides are joined.
Row 1: CH 30 to determine the height of your pumpkin. Skip the first 3 CHs. Work 1 DC in the 4th CH from the hook and in each CH across. (30 sts, counting the initial skipped chains as a DC).
This first row establishes the height of the finished pumpkin. Keep your foundation chain relaxed rather than pulling it tightly, because an overly tight chain can make the lower edge narrower than the rest of the rectangle. Before beginning Row 2, check that your edge is straight and that you are working into the chain spaces consistently.
Row 2: CH 1, turn. Work 1 SC in the first st. Insert your hook into the SAME st just worked, yarn over and pull up a loop. Insert your hook into the NEXT st, yarn over and pull up a loop. Yarn over and pull through all loops on the hook. Repeat this linked SC decrease across to the end of the row. Work the final stitch into the top of the turning chain to keep the edges even. (30 sts).
This row creates the raised texture that will become one of the pumpkin’s ridges. The important detail is that the decrease begins from the stitch you just worked and then reaches into the next stitch. At the end, do not skip the turning chain; working the final stitch there helps prevent the side edge from stepping inward.
After the row is complete, look across the surface. You should see a textured ridge developing rather than a flat line of ordinary single crochet.
Row 3: CH 1, turn. Work a Stacked SC in the BLO of the first st. Work 1 DC in the BLO of each remaining st across. To maintain a perfectly straight edge, work the very last DC into the side loop of the turning chain instead of strictly in the back loop. (30 sts).
The BLO placement shifts the working strand to the back of each stitch and creates the separation between textured rows. Start with the Stacked SC so the edge remains similar in height to the double crochet stitches that follow.
At the far edge, use the side loop of the turning chain for the last DC as instructed. This is one of the places where a small change in stitch placement makes a noticeable difference later: a missed edge stitch can make the rectangle taper.
Your completed row should return the piece to roughly the same width as Row 2, with another raised ridge visible.
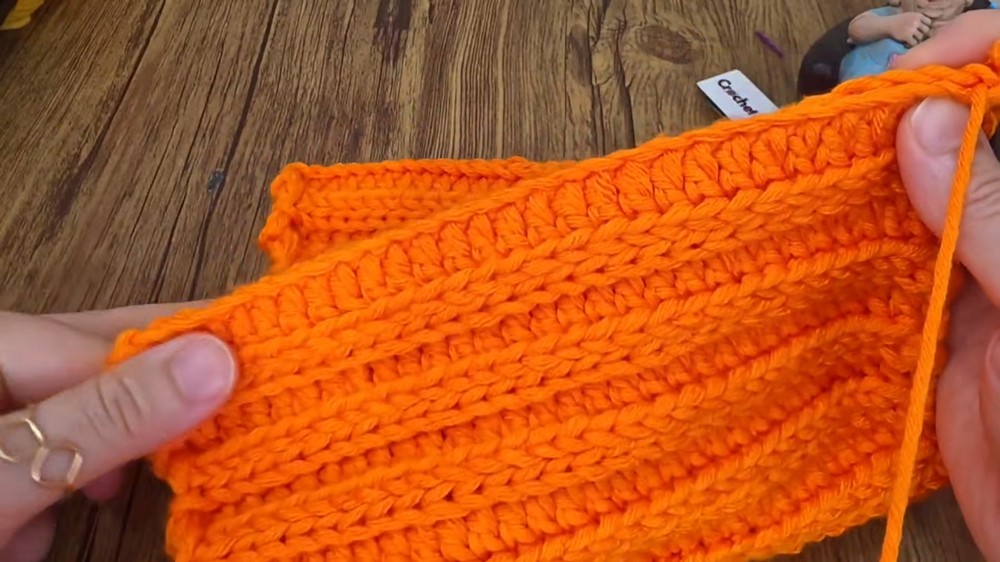
Rows 4+: Continue alternating Row 2 and Row 3 until the rectangle reaches your desired width. For the approximately 20 × 40 cm rectangle shown in the tutorial, crochet about 18 raised textured ridges. Do not fasten off.
Keep checking two things as you work: stitch count and ridge direction. Every row should maintain the stated 30-stitch count, while the repeated texture should create evenly spaced raised bands across the rectangle.
For the original dimensions, measure the rectangle rather than counting rows alone. Yarn thickness and personal tension can change the number of rows needed to reach approximately 40 cm in width.
Once the rectangle reaches the desired width, leave the working yarn attached. The next step turns this flat piece into a cylinder.
2. Make the Curly Green Vine
The vine uses three sections of different stitch heights. The DC sections create the fuller curls, while the central HDC-and-SC section stays flatter so it can be tied around the stem.
Row 1: With green yarn, CH 50.
Row 2: Place a stitch marker in the 20th CH from the start. Place a second marker 10 chains after the first, leaving 20 unworked chains at the end. Work 3 DC into the 3rd CH from the hook, then work 3 DC into each CH up to the first marker. In the 10 middle chains between the markers, work 1 HDC in the first CH, 1 SC in each of the next 8 CHs, and 1 HDC in the last CH. In the remaining 20 chains, work 3 DC into each CH to the end. Fasten off and leave a tail for attaching.
The markers divide the vine into 20 chains, 10 middle chains, and 20 final chains. Keeping these sections clear makes the center easier to identify when you attach the vine later.
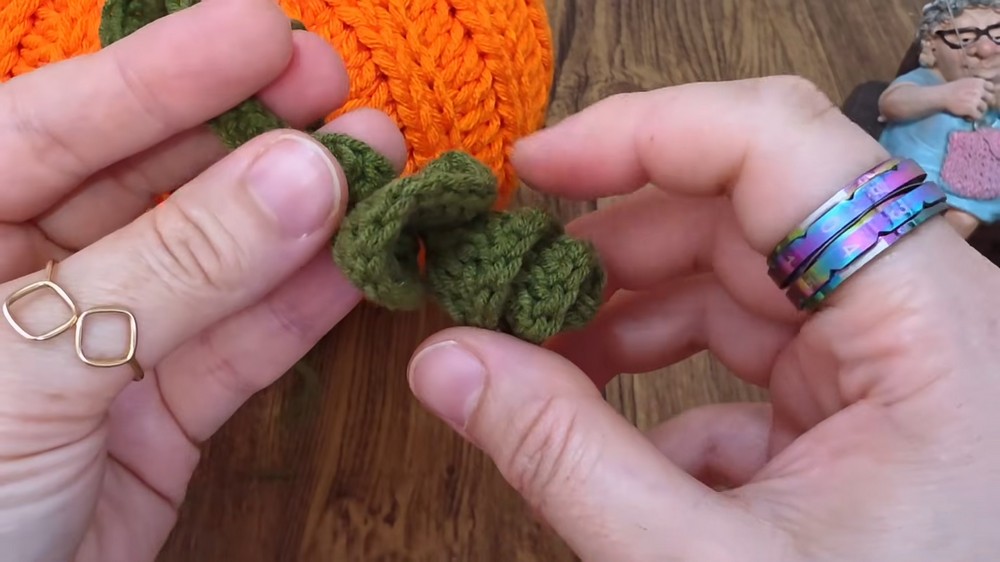
As you work the DC sections, the fabric will naturally become much wider and begin curling. That is intentional. The flatter middle section is the part that will sit around the cinnamon-stick stem.
After fastening off, twist the ends gently with your fingers to tighten the spiral curls. Avoid pulling so hard that the stitches stretch; you want defined curls that still drape naturally.
3. Join the Pumpkin Body
Fold the textured rectangle in half so the two short edges meet. Make sure the ridges run in the same direction before joining.
Joining Row: CH 1. Insert the hook into the FLO of the edge closest to you and through both loops of the edge furthest from you. SL ST the two edges together across all 30 stitches. Fasten off, leaving a very long tail of at least 24 inches for gathering.
Working through the specified loops creates a visible but neat seam. Before moving on, run your fingers along the joined edge to make sure there are no skipped stitches or loose gaps.
You should now have a hollow cylinder rather than a flat rectangle. One opening will become the bottom and the other will become the top.
4. Gather the Bottom
Thread the long yarn tail from the seam onto your tapestry needle.
Weave the needle in and out through the row edges around one open end of the cylinder. Keep the stitches relatively even so the opening closes into a centered circle instead of pulling heavily toward one side.
Pull the yarn securely until the hole is completely closed. Add a few overlapping stitches to lock the gathered edge before fastening off.
Check the bottom before stuffing: it should be closed enough that fiberfill will not escape through the center.
5. Stuff the Pumpkin
Fill the pumpkin evenly with fiberfill.
Begin with smaller amounts pushed into the outer edges, then build up the center. This helps prevent hollow spots around the sides.
Stop when the pumpkin feels round and plump, but do not pack the stuffing so firmly that the piece becomes a tall, rigid cylinder. The final pumpkin needs enough softness to respond to the sculpting yarn in the next step.
A useful visual check is to hold the pumpkin upright. The sides should puff outward rather than remaining straight like a tube.
6. Gather the Top Around the Stem
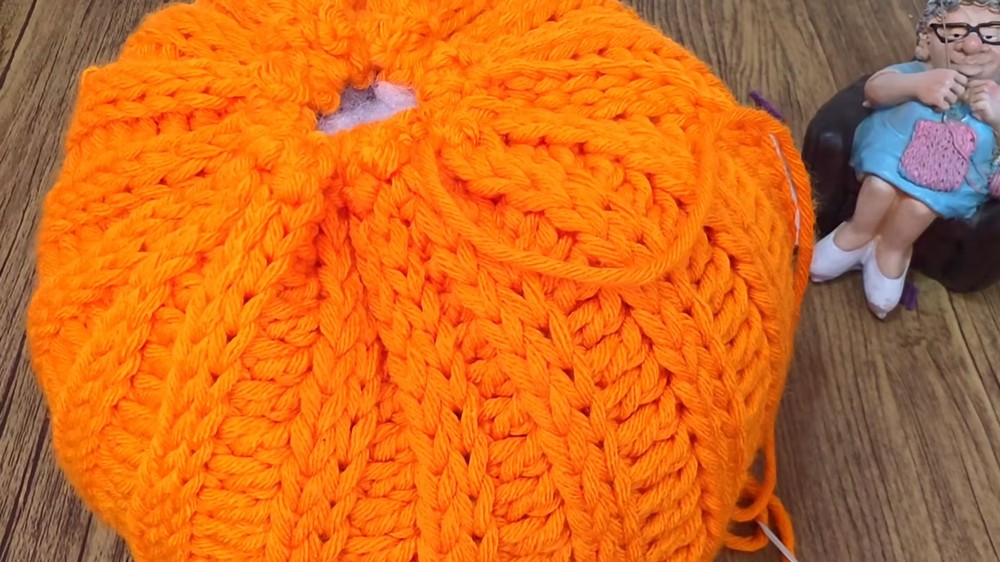
Use another long strand of yarn to weave through the row edges around the top opening.
Insert the cinnamon stick halfway into the center of the pumpkin. Keep it upright while you pull the yarn tight around it.
Cinch the opening securely around the cinnamon stick, then fasten off. If desired, place a small dab of hot glue inside the opening to help lock the stem in position.
Before the glue sets, check the stem from the front and side. It should sit near the center rather than leaning noticeably to one edge.
7. Sculpt the Pumpkin Segments
This step changes the rounded stuffed cylinder into a more recognizable pumpkin with deep vertical sections.
Thread a very long strand of yarn onto your tapestry needle and anchor it at the bottom center.
Pull the yarn straight up along the outside of the pumpkin. Insert the needle down through the top center near the stem, then bring it back out through the bottom.
Pull firmly enough to create a deep indentation, but keep the tension controlled so you do not flatten the pumpkin completely.
Repeat this process around the pumpkin, spacing the sculpting wraps evenly. Place one indent every 3 textured ridges, creating 6 uniform segments.
Pause after each wrap and compare the spacing with the previous one. Even spacing is more important than pulling every section to exactly the same depth.
Once all six segments are shaped, tie off the yarn and weave the ends securely into the pumpkin.
At this point, the piece should have six rounded lobes with visible indented channels between them. If one section looks noticeably wider, gently adjust the corresponding sculpting strand before hiding the ends.
8. Attach the Curly Vine
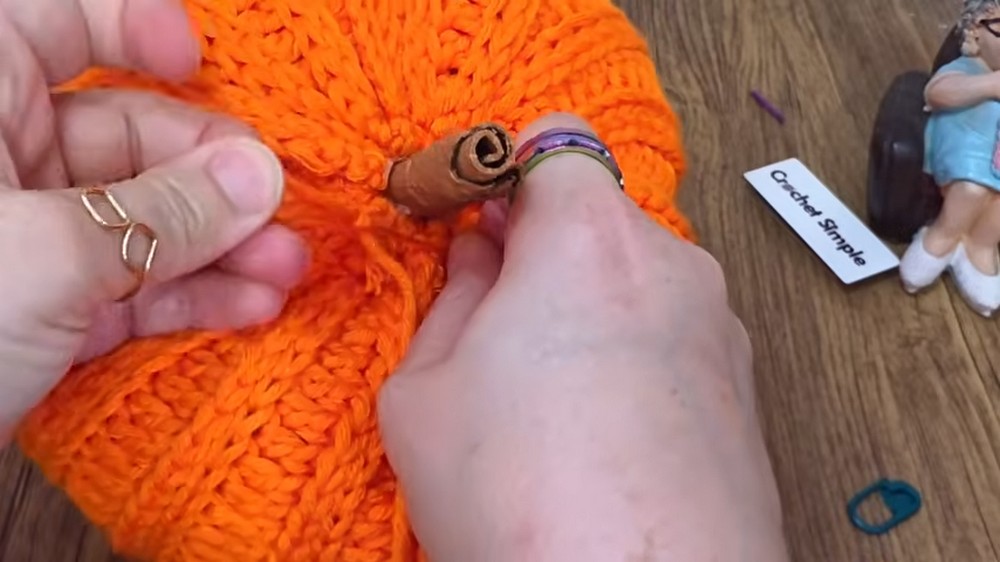
Find the flat SC center section of the green vine. This is the section designed to sit directly around the stem rather than curl outward.
Tie this center section snugly around the base of the cinnamon stick.
Arrange the curly ends so they drape naturally over the pumpkin. If you want extra security, add a tiny drop of hot glue to the knot.
Give the vine a gentle adjustment after attaching it. The curls should remain visible from the front instead of disappearing behind the stem.
Size Adjustment Tips
The basic rectangle determines the eventual pumpkin size. To make a smaller version, use lighter yarn and a smaller hook, then stop the alternating rows when the rectangle reaches the measurements you want.
For a much larger decorative pumpkin, heavier yarn will increase the overall scale. Continue checking the rectangle’s width and the amount of stuffing needed rather than relying only on the original row count.
Whatever size you choose, keep the relationship between the textured ridges and sculpting sections in mind. For the original version, every three ridges correspond to one of six sculpted segments, giving the finished pumpkin its balanced appearance.