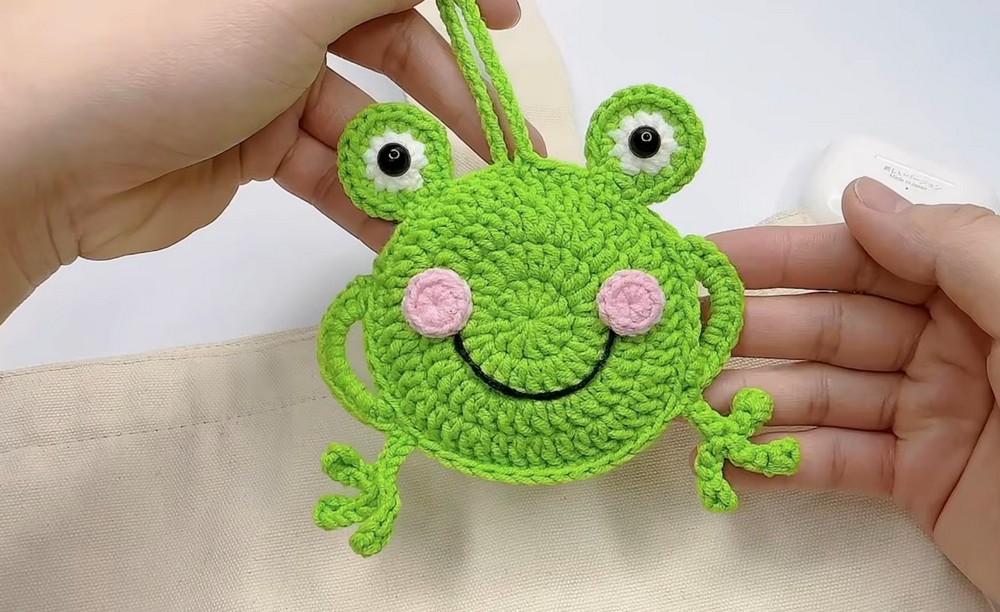
This cheerful crochet frog pouch pairs a round green body with raised eyes, rosy cheeks, and a simple loop for carrying it anywhere.
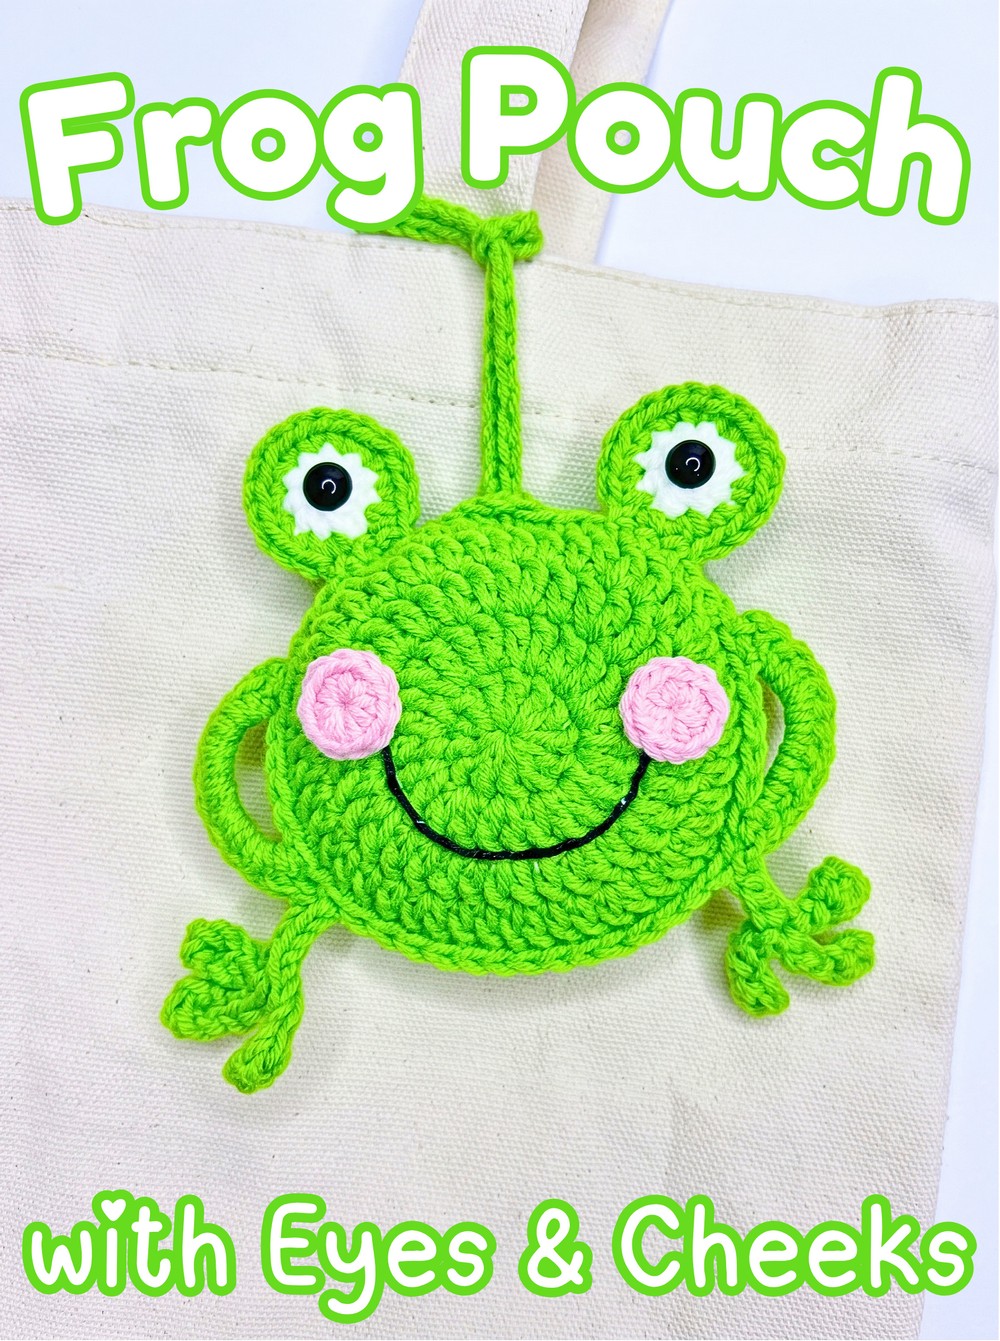
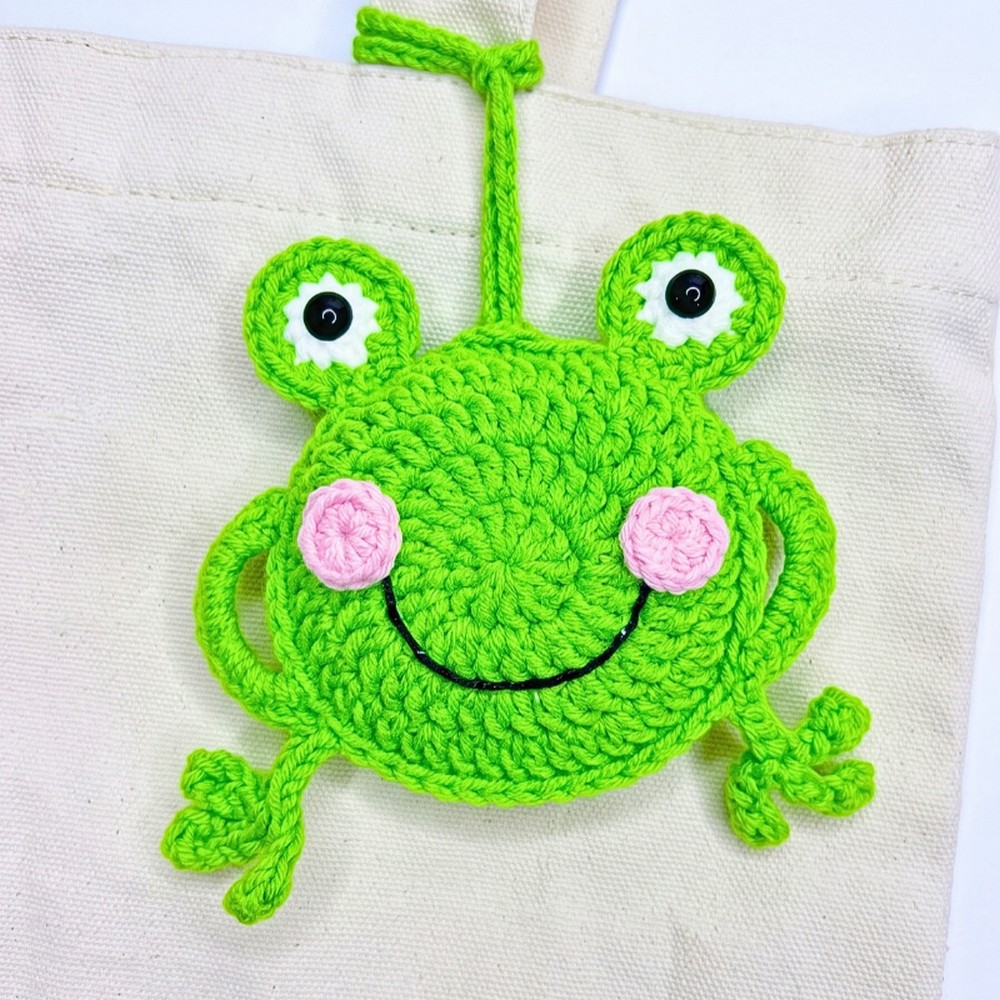
Give two simple green crochet circles a playful purpose with this frog pouch. Its rounded body creates a compact little space for small essentials, while the raised eyes and bright cheeks give it an unmistakably cheerful character.
Once the basic panels are finished, the tutorial moves into joining, shaping the pouch opening, and adding the crochet frog’s face. You’ll also make separate eye and cheek pieces, so each detail can be positioned neatly before the final embroidery brings the expression together.
Credit Myna Crochet
What You’ll Need
- Cotton yarn, 5-ply, 2 mm: green, white, pink, and black
- 2.5 mm crochet hook
- 7 mm safety eyes, or felt/beads
- Hot glue gun or fabric glue
- Yarn needle
- Stitch markers
- Scissors
Abbreviations
- MR: Magic ring
- ch: Chain
- sk: Skip
- slst: Slip stitch
- sc: Single crochet
- dc: Double crochet
- tr: Treble crochet
- inc: Increase – 2 stitches in the same stitch
- hdc: Half double crochet
- BLO: Back loop only
Begin With the Two Circular Panels
The pouch starts as two matching green circles. Keeping these panels identical is important because they will sit directly against each other when you join the pouch.
Make 2 panels in green yarn.
Panel 1
Round 1: Make a magic ring and ch 2, then work 12 dc inside the magic ring. Slst to join, ch 2 (12 stitches).
Round 2: Work 12 dc inc, placing 2 dc in each stitch around. Slst to join, ch 2 (24 stitches).
Round 3: Work (dc, dc inc) × 12 around. Slst to join, ch 2 (36 stitches).
Round 4: Work (2 dc, dc inc) × 12 around. Slst to join.
For the first panel, cut the yarn and leave a long enough tail for sewing. Set this piece aside while you make the second one.
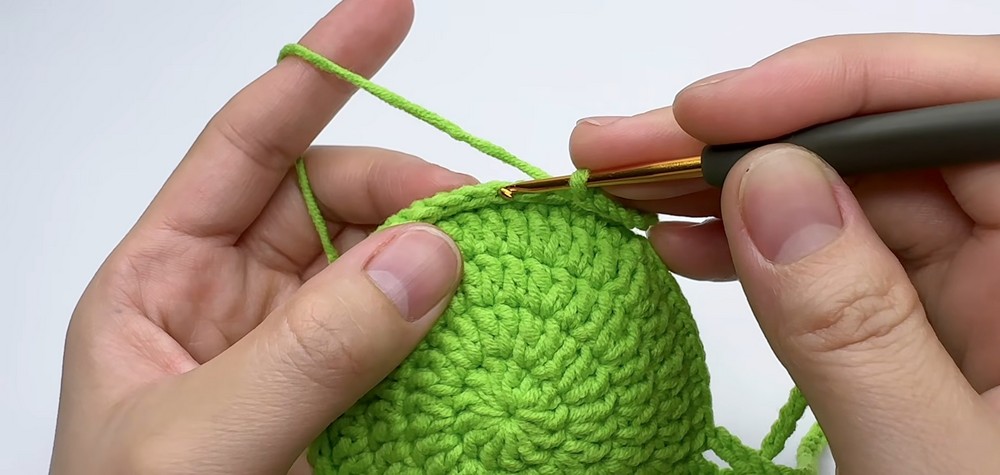
Panel 2
Repeat the same four rounds in green yarn.
Round 1: Make a magic ring and ch 2, then work 12 dc inside the magic ring. Slst to join, ch 2 (12 stitches).
Round 2: Work 12 dc inc, placing 2 dc in each stitch around. Slst to join, ch 2 (24 stitches).
Round 3: Work (dc, dc inc) × 12 around. Slst to join, ch 2 (36 stitches).
Round 4: Work (2 dc, dc inc) × 12 around. Slst to join.
This time, do not cut the yarn. The working yarn will be used to join the two panels.
Check the Shape Before Joining
Lay both circles together and check their edges. They should sit evenly back-to-back rather than one panel being noticeably larger or more stretched than the other.
Keeping the wrong sides facing each other will also help the finished pouch keep the intended orientation as you work around the edge.
Join the Frog Pouch
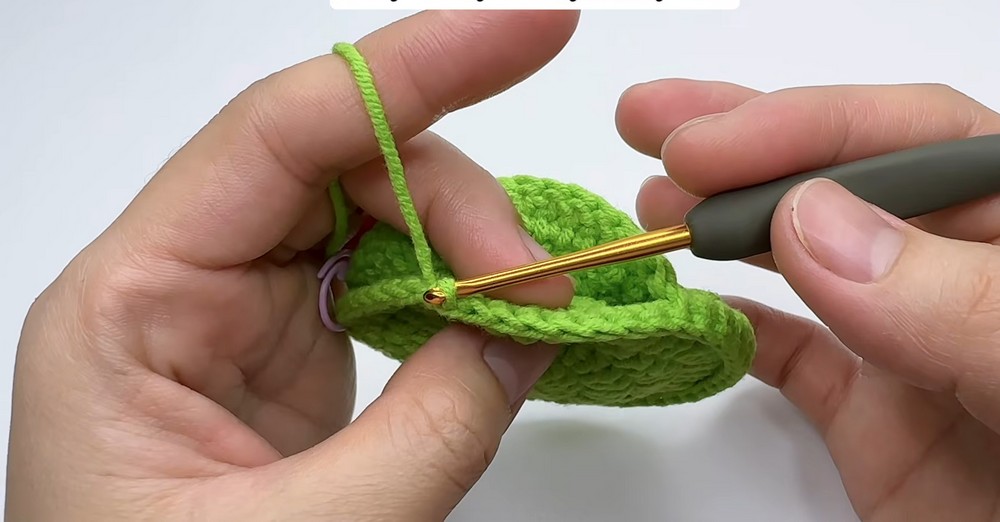
Place the two circular panels back-to-back with the wrong sides facing each other.
Using the working yarn from the second panel, work slst through both pieces along the edge to join them. Keep the top portion open rather than joining the entire circumference, since this opening will become the pouch entrance.
The important point here is to work through both panels together. This keeps the two circles connected while leaving a usable space inside the pouch.
Shape the Opening and Hanging Loop
Once the sides are joined, continue working sc along the edge of the pouch opening.
For the hanging loop, ch 55, then anchor the chain back into the base with a sc to create the loop/drawstring structure.
Check the loop before moving on. It should sit securely from the pouch body and leave enough length to hang or carry the pouch comfortably.

Add the Frog’s Side Details
The frog’s side arms/legs are added directly to the pouch body using chain loops and decorative slst/dc sequences, following the demonstrated tutorial placement.
Because these details become part of the frog’s recognizable shape, pay attention to their position on both sides of the pouch. Keep the placement balanced so the finished face and body do not look tilted.
Make the Frog Eyes
The eyes are built in two layers: a white center followed by a green outer section.
Make 2 eyes.
White Eye Center
Using white yarn:
Round 1: Make a magic ring and ch 1, then work 10 hdc in the magic ring. Slst to join and cut the white yarn.
Green Eye Border
Attach green yarn with a ch 1.
Round 2: Work 10 inc in sc around the border. Slst to join, then cut the yarn and leave a long tail for sewing.
The green round should extend around the white center, giving each eye its raised, layered appearance.

Make the Pink Cheeks
Make 2 cheek circles with pink yarn.
Round 1: Make a magic ring and work 10 sc in the magic ring. Slst to join, then cut the yarn and leave a tail for assembly.
These small circles will sit on either side of the embroidered smile, so keep them similar in size.

Bring the Frog’s Face to Life
The face is easiest to finish once the separate eye and cheek pieces are ready.
Embroider the Smile
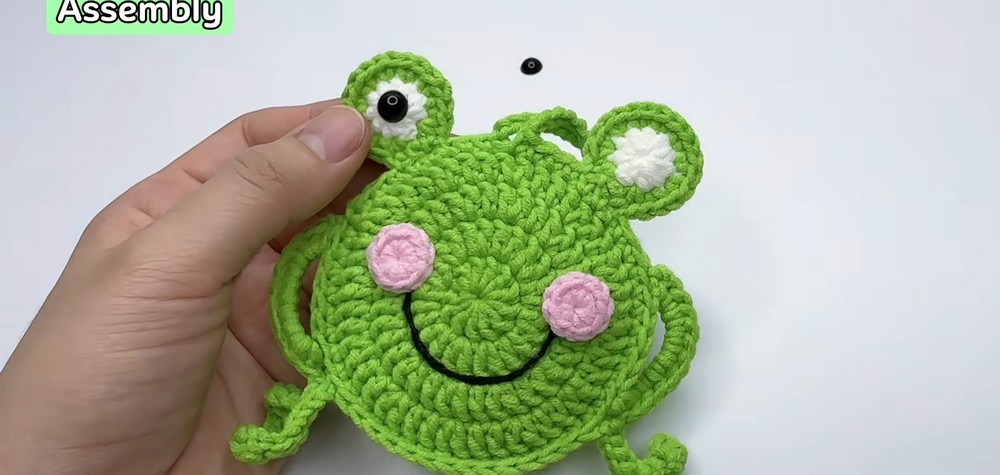
Using black yarn and a yarn needle, embroider a curved smile across the lower half of the front pouch panel [18:16].
Keep the curve gentle rather than pulling the stitches too tightly. The embroidery should sit visibly on the green panel without distorting its round shape.
Attach the Eyes and Cheeks
Sew or glue the white-and-green eye pieces onto the top outer edges of the pouch [26:15].
Next, sew or glue the pink cheek circles onto either side of the smile. Once their placement looks balanced, secure the 7 mm safety eyes onto the white centers using glue.
If you prefer not to use safety eyes, felt or beads can be used instead, as listed with the materials.
A Simple Placement Check
Before permanently gluing or sewing the face pieces, place everything on the front panel first. Check that the eyes are at similar heights, the cheeks sit evenly around the smile, and the expression is centered.
That small check can make a noticeable difference because these details give the finished pouch its frog-like character.
Finishing the Pouch
Once the facial pieces are secure, inspect the joined edge and the hanging loop. Make sure the two circular panels stay securely connected and that the top opening remains clear.
Neatly weave in or secure any remaining yarn ends, taking care not to pull the circular panels out of shape.