
This tiered crochet Christmas tree turns three simple triangles into a neat hanging ornament, finished with pearl decorations, a soft tassel trunk, and a hidden yarn hanger.
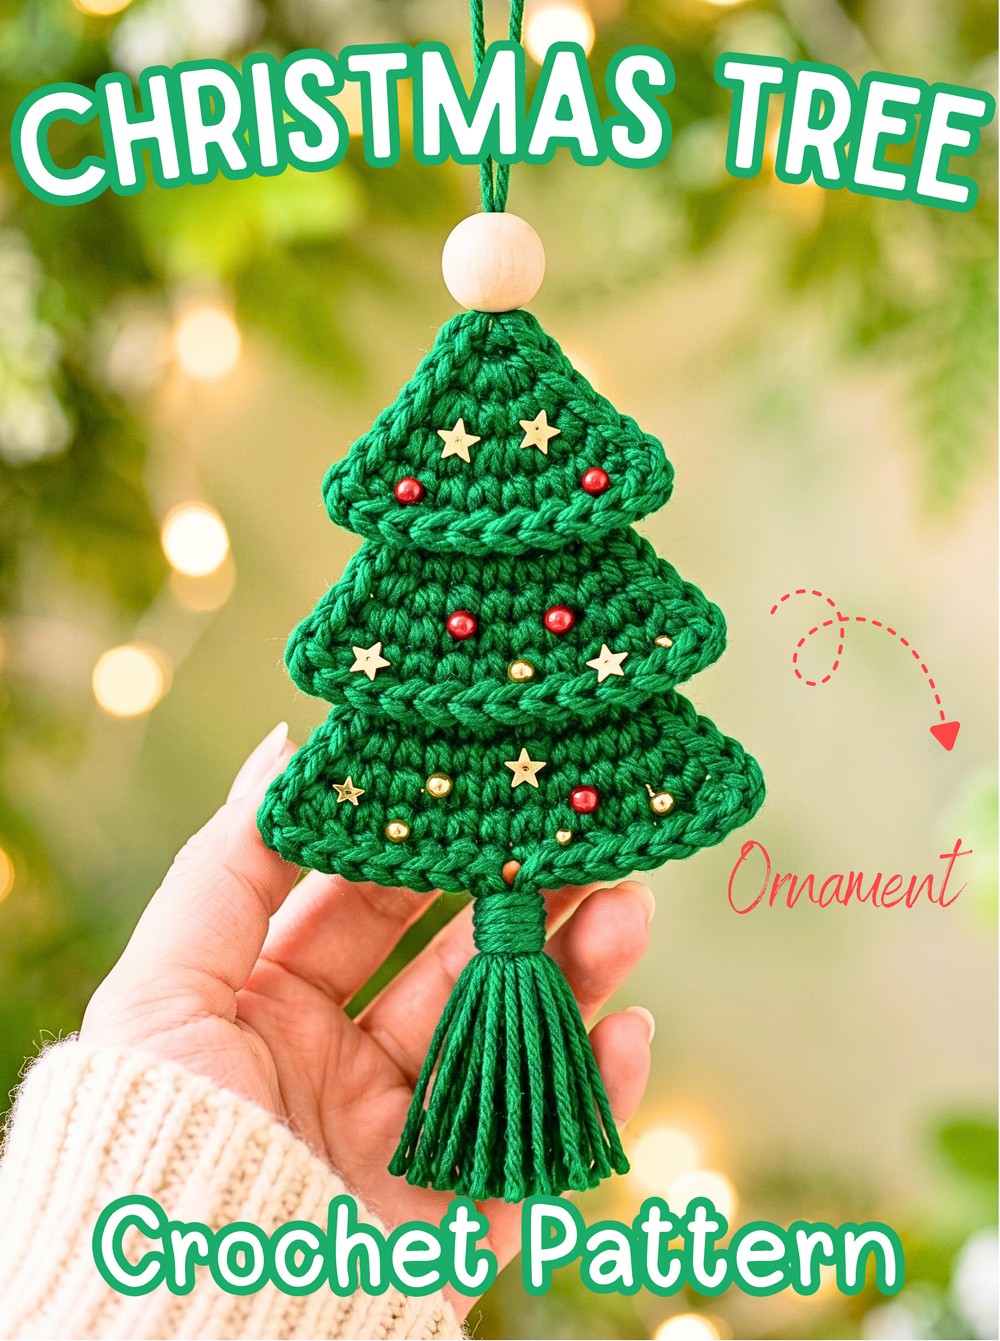
Three gradually sized crochet triangles create the layered silhouette of this Christmas tree ornament, giving it a surprisingly detailed look without complicated stitches. The clean white version feels light and elegant, while colored yarn, tiny beads, or a little crochet star can turn the same shape into a more traditional holiday decoration.
Before you begin, it helps to know that the crochet tree is built in three separate pieces: a small top, a medium middle, and a wider bottom.
Each triangle grows through simple increases, then receives a slip-stitch border before the pieces are overlapped and sewn together. The finished size is about 3.5–4 inches tall before the tassel and hanger, and the decoration can be changed easily to suit your Christmas theme.
Credit Crochet Patterns Free
How the Tree Is Built
Rather than crocheting one large tree shape, this ornament uses three separate triangular panels:
- Top piece: 5 rows, ending with 7 stitches
- Middle piece: 7 rows, ending with 11 stitches
- Bottom piece: 8 rows, ending with 12 stitches
The pieces are later stacked with slight overlaps to create the three visible tiers. This is important to keep in mind before starting because the three triangles are intentionally different sizes.
Materials & Tools
- 3-ply yarn: The tutorial uses solid white, but other colors can be used
- 2.75 mm crochet hook: The tutorial screen notes 2.7 mm
- Scissors
- Yarn needle for sewing and weaving in ends
- Small pearl beads, glitter, or sequins for decoration
- Sewing thread or hot glue for attaching embellishments
- Extra strand of yarn for the hanging loop
For a classic Christmas version, try green or variegated yarn. Tiny colorful buttons can replace the pearl beads, while a small crocheted brown square can be used instead of the yarn tassel as a solid trunk. A tiny yellow star appliqué can also be attached to the top point.

Abbreviations
- ch: Chain
- sc: Single Crochet
- inc: Single Crochet Increase – 2 sc in the same stitch
- slst: Slip Stitch
- st(s): Stitch(es)
Crochet the Three Tree Tiers
Top Piece – Small Triangle
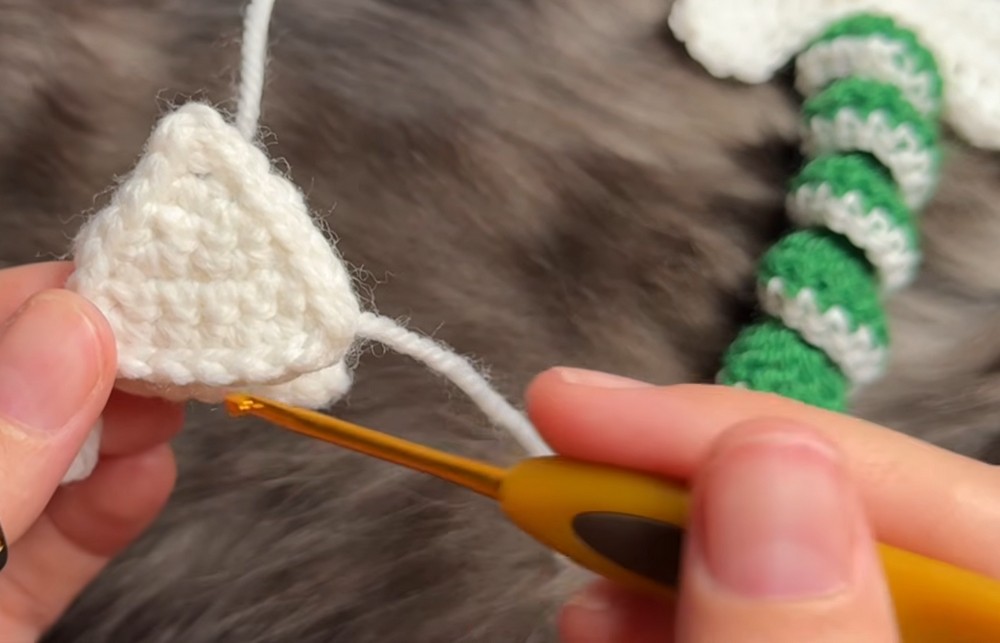
This first triangle forms the pointed top of the tree. Its width increases by one stitch on every row, creating the basic angled shape.
Row 1: Ch 2, work 3 sc in the 2nd ch from hook (3 sts).
Row 2: Ch 1, turn, inc in first st, 2 sc (4 sts).
Row 3: Ch 1, turn, inc in first st, 3 sc (5 sts).
Row 4: Ch 1, turn, inc in first st, 4 sc (6 sts).
Row 5: Ch 1, turn, inc in first st, 5 sc (7 sts).
Fasten off and cut the yarn. Do not worry about the unfinished angled edges yet; all three pieces will receive their slip-stitch edging afterward.
Shape check: The piece should look like a small triangle that widens gradually from its starting point. If your stitch count is not 7 at the end of Row 5, check the increase before moving on.
Middle Piece – Medium Triangle
The middle tier starts exactly like the top piece, so the first five rows can be repeated without changing the increase rhythm.
Rows 1-5: Repeat Rows 1-5 of the Top Piece, ending with 7 sts.
Row 6: Ch 1, turn, inc in first st, 5 sc, inc in last st (9 sts).
Row 7: Ch 1, turn, inc in first st, 7 sc, inc in last st (11 sts).
Fasten off and cut the yarn.
The two increases on Rows 6 and 7 widen both sides of the triangle, giving the middle section enough width to extend beyond the smaller top tier.

Bottom Piece – Largest Triangle
The bottom tier repeats the complete middle-piece sequence before receiving one additional row to make it slightly wider.
Rows 1-7: Repeat Rows 1–7 of the Middle Piece, ending with 11 sts.
Row 8: Ch 1, turn, inc in first st, 10 sc (12 sts).
Fasten off and cut the yarn.
At this point you should have three separate triangles: a 7-stitch top, an 11-stitch middle, and a 12-stitch bottom.

Add the Clean Edges
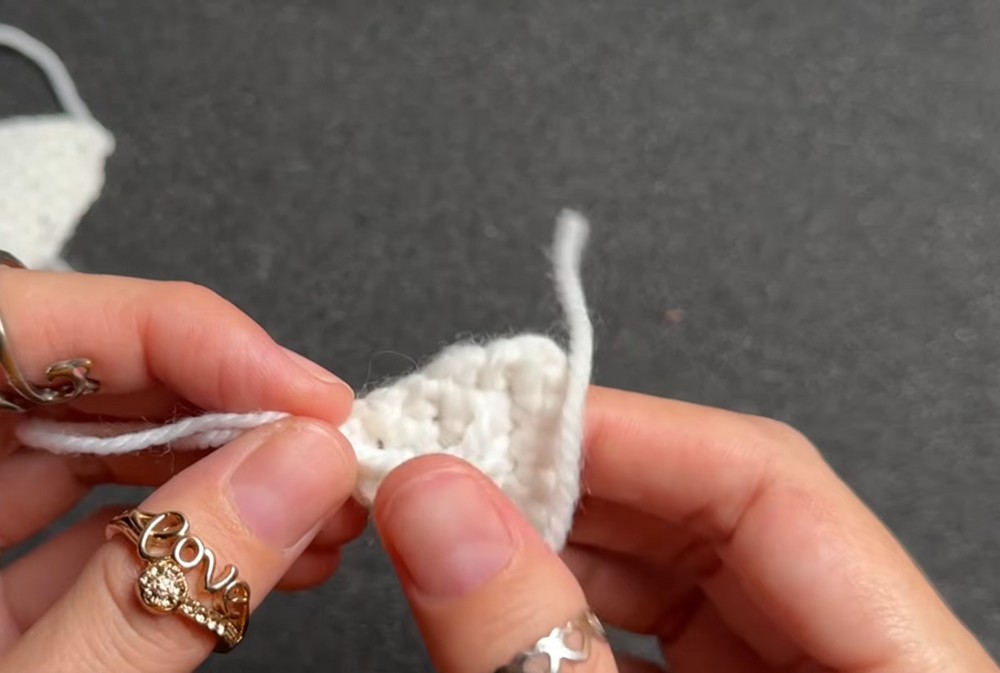
The raw side edges of the triangles can look uneven compared with the finished front stitches. A slip-stitch border gives each tier a cleaner outline before assembly.
Work the edging on each of the three pieces:
- Attach the yarn at the bottom corner of the triangle.
- Work slst evenly up the first angled side, keeping the spacing neat rather than forcing a fixed number of stitches.
- When you reach the top point, ch 1 if needed to help preserve the sharp point.
- Continue with slst evenly down the second angled side.
- Fasten off and weave in the end.
Important: The purpose of this border is mainly to tidy the angled edges. Keep the stitches relaxed enough that the sides remain straight instead of becoming puckered.
Stack the Three Pieces
Now the three separate triangles become one tree.
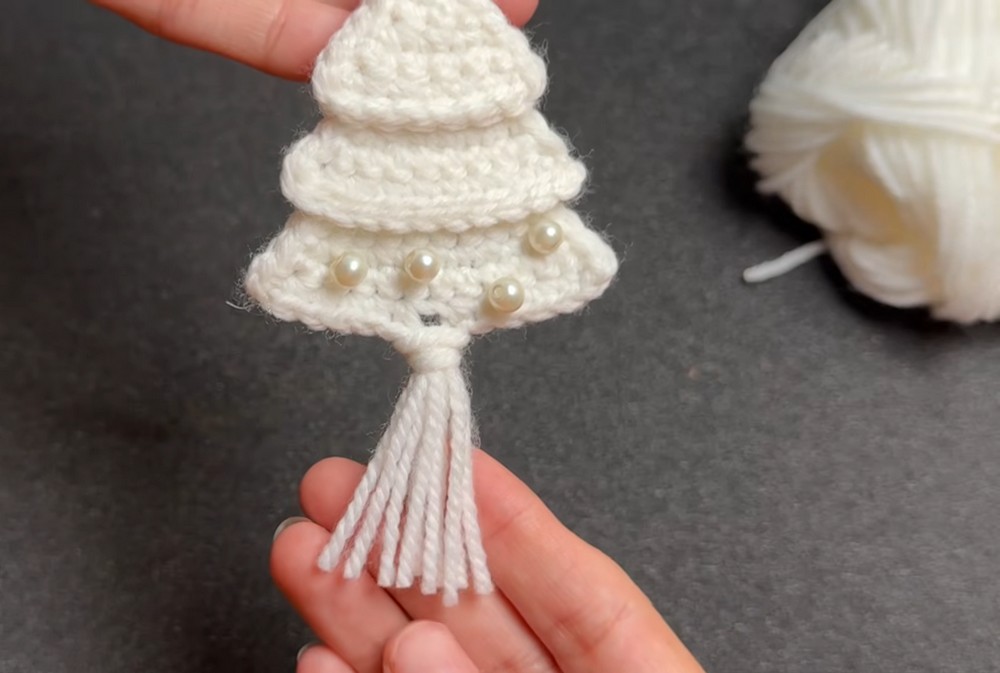
Place the Middle Piece slightly over the top of the Bottom Piece. Then position the Top Piece so it slightly overlaps the Middle Piece.
The overlap is what creates the three-tiered Christmas-tree silhouette, so check the alignment from the front before sewing. The center points and vertical direction of all three pieces should remain aligned.
Using a yarn needle, sew the overlapping portions together securely through the center area. Once the tiers are stable, weave in any remaining loose ends on the back.
Add the Hanging Loop
Cut a separate strand of yarn for the hanger.
Thread it through the very top point of the Top Piece and tie the two ends together to create a loop. Pull the knot gently toward the back so it sits neatly behind the top stitch rather than showing prominently from the front.
Give the loop a gentle tug before decorating the tree to make sure it is securely attached.

Add the Ornament Details
Small pearl beads can now be placed along the flat bottom edges of the three tiers. Space them evenly to create the appearance of hanging ornaments.
You can sew the beads on with sewing thread, or use hot glue if that is your preferred attachment method. For a different holiday style, replace the pearls with tiny colorful buttons, glitter, or sequins.
If you want the tree to look more traditional, a tiny yellow star appliqué can be attached to the top point.
Make the Tassel Trunk
The tassel forms the little trunk beneath the widest tier.
- Cut 4-5 equal strands of white yarn, approximately 4–5 inches long.
- Hold the strands together and fold them in half, creating a loop at the center.
- Insert your crochet hook from the back toward the front through the center stitch of the Bottom Piece’s base.
- Catch the folded center of the yarn strands with the hook and pull part of the loop through the stitch.
- Pull the loose yarn ends through that loop.
- Pull firmly to secure the Lark’s head knot.
- Trim the loose ends straight across so the tassel forms a neat little trunk.
Check the tassel from the front before trimming too short; keeping the ends even will make the bottom of the tree look much cleaner.
Color & Decoration Variations
Classic Green Tree: Use green or variegated yarn for all three tiers and add small colorful beads.
White Winter Tree: Keep the solid white yarn from the tutorial and use pearl beads for a simple snowy appearance.
Button Ornaments: Replace the pearls with tiny colorful buttons for a playful Christmas-light effect.
Traditional Trunk: Skip the tassel and crochet a small brown square to attach beneath the bottom tier.
Star-Topped Tree: Add a tiny yellow star appliqué to the upper point.
Your three-tiered crochet Christmas tree is now ready to hang on a Christmas tree, use as a festive gift topper, or combine with several others for a seasonal garland. Its simple triangle-based design also makes it easy to repeat in different colors once the three size stages are familiar.





