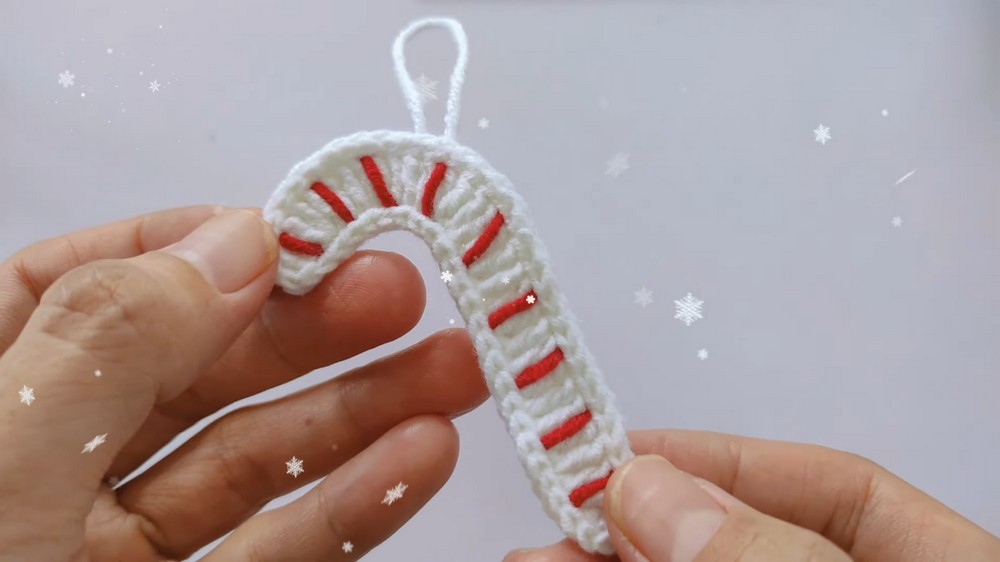
Make a crochet candy cane for Christmas decor with this easy pattern. A festive ornament idea for trees, gifts, and holiday displays.
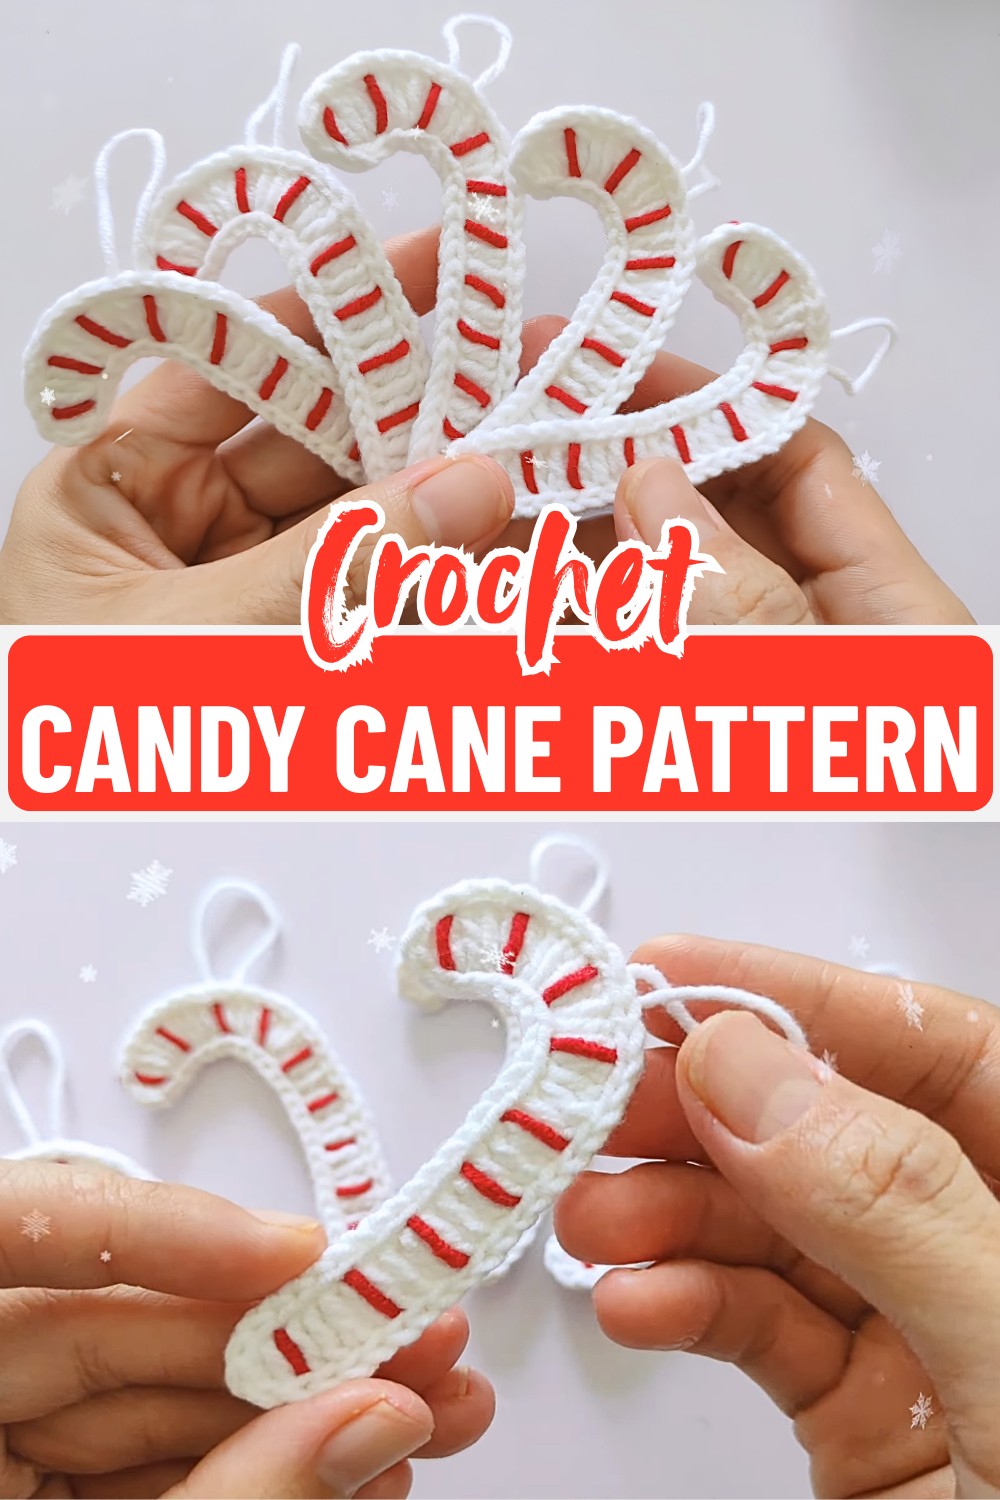
Crochet Candy Cane Pattern
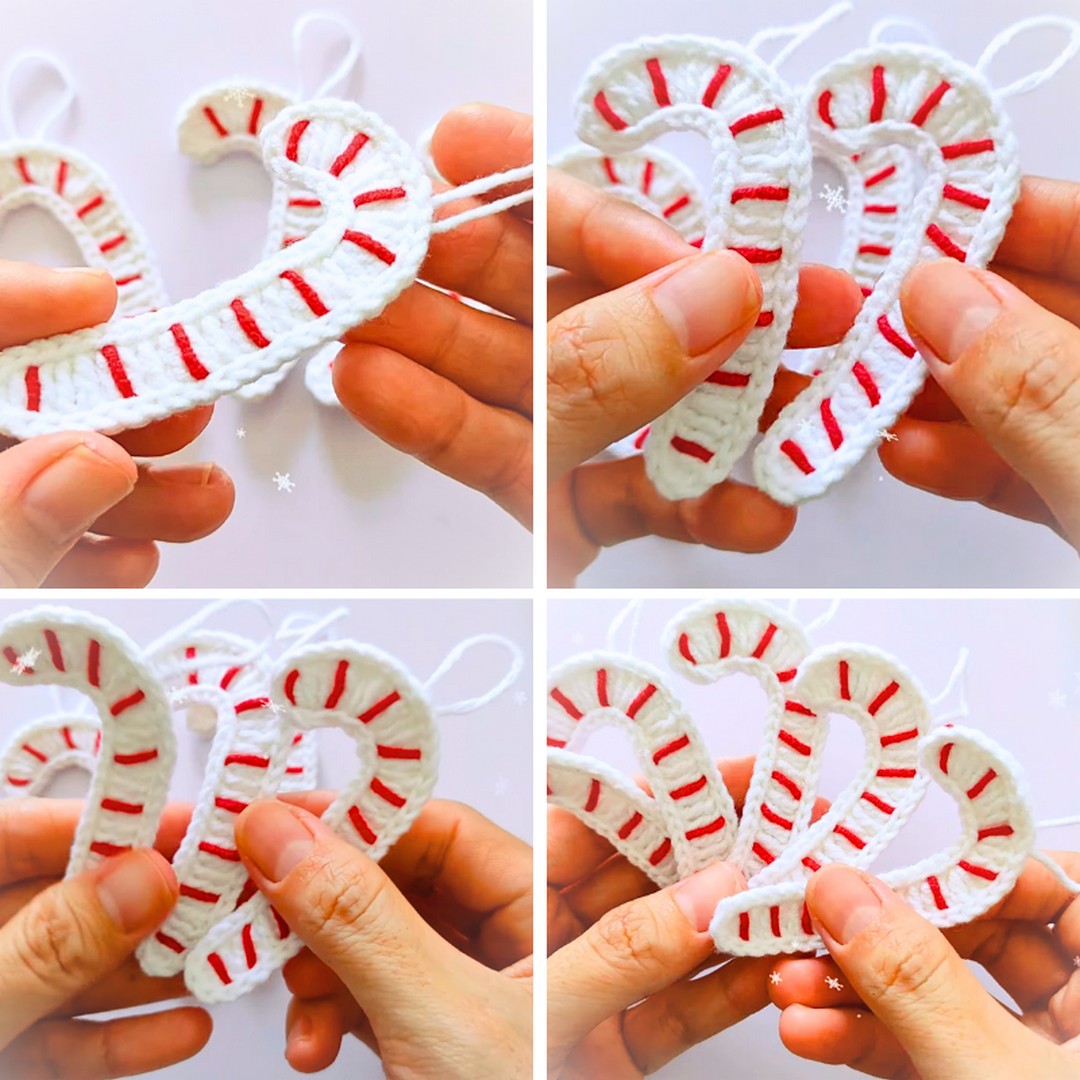
Create a classic holiday decoration with this crochet candy cane pattern, where simple stitches turn into a cheerful red and white striped accent. From Christmas trees and gift wrapping to seasonal displays, this handmade candy cane adds a small festive detail that makes every crochet corner feel more special.
Designed with beginner-friendly techniques, this crochet pattern takes you through shaping a smooth tube, creating colorful stripes, and forming the signature candy cane curve. With each step, the simple yarn shape comes together into a sweet holiday decoration that is ready to hang, display, or share as a handmade gift.

Credit Avocado Handmade
Materials & Tools Needed
- Yarn (worsted weight, size 4)
- Color A – White: For the main body of the candy cane.
- Color B – Red: For classic candy cane stripes.
- Optional: Color C – Green, gold, or pastel for alternate holiday looks.
- Crochet Hook:
- 3.5 mm–4.0 mm (E–G) hook, or size needed for a tight amigurumi fabric.
- Stuffing:
- Polyester fiberfill, cotton stuffing, or yarn scraps.
- Use small amounts at a time to avoid lumps.
- Notions:
- Yarn needle (for weaving in ends and sewing if needed).
- Stitch marker (to mark the first stitch of each round).
- Scissors.
- Optional Add-ons:
- Thin floral wire or pipe cleaner inside for extra bendability.
- Ribbon for hanging or bow.
- Small bells, beads, or sequins for embellishment.
Pattern Notes
- Type: Amigurumi-style candy cane, worked in the round.
- Shape: Long tube that’s bent into a candy cane curve at the end.
- Skill Level: Confident beginner–intermediate (must be comfortable with rounds and color changes).
- Construction: Worked in continuous spirals; stuffed as you go; gently shaped into a curve.
- Video Tutorial: The linked YouTube video walks through each step visually, ideal if you learn by watching.
Gauge
Candy canes don’t need a precise wearable gauge, but you want a firm fabric so stuffing doesn’t show.
- Approximate gauge (with worsted yarn & 3.5–4 mm hook):
18–20 single crochet (sc) stitches x 20–22 rows = 4 in (10 cm) in sc worked in the round. - Adjust hook size so your stitches are tight and dense.
Construction & Key Features (Summary)
- Worked in the round to form a smooth tube.
- Uses mainly single crochet (sc), increases, and decreases.
- Color changes create spiral candy cane stripes.
- Stuffed as you go for even firmness and shape.
- Bent into a classic candy cane curve at the end; wire is optional for extra structure.
- Can be made in multiple sizes by changing length or hook/yarn size.
- Perfect as tree ornaments, garlands, or gift toppers.
Abbreviations
- MR – magic ring
- sc – single crochet
- inc – increase (2 sc in same stitch)
- dec – decrease (sc2tog – single crochet 2 stitches together)
- st(s) – stitch(es)
- Rnd – round
- Work in continuous rounds (do not join; use a stitch marker).

Pattern Overview & Making Process
This crochet candy cane is worked in an amigurumi style using continuous rounds to create a smooth tube shape. The pattern starts with a magic ring, followed by increases to form the base, then continues with single crochet rounds to build the long candy cane body.
The classic striped look is made by alternating white and red yarn in a repeated sequence of three rounds in white and three rounds in red. The tube is lightly stuffed as it grows to keep an even shape, and the length can be adjusted to create small ornaments or larger holiday decorations.
After reaching the desired length, the top section is gently shaped into the candy cane curve with optional wire support for extra hold. The end is tapered and closed with decreases, then the final touches like ribbons, bells, beads, or a hanging loop can be added to complete the festive decoration.
Step‑by‑Step Round Pattern
This is a generic round pattern inspired by amigurumi candy cane construction to match the tutorial style.
1. Start the Round Tube
Rnd 1 (Color A – White):
Make a magic ring, 6 sc into ring. (6 sts)
Rnd 2:
Inc in each st around. (12 sts)
Rnd 3:
(1 sc, inc) around. (18 sts)
This gives you a small round opening for a chunky, candy-like tube. If you want a slimmer cane, stop at 12 sts instead of 18.
2. Establish the Stripe Pattern
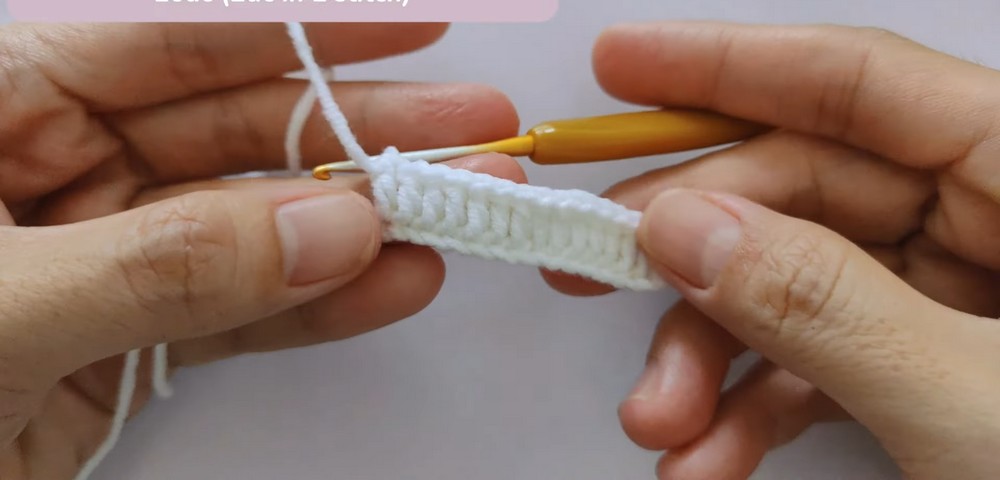
From here, you’ll work straight rounds to form the length of the cane, alternating colors to create stripes. One simple approach:
- Stripe repeat (example):
- 3 rounds in White
- 3 rounds in Red
Repeat this sequence until you reach your desired length.
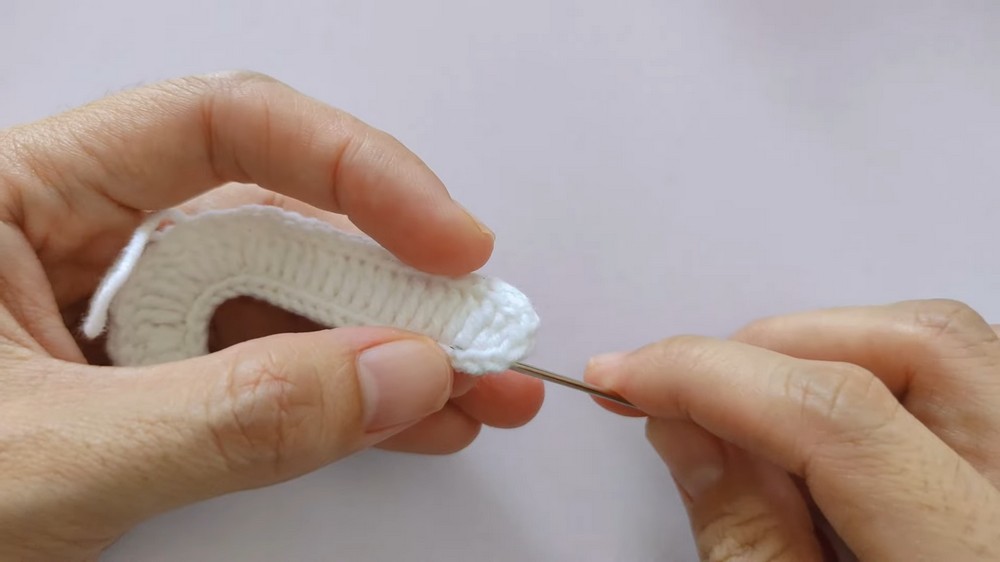
Rnd 4–6 (White):
Sc in each st around. (18 sts)
Change to Red.
Rnd 7–9 (Red):
Sc in each st around. (18 sts)
Repeat Rnd 4–9 (alternating 3 rounds white, 3 rounds red) until your candy cane body is about:
- Small ornament: 5–6 in (12–15 cm)
- Medium decoration: 7–8 in (18–20 cm)
- Large décor piece: 9–10 in (23–25 cm)
3. Stuff as You Go
- After about 10 rounds, begin to lightly stuff the tube.
- Push stuffing in with the back of your hook or a chopstick.
- Continue crocheting, adding small amounts of stuffing as the tube gets longer.
- Keep the tube evenly firm, not overstuffed, so it can bend.

4. Shape the Candy Cane Curve
When your tube reaches the full length you want:
- Finish the last stripe round.
- Add a little extra stuffing near the area you will bend—this helps the curve hold its shape.
- If using wire or a pipe cleaner:
- Cut a piece slightly shorter than the cane.
- Carefully slide it inside the tube, making sure the ends are buried in stuffing so they don’t poke out.
Now, gently bend the top third of the tube into a hook shape, forming the candy cane curve. Go slowly so you don’t distort the stitches.
5. Close the End
To taper and close the bottom end:
Rnd (Taper 1 – working in current stripe color):
(1 sc, dec) around. (12 sts)
Rnd (Taper 2):
Dec around. (6 sts)
- Cut yarn, leaving a tail.
- Use your yarn needle to thread through the last 6 sts and pull tight to close the opening.
- Weave in the end securely.
If you want a blunt, non-tapered end, simply skip the decreases and sew the opening flat.
6. Finishing Touches
- Straighten the tube, then refine the curve until it looks balanced.
- Weave in all remaining ends.
- Add optional decorations:
- Tie a small ribbon bow around the curve.
- Sew on tiny bells or beads.
- Attach a hanging loop at the top: chain a small loop with matching yarn and sew it to the curve.
Your round, striped candy cane is ready to hang or gift!
Troubleshooting & Suggestions
Common Issues & Fixes
- Stuffing shows through stitches:
- Use a smaller hook or thicker yarn. Your stitches should be snug.
- Avoid overstuffing; add small amounts and pack lightly.
- Uneven stripes or messy color changes:
- Change colors at the back of the tube so jogs are less visible.
- When changing, complete the last stitch of the old color with the new color (pull new color through the last loop).
- Tube twists or bends weirdly:
- Make sure tension is even—don’t crochet too tight in one stripe and loose in another.
- If using wire, center it carefully and adjust stuffing around it.
- Curve won’t hold shape:
- Add a thin floral wire or pipe cleaner inside before closing.
- If you prefer no wire, use more stuffing near the curve and shape it gently over time.
Creative Modifications
- Color Variations:
- Classic: Red & White.
- Winter: Blue & White.
- Elegant: White & Gold or Red & Gold.
- Fun: Rainbow stripes using scraps.
- Texture Options:
- Alternate single crochet (sc) and half double crochet (hdc) rounds for subtle ridges.
- Add occasional surface slip stitches in a metallic yarn to mimic shimmering sugar.
- Different Uses:
- Make mini candy canes and string them into a garland.
- Use large ones as door décor or table centerpieces.
- Attach to gift wrapping as a reusable, handmade embellishment.
Conclusion & Action Step
Gather your yarn, hook, and stuffing, then follow the video tutorial alongside this written guide to create a round, striped candy cane today. Start with one ornament-size cane, experiment with colors and sizes, and build a full handmade candy cane collection for your holiday décor.