Make an easy crochet Christmas tree ornament with this beginner-friendly pattern, perfect for holiday gifts and decorations.

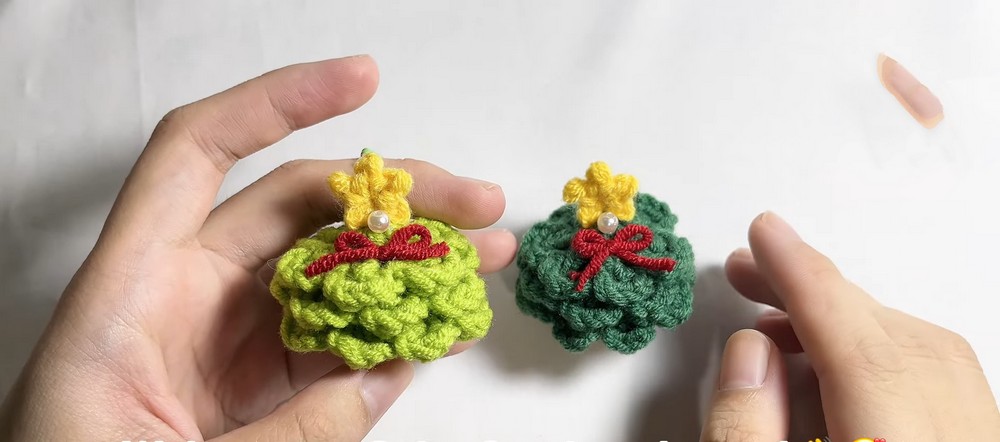
This easy crochet Christmas tree ornament brings holiday spirit to your decorations with its three-layered tree sections, tiny trunk, and cheerful star topper. Made with simple techniques like magic circles and cluster stitching, it creates a lovely seasonal piece that is beginner-friendly and enjoyable to make. The layered shape gives this small decoration a unique festive appearance while making each step of the crochet process exciting to complete.
The pattern combines separate tree tiers, a small trunk, and a star detail to create a complete Christmas decoration with a neat dimensional shape. This crochet ornament can be hung on a tree, added to gift wrapping, or kept as a handmade holiday keepsake. As each part comes together, simple crochet pieces transform into a tiny Christmas treasure that brings extra warmth and personality to your celebrations.
Credit Ochy Crochet
Materials & Tools Needed
Materials:
- Cotton yarn (50g) in green, brown, and yellow, plus accents in red or other colors for detailing.
- Crochet hook: Size appropriate for the yarn (e.g., 3.5mm).
- Stitch markers for keeping track of rows.
- Scissors and a tapestry needle for finishing.

Gauge:
Gauge isn’t critical for this project, but ensure consistent tension to maintain a neat shape.
Pattern Notes:
- The ornament is worked in the round using a magic circle technique.
- The tree is made up of three layered sections for texture and dimension.
- Additional small elements (trunk, star, and embellishments) complete the design.
Key Features & Construction Highlights
- Magic Circles: Key technique to start each part, ensuring tight, clean finishes.
- Layered Tree Design: Built from three layers of “leafy” tiers for a realistic effect.
- Cluster Stitching: Adds texture and creates a festive, decorative look.
- Trunk and Star Details: Crocheted separately for easy assembly and layering.
- Customizable Design: Add creative embellishments like beads or contrasting yarn colors.

Pattern Overview & Making Process
This Christmas tree ornament is made by creating three separate tree layers with a magic circle technique. Each section is shaped with double crochet stitches and cluster stitches to build the leafy tiers, creating a raised tree design with a beautiful stacked effect.
After completing the three tree sections, the trunk is worked separately with single crochet stitches in rounds to form a small and sturdy base. A tiny star topper is then created using a magic circle and simple stitches, adding the final festive detail to the ornament.
In the final step, all pieces are carefully arranged by placing the largest tree layer at the bottom and the smallest at the top before attaching the trunk and star. You can also add small decorative touches afterward to make your ornament unique and discover how these simple pieces come together into a memorable holiday creation.
Step-by-Step Pattern
Tree Layer 1 (Base Layer)
Round 1:
- Start with a magic circle.
- Chain 2, then work 6 double crochet stitches into the magic circle. Mark your first stitch with a stitch marker (optional), pull the circle tight, and slip stitch into the first double crochet to close.
Round 2:
- Chain 2, double crochet into the base stitch, then chain 2.
- Slip stitch into the next stitch. Repeat this cluster (ch 2, dc, ch 2, sl st) for a total of 6 clusters around. Slip stitch to finish the round and cut the yarn.
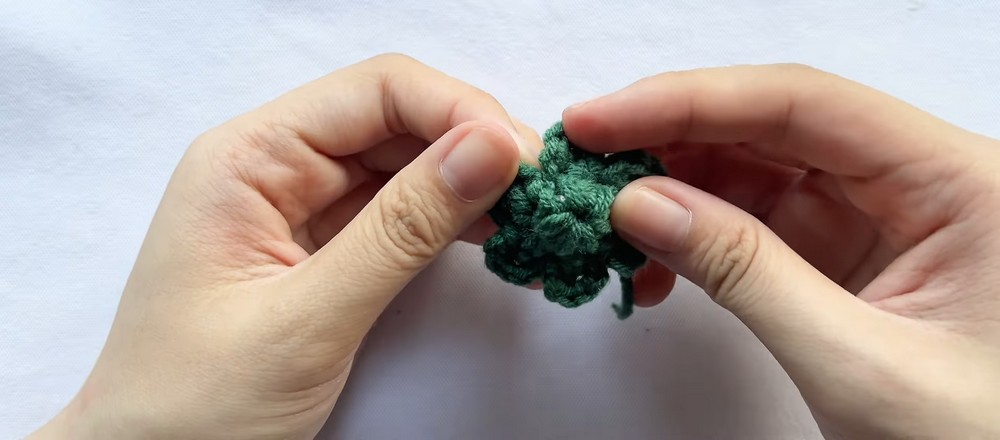
Tree Layer 2 (Middle Layer)
Round 1:
- Create a magic circle, chain 2, and work 7 double crochets into the circle. Pull the circle tight and slip stitch to close.
Round 2:
- Chain 2, double crochet into the base, followed by chain 2.
- Slip stitch into the next stitch, creating a cluster. Repeat this cluster (ch 2, dc, ch 2, sl st) until you have 7 evenly spaced clusters in the round. Cut and fasten off.
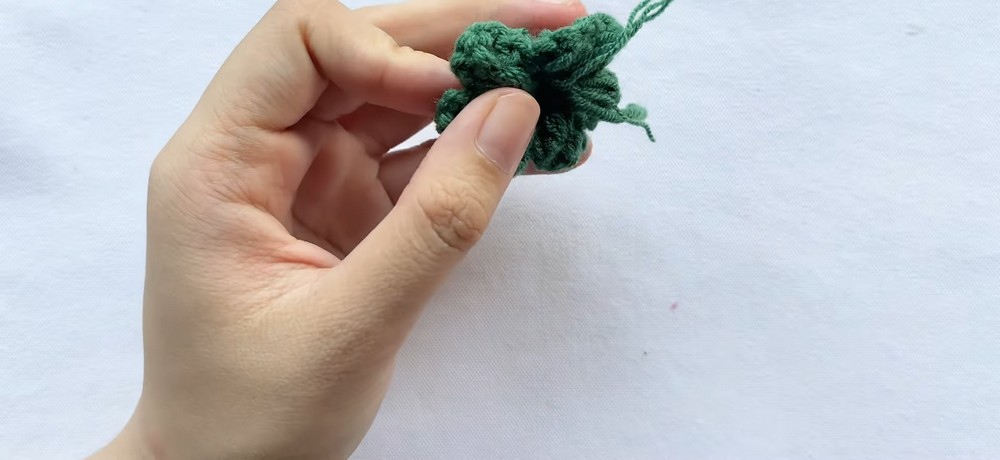
Tree Layer 3 (Top Layer)
Round 1:
- Make a magic circle and work 8 double crochets into the circle. Pull tight and close with a slip stitch.
Round 2:
- Chain 2, double crochet in the base stitch, chain 2, and slip stitch into the next stitch. Repeat for 8 clusters around. Fasten off.
Tree Trunk
Round 1:
- Create a magic circle, chain 1, then crochet 5 single stitches into the circle. Pull tight and close.
Round 2-4:
- Work one single crochet into each stitch around for three rounds to create the length of the trunk. Fasten off.
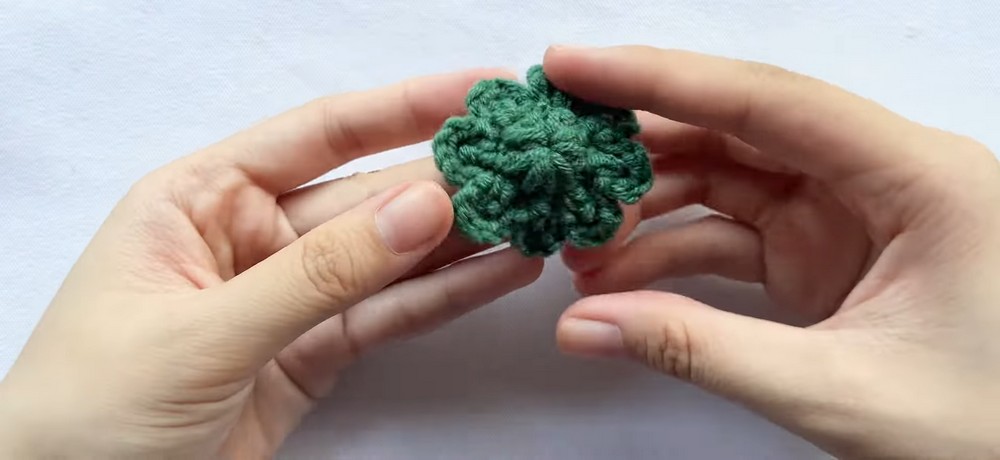
Star Topper
- Create a magic circle, chain 2, and crochet into the circle to form a small star: (sc, ch-2, sl st into 1st ch) 5 times to form the star’s points. Pull tight and close the magic circle.
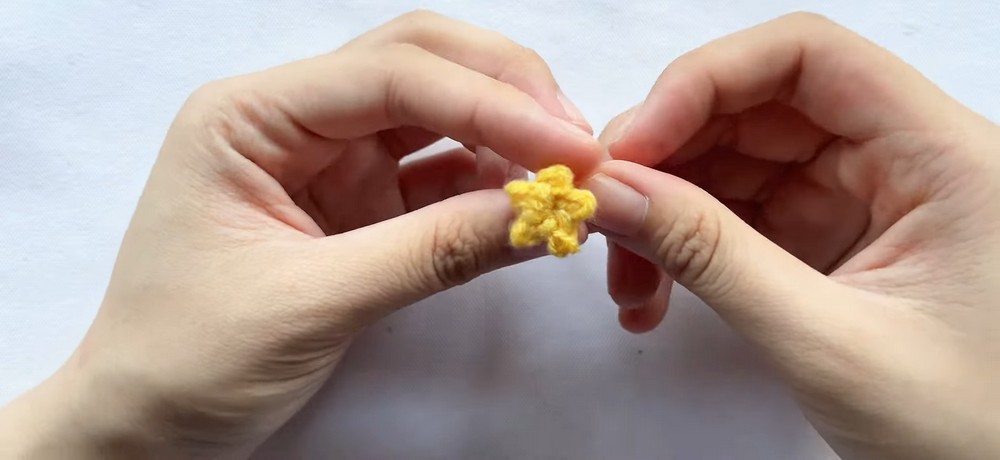
Assembly
- Layer the tree tiers on top of one another, ensuring the largest is at the bottom and the smallest at the top. Sew them into place.
- Attach the trunk to the base of the bottom layer.
- Sew or glue the star to the top layer. Finish with optional embellishments like beads or buttons for ornaments!
Troubleshooting & Suggestions
Common Issues:
- Loose Magic Circle: If your magic circle doesn’t tighten securely, ensure you’re properly wrapping and pulling the yarn tightly before sealing.
- Uneven Tension: Keep stitches consistent by adjusting your grip on the yarn and maintaining firm tension.
- Misaligned Layers: Use pins or clips to align three layers before sewing them together.
Creative Modifications:
- Colors: Try a modern twist using whites, silvers, and golds for an elegant look.
- Embellishments: Add beads, mini pom-poms, or sequins for festive sparkle.
- Multi-Purpose: Use the finished tree as an ornament, keychain, or gift tag.
Conclusion & Action Step
Craft your own Christmas magic with this adorable crochet tree ornament! With just a few materials and simple techniques, you can create heartfelt gifts or decorate your home with personalized cheer. Try it in your favorite holiday colors, share your creations with loved ones, and don’t forget to pin this project for all your holiday craft inspiration.