Looking for a chunky crochet charm with plenty of personality? This fluffy cow has a round snout, tiny horns, soft ears, and custom spots for a playful car accessory.
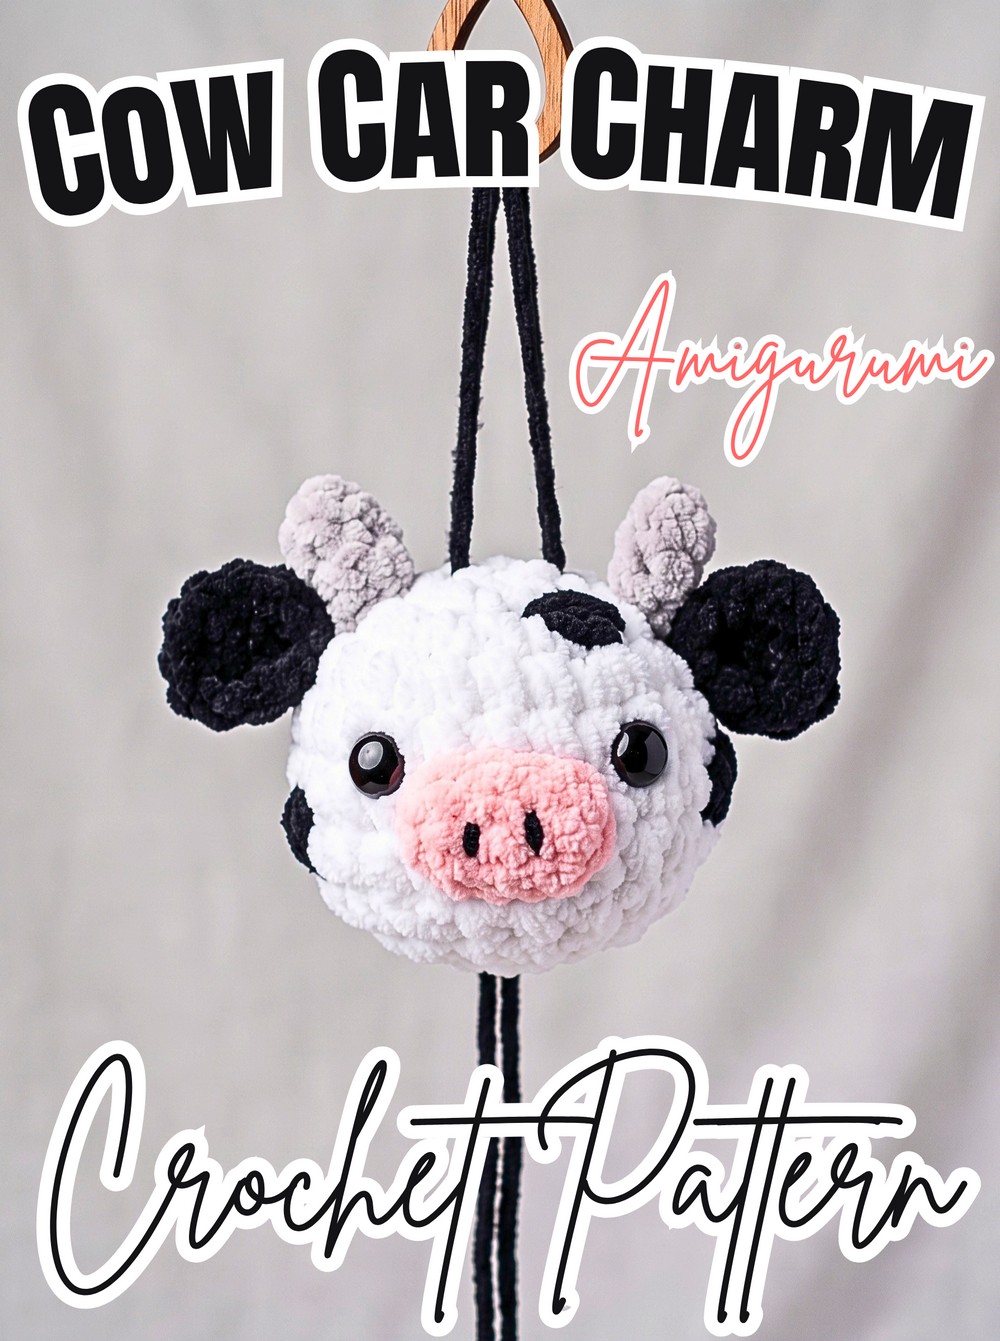
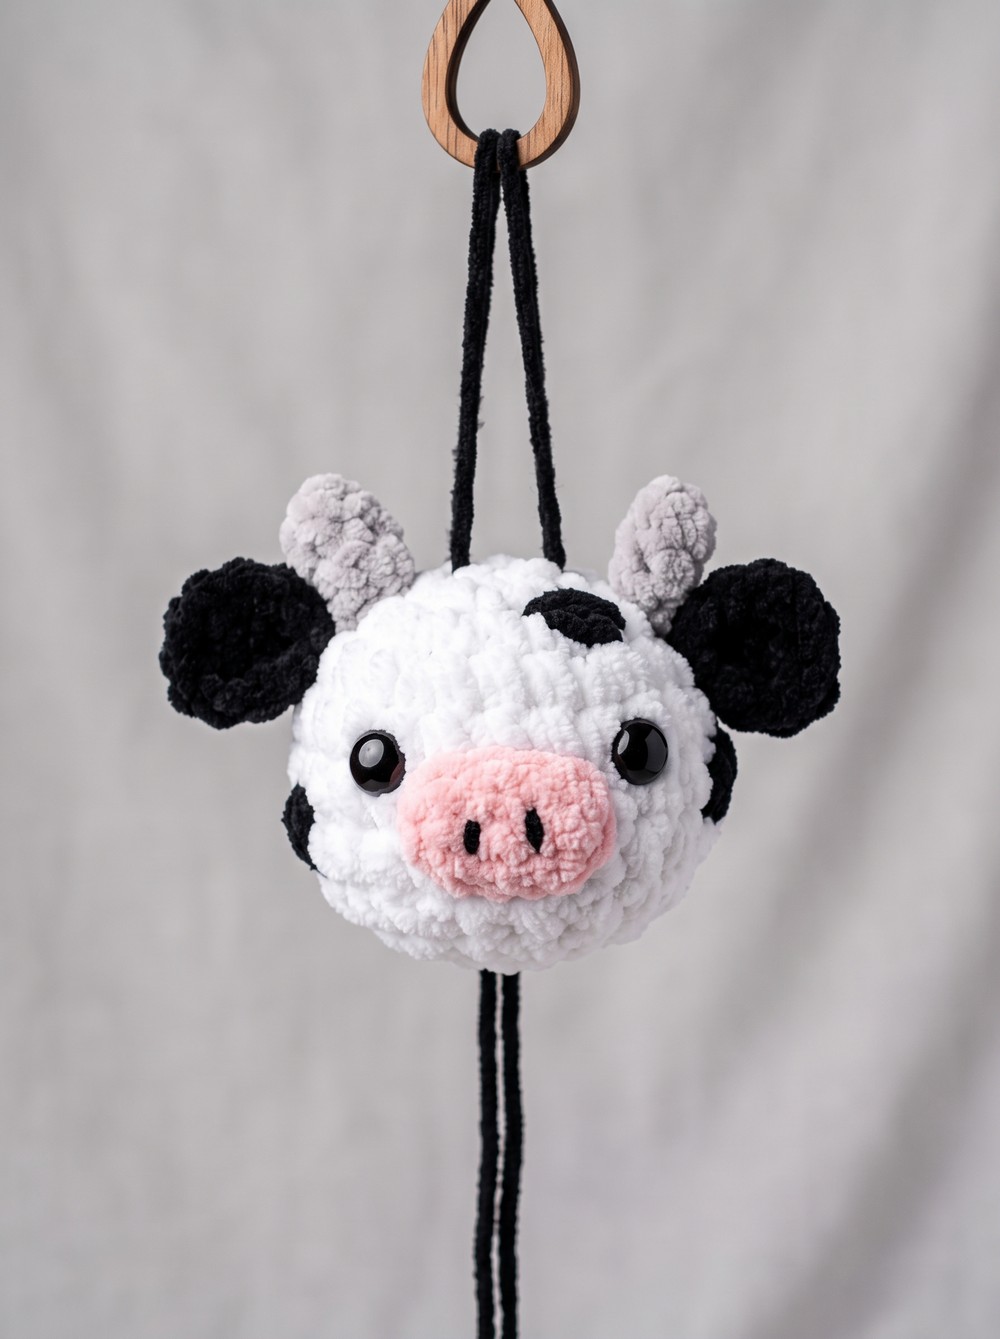
Chunky blanket yarn gives this little crochet cow a wonderfully soft, squishy shape, while the pink snout, tiny horns, and floppy ears create its unmistakable farm-animal character. Hung from a car mirror, it becomes a cheerful handmade accessory that is easy to spot at a glance.
The crochet pattern keeps the shapes simple: one rounded head, two ears, a small snout, and two horns. You’ll also find the exact points for attaching each feature, plus an easy way to make the hanging chain and add black crochet cow spots without needing complicated colorwork.
Credit keilas crochets
Materials & Tools
- Blanket yarn: Main body color
- Soft plush yarn: For the snout, horns, or ears
- Worsted-weight yarn: For the nose lines, cow spots, and hanging chain
- 8.0 mm crochet hook
- 5.75 mm crochet hook
- 14 mm safety eyes
- Polyester stuffing
- Yarn needle
- Scissors
- Hot glue gun, optional, for assembly
Finished Size & Customization
The chunky yarn gives this cow a soft, plush appearance that works especially well as a hanging car charm.
The body color can be changed to create different cow themes. Try pink for a strawberry-inspired cow or blue for a blueberry version. If you want a much smaller charm, substitute worsted-weight cotton yarn and use an appropriately smaller hook; the same pattern will produce a miniature version.
You can also vary the black spot placement so every cow has a slightly different look.
Abbreviations
- MR: Magic Ring
- sc: Single Crochet
- inc: Increase – 2 sc in the same stitch
- dec: Decrease – join 2 stitches into 1
- sl st: Slip Stitch
- ch: Chain
- R: Round / Row
- (#): Total stitch count at the end of the round
Crochet the Cow Head
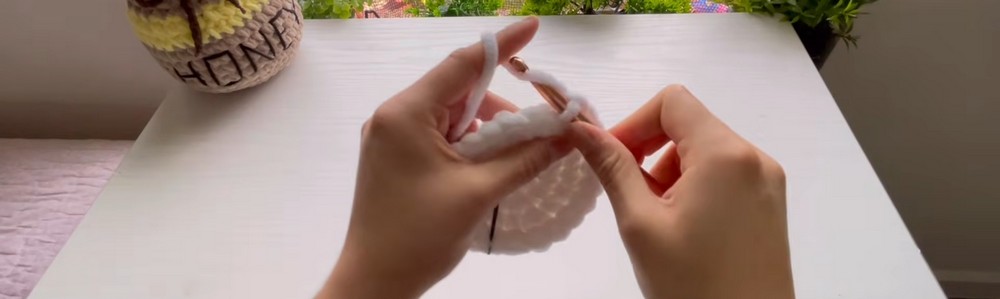
Begin with the main blanket yarn and an 8.0 mm hook. The head starts with a small magic ring, expands to 24 stitches, stays at that width for three rounds, and then decreases into the rounded lower portion.
R1: Work 6 sc in MR (6).
R2: Work 6 inc (12).
R3: Work (1 sc, inc) ×6 (18).
R4: Work (2 sc, inc) ×6 (24).
R5-R7: Work 1 sc in each stitch around for 3 rounds (24).
R8: Work (2 sc, dec) ×6 (18).
R9: Work (1 sc, dec) ×6 (12).
Add the Face Details and Stuffing
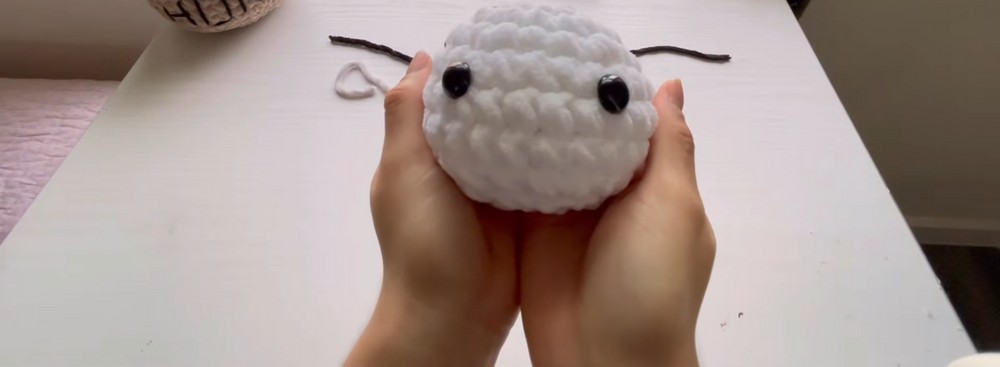
Insert the 14 mm safety eyes between Rounds 5 and 6, spacing them 4 stitches apart.
Check their alignment from the front before securing the backs. Because the head is small and rounded, even a one-stitch difference can noticeably change the expression.
Once the eyes are secure, stuff the head firmly with polyester fiberfill. Push the filling evenly into the sides and top so the head remains round rather than becoming lumpy.
R10: Work 6 dec (6).
Finish stuffing if necessary, fasten off, and weave the yarn tail through the remaining stitches to close the opening. Hide the tail inside the head.
Make the Ears
Make 2 ears using the soft plush yarn.
R1: Work 4 sc in MR (4).
R2: Work 4 inc (8).
R3: Work (1 sc, inc) ×6 (12).
Slip stitch into the next stitch and fasten off.
Keep the ears flat and ready for attachment. Their small rounded shape will sit just below the horns once the head is assembled.
Crochet the Snout
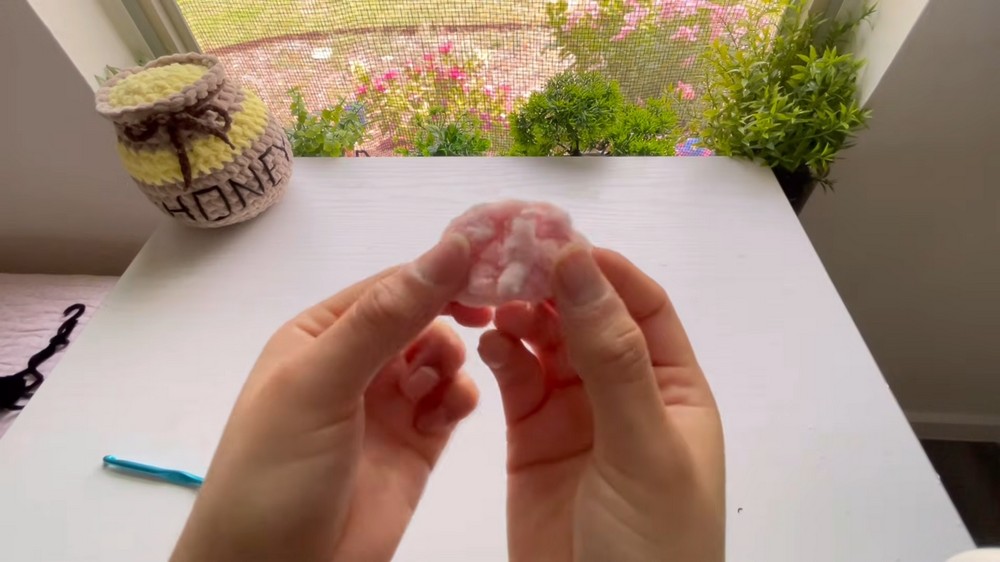
Use pink plush yarn for the snout.
R1: Chain 4.
R2 – Top side: Starting in the second chain from the hook, work 2 sc, then 3 sc in the last stitch of the chain.
Continue around the opposite side of the foundation chain.
R2 – Underside: Work 2 sc down the opposite side of the chain, then 3 sc in the very last stitch.
Slip stitch 2 times to finish the round, fasten off, and hide the yarn tail.
The completed snout should form a small rounded oval rather than a long strip. Keep it flat when preparing it for attachment.
Make the Horns
Make 2 horns.
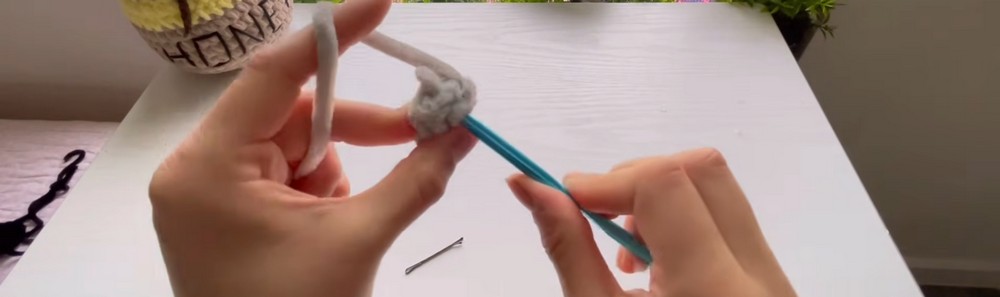
R1: Work 4 sc in MR (4).
R2-R4: Work 1 sc in each stitch around for 3 rounds (4).
Fasten off.
The four-stitch tube creates the small, narrow horns that sit above the ears.
Assemble the Cow
You can sew the individual pieces in place with a yarn needle, or use a small amount of hot glue for a quicker plushie assembly.
Attach the Snout
Position the pink snout between and slightly below the eyes. Check the front view before securing it so the snout sits centered beneath the face.
Add the Horns and Ears
Attach the horns at Round 3 of the head.
Place the ears immediately below the horns at Round 4. Check both sides from the front to keep the pair balanced.
Embroider the Nose Lines
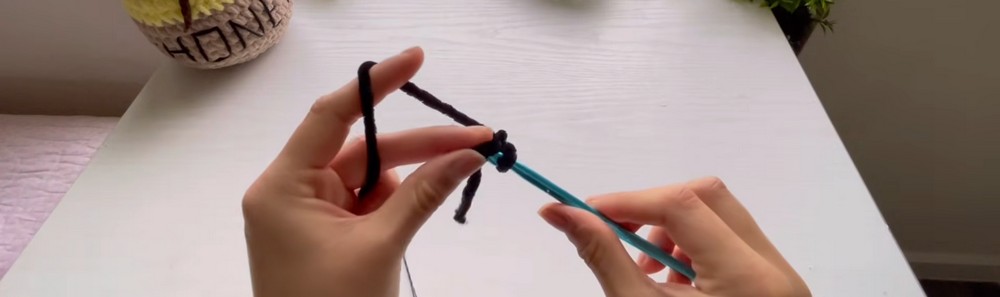
Thread black worsted-weight yarn onto your needle.
Add two small vertical lines to the pink snout to suggest the nostrils. Keep them short and close enough together to retain the simple expression of the plush cow.
Add the Cow Spots
Cut a long piece of black worsted-weight yarn.
Weave the yarn in and out of the head in several irregular areas to create the cow’s markings. Varying the size and position of the spots will make the markings look more natural than placing identical shapes on both sides.
Secure the yarn ends inside the head so they do not remain visible.
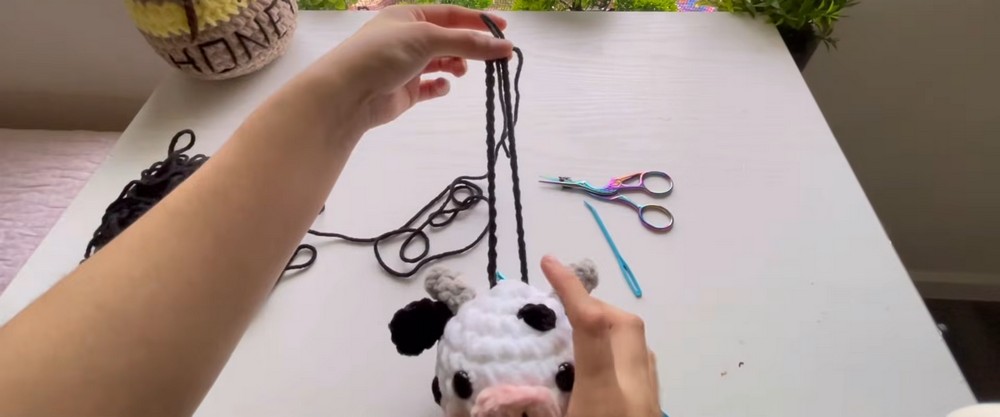
Make and Attach the Hanging Chain
The hanging loop can be customized to whatever length works for your car.
Using worsted-weight yarn, single crochet a chain to your desired length.
Insert both ends of the chain into the magic ring at the top of the cow’s head. Fasten off, then tie the two ends together in a secure knot.
Pull the knot inside the head so the yarn tails disappear into the stuffing.
Give the hanging chain a gentle tug before hanging the charm to make sure the attachment point is secure.