Learn to crochet a cute ghost keychain with an easy beginner-friendly pattern. Create your own spooky or smiley ghost for keys, bags, or decor.

A tiny crochet ghost can add a playful handmade touch wherever it goes. This crochet ghost keychain is quick to make, easy to customize, and filled with charming details that make it a fun accessory for keys, bags, or seasonal decorations. The simple way these pieces come together reveals how a few basic stitches can create a tiny ghost full of personality.
The crochet pattern is designed with simple shaping, seamless arms, and a wavy ruffled bottom that gives the ghost its unique character. From creating the panels and joining the pieces to adding the face and keyring, every step follows an easy flow that helps turn basic stitches into a tiny handmade companion.
Credit ennifer Noelle
Skill Level:
Suitable for beginners, featuring simple techniques like:
- Chain extensions
- Simple decreases
Key Features
- Integrated wavy ruffled skirt, adding a stylish flair.
- Seamless arms, offering a clean and polished look.
- Customizable facial expressions, allowing you to personalize your design.
Materials List for Crochet Pattern
Yarn:
- Type: Medium worsted weight (Category 4) acrylic yarn.
- Color: White.
Embroidery Thread or Yarn Strand:
- Type: Black embroidery thread or fine black yarn.
- Purpose: For creating the smile.
Hook:
- Size: G (4.0 mm) crochet hook.
Safety Eyes:
- Size:
- (2) 9 mm safety eyes (for the eyes).
- Optional: (1) 11 mm safety eye (for the open-mouth face version).
Stuffing:
- Type: Polyfill fiberfill.
- Quantity: Small handful.
Notions:
- Tapestry needle (for assembling and weaving in ends).
- Sharp scissors (for cutting yarn and thread).
- Metal keychain ring (optional, for attaching as a charm).
- Optional: Swivel clasp for better functionality.
Abbreviations (US Terms)
- ch: chain
- sl st: slip stitch
- sc: single crochet
- dc: double crochet
- sc2tog (dec): single crochet decrease

Pattern Overview & Making Process
This pattern begins by making two matching panels. Each panel starts with a short foundation chain that forms the signature wavy skirt using slip stitches, chains, and double crochet stitches. The body is then worked in single crochet rows before the arms are created directly from the panel.
After the body is complete, the head is shaped with a few decrease rows to create a smooth rounded top. The first panel is finished off, while the second panel keeps the working yarn attached so both pieces can be joined together.
The final stage joins the panels with a single crochet border, adding extra stitches around the skirt and corners for a neat finish. Safety eyes are inserted before light stuffing, the top is closed, the smile is embroidered, and a keyring or swivel clasp is attached to complete the ghost keychain.
Crochet Ghost Pattern: Step-By-Step Instructions
Step 1: Crafting the Panels (Make 2)
Bottom Wavy Skirt & Base
- Foundation Chain:
Ch 8. - Row 1:
- Skip the 1st ch, sl st into the 2nd ch.
- [Ch 2, dc in next ch, ch 2, sl st in next ch] — repeat 3 times (you’ll create 3 wavy ruffles).
- Row 2:
- Ch 1, turn.
- Crochet into the back ridge of the foundation chain: 1 sc into each of the 7 loops. (7 sc)
- Rows 3–5:
- Ch 1, turn. Make 1 sc into each stitch across. (7 sc per row)

Body & Arm Formation
- Row 6:
- Ch 1, turn. Work 1 sc across the 7 sts.
- Ch 3 (this will form the first arm).
- Turn, skip the 1st ch, and work 1 sc into the 2nd ch, 1 sc into the 3rd ch (arm complete).
- Continue with sc into the original 7 body sts. (9 sc)
- Row 7:
- Ch 3 (this will form the second arm).
- Turn, skip the 1st ch, and sc into the next 2 ch.
- Work sc across the 7 body sts, then sc into the 2 sts on the opposite arm. (11 sc total)
- Row 8:
- Ch 1, turn. Work 1 sc into all 11 sts. (11 sc)

Shaping the Head
- Row 9:
- Ch 1, turn. Work sc into the first 9 sts (skipping the last 2 sts of the first arm). (9 sc)
- Row 10:
- Ch 1, turn. Work sc into the first 7 sts (skipping the last arm stitches). (7 sc)
- Rows 11–12:
- Ch 1, turn. Work 1 sc into each of the 7 sts. (7 sc)
- Row 13:
- Ch 1, turn. Sc2tog over the first 2 sts, work 1 sc in the next 3 sts, then sc2tog over the last 2 sts. (5 sc)
- Row 14:
- Ch 1, turn. Sc2tog, work 1 sc into the middle st, then sc2tog. (3 sc)
Panel 1:
Fasten off.
Panel 2:
Do not fasten off; keep the working yarn attached for assembly.
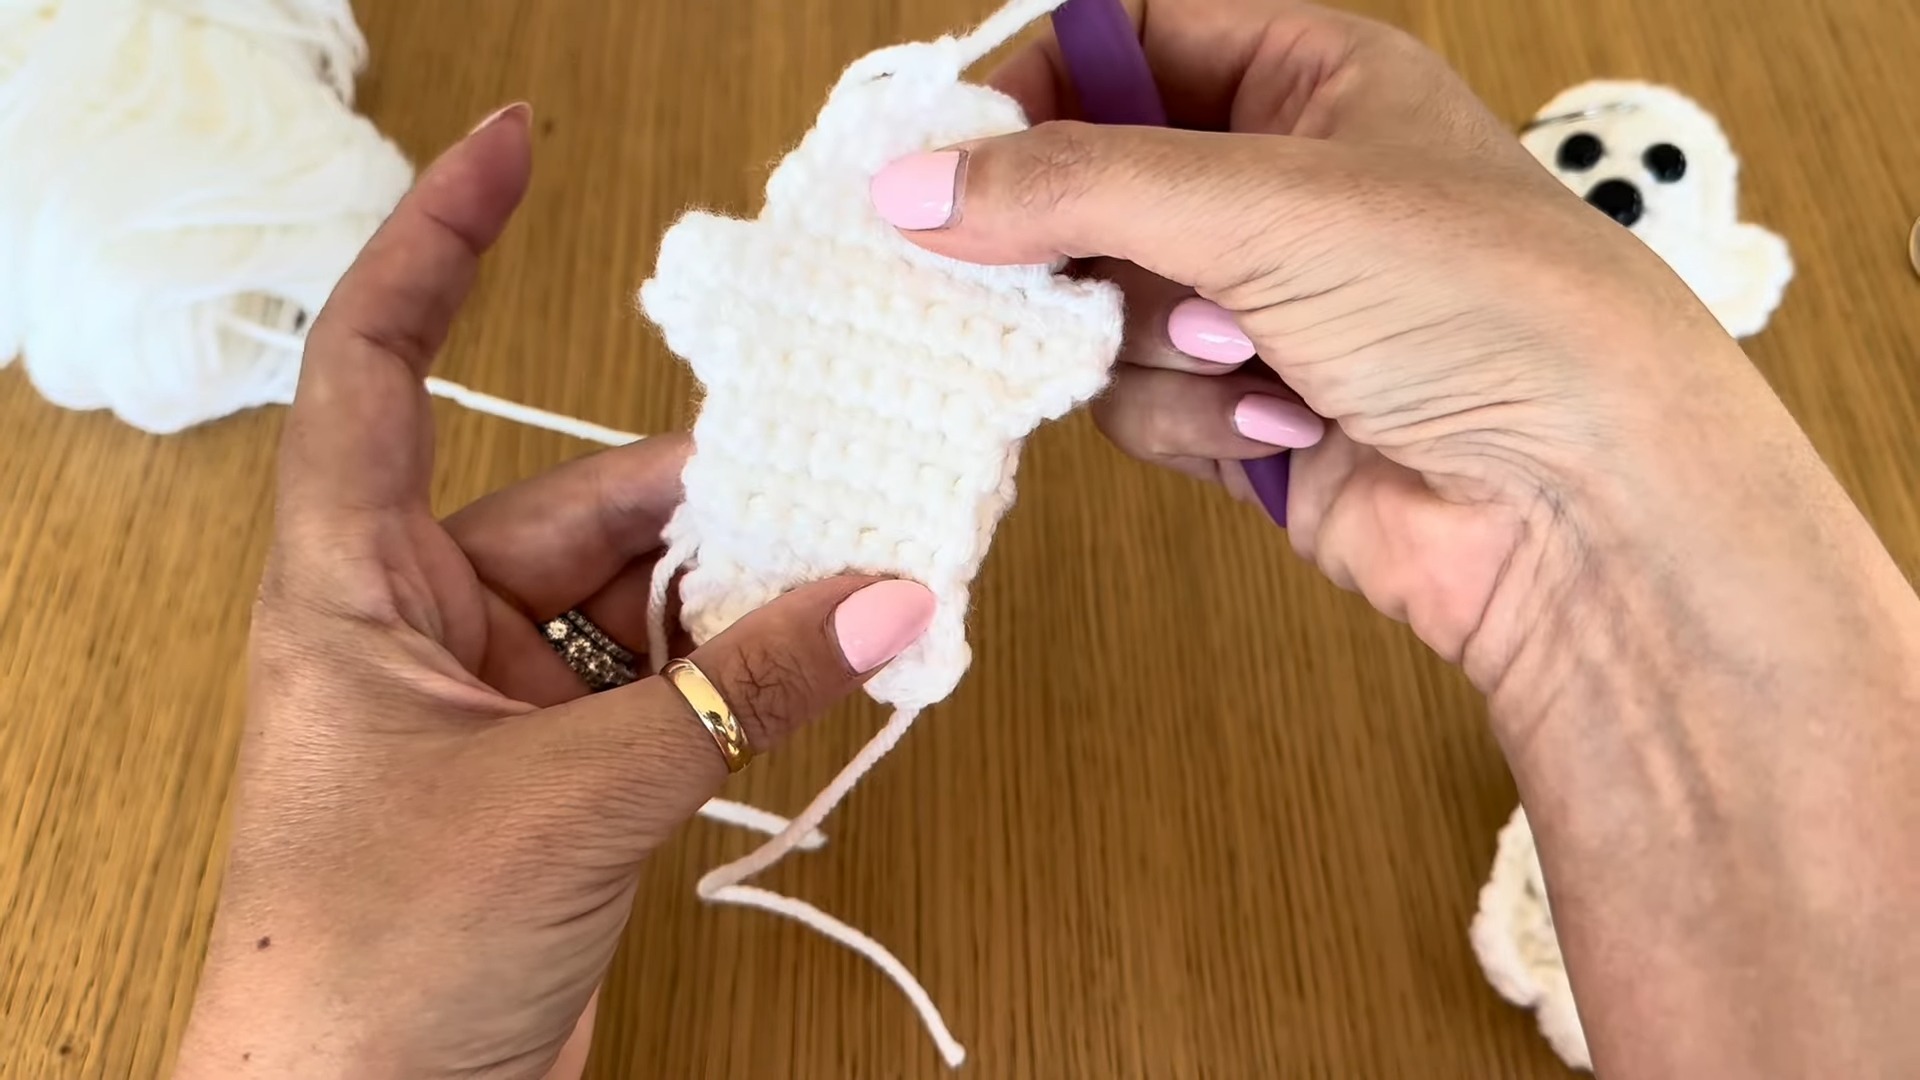
Step 2: Assembly, Stuffing & Finishing
Border Joining:
- Align the 2 panels with arms pointing in the same direction.
- Using the working yarn from Panel 2, Ch 1 and sc through both panels around all edges.
- Corners: Work 2 sc at head corners for smooth rounding.
- Armpits: Sl st into the inner arm joints for better definition.
- Skirt Gaps: Work 2 sc into each chain-gap at the wavy skirt bottom.
Adding the Eyes:
- Pause assembly at the top of the head.
- Insert 9 mm safety eyes between Rows 11 and 12, about 3 stitches apart.
- Optionally, use an 11 mm safety eye in the center as the “mouth” for the open-mouth variation.
Stuffing the Ghost:
- Lightly stuff the body with polyfill before sealing the top.
- Use your hook handle to push stuffing into the arms as needed.

Closing the Top:
- After stuffing, continue sc across the remaining head stitches to seal.
- Sl st into the first border stitch, fasten off, and weave the tail into the back loops using a tapestry needle.
Embroidering the Face:
- For a stitched smile:
- Use black embroidery thread or thin yarn.
- Sew a tiny “V” or curved smile beneath the eyes.
- Secure the knot on the inside.
Adding the Keyring:
- Slide a split keyring through the center top stitch of the ghost’s head.
- Optionally, attach a swivel clasp for mobility.
Troubleshooting Tips
- Preventing Stuffing Gaps
- Use a smaller hook (e.g., 3.5 mm) or work with tighter tension to prevent polyfill from poking through stitches.
- Defining Arms & Joints
- To avoid rounded armpits, make a firm slip stitch into the corner crevice where the arm and body panels meet during border joining.
- Securing Facial Embroidery
- Thread embroidery yarn through internal stuffing layers and secure it by tying multiple light knots. Pull the ends back inside to ensure stability and durability.
Creative Modifications
- Glow-in-the-Dark Ghost
- Use glow-in-the-dark yarn for an eerie glow perfect for nighttime.
- Color Variations
- Experiment with pastel shades, like pink or lavender, and add embroidered blush circles beneath the ghost’s eyes for extra charm.
- Garland/Bunting Idea
- Create 6–8 ghost designs and string them onto a black yarn chain to make a fun Halloween garland for decoration.
Get Started!
- Prepare your 4.0 mm crochet hook and some scrap white yarn to whip up a pocket-sized ghost keychain or other adorable modifications.