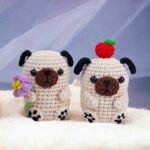
Learn to crochet a cute little bird amigurumi. Perfect as a keychain or decoration, customize colors & features. Easy for beginners.
A tiny bird can bring plenty of personality with only a few rounds of stitching and a handful of simple details. This crochet bird features a rounded body, a built-in tail, delicate wings, and embroidered eyes that give it an expressive look. Every crochet step builds naturally, creating a neat little companion that’s fun to make and display.
Its lightweight size makes it perfect as a keychain, ornament, or bag charm, while optional details like the crest and soft cheek blush let you give each bird its own character. The pattern stays easy to follow from beginning to end, making the crochet process enjoyable while guiding you toward a polished little finish that looks charming from every angle.
Credit Cute Crochet
Shape & Features
- Body Construction: Round, worked top-to-bottom in continuous rounds.
- Integrated Tail: Crochet directly onto the body, no sewing required.
- Additional Features:
- Separate wings with pointed picot edges.
- French knot embroidered eyes.
- Slip-stitch chain beak.
- Optional crest and cheek blush.
Techniques & Stitches
- Magic Circle
- Chain (ch)
- Single Crochet (sc)
- Increase (inc): Two sc in the same stitch.
- Invisible Decrease (dec): Through front loops only.
- Half Double Crochet (hdc)
- Slip Stitch (sl st)
- Picot: Chain 2, sl st in the second chain from hook.
- French Knot Embroidery: For eyes.
- Working in Back Bumps: Used for chain-based tail construction.
- Accordion Folding: For crest assembly.
Materials
- Yarn:
- Yellow (head & crest).
- Body yarn (color of choice).
- Gray (wings).
- Light pink (beak).
- Black (eyes).
- Keychain hardware: Blank keyring or jump ring.
- Tools:
- 3.0 mm crochet hook
- Stitch marker/paper clip
- Yarn needle
- Scissors
- Small makeup brush
- Orange eyeshadow
- Stuffing: Amigurumi polyfill.

Pattern Overview & Making Process
The pattern begins by crocheting the head and body in continuous rounds, starting with a magic circle and gradually increasing to create a smooth, rounded shape. After several even rounds, the yarn color changes before the body continues to expand, giving the bird its distinct color placement.
Next, the tail is worked directly from the body using foundation chains and stitches made into the back bumps, so no separate sewing is needed. The body is then completed with gradual invisible decreases before being firmly stuffed and neatly closed to maintain its compact shape.
The finishing details bring the bird to life. A simple slip-stitch beak, French knot eyes, and two separate wings with picot edging are added before attaching the optional crest. Finally, the keyring is secured through the top of the head, and a soft touch of orange blush completes the finished bird keychain.
Amigurumi Bird Keychain Pattern – Step-by-Step Instructions
Head & Body Construction
- Round 1:
- Make a magic circle, ch 1 (does not count as st), work 6 sc into the circle. (6 sts)
- [Tip: Pull tail tight to close the center neatly.]
- Round 2:
- Inc in each stitch. (12 sts)
- Round 3:
- [1 sc in the next stitch, inc] 6x around. (18 sts)
- Rounds 4–6:
- Sc in each stitch around. (18 sts per round)
- Color Change:
- Sl st in the next st and fasten off the current color.
- Join the new color 2 stitches before the marker with a sl st and ch 1.
- Round 7:
- [1 sc in each of the next 2 sts, inc] 6x around. (24 sts)
- Rounds 8–9:
- Sc in each stitch around. (24 sts per round)

Tail & Lower Body
- Tail Extension (Start at Round 10):
- Chain 7.
- Skip the 1st ch, work 1 sc into the back bumps of the next 6 ch.
- Round 10 (Body w/ Tail):
- Sc in each stitch of the main body until the tail.
- Continue with 1 sc into the first 3 stitches of the tail.
- Ch 1, skip to the other side of the tail, and work 1 sc into the remaining 3 tail stitches.
- (30 sts total)
- Round 11:
- Sc in each stitch around the body and tail, skipping the ch-1 space on the tail. (30 sts)
Decreases & Closing
- Round 12:
- [1 sc in the next 3 sts, invisible dec] repeat around. (24 sts)
- Round 13:
- [1 sc in the next 2 sts, invisible dec] repeat around. (18 sts)
- Round 14:
- [1 sc in the next st, invisible dec] repeat around. (12 sts)
- Stuffing:
- Stuff the body firmly but without overfilling.
- Final Round (Round 15):
- Dec in every stitch. (6 sts)
- Cut the yarn, leaving a long tail.
- Weave the tail through the front loops of the remaining 6 sts and pull tight to close.

Beak
- Join light pink yarn at Round 5 with a sl st.
- Ch 2, sl st back into the same stitch.
- Fasten off, pull the ends to the inside, tie together, and hide inside the body.

Eyes
- Place sewing pins between Rounds 4 and 5, about 3 stitches apart from the beak.
- Thread black yarn through the back of the head to the pin location.
- Wrap yarn around the needle twice for a French knot.
- Insert back into the same hole and exit at the second pin location.
- Repeat for the second eye.
- Tie the ends at the back and hide them inside the body.

Wings (Make 2)
- Round 1:
- Magic circle, ch 1, 6 sc into the circle. (6 sts)
- Sl st to the first stitch.
- Round 2:
- Ch 1, 2 sc in the 1st stitch, 1 hdc in the next stitch,
(1 hdc, ch 2, sl st into the 2nd ch from hook, 1 hdc) into the next stitch,
1 hdc in the next stitch, and 2 sc in each of the remaining 2 stitches.- Sl st to the first stitch. Cut yarn, leaving a tail for sewing.
- Ch 1, 2 sc in the 1st stitch, 1 hdc in the next stitch,

Optional Cockatoo Crest
- Spike 1:
- Ch 5, sl st in the 2nd ch from hook, 1 sc in remaining 3 ch.
- Spike 2:
- Ch 4, sl st in the 2nd ch from hook, 1 sc in remaining 2 ch.
- Spike 3:
- Ch 3, sl st in the 2nd ch from hook, 1 sc in the remaining ch.
- Fold the crest pieces accordion-style, sew the top edges together, and attach to the top of the bird’s head.

Assembly
- Wings:
- Position wings on the side of the body, aligned with the eyes.
- Sew seamlessly by stitching one loop from the body and one loop from underneath the wing.
- Tie off and bury the ends inside the body.
- Crest (Optional):
- Attach the prepared crest to the top of the head.
- Keychain Attachment:
- Pass matching yarn through the back of the head and out the top center.
- Loop through a keyring or jump ring, return the yarn into the body, tie off, and hide the ends.
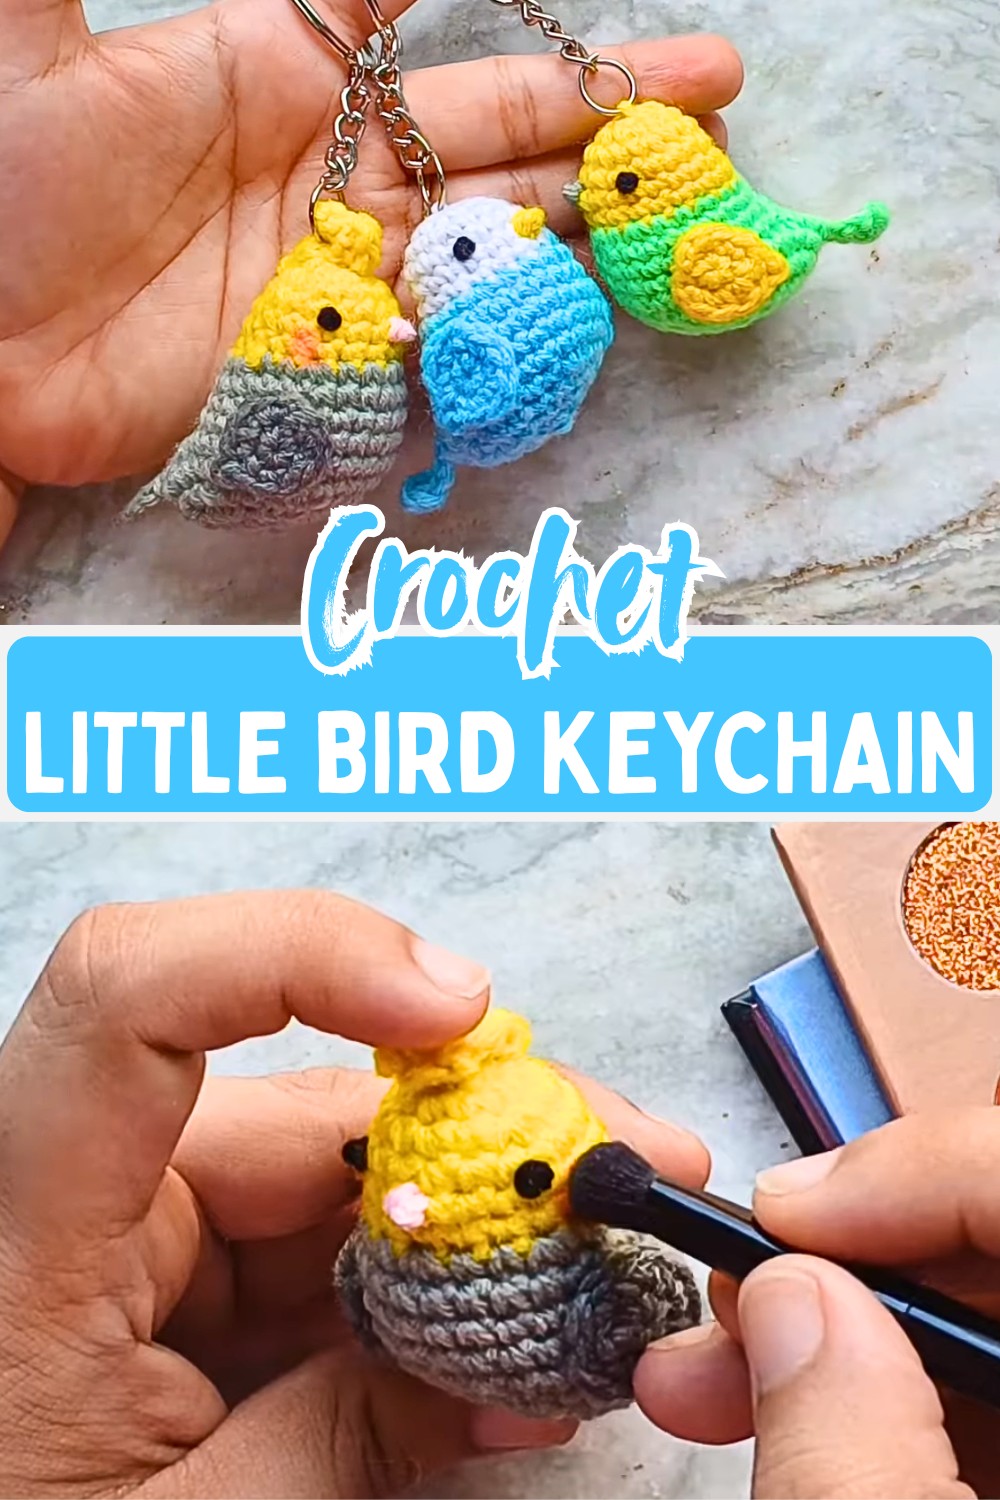
- Cheek Blush:
- Using a small makeup brush, apply orange eyeshadow around the cheeks for a soft blush effect.
Finishing Touches
- Apply orange eyeshadow blush with a makeup brush for cheeks.
Hints & Troubleshooting
- Ensure accurate stitch counts; every increase/decrease should land on the final repeat.
- Use a smaller hook size (3.0 mm for 4-ply yarn) for tighter stitches.
- Keep stuffing compact.
- Use pins to check symmetry for facial features.
Customization Ideas
- Cockatoo Variation: Yellow/yellow head yarn with a crest.
- Plumage Effects: Use hand-dyed or variegated yarn for wings.
- Functional Use: Keychain or small plush decor