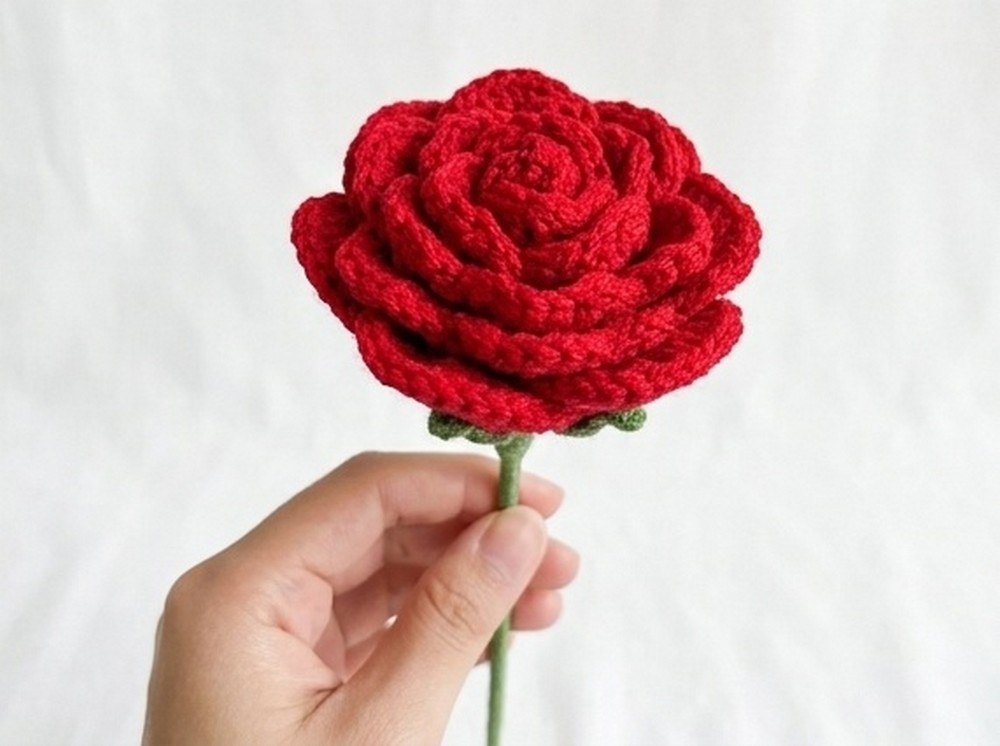
Want to crochet a realistic rose? This easy pattern shows you how to shape layered petals, add a wired leaf, and finish the flower with a wrapped stem.
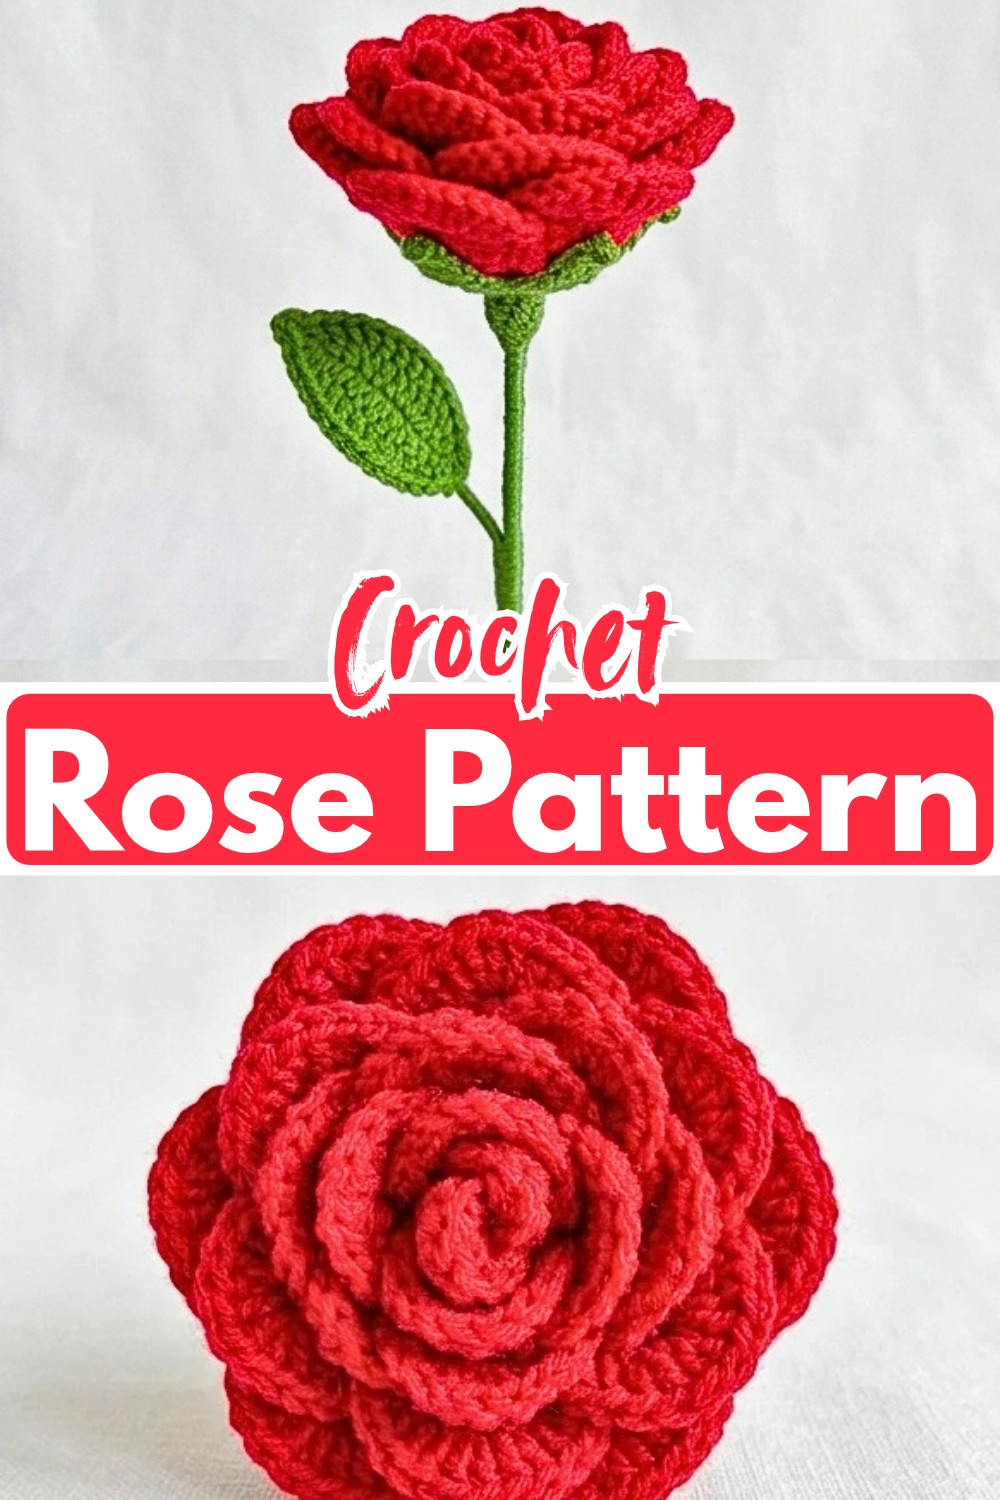
A crochet rose has a special charm when the flower is shaped with layered petals and finished with its own stem and leaf. This crochet pattern creates a life-sized single rose in red and green yarn, giving you a handmade bloom that keeps its color and shape without wilting.
You’ll crochet the rose, calyx, and leaf separately, then bring them together with floral wire and a wrapped stem. Along the way, the pattern guides you through the petal sequence, sharp leaf tip, wire placement, and rolling technique so each part is ready for the next stage.
Credit Riyal Crochet
Materials & Tools Needed
Yarn
- Red yarn: For the rose.
- Green yarn: For the calyx, leaf, and stem wrap.
Crochet Hooks
- 4.0 mm hook: For the rose and calyx.
- 2.5 mm hook: For the leaf.
Wire
- Thin floral wire: For the leaf.
- Thicker stem wire: For the main stem.
Tools
You’ll also need scissors, a yarn needle, pliers for bending the wire, and a hot glue gun.
Finished Size & Customization
This pattern creates a standard, life-sized single rose. The total height depends on how long you cut the main stem wire.
The color can be changed easily to create pink, yellow, or white roses. You can also make several roses in different colors and combine them into a full mixed bouquet.
Pattern Abbreviations & US Terms
- ch = chain
- slst = slip stitch
- sc = single crochet
- hdc = half double crochet
- dc = double crochet
- tr = treble crochet
- st(s) = stitch(es)
Pattern: Crochet the Rose
The rose begins as a long strip of crochet petals. Once the strip is finished, it will be rolled tightly around the stem wire to create the flower shape.
Rose Petal Strip
Row 1: ch 49.
Row 2: Starting in the 2nd ch from the hook, hdc in each ch across.
Row 3: ch 2 and then turn. 2 dc in the first st. Skip 1 st. 3 dc in the next st, skip 1 st. Repeat this sequence until you reach the end of the row.
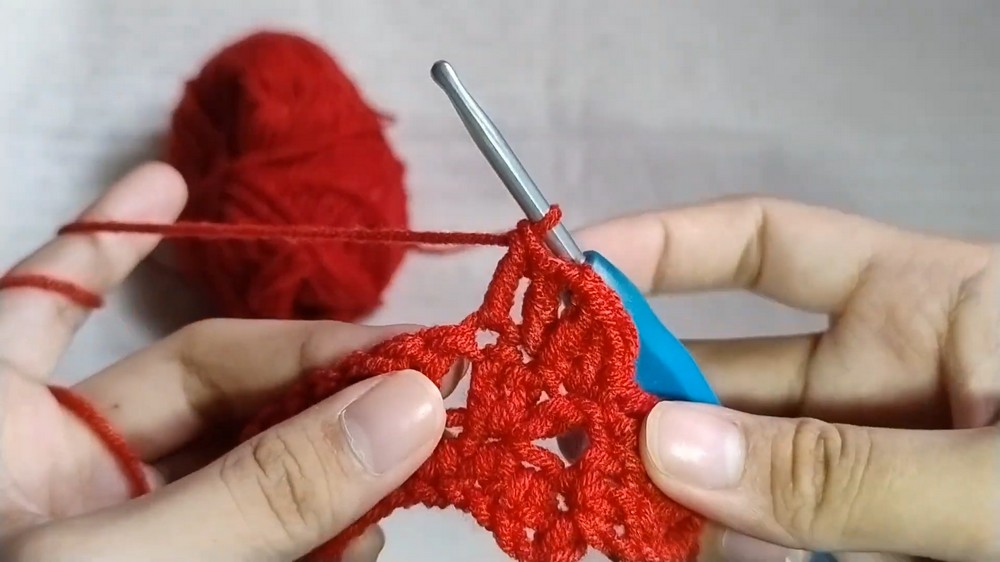
Row 4: ch 1 and turn. Work into the 3-dc clusters from the previous row: 1 dc in the first dc of the cluster, [1 dc, ch 2, 1 dc] in the second/middle dc, 1 dc in the third dc, slst in the skipped space, ch 1. Repeat this for every cluster to the end. You should have 23 petals in total.
Fasten off, leaving a small tail to weave in.
Keep the Petal Sequence Consistent
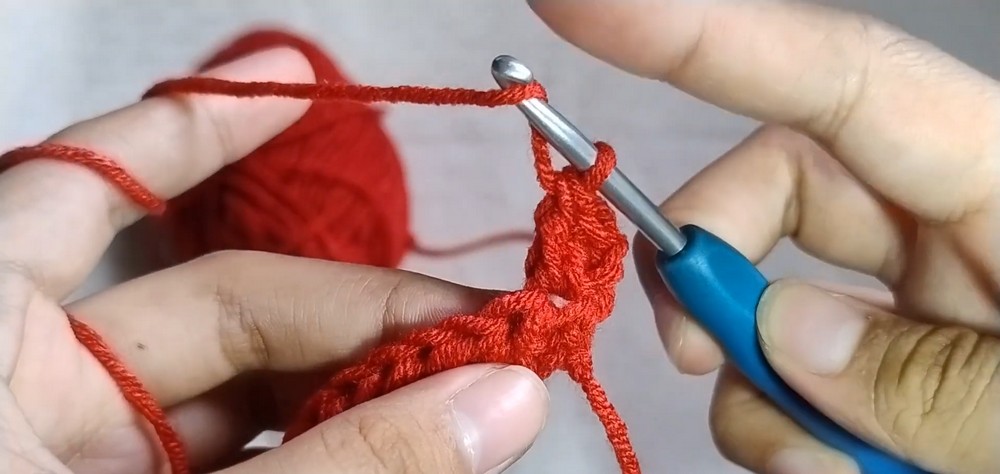
Row 4 is where the individual petals become clearly defined. Work the same sequence into each 3-dc cluster so the 23 petals develop with an even rhythm along the strip.
The ch 2 and the stitches worked into the middle dc create the center detail of each petal, while the slip stitch connects one petal section to the next.
Crochet the Calyx
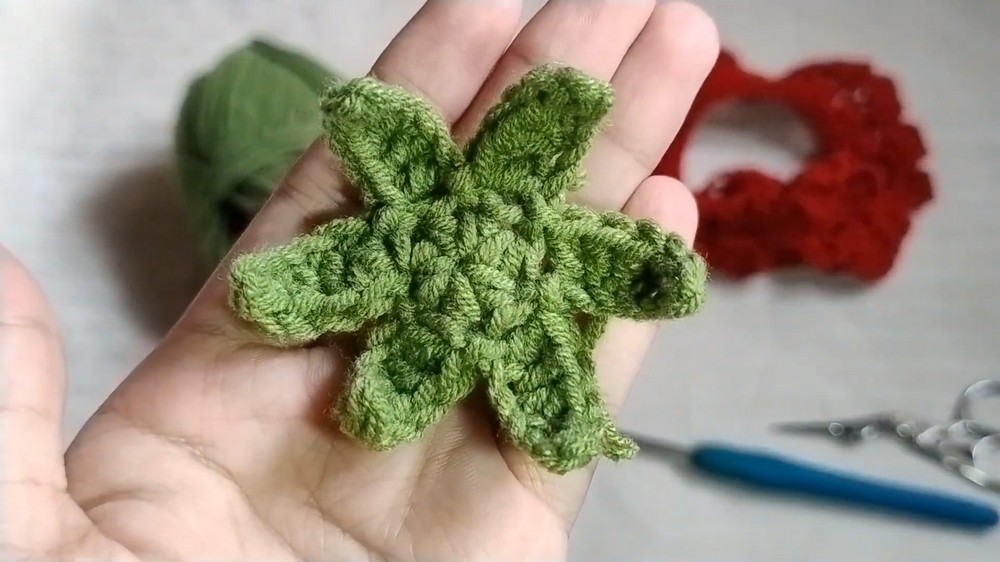
The green calyx sits underneath the rose and provides the pointed detail between the flower and stem.
Shape the Six Calyx Points
Round 1: Make a magic ring, ch 1, and work 6 hdc into the ring. slst into the first hdc to join.
Round 2: ch 6. Working back down the chain: slst in the 2nd ch from hook, then sc, hdc, 2 dc in the remaining chains. slst into the next st of the magic ring. Repeat this sequence 5 more times to create 6 points total.
Fasten off and leave a small tail.
Crochet the Leaf
The leaf uses the smaller 2.5 mm hook and a piece of thin floral wire. The wire is added during the second round so the finished leaf can be shaped and attached to the main stem.
Form the Leaf
Base Chain: ch 12.
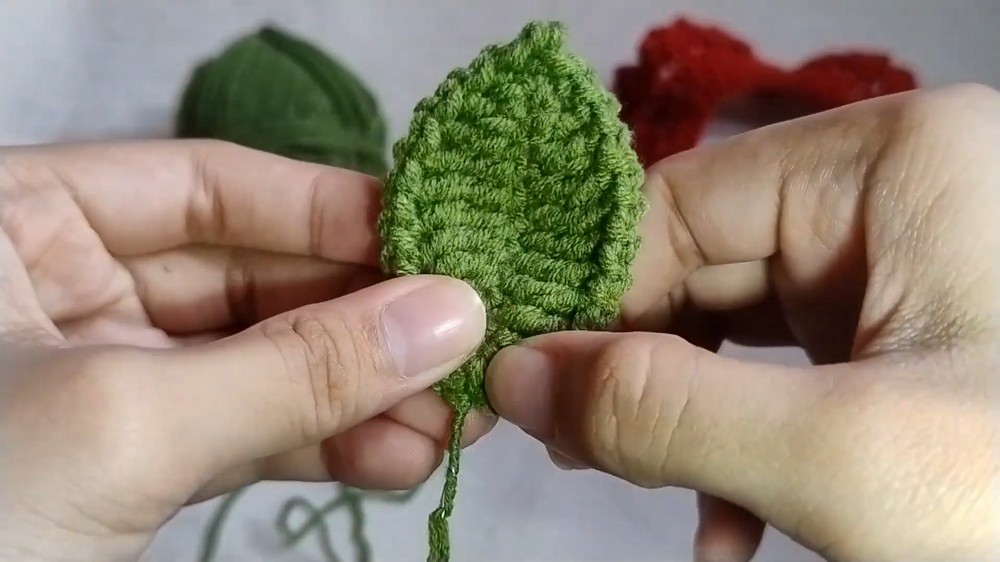
Round 1: Starting in the 2nd ch from the hook, work down the chain: sc, hdc, dc, 5 tr in the next 5 chs, dc, hdc, sc. In the last chain, make 3 sc in the same stitch to form the top tip. Working down the opposite side of the base chain: sc, hdc, dc, 5 tr, dc, hdc, sc. slst into the first st to join.
Add the Leaf Wire
Round 2: Take a piece of thin floral wire, bend it slightly in half, and place it along the edge of the leaf. ch 1. Working over the wire, (slst, ch 1) in each stitch along the side of the leaf. When you reach the top point of the leaf, which is the middle stitch of the 3 sc, work (ch 2, slst) to create a sharp tip. Continue working (slst, ch 1) over the wire down the opposite side.
Fasten off, twist the exposed ends of the wire together, and leave a yarn tail to wrap the base of the leaf’s stem.
Wire Placement Check
Before continuing, make sure the thin wire follows the outer edge of the leaf rather than sitting loosely through the middle. It needs to be covered by the stitches as you work around the edge, while the exposed end remains available for attaching the leaf to the main stem later.
The pointed end also deserves attention: the (ch 2, slst) section at the middle stitch of the 3 sc creates the sharper leaf tip, so keep this placement clear and easy to identify as you work.
Assemble the Crochet Rose
Prepare the Stem
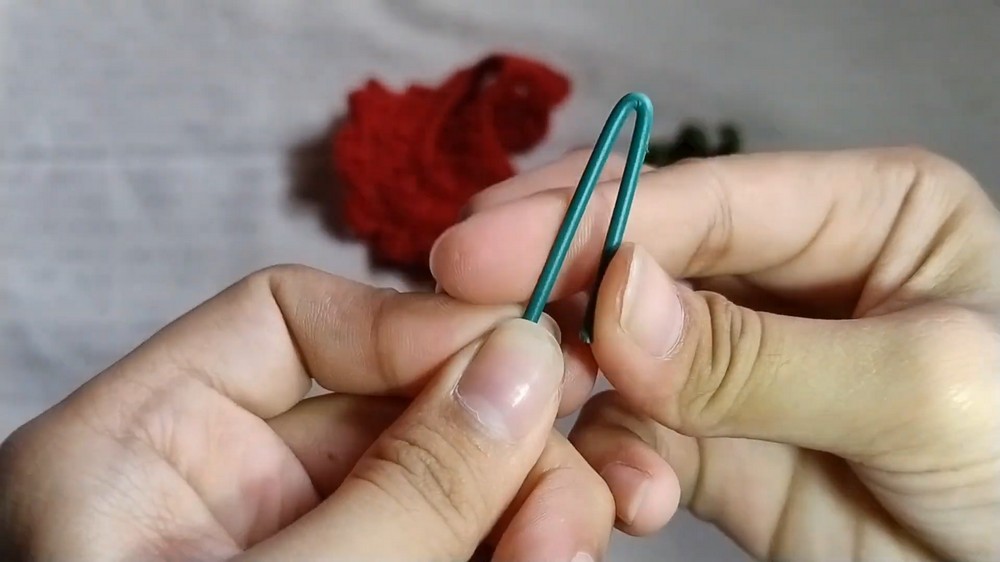
Take the thicker green floral stem wire and use pliers to bend the top end into a small loop. This loop creates an anchor that helps prevent the flower from sliding off the wire.
Roll the Rose
Apply a line of hot glue to the starting edge of the red petal strip. Insert the wire loop against the glued edge and begin tightly rolling the strip around the wire.
Continue applying hot glue along the straight bottom edge as you roll, securing the flower as its shape develops.
Attach the Calyx
Thread the bottom of the wire stem through the center hole of the green calyx and slide it all the way up to the base of the rose.
Apply hot glue to the underside of the rose base and press the calyx points firmly into place.
Attach the Leaf
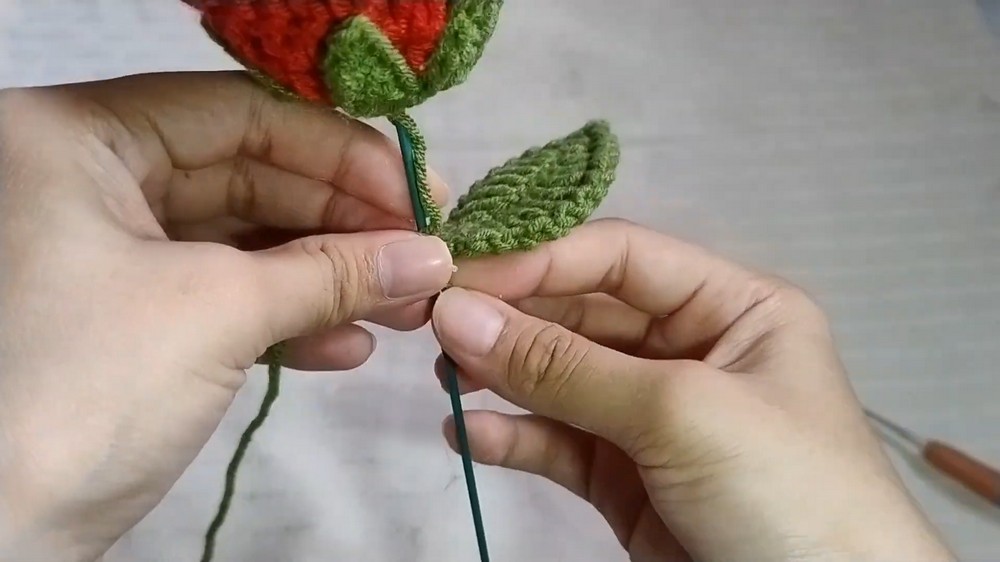
Place the leaf’s thin wire against the main thick stem a few inches below the flower. Tightly twist the thin wire around the thick wire to secure the leaf in place.
Wrap the Stem
Using green yarn, apply a small dot of glue just under the calyx and begin tightly wrapping the yarn around the entire length of the stem.
As you reach the leaf attachment point, wrap cleanly over the joint to hide the wire. Apply another dot of glue at the very bottom to secure the yarn, then snip the excess.
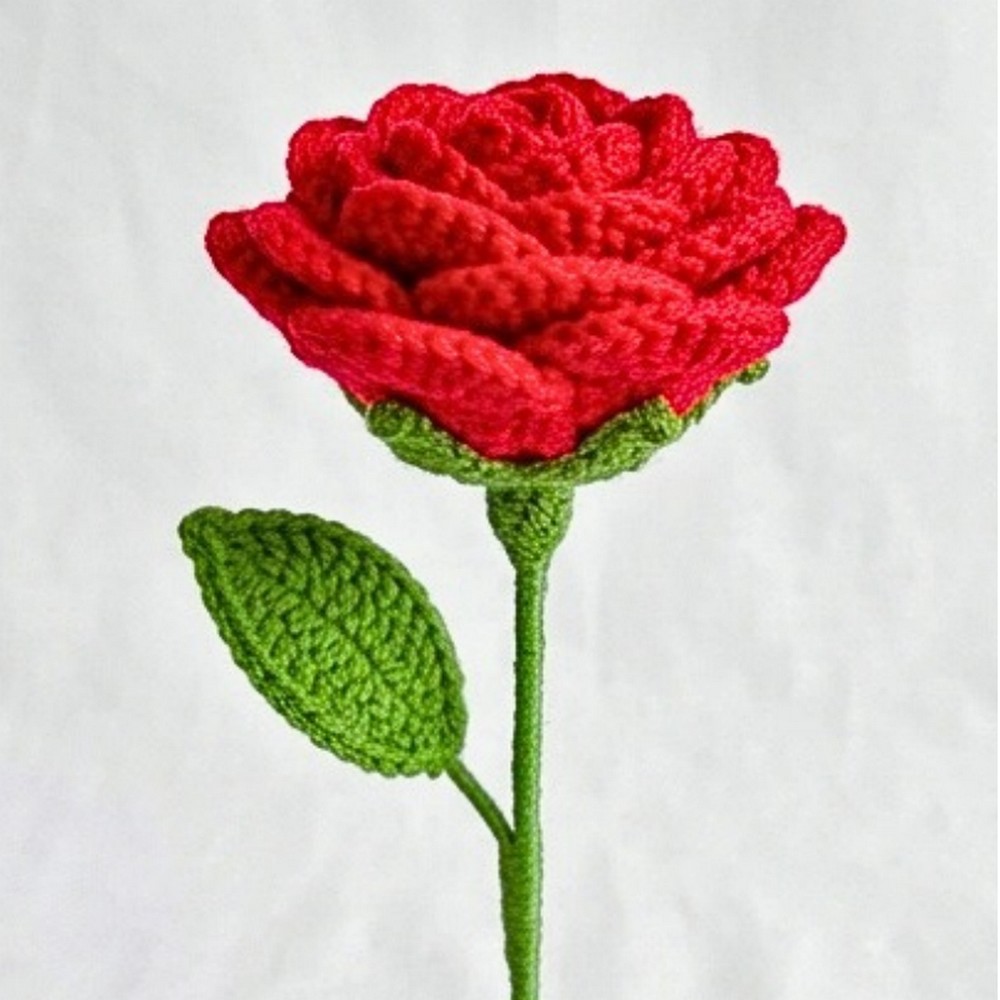
Your crochet rose is now shaped as a complete flower, with the rolled petals at the top, a pointed calyx underneath, a wired leaf along the stem, and green yarn covering the stem wire.
Care Tips
- Keep the crochet rose away from excessive moisture to help the yarn, floral wire, and glued areas stay secure.
- Dust it gently with a soft, dry cloth or a low-air setting rather than washing or soaking the flower.
- Store the rose where the petals will not be crushed or bent, especially if you want the rolled shape to remain neat.
- Handle the stem and leaf gently so the wrapped yarn and wired leaf stay firmly in place.