
Want a delicate Christmas star that takes little yarn? This three-round ornament forms five crisp points and finishes with a ready-to-hang loop.
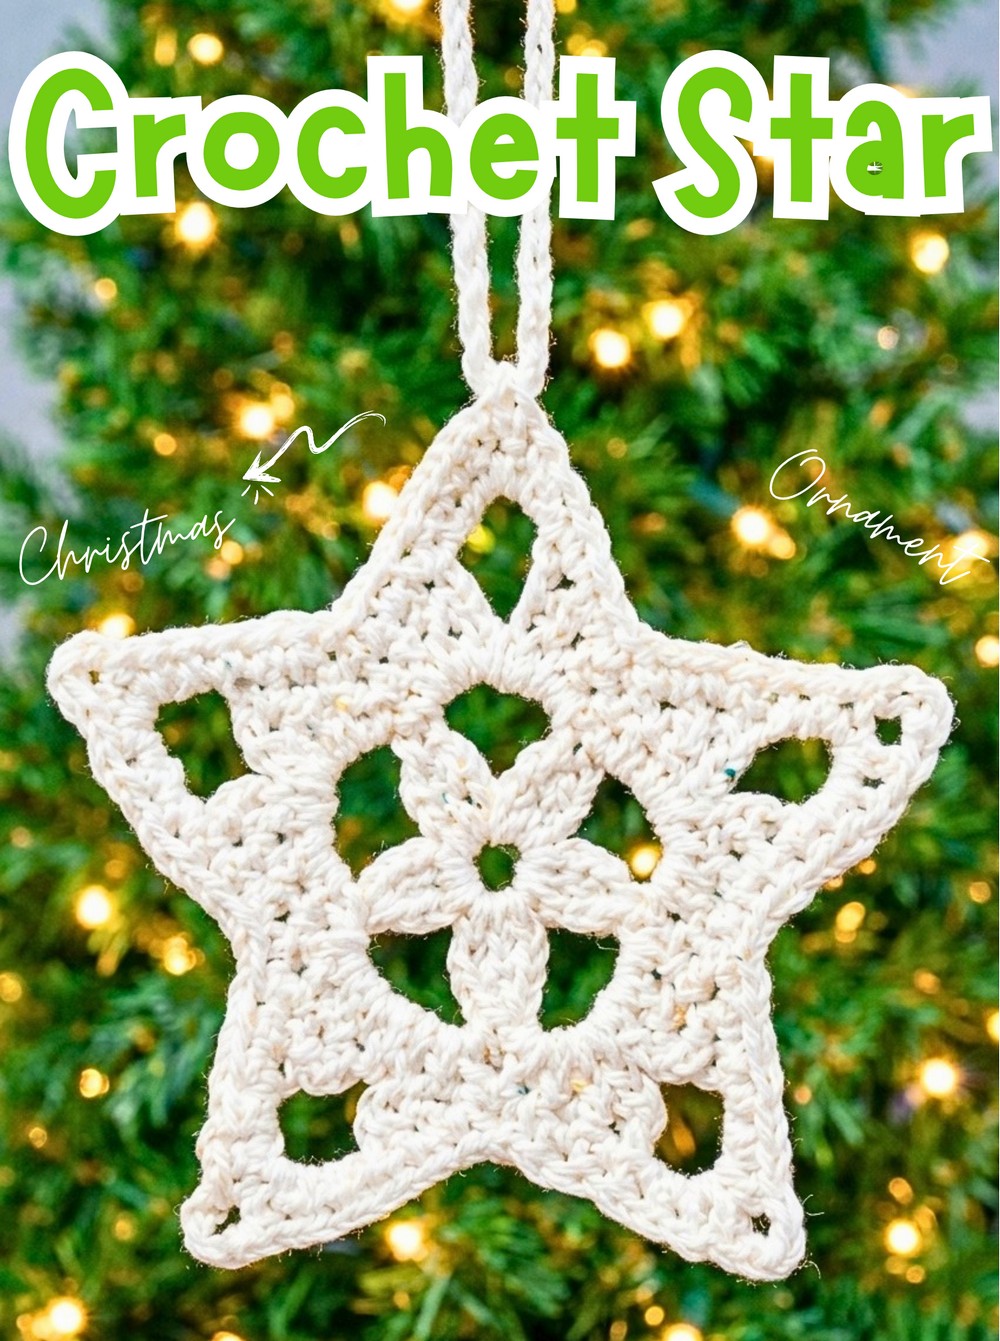
Tiny stitches turn into a five-pointed crochet Christmas star with surprisingly little effort. The center begins as a small flower-like ring, then each chain space expands into a pointed shape before a final round sharpens the edges.
This pattern uses basic crochet stitches but combines them in a way that creates a detailed holiday ornament. You’ll work the crochet star in just three main rounds, add the hanging loop at the final point, and use gentle blocking to help every tip look neat and defined.
Credit Crochet Patterns Free
Materials & Tools Needed
- Yarn: 3-ply yarn; white is used in the tutorial, but any festive color can work
- Crochet Hook: 2.7mm
- Scissors
- Tapestry/Yarn Needle: For weaving in ends
Finished Size & Customization
With 3-ply yarn and a 2.7mm hook, the finished star will be approximately 3–4 inches across, although your exact size will depend on yarn choice and tension.
There are several easy ways to change the finished look:
- Use heavier worsted-weight yarn with a 4.0mm hook for a larger star suitable for a garland.
- Try metallic thread for a sparkling holiday finish.
- Sew small seed beads onto the points for additional decoration.
- Experiment with festive colors instead of traditional white.
Pattern Abbreviations
- ch: Chain
- sl st: Slip stitch
- sc: Single crochet
- hdc: Half double crochet
- dc: Double crochet
- tr: Treble crochet
- cl: Cluster
- spc: Space
- st: Stitch

Step-by-Step Crochet Christmas Star Pattern
Foundation Ring
The small starting circle provides the center from which the five sections of the star will grow.
Step 1: Ch 6.
Step 2: Slip stitch into the first chain to form a small ring.
Keep this ring open enough to work your first round of clusters into it, but not so loose that the center becomes floppy.
Round 1: Create the Inner Flower
The first round creates five raised cluster sections separated by chain spaces. These spaces will become the starting points for the star tips in the next round.
Step 1: Ch 3, then work a 2 dc cl into the ring. The starting ch-3 counts as the first stitch of this cluster.
Step 2: Ch 3, then work a 3 dc cl into the ring.
Step 3: Repeat Step 2 exactly 4 times in total.
Step 4: Ch 3, then sl st into the top of the first cluster to close the round.
Stitch Count Check: You should have 5 petal clusters separated by 5 ch-3 spaces.
Before beginning Round 2, identify all five ch-3 spaces. Each one will become one complete point of the star, so keeping track of these spaces makes the next round much easier.

Round 2: Shape the Five Star Points
This round creates the recognizable five-pointed outline. Each ch-3 space receives the same sequence of increasing and decreasing stitches, with a ch-4 space forming the tip.
Step 1: Work 1 sc into the very first ch-3 spc.
Step 2: In that same spc, work 1 hdc, 1 dc, 1 tr, ch 4, 1 tr, 1 dc, 1 hdc, 1 sc.
Step 3: Move to the next ch-3 spc and repeat the complete sequence: 1 sc, 1 hdc, 1 dc, 1 tr, ch 4, 1 tr, 1 dc, 1 hdc, 1 sc.
Step 4: Repeat the same sequence in each of the remaining ch-3 spaces around the star.
Step 5: Slip stitch to the very first sc to close the round.
Stitch Count Check: You should now see 5 distinct star points, with a ch-4 space at the tip of each point.
The stitch heights are what create the pointed shape: the hdc and dc rise gradually, the tr reaches the highest point, and the stitches then descend on the other side. Make sure the ch-4 space remains clearly visible at every tip.

Round 3: Add the Edging and Hanging Loop
The final round traces around the star, giving the points a more defined edge. Four tips receive a short ch-3 opening, while the fifth and final tip becomes the hanging point.
Step 1: Ch 1, then work 1 sc in each st up the side of the first star point.
Step 2: At the ch-4 spc at the tip, work (3 sc, ch 3, 3 sc) directly into the space.
Step 3: Work 1 sc in each stitch down the opposite side of the point, then continue with 1 sc in each stitch up the side of the next point.
Step 4: Repeat Steps 2–3 for the first 4 points of the star.
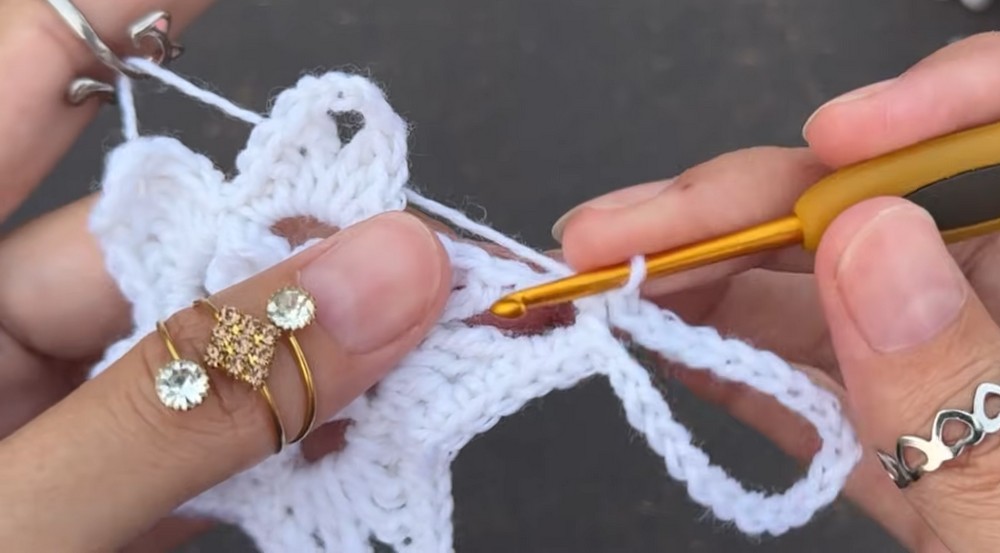
Step 5: When you reach the ch-4 spc at the tip of the 5th and final point, work 3 sc, ch 25, 3 sc directly into the space. The 25-chain section creates the long hanging loop.
Step 6: Work 1 sc in each remaining st down the final side.
Step 7: Slip stitch into the first sc of the round to close.
At this stage, spread the star gently with your fingers. You should have five clearly defined points, with the longer chain loop extending from the fifth point rather than from the center or side.
Finishing the Christmas Star
Fasten Off and Hide the Ends
Cut the yarn, leaving approximately a 4-inch tail, and pull it through the final loop to secure the work.
Thread the yarn tail onto your tapestry needle and weave it through the back of the stitches. Do the same with the starting tail from the center ring. Keep both ends hidden within the back of the star and trim away the excess.
Block the Star for Crisp Points
Blocking is optional, but it can make a noticeable difference to this ornament because the final shape depends on five sharp, evenly spaced points.
Gently wet the finished star and lay it flat on a blocking mat. Carefully pin each point into its desired shape, paying particular attention to the spaces between the points. Allow the star to dry completely before removing the pins.
The result should be a neat five-pointed Christmas star with clearly defined edges and a built-in loop ready for hanging.
This small ornament uses very little yarn and works up quickly, making it handy when you need several decorations for a Christmas tree, festive garland, handmade gift, or holiday card.






