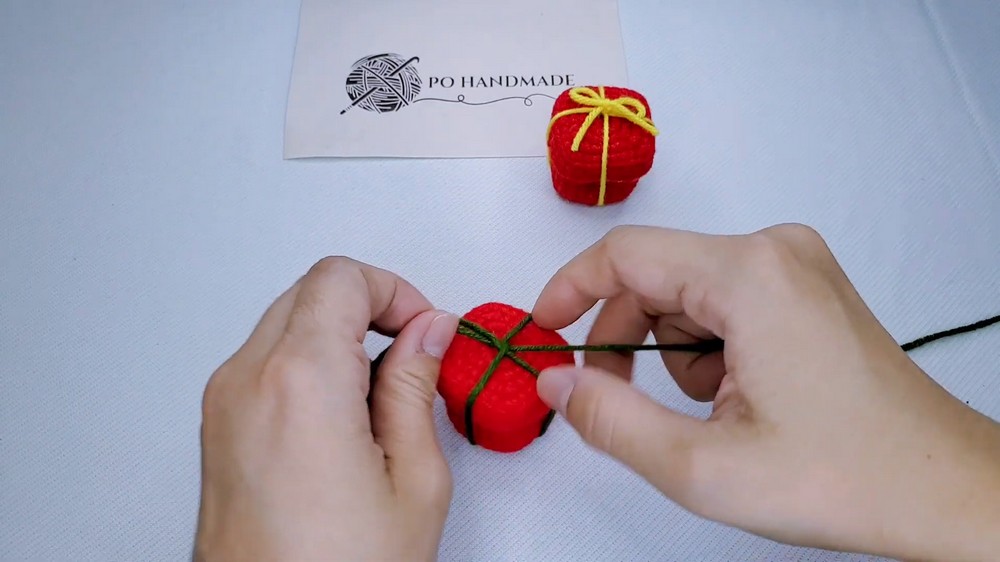
This crochet Christmas gift box forms a crisp little square with a fitted lid, then gets its festive finish from a simple ribbon bow.

Christmas decorating gets a handmade upgrade with this small crochet gift box, shaped into a neat square and topped with a separate lid. Red, green, white, or even metallic yarn can give it a traditional holiday feel, while the finished shape makes it useful as an ornament, desk decoration, or tiny holder for a small crochet gift.
Working in joined rounds keeps the crochet pattern easy to follow, while the BLO round is what turns the flat square base upward into defined walls. The lid uses the same shaping idea but grows slightly wider so it can sit over the box. Along the way, you’ll also see where to place each join, how to keep the corners clear, and how to finish everything with a simple wraparound ribbon or contrasting-yarn bow.
Credit Po Handmade
Materials & Tools
- Yarn: Any yarn of your choice; red, green, and white work especially well for Christmas.
- Crochet hook: Choose a size suitable for your yarn.
- Stitch markers: Recommended for marking the first stitch of each joined round.
- Scissors
- Yarn or tapestry needle: For weaving in ends.
- Ribbon or contrasting yarn: For wrapping the box and tying the bow.
Finished Size & Customization
The finished piece is a small, structured square gift box, with its exact dimensions depending on your yarn weight and hook size. Using thicker yarn and a larger hook will produce a larger box, while finer yarn creates a smaller version.
For a two-color version, crochet the box in one shade and make the lid in a contrasting color, such as a red box with a green lid. You can also thread a tiny jingle bell onto the ribbon before tying the bow for extra Christmas detail.
Abbreviations -US Terms
- MR: Magic Ring
- ch: Chain
- sc: Single crochet
- sl st: Slip stitch
- BLO: Back Loop Only
- st(s): Stitch(es)
- [ ]: Repeat the instructions inside the brackets as directed
- ( ): Total stitch count at the end of the round

Crochet Christmas Gift Box Pattern
Both the box and lid are worked in joined rounds. At the end of each round, slip stitch into the marked first stitch to close the round, then chain 1 to begin the next one. The ch 1 does not count as a stitch.
Keep your stitch marker in the first actual sc of each round. This makes the joining point easier to find and helps prevent the square from gradually shifting.
Part 1: Crochet the Box Base
The first four rounds create the flat square base. Although the stitches are worked continuously around the shape, the groups of increases are what establish the four corners. Once Round 5 is worked in BLO, the fabric turns upward and the box walls begin.
Round 1: Create a MR, ch 1, work 4 sc into the ring, pull the yarn tail tight to close the center, then sl st into the first sc. (4 sts)
Round 2: Ch 1, work 3 sc into the same st, then work 3 sc into each remaining st around, sl st into the first sc. (12 sts)
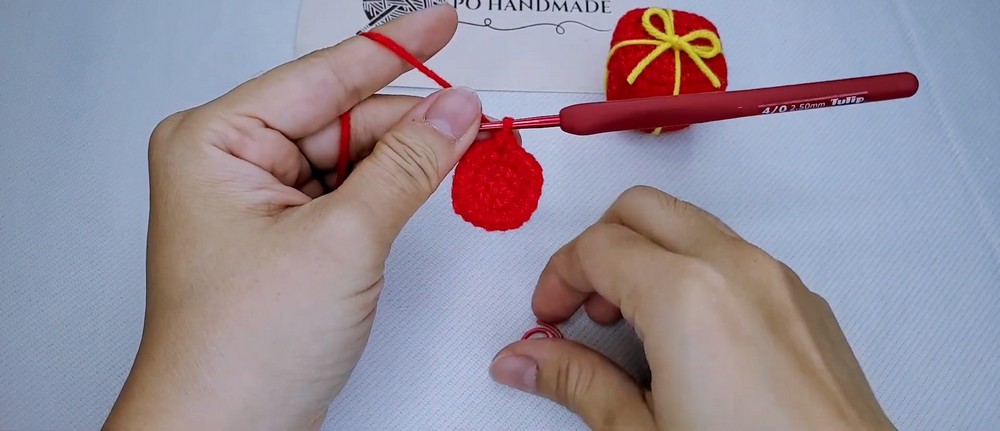
Round 3: Ch 1, [1 sc in the next st, 3 sc in the next st, 1 sc in the next st] repeat 4 times, sl st into the first sc. (20 sts)
Round 4: Ch 1, [1 sc in each of the next 2 sts, 3 sc in the next st, 1 sc in each of the next 2 sts] repeat 4 times, sl st into the first sc. (28 sts)
At the end of Round 4, pause and look at the shape before continuing. The base should read as a small square rather than a round circle. The groups of 3 sc are creating the corner areas, so keeping your stitch count at 28 is important.
Round 5: Ch 1, working in BLO, work 1 sc in every st around, sl st into the first sc. (28 sts)
This BLO round is the turning point for the box. Instead of continuing to widen the base, you are creating a clear edge that allows the next stitches to rise upward. If your fabric still looks flat immediately afterward, that is fine; the following rounds will build the visible walls.
Rounds 6–13: Ch 1, working under both loops again, work 1 sc in every st around, sl st into the first sc at the end of each round. (28 sts per round)
As these rounds accumulate, the sides should become noticeably taller while the square footprint remains the same. Check the four corners occasionally and gently push them outward with your fingers if the fabric starts looking too rounded.
Finish the Box Base
Fasten off and cut the yarn. Pull the tail through to the inside of the box, then weave the end securely through the inner stitches with a yarn needle.
Keep the inside tidy because the finished lid will sit over this section, and loose ends are much easier to hide before the box is assembled.
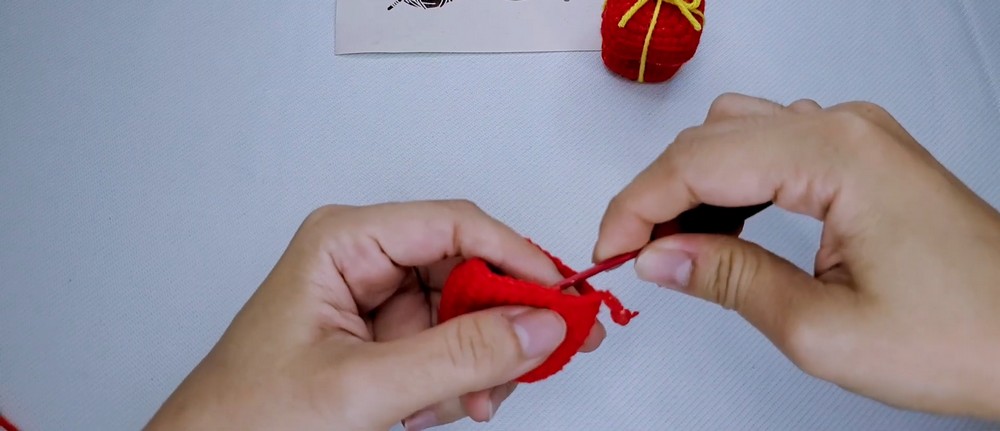
Part 2: Crochet the Box Lid
The lid begins with the same center and corner-shaping idea as the base, but it continues for one additional increase round. That extra round brings the lid to 36 stitches, giving it enough width to sit over the 28-stitch box walls.
Round 1: Create a MR, ch 1, work 4 sc into the ring, pull tight to close, then sl st into the first sc. (4 sts)
Round 2: Ch 1, work 3 sc into each st around, then sl st into the first sc. (12 sts)
Round 3: Ch 1, [1 sc in the next st, 3 sc in the next st, 1 sc in the next st] repeat 4 times, sl st into the first sc. (20 sts)
Round 4: Ch 1, [1 sc in each of the next 2 sts, 3 sc in the next st, 1 sc in each of the next 2 sts] repeat 4 times, sl st into the first sc. (28 sts)
Round 5: Ch 1, [1 sc in each of the next 3 sts, 3 sc in the next st, 1 sc in each of the next 3 sts] repeat 4 times, sl st into the first sc. (36 sts)
By this point, the lid should look like a wider square panel. Keep the corner increases evenly spaced so the lid maintains its square shape rather than becoming circular.

Round 6: Ch 1, working in BLO, work 1 sc in every st around, sl st into the first sc. (36 sts)
The BLO round creates the edge that will help the lid turn downward around the top of the box. Work carefully into the back loops so the lip remains defined.
Round 7: Ch 1, working under both loops again, work 1 sc in every st around, sl st into the first sc. (36 sts)
Fasten off and cut the yarn. Pull the tail to the inside of the lid and weave it securely through the stitches with a yarn needle.
Before adding the ribbon, place the lid over the box and check the fit. It should cover the opening evenly without forcing the sides out of shape.
Assemble and Decorate the Gift Box
Shape the box: Once both pieces are finished and the ends are woven in, gently push the four corners outward to sharpen the square shape. Avoid pulling hard on the stitches; small adjustments with your fingers are enough.
Fit the lid: Place the lid evenly over the top opening of the base. Check all four sides so the lid sits straight rather than leaning toward one corner.
Wrap the ribbon or contrasting yarn: Take a long piece of ribbon or contrasting yarn and begin at the top center of the lid. Bring it down one side, underneath the bottom of the box, and back up the opposite side. Keeping the crossing centered will make the final bow look balanced.
Tie the bow: Bring both ends back to the top center and pull them snug enough to hold the lid in place without compressing the box. Tie a neat bow and adjust the loops until they sit evenly.
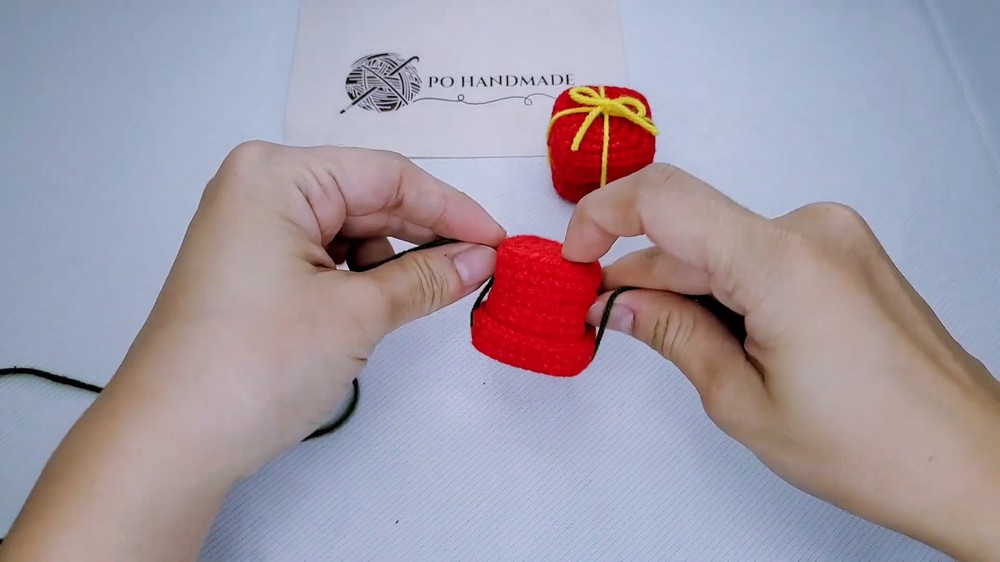
Add optional decoration: For an extra Christmas touch, thread a tiny jingle bell onto the ribbon before tying the bow. Trim the ribbon or yarn tails to your preferred length.
Quick Fit Check
Before calling the box finished, make sure the four corners still look defined, the lid is sitting evenly, and the ribbon crosses close to the center. If the lid feels unusually loose or tight, the yarn weight and hook size can be adjusted on your next version to change the overall scale and fit.