Give your holiday decorating a handmade focal point with this wired crochet poinsettia, shaped petal by petal and finished with pearl details for a dimensional floral display.
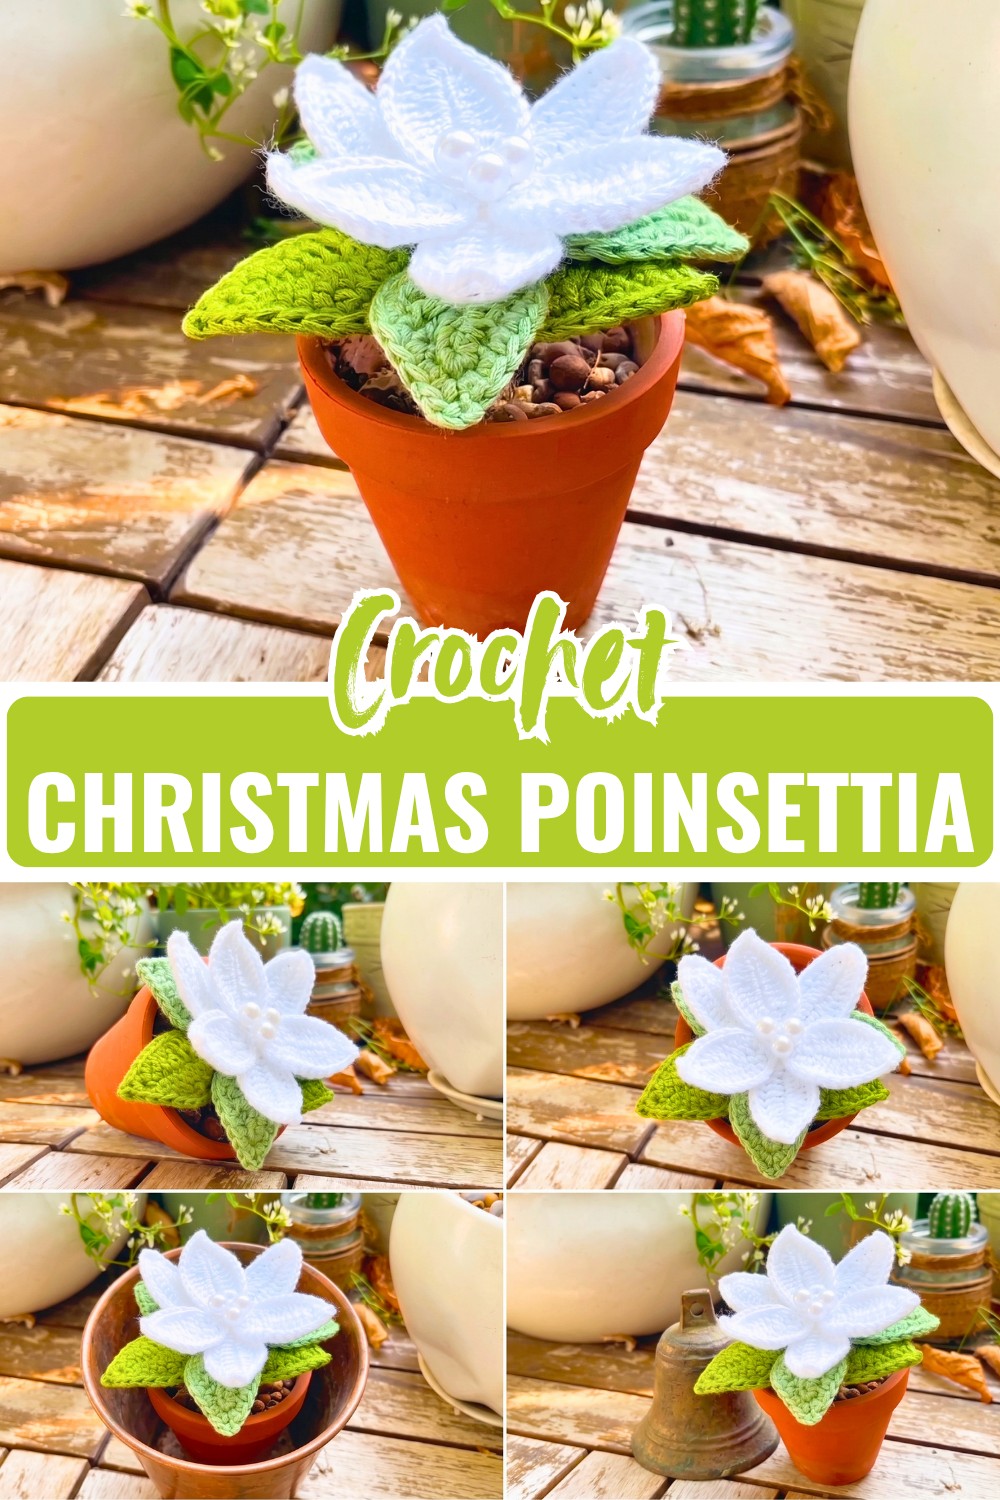
Poinsettias are known for their layered shape, and this crochet version captures that look by building the flower from individual petals and leaves rather than trying to form everything as one flat piece. The result is a dimensional crochet flower that can be shaped after assembly and used in several decorative ways.
The wire edging is what makes this pattern especially versatile. Once the crochet petals and leaves are finished, the hidden wire allows you to gently curve and position them instead of leaving the flower completely flat. Pay particular attention when crocheting over the wire and when arranging the two petal layers, since those details have the biggest effect on the final shape.
Materials
- White yarn for the petals
- Light green and dark green yarn for the leaves
- 2.0 mm crochet hook or steel hook suitable for fine 4-ply, lace, or fingering-weight yarn
- Thin floral craft wire for shaping petals and leaves
- 3 white pearl beads for the flower center
- Floral stem wire or floral tape
- Scissors
- Tapestry or darning needle
- Wrapping yarn or floral tape for covering the finished stem
Finished Size
The completed poinsettia measures approximately 3.5–4.5 inches across, depending on your yarn, hook, tension, and how widely you shape the wired petals.
You can also change the appearance by using different yarn colors. White creates a softer floral look, while red or burgundy gives the flower a more traditional holiday appearance.
Pattern Abbreviations
This pattern uses US crochet terminology.
- ch – chain
- sc – single crochet
- hdc – half double crochet
- dc – double crochet
- tr – treble crochet
- inc – increase; work 2 stitches in the same chain or space
- 2tr inc – work 2 tr in the same stitch or chain
- sl st – slip stitch
- sk – skip
- st(s) – stitch(es)

Before You Start
Each flower is made from 6 individual white petals and 6 green leaves. The petals and leaves are worked flat around their foundation chains, then edged while holding thin wire along the outside. This wire is not just decorative-it allows you to shape the finished flower later.
When crocheting over the wire, keep it positioned directly along the outer edge rather than allowing it to drift into the center of the piece. The crochet stitches should cover the wire securely while leaving enough flexibility for gentle shaping.
Using two shades of green for the leaves can also give the finished flower more variation without changing the pattern itself.
Steps: Crochet the Poinsettia Petals
Make 6 white petals.
Each petal starts with a chain and is worked along both sides of that foundation chain. The stitch heights gradually change from shorter stitches to taller trebles, which creates the pointed, elongated shape.
Foundation: Chain 12.
Round 1: Starting in the 2nd ch from the hook, work 1 sc, 1 hdc, 1 dc, 1 tr, 2 tr in the next ch, 2 tr in the following ch, 1 tr in each of the next 2 ch, 1 dc, and 1 hdc. (12 sts along the first side)
Continue around the end of the foundation chain.
Round 1 continued: Work 3 sc in the end chain, then work 1 hdc, 1 dc, 1 tr, 2 tr in the next ch, 2 tr in the following ch, 1 tr in each of the next 2 ch, 1 dc, 1 hdc, and 1 sc along the opposite side. Join with a sl st to the first stitch and ch 1.

Petal Shape Check
The two sides of the foundation chain should mirror one another. If one side looks noticeably fuller or narrower, check that the two 2tr increases have been worked in the corresponding chains on both sides.
This symmetry matters because the wire will later hold whatever shape you create. Correcting an uneven petal now is much easier than trying to disguise it during assembly.
Round 2: Add the Wire Edging
Cut a piece of thin craft wire long enough to follow the outside edge of the petal, leaving enough extra wire at the ends for securing later.
Round 2: Hold the wire along the outer edge and crochet over it with 12 sc along the first side, work (1 sc, ch 3, 1 sc) into the pointed tip, then work 12 sc down the opposite side over the wire. Join with a sl st and fasten off, leaving a yarn tail for assembly.
Wire Placement Tip
Keep the wire close to the outermost edge while working the sc stitches. If the wire sits too far inside the petal, it will not control the edge effectively; if it is left exposed, the finished flower will be harder to cover neatly.
Make 5 more petals in the same way for a total of 6.

Crochet the Leaves
Make 6 green leaves.
You can alternate light and dark green yarn to give the finished flower more natural-looking variation.
Foundation: Chain 10.
Round 1: Skip the first ch from the hook and work 1 sc in the 2nd ch, 1 hdc, 1 dc, 3 tr, 1 dc, and 1 hdc. Work 3 sc in the end chain, then continue along the opposite side with 1 hdc, 1 dc, 3 tr, 1 dc, 1 hdc, and 1 sc. Join with a sl st and ch 1.
The taller trebles should sit through the central portion of the leaf, while the shorter stitches taper toward the ends.
Add the Wire Edging
Round 2: Hold thin wire along the outside edge and crochet over it with 9 sc up to the point, work (1 sc, ch 3, 1 sc) into the tip, then work 9 sc down the opposite side over the wire. Join with a sl st and fasten off.
Wrap the remaining wire ends securely with the yarn tail.
Make 5 more leaves for a total of 6.
Assemble the Poinsettia
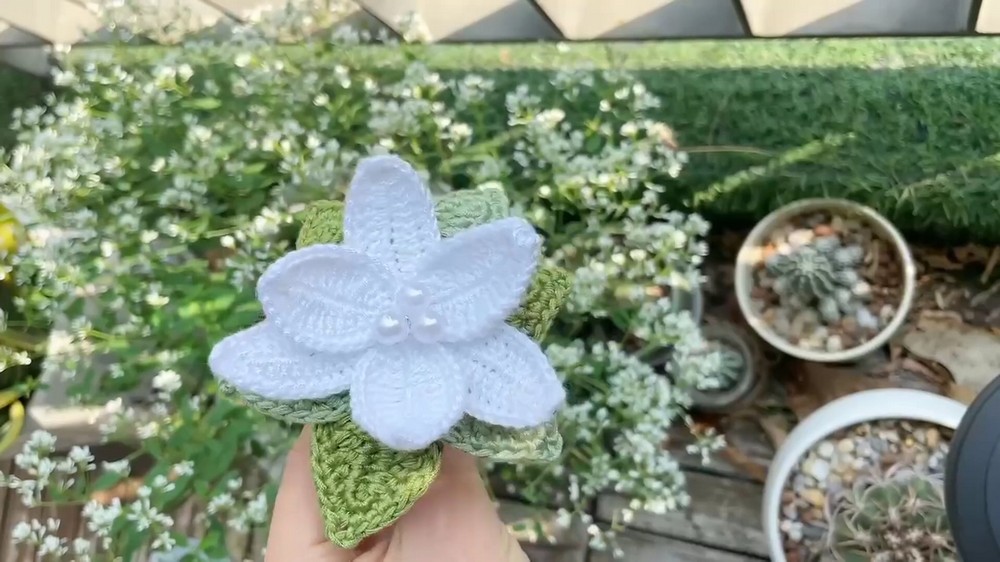
The flower becomes three-dimensional during assembly, so it helps to arrange all the pieces loosely before binding the wires together.
1. Create the Pearl Center
Thread the 3 white pearl beads onto thin floral wire or white yarn to form the central stamen cluster.
Keep the beads close together so they sit visibly in the middle rather than spreading apart once the petals are attached.
2. Add the Inner Petal Layer
Arrange 3 white petals evenly around the pearl center.
Bring their bases together and bind the stem wire securely with thread or yarn. Before tightening everything completely, look at the flower from above to make sure the three petals are spaced evenly.
3. Add the Outer Petal Layer
Place the remaining 3 petals behind the first layer, staggering them between the inner petals.
This staggered placement is what gives the poinsettia its fuller appearance. If the outer petals sit directly behind the inner ones, much of the second layer will disappear from view.
4. Position the Leaves
Arrange the 6 green leaves underneath the flower in staggered layers.
Alternate the leaf positions rather than lining all six leaves up in the same direction. Once you are happy with the arrangement, bind the wires tightly together beneath the flower.
5. Finish the Stem
Wrap the exposed stem wire continuously with green yarn or floral tape from the flower downward.
Work carefully around the base so that no sharp wire ends remain exposed. A neat covering also gives the assembled poinsettia a cleaner, more finished appearance.

Shape the Finished Flower
This is where the wired construction becomes useful.
Gently bend the petals away from the center and curve the leaves into slightly different positions. You do not need to make every petal identical; small variations can make the flower look more natural.
Avoid making sharp bends in the wire. Gentle curves are easier to control and keep the crochet fabric from becoming distorted.
If the flower looks too flat, gradually lift the outer petals and angle the leaves downward. Make these adjustments little by little so you can see how each layer changes the overall silhouette.
Ways to Use Your Crochet Poinsettia
Once shaped, the poinsettia can be used in several holiday decorations:
- Place it in a small terracotta pot as a tabletop accent.
- Add it to a Christmas wreath.
- Use it as part of a holiday centerpiece.
- Attach it to a Christmas tree decoration.
- Add it to a wrapped gift as a reusable handmade topper.
- Combine several flowers for a larger festive arrangement.
For a traditional Christmas palette, try deep red or burgundy petals with contrasting green leaves. White petals can create a softer winter-inspired arrangement.
Final Finishing Check
Before displaying the poinsettia, check that all wire ends are securely covered and that the petals are firmly attached at the center. Then adjust the wired pieces until the inner petals, outer petals, and leaves form distinct layers.
The most important shaping detail is the two-layer petal arrangement: three petals form the inner layer, while the remaining three fill the spaces behind them. Once those layers are positioned correctly, the pearl center and green leaves complete the flower’s dimensional appearance.
Your crochet poinsettia is now ready to become part of a festive display, whether it is standing in a small pot, decorating a wreath, or adding a handmade detail to your holiday décor.

Video Tutorial