Looking for a quick crochet pattern that can turn leftover yarn into something useful? This little flower comes together with a few stitches and can brighten almost any handmade piece.
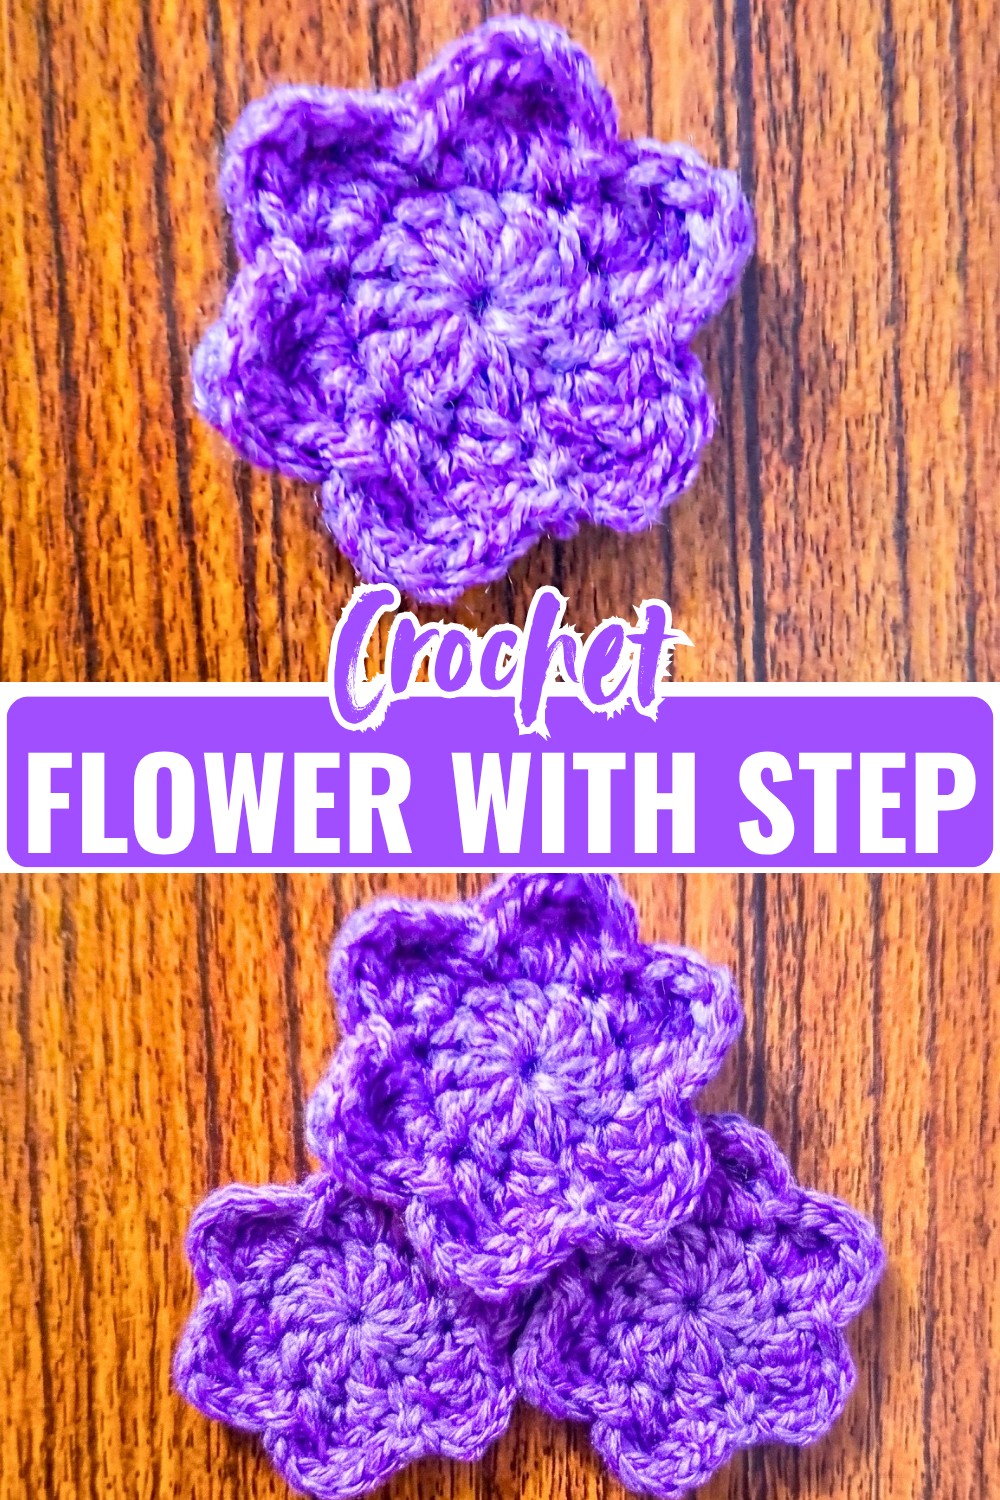
Crochet a Flower Pattern
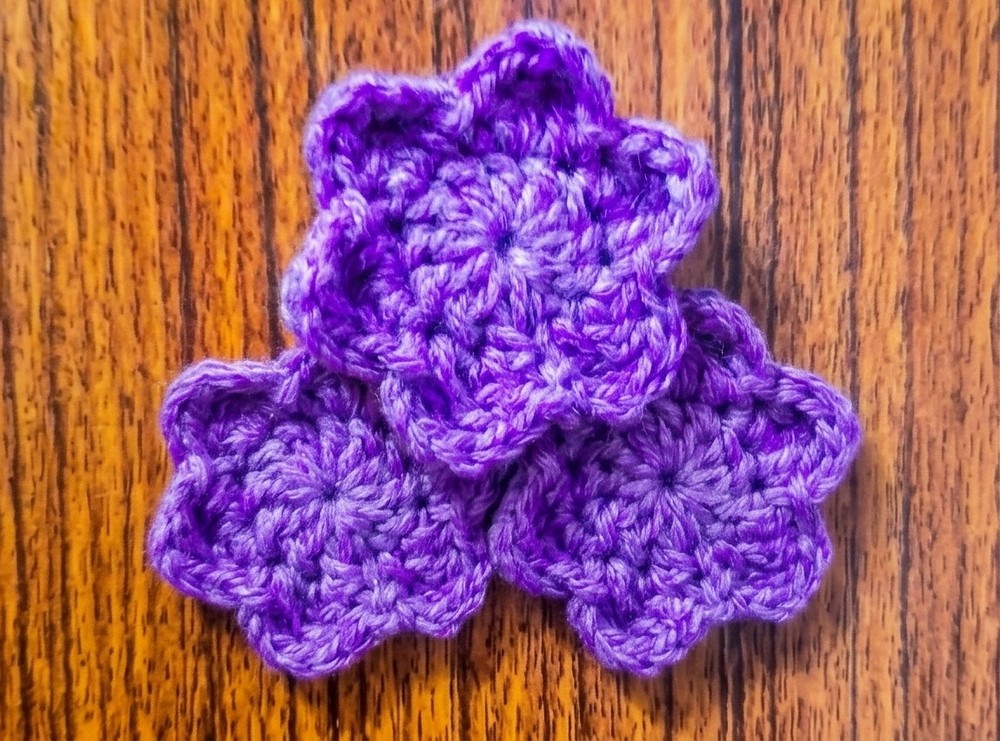
A small crochet flower can be one of those pieces that looks complicated once the petals are shaped, but the design is actually quite manageable. The main point to watch is where each petal begins and ends. Once that placement becomes clear, the crochet flower starts taking shape naturally.
I especially like this kind of flower when I have a small amount of yarn left from another crochet piece. It is quick enough to make between larger pieces, and changing the yarn or hook size gives it a completely different character. I have also found that gently arranging the petals before weaving in the end makes the finished flower look much more balanced.
Credit Crochet & knitting
What You’ll Need
- Crochet Hook: 3.5 mm crochet hook
- Yarn: Yarn of your choice
- Notions: Yarn needle for weaving in ends
Finished Size & Customization
This pattern creates a small, delicate decorative flower. Its final size will depend on your yarn and hook.
You can easily customize it by changing:
- Yarn weight: Thicker yarn creates a larger flower, while finer yarn produces a smaller one.
- Hook size: A larger hook gives the petals a looser appearance; a smaller hook makes them more compact.
- Color: Use one shade for a simple flower or experiment with contrasting colors for the center and petals.
The finished flower can be sewn or attached to hats, headbands, bags, garments, blankets, or home décor patterns.
Pattern Abbreviations
- ch: Chain
- dc: Double crochet
- tr: Treble crochet
- sl st: Slip stitch
- st(s): Stitch(es)
- sp: Space
Before You Start
The most important part of this pattern is not the stitches themselves-it is where you place them.
Each petal is built across two stitches of the center round. The slip stitch between petals creates the small separation that allows the next petal to open out. If the petals begin looking crowded or you seem to have too many or too few spaces, check the placement of your slip stitches before continuing.
Don’t pull your stitches extremely tight while making the petals. Keeping a little flexibility in the chains and taller stitches makes it much easier to shape the flower afterward.
Step-by-Step Crochet Flower Pattern
Start by forming a small adjustable circle. This will become the center of the flower.
Round 1: Make a starting circle, ch 3 (counts as 1 dc), work 11 dc into the circle, pull the yarn tail to close the center, then sl st into the 3rd ch of the beginning ch-3. Total: 12 dc.
The second round transforms the simple center into the flower. Each petal uses tall stitches to create its rounded shape.
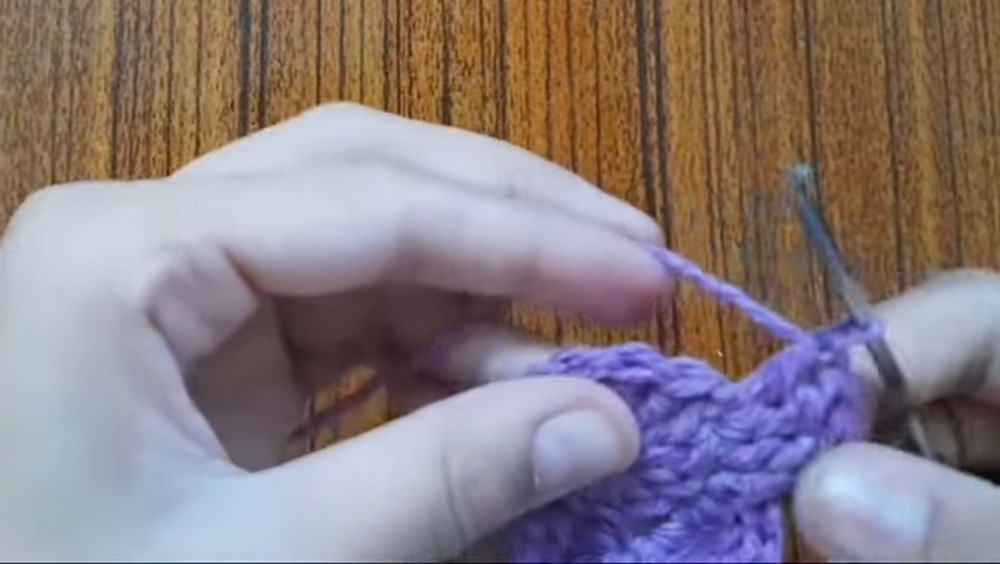
Round 2 – First Petal: Ch 3, work 1 tr into the space directly below the ch-3, work 1 tr in the next st, work 1 dc in that same st, then sl st into the next st.
Once the first petal is complete, the following petals use the same placement sequence. The slip stitch from one petal becomes the starting point for the next.
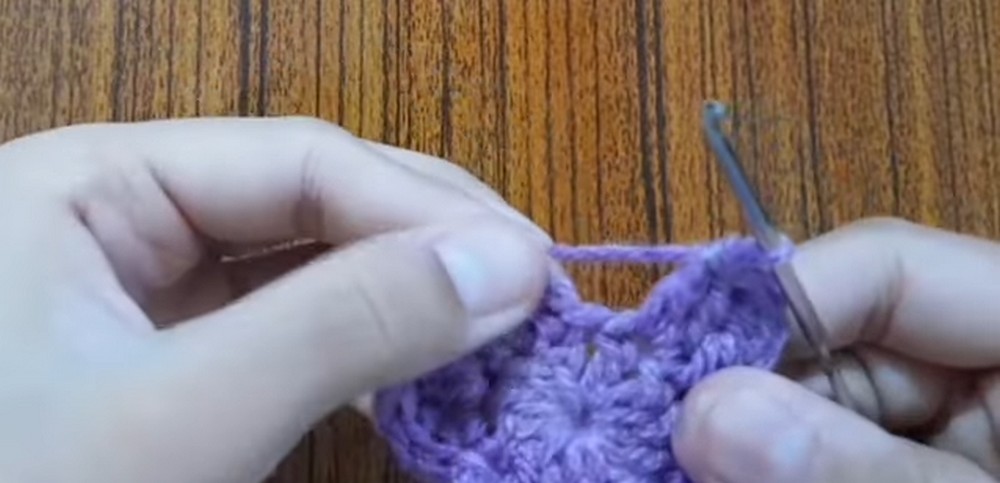
Round 2 – Remaining Petals: Ch 3, work 1 tr in the same st where the previous sl st was made, work 1 tr and 1 dc in the next st, then sl st into the following st; repeat around until all petals are formed, ending with the final sl st in the space where the first petal began.
If the Flower Looks Uneven
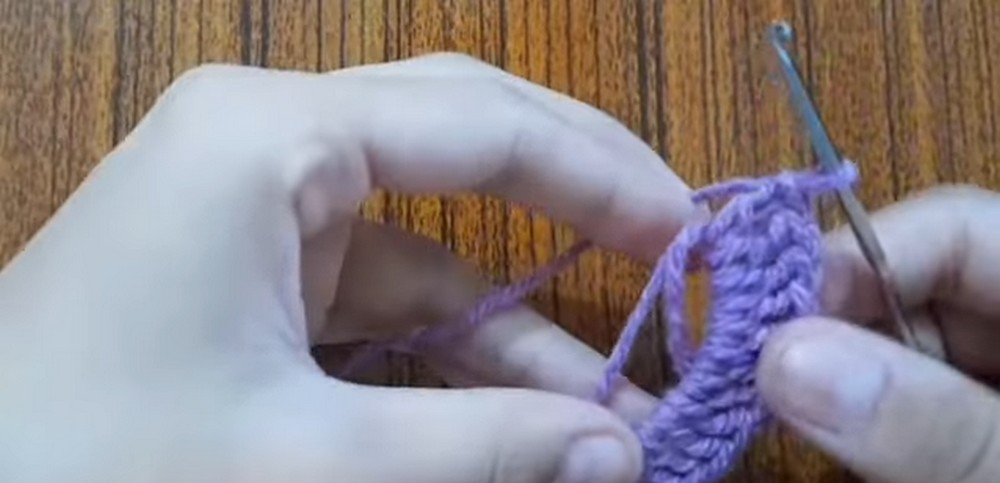
It is normal for the flower to look slightly loose or uneven immediately after Round 2. The petals are made with taller stitches, so they may not automatically sit in their final positions.
Before fastening off:
- Spread each petal gently with your fingers.
- Check that the petals are spaced evenly around the center.
- Make sure none of the petals are twisted.
- If one petal looks smaller, check whether a tr or dc was accidentally skipped.
- Avoid pulling the center too tightly, as this can cause the petals to bunch together.
The flower does not always reveal its final shape while you are crocheting it. A little shaping at the end can make a noticeable difference.
Assembly & Finishing
Shape the Petals
After completing the final slip stitch, gently arrange the petals around the center. Flatten them with your fingers rather than stretching them aggressively.
This small step is worth doing before weaving in the yarn because it lets you see whether the petals are sitting evenly.
Weave in the Ends
Fasten off and leave a short yarn tail. Thread the tail onto a yarn needle and weave it securely through the stitches on the back of the flower.
Trim any excess yarn once the end is secure.
Troubleshooting
Why are my petals overlapping?
This usually happens when the stitches are pulled too tightly, or the petals have not been spread into position. Gently loosen and arrange each petal before finishing.
Why doesn’t my flower look round?
Check the slip-stitch placement between petals. A misplaced slip stitch can change the spacing and make one side look more crowded than another.
My center is too large. What should I do?
Make sure the starting circle is pulled closed firmly after working the 12 dc. A loose center can leave a noticeable opening.
Can I make the flower larger?
Yes. Using thicker yarn and a larger hook will naturally increase the finished size. For a more delicate flower, use finer yarn with a suitably smaller hook.
Final Thoughts
The charm of this pattern is its simplicity. You only need a few basic stitches, but the combination of taller stitches creates petals with enough dimension to make the flower look special.
If you’re using leftover yarn, this is also a great pattern for experimenting. Try different colors and hook sizes, shape the petals in slightly different ways, and see which combination gives you the look you like best.