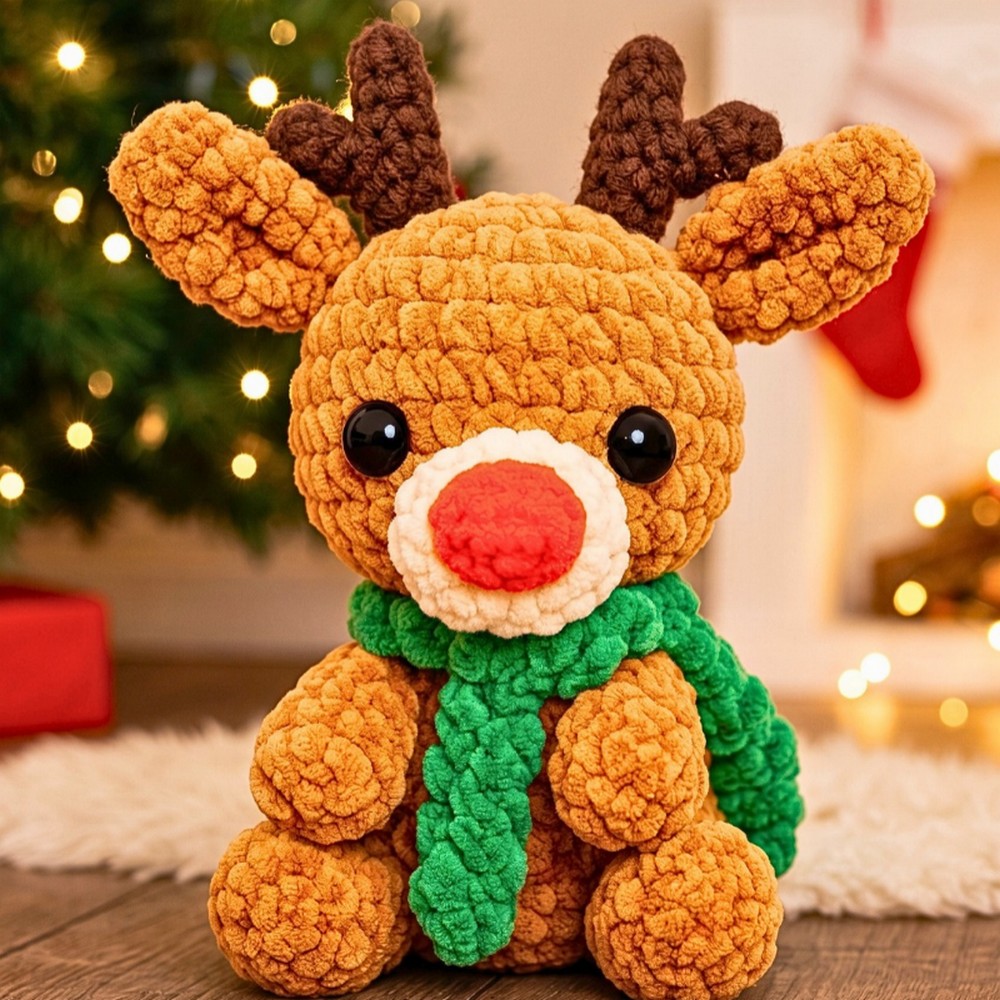
Need a cuddly Christmas reindeer? This plush crochet design has a rounded brown body, soft muzzle, embroidered red nose, Y-shaped antlers, and a cozy green scarf.
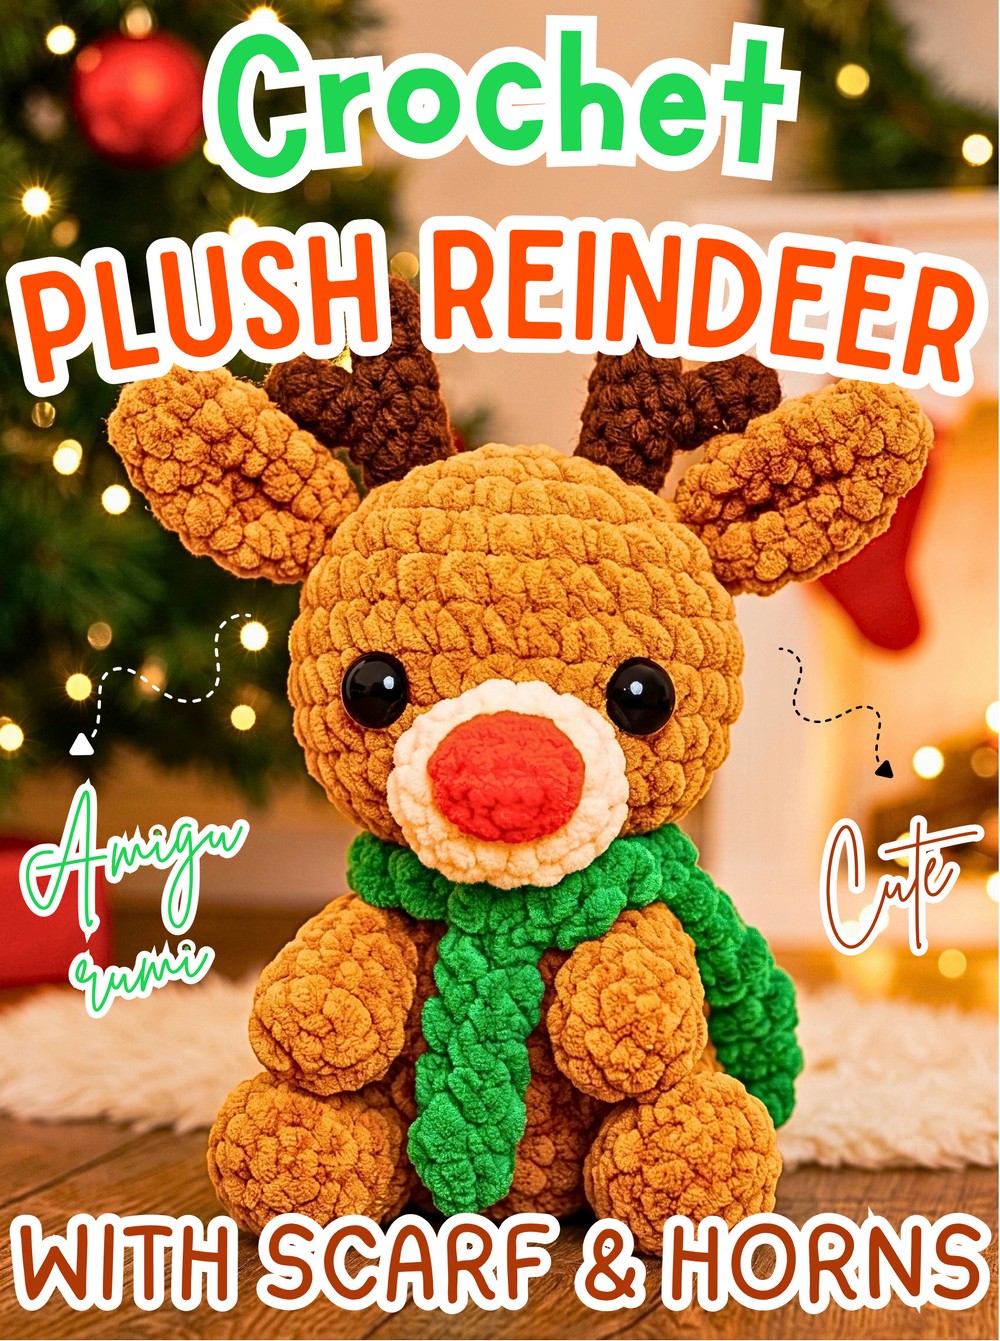
Soft plush yarn gives this crochet reindeer its squishy, huggable character, while the cream muzzle and bright red embroidered nose make the face stand out. Small Y-shaped horns add the unmistakable reindeer detail, and the adjustable green scarf brings the finished piece together.
You’ll crochet the head and body as one continuous piece, then make the legs, arms, muzzle, ears, scarf, and assembled horns separately. The tutorial also shows exactly where to place the eyes and facial pieces, how to shape the horns, and how to position the limbs so the finished crochet reindeer keeps its balanced proportions.
Credit Keep Calm and Crochet
Materials & Tools Needed
- Plush Yarn: Brown for the main body, cream for the muzzle, red for the nose, and green for the scarf
- DK Yarn: Darker brown or another contrasting color for the horns
- Crochet Hooks: 5.5 mm for plush yarn and 3.0 mm for the DK yarn horns
- Safety Eyes: 12 mm or 14 mm
- Other Notions: Fiberfill stuffing, stitch markers, darning/tapestry needle, and scissors
Finished Look & Customization
The finished size will depend on your exact yarn brand and tension, but plush yarn worked with a 5.5 mm hook creates a soft, huggable amigurumi size.
The scarf is fully adjustable. Chain more or fewer stitches to change its length, or substitute a thinner yarn if you want a different drape. The red plush nose can also be made thicker or thinner by changing how many times you pass the yarn through the muzzle.
Pattern Abbreviations
- ch: Chain
- sc: Single crochet
- inc: Increase — 2 sc in the same stitch
- dec: Single crochet decrease, pulling up a loop from each of the next 2 stitches, then yarning over and pulling through all 3 loops
- sl st: Slip stitch
- dc: Double crochet
- st(s): Stitch(es)
- rnd(s): Round(s)
The tutorial begins pieces with ch 2, and stitches worked into the 2nd chain from the hook. You can substitute a standard magic ring if you prefer.
Crochet the Reindeer
Head and Body
Use the 5.5 mm hook and brown plush yarn. The head and body are worked as one continuous piece, beginning at the top of the head and gradually widening before decreasing into the lower body.
Rnd 1: Ch 2, work 6 sc in the 2nd ch from the hook. (6 sts) Pull the tail to close the gap.
Keep the starting center tightly closed. This small circle forms the top of the head, so a loose opening here can remain visible later.
Rnd 2: Inc in each st around. (12 sts)
Rnd 3: (1 sc, inc) x 6. (18 sts)
Rnd 4: (2 sc, inc) x 6. (24 sts)
Rnd 5: (3 sc, inc) x 6. (30 sts)
These increase rounds gradually widen the head. Check your count after each round; the piece should expand evenly rather than forming a flat, wavy circle.
Rnds 6–11: 1 sc in each st around. (30 sts for 6 rounds)
The six plain rounds establish the main head width. Keep the sides reasonably even, since the eye placement is based on this section.
Insert the Safety Eyes
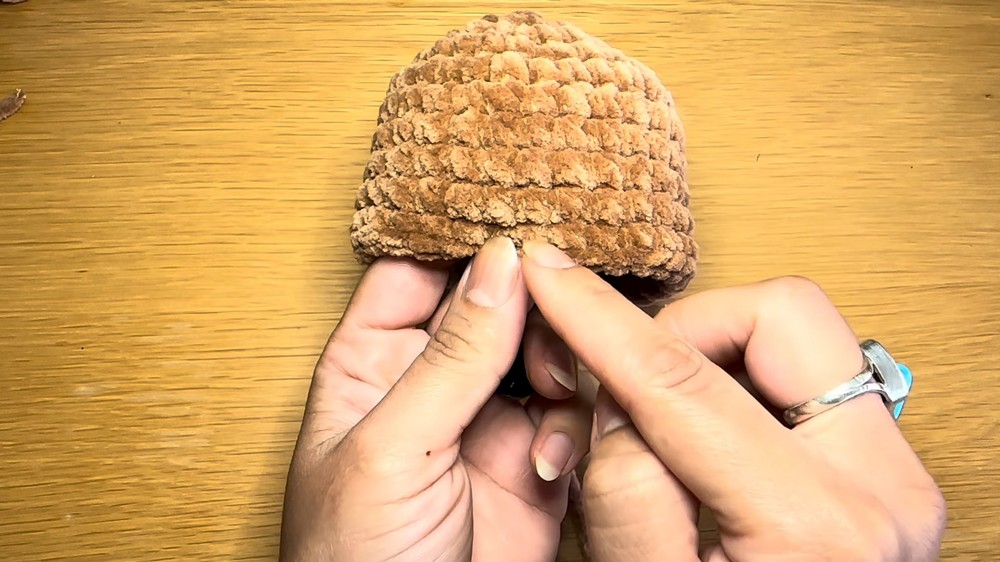
Before continuing, insert the 14 mm safety eyes. Count 2 rounds up from your current working round on the edge and position the eyes with 5 visible stitches between them.
Check from the front before securing the backs. Both eyes should sit at the same height and face forward evenly; correcting them now is much easier than trying to reposition them after the head closes.

Rnd 12: (3 sc, dec) x 6. (24 sts)
Rnd 13: (2 sc, dec) x 6. (18 sts)
Rnd 14: (1 sc, dec) x 6. (12 sts)
Rnd 15: (2 sc, dec) x 3. (9 sts)
This first decrease section narrows the head toward the point where the body begins.
Rnd 16 — Body Rnd 1: Inc in each st around. (18 sts)
The increase here marks the transition from the narrower head into the wider body. You should see the silhouette begin to broaden beneath the face.
Rnd 17: (2 sc, inc) x 6. (24 sts) Stuff the head firmly with fiberfill.
Add the stuffing now so the head is properly filled while the opening is still accessible. Push the fiberfill evenly around the inside rather than creating one hard lump behind the face.
Rnds 18–20: 1 sc in each st around. (24 sts for 3 rounds)
Rnd 21: (2 sc, dec) x 6. (18 sts)
Rnd 22: (1 sc, dec) x 6. (12 sts) Stuff the body firmly.
The decreases begin narrowing the lower body. Add or redistribute stuffing as the opening gets smaller so the body stays rounded and firm.
Rnd 23: 6 dec. (6 sts)
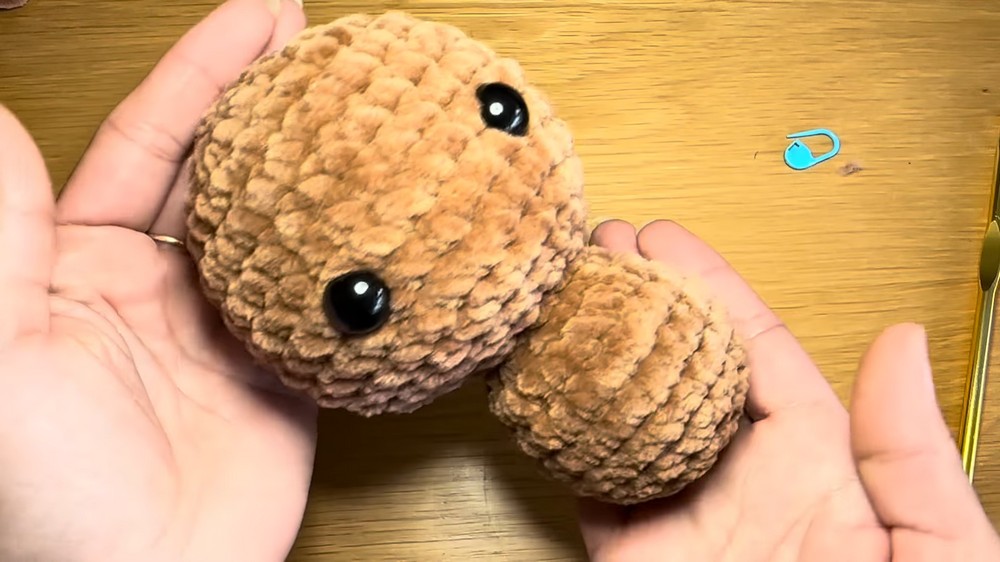
If a tiny gap remains, work 1 or 2 more dec, then sl st into the opposite st to close the hole completely. Fasten off, snip the yarn, and weave the tail deep into the body.
The finished body should feel evenly stuffed without large soft gaps. Set it aside while you make the separate pieces.
Make the Legs
Make 2 legs using the 5.5 mm hook and brown plush yarn.
Rnd 1: Ch 2, work 6 sc in the 2nd ch from the hook. (6 sts)
Rnd 2: Inc in each st around. (12 sts)
Rnds 3–4: 1 sc in each st around. (12 sts for 2 rounds)
Rnd 5: (1 sc, dec) x 4. (8 sts)
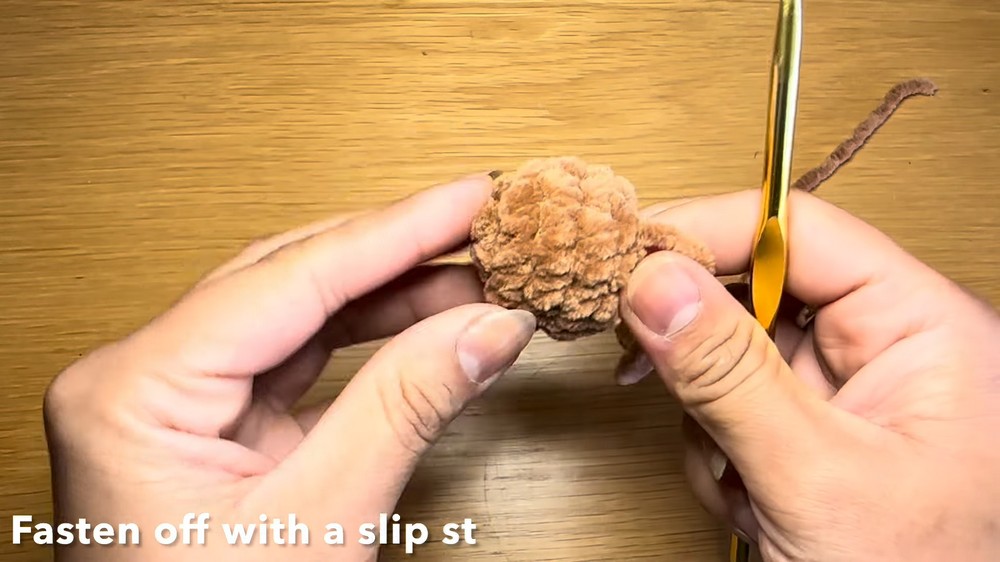
The decrease round narrows the leg toward its closing edge. Sl st in the next st to fasten off and leave a long sewing tail.
Stuff the leg with fiberfill. Keep the filling sufficient to give the leg shape without making it difficult to sew the open edge against the body.
Make the Arms
Make 2 arms with the 5.5 mm hook and brown plush yarn.
Rnd 1: Ch 2, work 6 sc in the 2nd ch from the hook. (6 sts)
Rnd 2: (1 sc, inc) x 3. (9 sts)
Rnd 3: 1 sc in each st around. (9 sts) Tuck the starting tail inside.
Rnd 4: (1 sc, dec) x 3. (6 sts)
Rnds 5–6: 1 sc in each st around. (6 sts for 2 rounds)
Stuff only the bottom portion of the arm lightly. Pinch the top edges flat, aligning the stitches.
Work 3 sc across both front and back layers to close the top seam. Fasten off, ch 1, and leave a long tail for sewing.
The closed edge will become the attachment edge, so keep it flat rather than rounded.

Crochet the Cream Muzzle
Use the 5.5 mm hook and cream plush yarn.
Rnd 1: Ch 2, work 6 sc in the 2nd ch from the hook. (6 sts)
Rnd 2: Inc in each st around. (12 sts)
Rnds 3–4: 1 sc in each st around. (12 sts for 2 rounds)
Sl st in the next st to fasten off and leave a long tail.
The muzzle should remain soft and slightly rounded rather than heavily stuffed. Its final fullness can also be adjusted from the outside once it has been sewn onto the face.

Make the Ears
Make 2 ears using the 5.5 mm hook and brown plush yarn.
Rnd 1: Ch 2, work 6 sc in the 2nd ch from the hook. (6 sts)
Rnd 2: 1 sc in each st around. (6 sts)
Rnd 3: (1 sc, inc) x 3. (9 sts)
Rnds 4–5: 1 sc in each st around. (9 sts for 2 rounds)
Rnd 6: (1 sc, dec) x 3. (6 sts)
Pinch the top edges flat and work 3 sl st across both layers to close the gap. Ch 1, fasten off, and leave a long tail.
The flattened edge gives you a clear sewing line when attaching each ear to the head.

Crochet the Green Scarf
Use the 5.5 mm hook and green plush yarn.
Row 1: Ch 40. Yarn over, skip the first 2 chs, and work a dc in the 3rd ch from the hook. Dc in each ch across to the end. (38 dc sts)
The chain determines the scarf length, so you can make this longer or shorter for a different wrap around the neck.
Ch 1 and fasten off. Weave the tails back and forth through the stitches 3 times using a darning needle or hook to hide them securely.

Make the Y-Shaped Horns
Make 2 complete Y-shaped horns. Each horn consists of one short piece and one long piece. Use the 3.0 mm hook and DK brown or contrasting yarn.
Short Pieces
Make 2.
Rnd 1: Ch 2, work 6 sc in the 2nd ch from the hook. (6 sts)
Rnds 2–4: 1 sc in each st around. (6 sts for 3 rounds)
Sl st and fasten off, leaving a long tail. Stuff a tiny amount of fiberfill inside using the back of your crochet hook.
Long Pieces
Make 2.
Rnd 1: Ch 2, work 6 sc in the 2nd ch from the hook. (6 sts)
Rnds 2-7: 1 sc in each st around. (6 sts for 6 rounds)
Sl st and fasten off. Stuff lightly.

Assemble Each Horn
Thread the long tail of a short piece onto a darning needle. Attach the short piece to the side of its long piece, positioning it approximately 2 rounds down from the top edge of the long piece.
Sew completely around the connecting stitches so the two pieces form a secure Y-shape. Tie a loop knot, push the needle through the horn, and snip the excess yarn.
Repeat with the second set.
Check both horns side by side before attaching them to the head. Their short branches should sit at approximately the same height so the finished pair looks balanced.
Assemble the Reindeer
Attach the Horns
Thread the tail of an assembled horn onto your darning needle.
Find Round 1 at the top center of the head. Skip Round 1 and align the horn at the edge of Round 2.
Sew around the horn’s base, catching one stitch on the horn and one stitch on the head. Create a loop knot, push it down, and hide the tail inside the head.
Repeat for the second horn.
Before securing the second horn completely, look at the reindeer from the front. Both horns should be positioned at matching heights and angles.
Attach the Ears
Thread the ear’s sewing tail and pinch the bottom edge so it folds slightly in half. Run a quick stitch through the gathered base.
Position the ear exactly 1 round away from the horn, aligning it vertically with the horn in the side profile of the head.
Sew firmly in place, knot, and hide the thread. Repeat on the other side.
The ears should sit naturally beside the horns without overlapping them excessively.
Sew on the Legs
Line up each leg straight down from the inside edge of the corresponding eye, positioning it on the bottom front side of the body.
Catch one stitch on the open edge of the leg and one stitch on the body, then sew completely around the attachment. Go over the last stitch twice for extra security.
Knot and hide the tail. Repeat for the second leg.
Check the reindeer from the front before finishing: the legs should descend evenly and give the body a balanced stance.

Attach the Arms
Look at the side profile in line with the ears and go straight down to the body just below the neck.
Position the flattened closed edge of the arm against the side of the body. Sew across the top seam, going through the first and last stitches twice for durability.
Knot and hide the tail inside the body.
Repeat on the opposite side, keeping the arms at a similar height.
Attach the Muzzle
Position the cream muzzle centrally between the eyes, with its finishing stitch resting at the bottom.
Sew around the edge, catching one stitch on the muzzle and one on the head. Once attached, use the back of your hook to plump up the muzzle if it has sunk inward.
The muzzle should sit prominently beneath the eyes without covering their lower edges.
Knot and hide the yarn when the sewing is complete.
Embroider the Red Nose
Thread a long piece of red plush yarn onto your needle.
Insert the needle from a random spot on the head and bring it out through the center top of the muzzle. Stitch horizontally across 4 or 5 stitches in the middle of the muzzle.
Pass the needle through these same stitches approximately 5 times, stacking the yarn strands side by side. This builds the thick, raised appearance of the nose.
Guide the needle back out through the original entry point. Tie a secure double knot with the two tail ends and pull the knot inside the head to hide it.
Check the nose from the front. The stacked yarn should form a centered, plump horizontal shape rather than spreading unevenly across the muzzle.
Tie on the Green Scarf
Wrap the green scarf around the neck, moving the arms out of the way as needed.
Adjust the length and drape to your preference, then tie a simple knot on the side. Loosen the stitches around the neck slightly so the scarf remains visibly defined instead of being pulled tightly against the plush body.
You can stitch the scarf lightly in place if you want a permanent position, or leave it removable so you can change its placement or color later.
Final Shape Check
Give the finished reindeer a gentle squeeze to redistribute the fiberfill if necessary. Check the face from the front, make sure both horns and ears are balanced, and confirm that the legs and arms are securely sewn.
The completed plush reindeer is ready for a festive display, seasonal gift, or a cozy handmade addition to your Christmas décor.