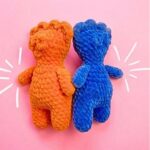
Here’s a quick crochet treat that looks good enough to eat. This pocket-sized gummy bear uses plush chenille, playful bobbles, and one continuous shape for a squishy little keepsake.
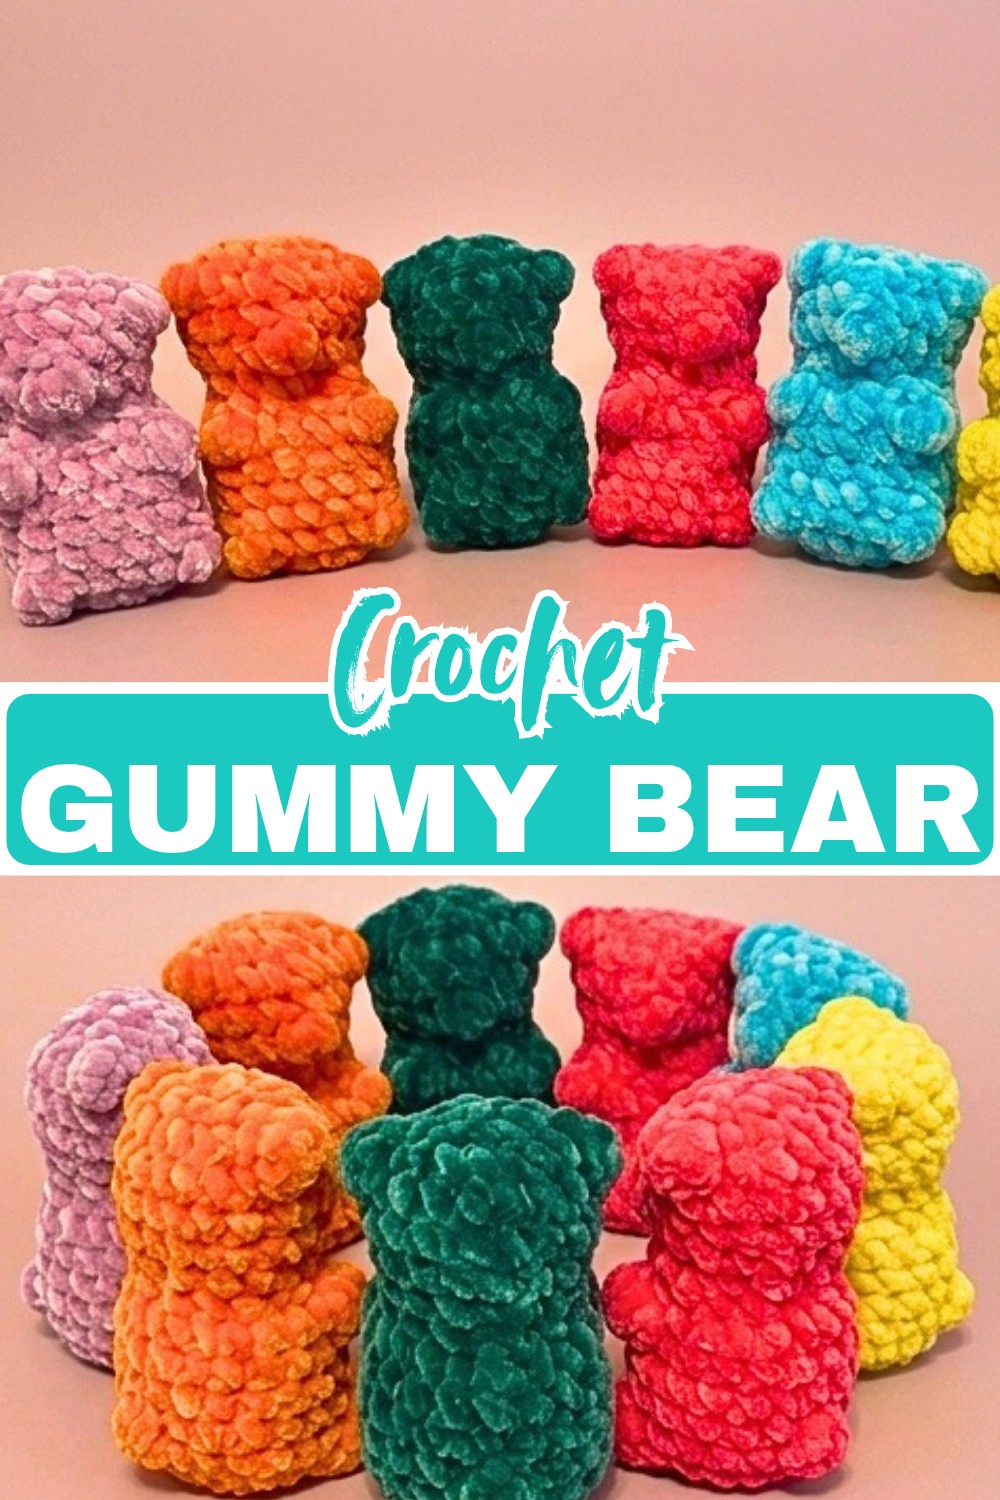
A handful of plush chenille turns into a tiny gummy bear with a surprisingly recognizable shape in this crochet pattern. The rounded body, raised arms and legs, little bobble nose, and soft ears are all worked into one continuous piece, giving the finished crochet bear that irresistible candy-like silhouette without separate limbs to sew on.
As you work through the pattern, you’ll learn where each bobble belongs, how to keep its closing chain from changing your stitch count, and how to work invisible decreases around the raised details. The tutorial also shows when to add stuffing, how much space to leave near the top, and how to close the final opening so the crochet bear keeps its rounded shape.
Credit Coffee Crochet Repeat
Materials & Tools Needed
- Yarn: Super bulky chenille yarn, such as Premier Just Chenille or Premier Parfait Chunky.
- Crochet Hook: 5.0 mm, or another size that creates tight stitches without visible gaps.
- Stuffing: Polyfill or your preferred amigurumi stuffing.
- Tools: Yarn needle and scissors.
Choosing the Hook
Because this bear is stuffed, the fabric needs to be tight enough that the filling does not show through. If your stitches leave visible spaces, try a smaller hook rather than relying on tighter stuffing to close the gaps.
Finished Size & Customization
This pattern creates a small, handheld gummy bear that fits comfortably in a pocket or palm.
Using a thicker chenille such as Premier Parfait Chunky with the 5.0 mm hook can make the bear slightly taller.
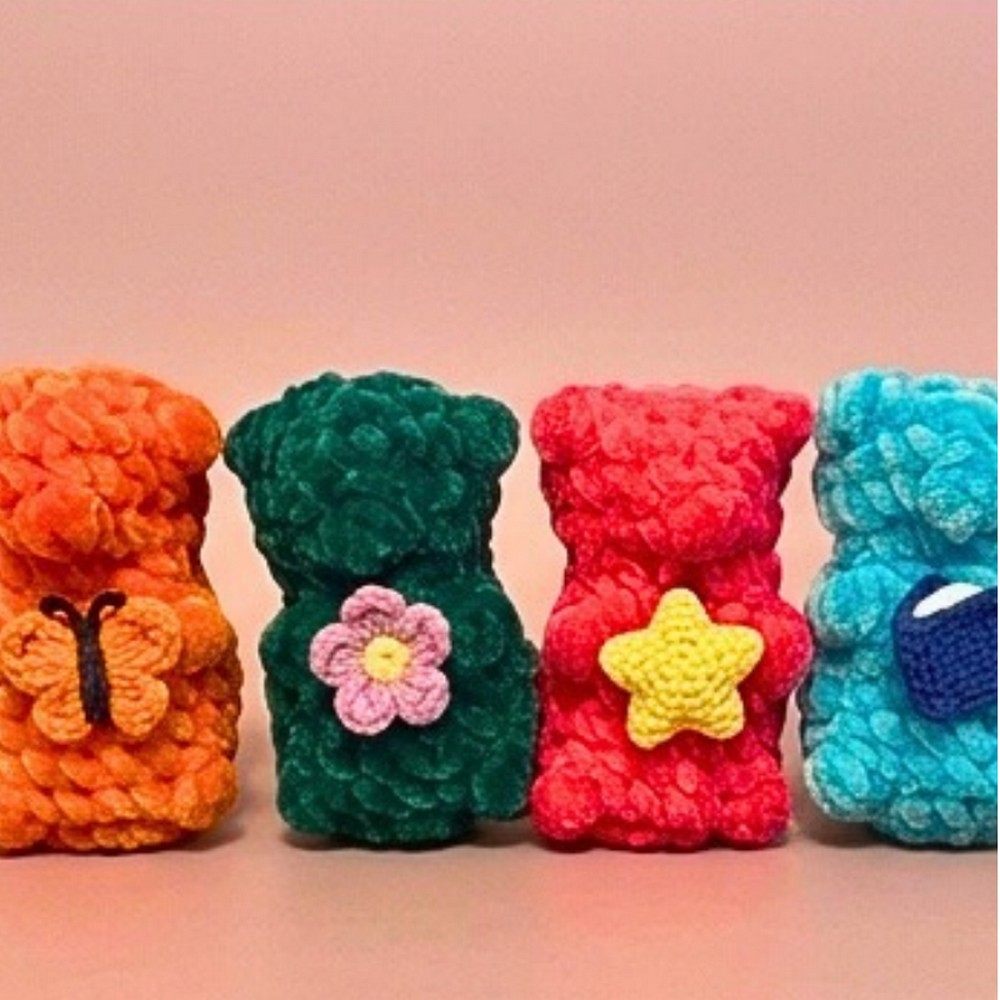
The pattern is also well suited to making several bears in different colors. Try a rainbow assortment, make a handful for quick gifts, or prepare several color variations when you need small handmade items for a craft market.
Pattern Abbreviations
- ch: Chain
- sc: Single crochet
- inc: Increase – 2 sc in the same stitch
- inv dec: Invisible decrease – sc 2 together through the front loops only
- bo: Bobble stitch
- st(s): Stitch(es)
- sk: Skip
- sl st: Slip stitch
- FLO: Front loops only
Special Stitches
Regular Bobble Stitch
The regular bobble creates the raised arms, legs, and ears.
Bobble Stitch (BO): Yarn over, insert the hook into the stitch, and pull up a loop. Repeat this process 5 times total in the same stitch. Yarn over and pull through all loops on the hook. Ch 1 to lock the bobble, then push it outward.
The locking ch 1 does not count as a stitch and must be skipped when you work the following round.
Small Bobble for the Nose
The nose uses the same technique but is slightly smaller.
Small BO: Work the bobble in the same way, but pull up a loop only 4 times instead of 5. Finish with ch 1 to lock it and push the bobble outward.
Bobble Check: After making each bobble, gently push it toward the outside of the bear. This makes it much easier to identify the raised detail when you reach the next round and helps keep the bear’s features facing outward.
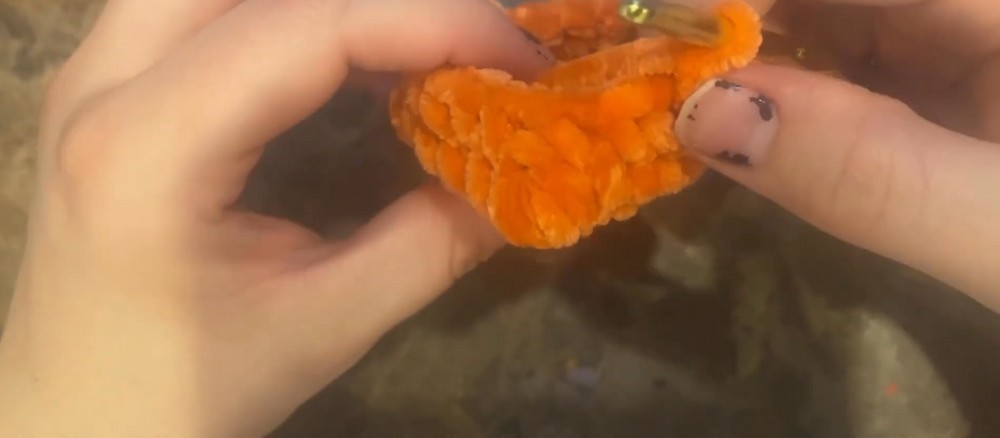
Crochet the Gummy Bear Body
The bear begins with a small circular base and gradually develops its body through increases, straight rounds, and strategically placed bobbles. Unlike an amigurumi made from separate body parts, the limbs and ears are formed directly into the main shape.
Round 1: Ch 2, then place 6 sc into the first chain. (6 sts) A magic ring can also be used, but the ch-2 method is recommended for fuzzy chenille yarn because it helps avoid snapping the yarn.
Round 2: Inc in each st around. (12 sts)
Round 3: [1 sc in the next st, inc in the next st] repeat 6 times around. (18 sts)
Form the Bottom Legs
Round 4 is the first point where the bear begins to look like a bear rather than a simple stuffed tube. The two bobbles become the lower legs.
Round 4: 1 sc, work 1 BO, 4 sc, work 1 BO, 11 sc. (18 sts)
Round 5: 18 sc around. (18 sts)
When working Round 5, skip the top ch-1 that closed each bobble from the previous round. That chain locks the bobble but is not part of the stitch count.
Round 6: 18 sc around. (18 sts)
Round 7: 18 sc around. (18 sts)
At this stage, the straight rounds give the lower body enough height before the next pair of bobbles creates the arms.
Add the Top Arms
The next pair of bobbles sits higher on the body, creating the bear’s arms.
Round 8: 1 sc, work 1 BO, 4 sc, work 1 BO, 11 sc. (18 sts)
Round 9: [1 sc in the next st, inv dec in the next st] repeat 6 times around. (12 sts)
The decreases begin narrowing the body toward the neck.
Decrease Around the Bobbles: When you reach a bobble while working an invisible decrease, do not use the chain sitting directly at the top center of the bobble. Skip that ch-1 and insert your hook through the FLO of the stitch immediately before it and the FLO of the stitch immediately after it. Complete the invisible decrease through those two front loops.
This keeps the bobble as a raised feature while allowing the surrounding fabric to decrease normally.
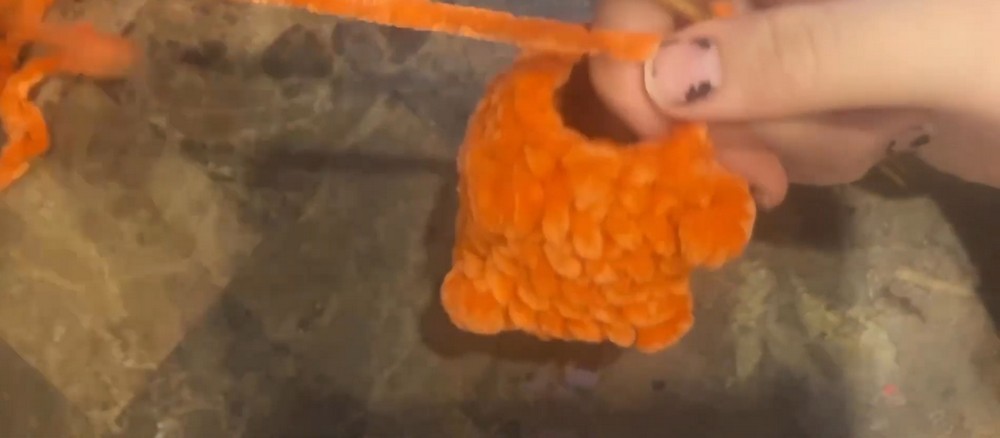
Shape the Head
After the neck has narrowed, the next increase round opens the fabric back out to form the bear’s head.
Round 10: [1 sc in the next st, inc in the next st] repeat 6 times around. (18 sts)
The head is now wide enough to receive the nose and ears while keeping the bear’s body noticeably narrower underneath.
Give the Bear Its Nose
The nose uses the smaller version of the bobble so it stands out without becoming as large as the arms, legs, and ears.
Round 11: 4 sc, work 1 Small BO, 13 sc. (18 sts)
Round 12: 18 sc around. (18 sts) Remember to skip the top ch-1 of the nose bobble.
Add the Ears
The final pair of bobbles creates the ears near the top of the head.
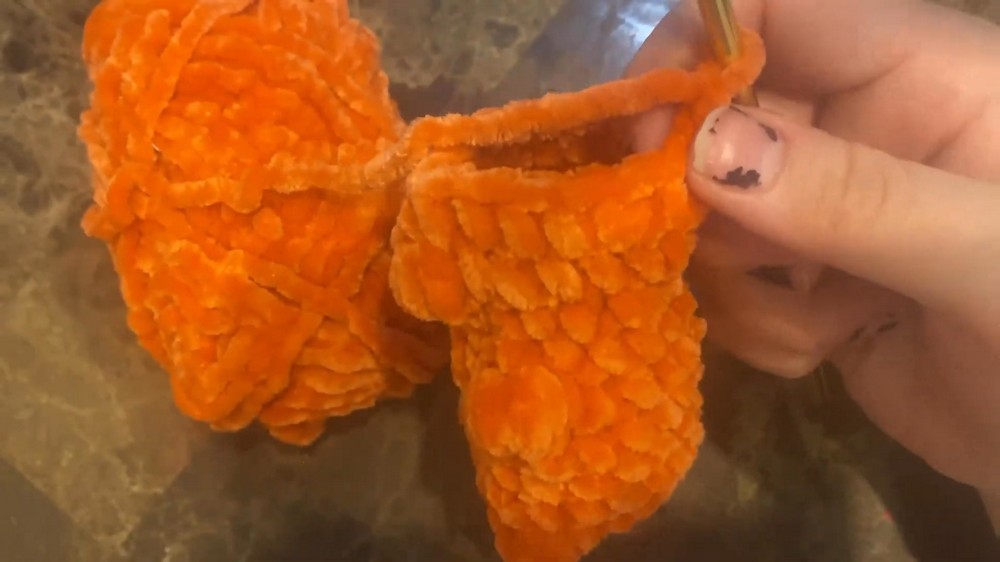
Round 13: 1 sc, work 1 BO, 6 sc, work 1 BO, 9 sc. (18 sts)
Stuffing Checkpoint: This is the important stuffing stage. Add plenty of stuffing to the body and the lower part of the head now, while the opening is still comfortably wide. Work the filling around the inside of the bobbles rather than pushing a large amount directly against one feature. You want a firm, rounded bear without stretching the stitches open.
Close the Head
Once the ears are in place and the bear has been stuffed, the remaining rounds reduce the opening until only six stitches remain.
Round 14: [1 sc in the next st, inv dec in the next st] repeat 6 times around. (12 sts)
Use the same bobble-decrease method from Round 9 when you reach the ear bobbles: skip the ch-1 sitting at the top of the bobble and work the invisible decrease through the FLO of the stitches on either side.
Round 15: Inv dec 6 times. (6 sts)
The head opening is now small enough to close.
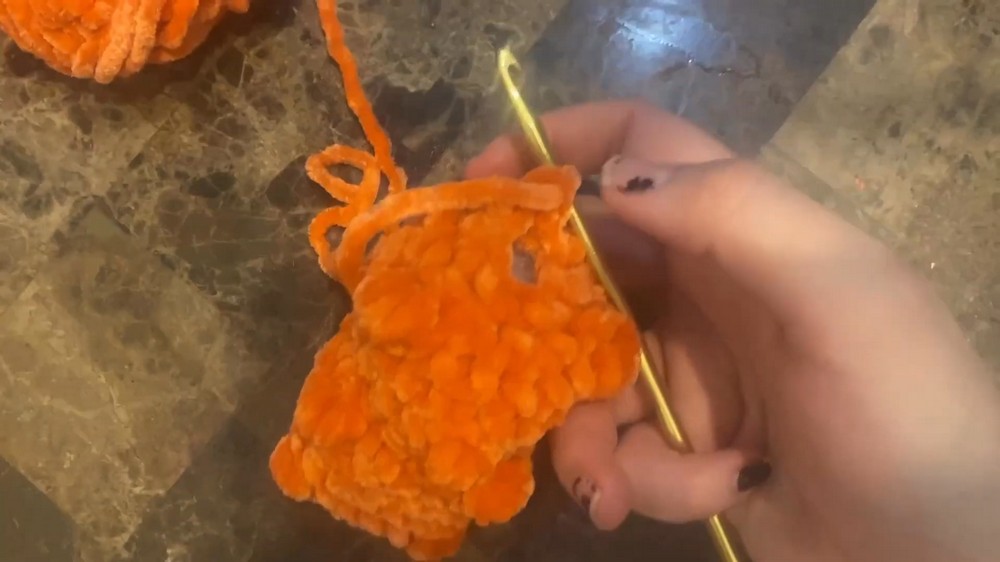
Finish and Shape the Bear
Before closing, add any final small amounts of stuffing to the top of the head. Avoid packing the very top too firmly, because the fabric needs enough flexibility to flatten slightly when the opening is cinched.
Tie Off: Sl st into the next stitch. Cut the yarn, leaving a short tail for sewing, and pull the yarn through.
Close the Opening: Thread the yarn tail onto a sewing needle. Insert the needle through the FLO of each of the remaining 6 stitches, moving around the opening until all six front loops are threaded.
Cinching Check: Pull the yarn tail gradually rather than giving it one hard pull. Watch the opening close evenly into the center so the top of the head stays rounded instead of puckering sharply to one side.
Secure: Once the hole is closed, insert the needle through a nearby stitch and tie a secure knot.
Hide the Tail: Pass the needle through the body in a few different spots to bury the yarn tail inside. Trim away the excess yarn.
Plump the Details
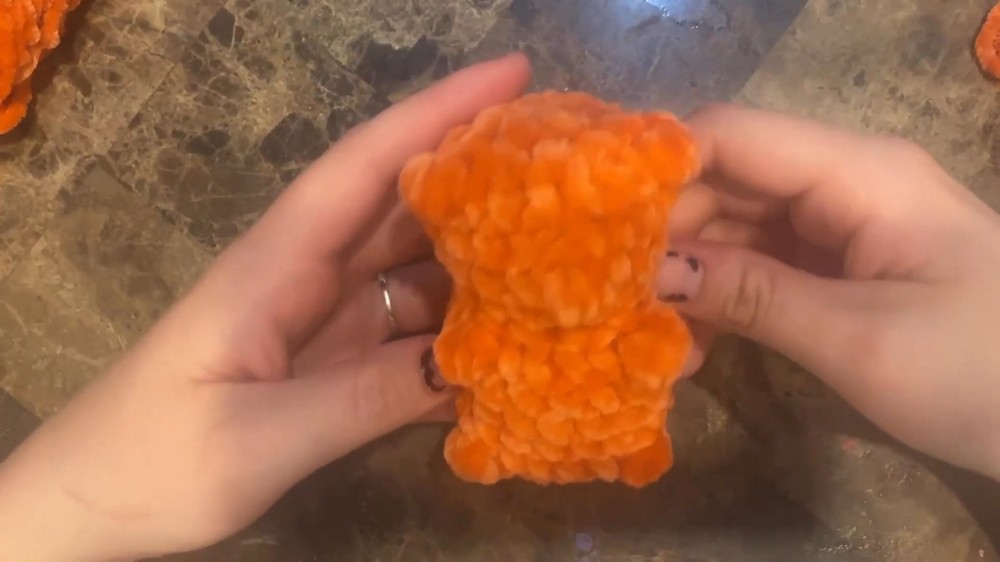
Chenille yarn responds well to gentle shaping. Use your fingers to squeeze and define the raised parts of the bear, especially the legs, arms, nose, and ears.
Give each bobble a little outward push and adjust the surrounding stuffing until the features look distinct. This final shaping is what helps the soft chenille take on the recognizable gummy-bear silhouette.
Make a Whole Jar of Gummy Bears
Once you have the shaping rhythm down, the pattern becomes especially satisfying to repeat. The bear is small, uses very few supplies, and the limbs and facial detail are formed directly into the crochet rather than being sewn on separately.
Changing only the chenille color can completely change the personality of the finished bear. Make bright candy-inspired shades, create a mixed rainbow collection, or keep one color family for a coordinated group of pocket-sized amigurumi.