Give your holiday decor a tiny handmade Crochet tree with textured bobble branches, a bright five-point star, and a firm cardboard-supported base for a festive display or ornament.
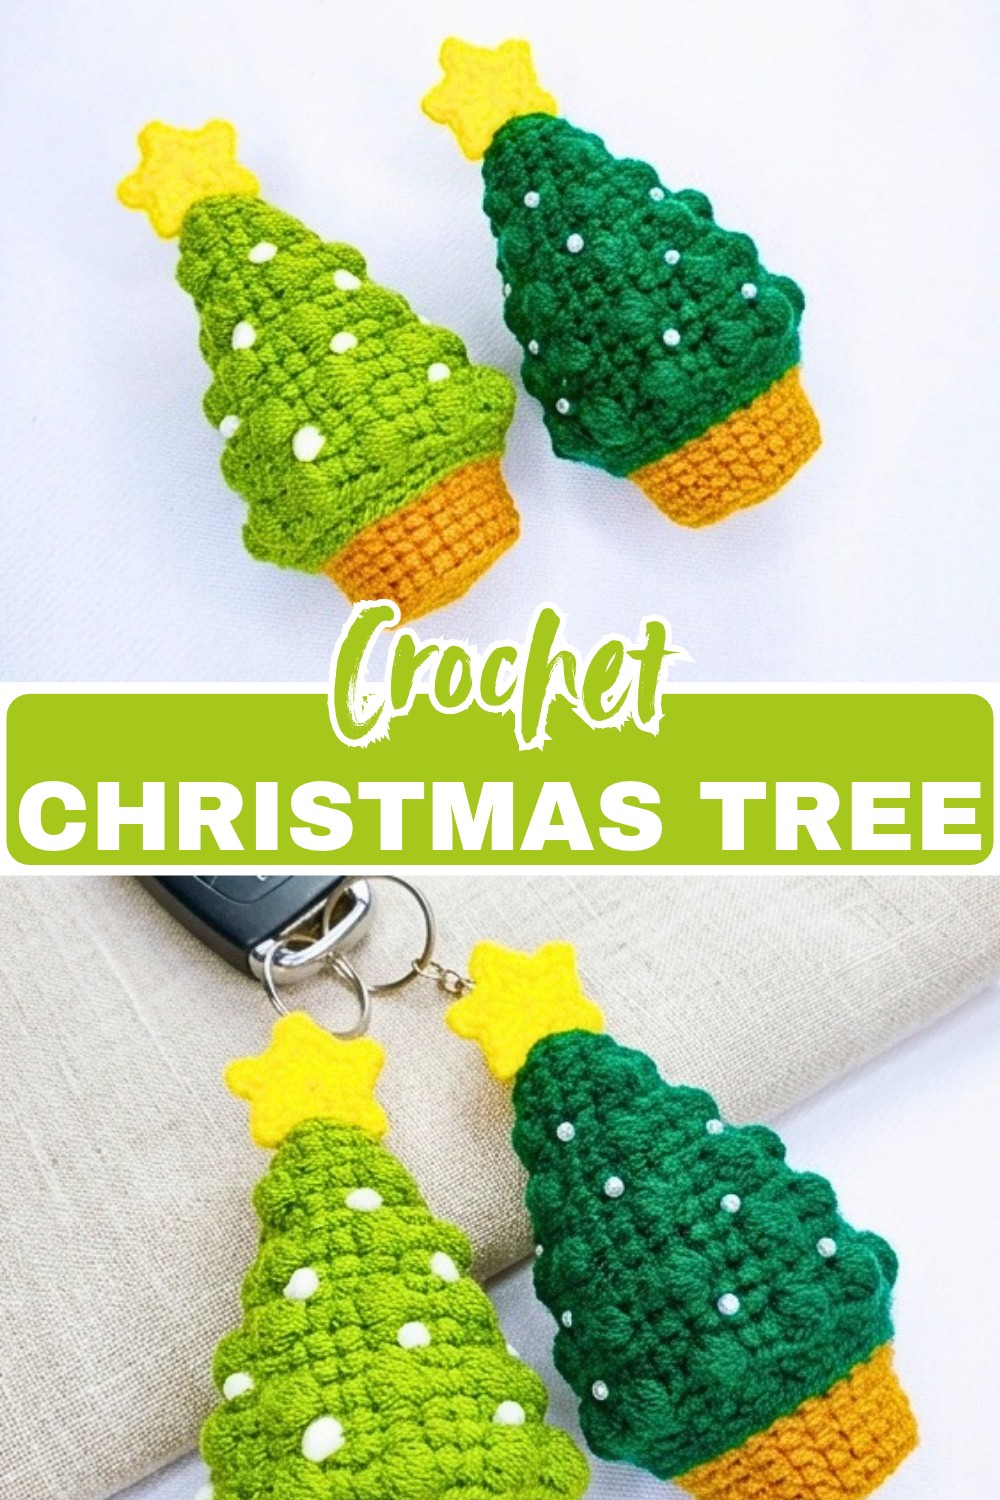
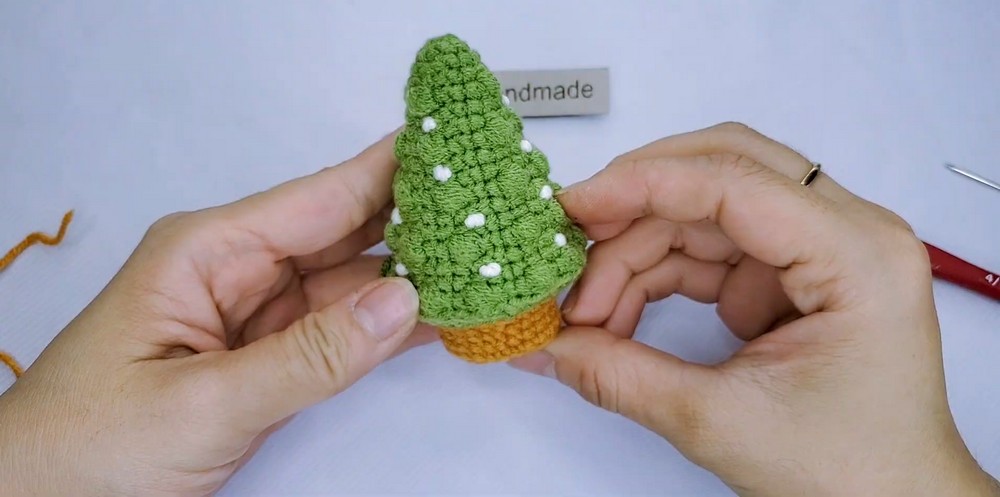
A miniature crochet Christmas tree can bring a surprising amount of holiday character to a small space. This amigurumi design uses green yarn to build a tapered tree with raised bobble texture that gives the body the look of layered pine branches, while a yellow five-point star adds a bright finishing detail at the top.
The tutorial takes you through the continuous crochet rounds, including the increases that widen the tree, the bobble rounds that create its textured surface, and the closing rounds that shape the base. You’ll also learn how fiberfill and a small piece of cardboard work together to help the finished tree hold its shape, before adding the crocheted star with a yarn needle or an optional no-sew attachment.
Credit Po Handmade
Materials & Tools Needed
- Yarn: Green yarn for the tree body and Yellow yarn for the star.
- Crochet Hook: A size appropriate for your yarn choice.
- Stuffing: Fiberfill.
- Base Support: A small piece of cardboard.
- Accessories: Yarn needle for sewing and a stitch marker to mark the beginning of rounds.
Finished Size & Customization Ideas
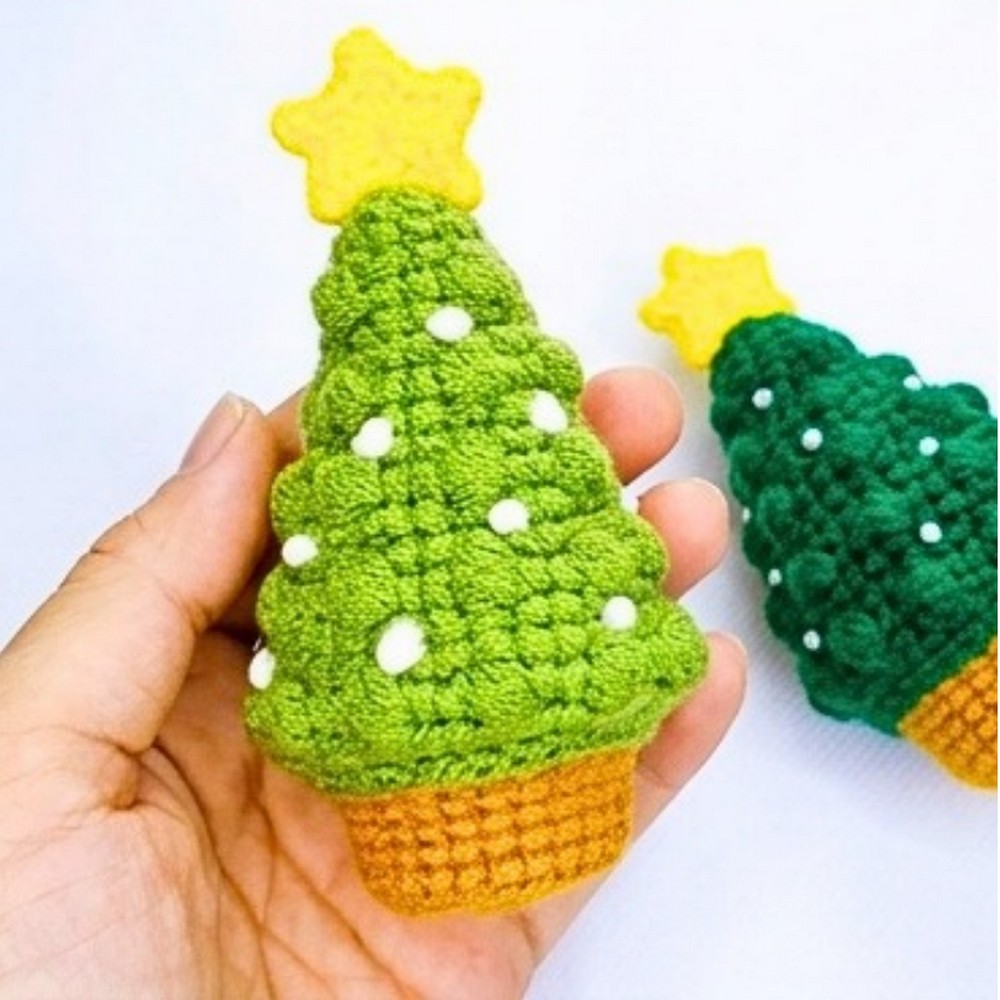
This pattern creates a mini amigurumi Christmas Tree, making it suitable for a holiday keychain, a festive desk buddy, or a traditional hanging tree ornament.
For extra holiday detail, miniature beads can be glued around the tree body, or small French knots can be sewn onto the green section to resemble Christmas lights and baubles.
Pattern Abbreviations & Terminology
The pattern uses US crochet terms:
- MR = Magic Ring
- ch = Chain
- sc (x) = Single crochet
- inc (v) = Increase – 2 sc in the same stitch
- dec (a) = Decrease – crocheting 2 stitches together
- hdc = Half double crochet
- sl st = Slip stitch
Bobble Stitch
The bobble in this tutorial uses a 3-loop puff/cluster stitch to create the raised texture on the tree.
To make it, insert the hook, yarn over, and pull up a loop. Repeat this process 3 times in the exact same stitch. You will have 4 loops on your hook. Yarn over and pull through all loops on the hook at once.
How to Crochet the Mini Christmas Tree
The Tree Body
Work the tree body in continuous rounds. Use a stitch marker at the beginning of each round so you can keep track of where each round starts.
Round 1: Start with a Magic Ring, ch 1, and make 6 sc into the ring. Pull tight to close. (6 sts)
Round 2: (2 sc, inc) repeat 2 times. (8 sts)
Round 3: (1 sc, inc) repeat 4 times. (12 sts)
Round 4: 1 sc in each stitch around. (12 sts)
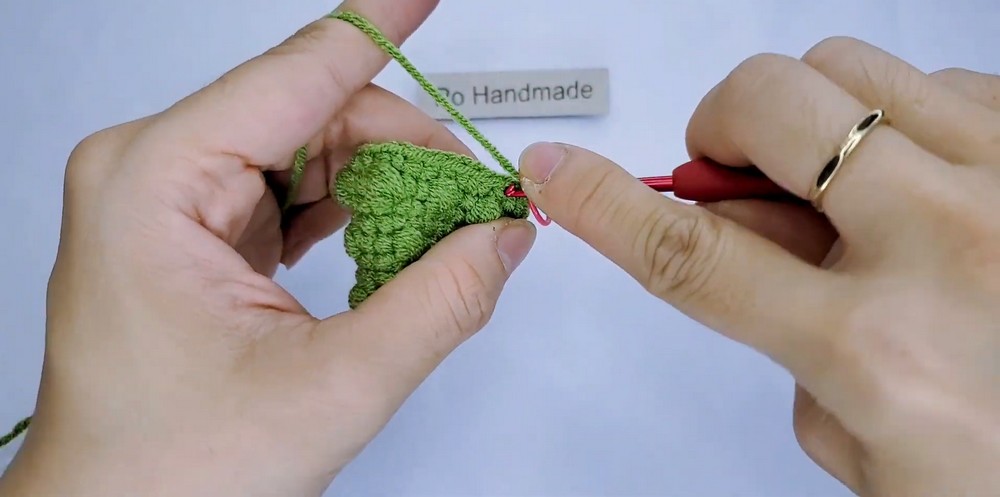
Round 5 (Bobble Round): 1 sc in the first st, 1 Bobble in the next st, 2 sc, 1 Bobble — repeat this sequence 3 times total. Place 1 sc in the final stitch. (12 sts, containing 4 bobbles)
Bobble placement: The raised stitches in this round are what begin giving the tree its textured branch-like appearance. Make each Bobble in the specified stitch rather than shifting its placement, because the surrounding sc stitches help space the texture around the round.
Round 6: (1 sc, inc) repeat 6 times. (18 sts)
Round 7: 1 sc in each stitch around. (18 sts)
Round 8 (Bobble Round): 1 sc in the first st, 1 Bobble in the next st, 2 sc, 1 Bobble — repeat this sequence 5 times total. Place 1 sc in the final stitch. (18 sts, containing 6 bobbles)
Round 9: (2 sc, inc) repeat 6 times. (24 sts)
Round 10: 1 sc in each stitch around. (24 sts)
The supplied tutorial notes that this established increase row, sc row, bobble row sequence continues to build the height of the cone through Round 24. Maintain the 24-stitch count for the straight sections if you prefer a narrow, tall tree before closing the base.
Closing the Tree Base
Shape and Stuff the Tree
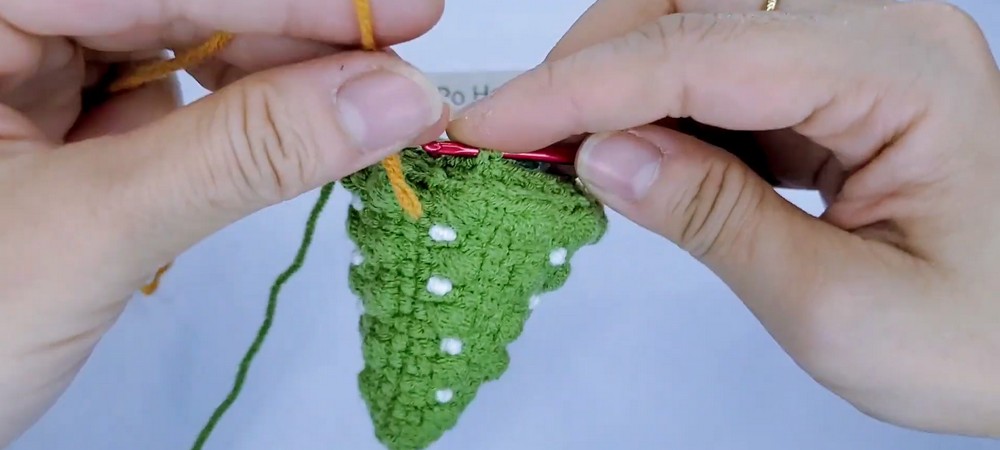
Round 25: (1 sc, dec, 1 sc) repeat 6 times. (18 sts)
Before continuing with the closing rounds, stuff the tree firmly with fiberfill.
Cut a small circular piece of cardboard and insert it into the base so it sits perfectly flat and helps the finished tree hold its shape.
Round 26: (1 sc, dec) repeat 6 times. (12 sts)
Round 27: Make 6 dec using the front loops only (FLO). (6 sts)
Finishing: Slip stitch into the first stitch to finish the round. Fasten off, leaving a long tail. Use a yarn needle to weave through the front loops of the remaining 6 stitches, pull tight to close the flat bottom seamlessly, and hide the yarn tail inside the body.
The Star
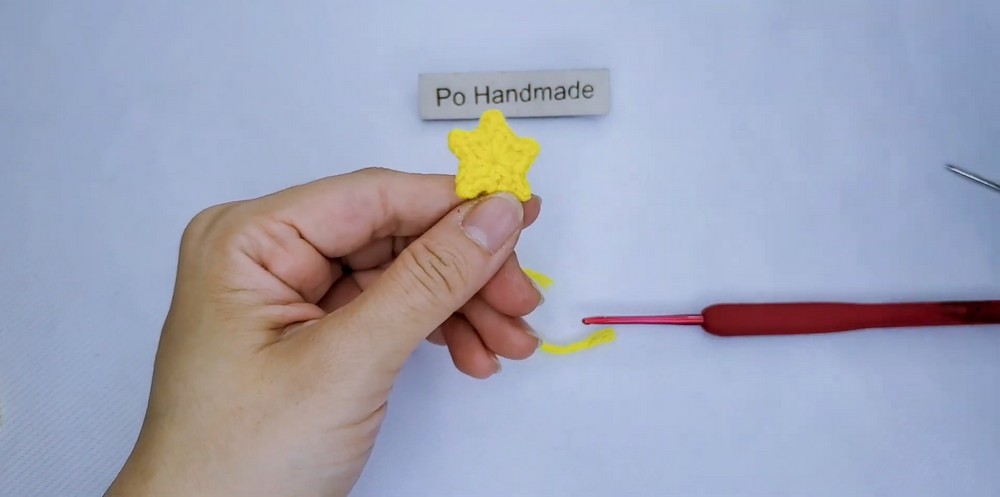
Make the star using Yellow yarn.
Round 1: Start with a Magic Ring, ch 1.
Petal Sequence: Make 1 hdc, ch 2, sl st into the first chain you just made, 1 hdc, 1 sc all into the magic ring.
Repeat the petal sequence a total of 5 times to create the five points of the star.
Finishing: Slip stitch into the very first hdc to join. Pull the magic ring tight to close the center hole. Fasten off, leaving a long tail for sewing.
Star Shape Check
Before attaching the star, gently arrange its five points so they look even and balanced.
This small check is useful because the star becomes the most visible detail at the top of the tree. Taking a moment to arrange the points before sewing helps you position the finished star neatly rather than trying to adjust its shape after it has been attached.
Assembly
Attach the Star: Take the long yarn tail left on the star and securely sew it to the very top tip of the green tree body at Round 1.
If you prefer a no-sew attachment, hot glue can be used instead.
Once the star is secured, the mini Christmas tree is ready to use as a festive desk decoration, keychain, or hanging tree ornament.