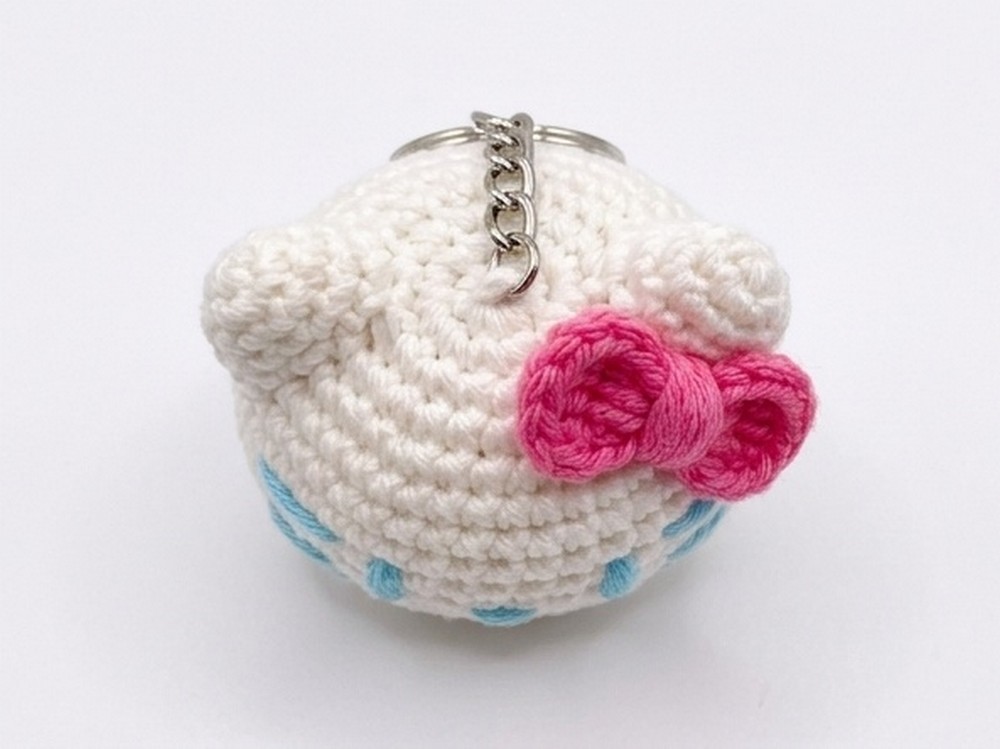
Looking to make a tiny Hello Kitty crochet keychain? This step-by-step pattern creates her signature ears, bow, whiskers, and sweet face in a quick 2-inch amigurumi.
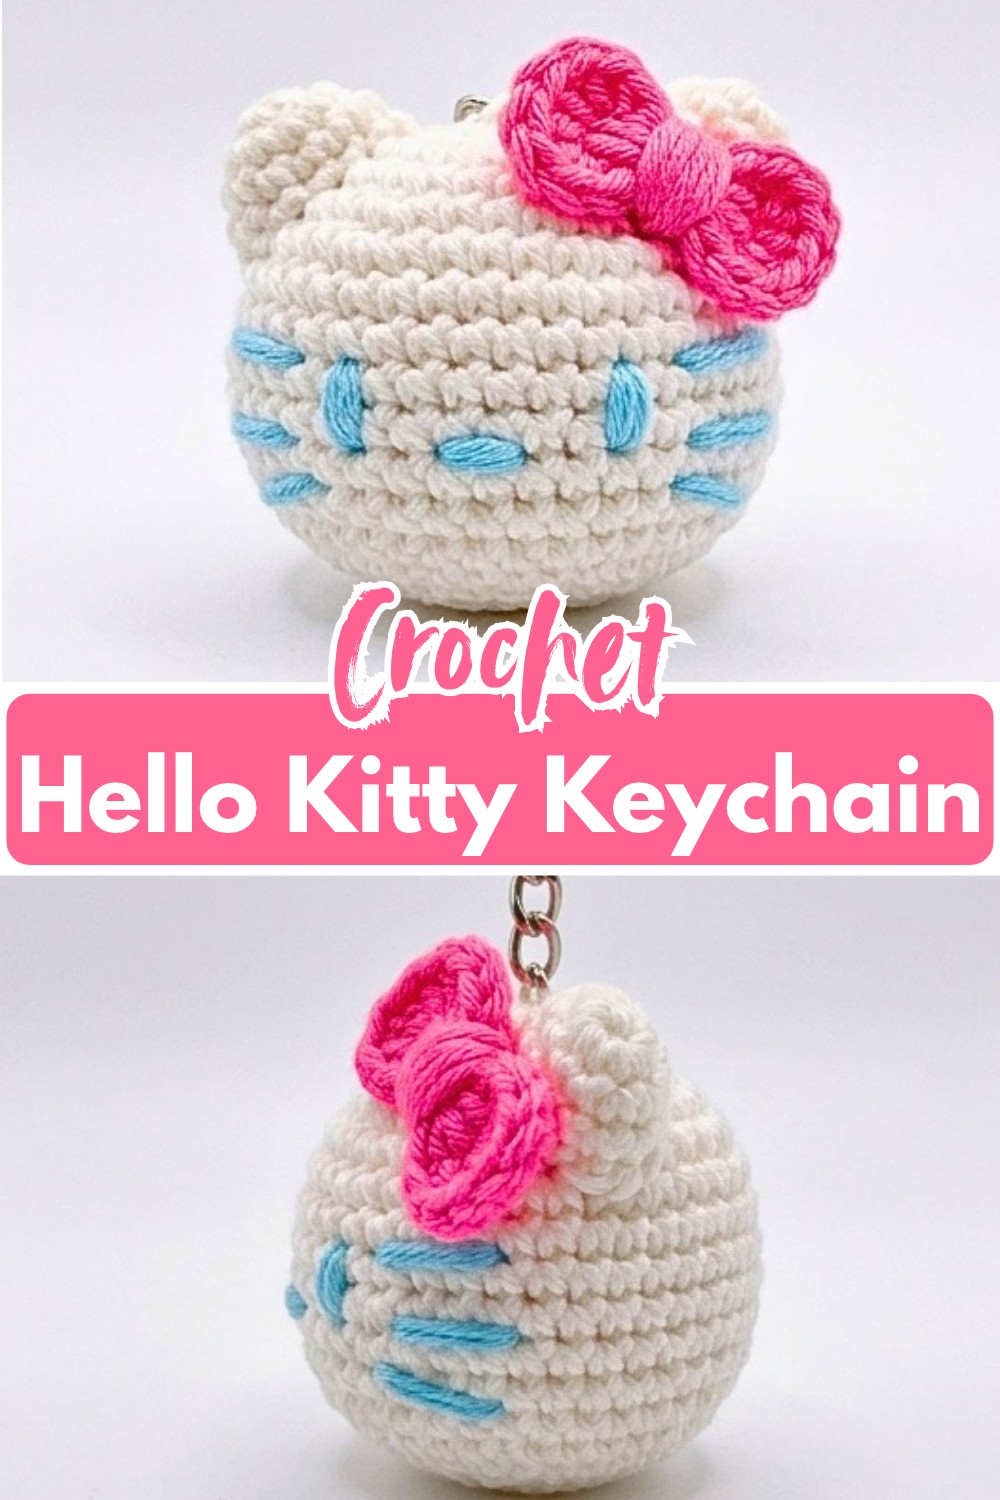
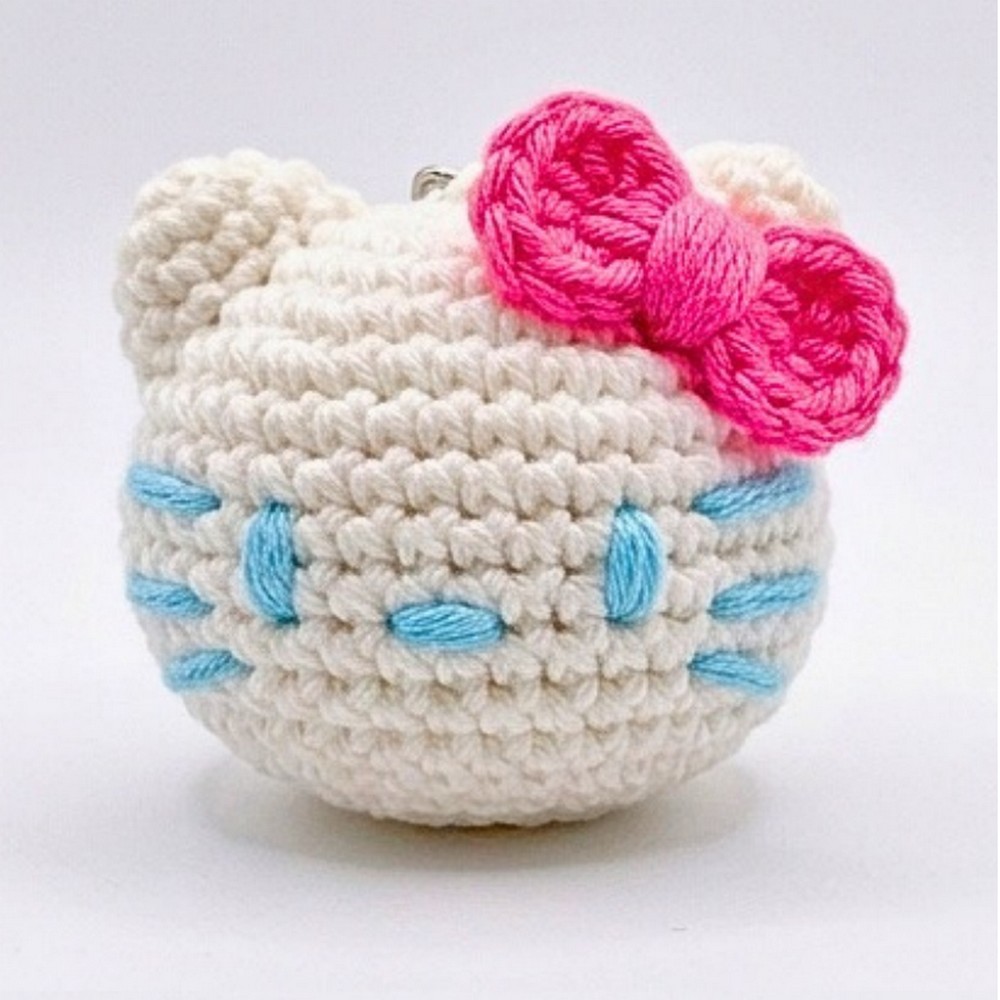
A tiny crochet Hello Kitty made with soft white yarn, a pink bow, and simple embroidered features makes an especially cute bag charm or keychain. At only about 2 inches tall, this little amigurumi is small enough to carry anywhere while still leaving room for her recognizable ears, whiskers, and yellow nose.
The head is crocheted in continuous rounds, with a clever use of front and back loops creating the ears directly as you work. You’ll then finish the face with simple embroidery, shape a small pink bow, add a touch of blush, and attach the keychain ring for a polished finish.
Credit Riyal Crochet
Materials & Tools Needed
- Yarn: Light worsted or DK weight yarn in white for the head, pink for the ribbon/bow, brown for the eyes and whiskers, and yellow for the nose
- Crochet Hook: 2.5 mm
- Stuffing: Fiberfill or cotton stuffing
- Tools: Tapestry/yarn needle, scissors, and a stitch marker
- Details & Finishing: Pink blush or eyeshadow, cotton swab, keychain ring, and a hot glue gun
You can sew the bow in place instead of using hot glue if you prefer a fully sewn finish.
Finished Size & Easy Customization
The finished Hello Kitty measures approximately 2 inches (5 cm) tall, making her a natural size for a keychain or bag charm.
For a larger, softer version, switch to chunky plush yarn and a 5.0 mm hook. You can also change the pink bow to red for a more classic Hello Kitty-inspired color combination.
Pattern Abbreviations
- MR = Magic Ring
- sc = Single Crochet
- hdc = Half Double Crochet
- inc = Increase (2 sc in one stitch)
- dec = Decrease
- BLO = Back Loop Only
- fl / FLO = Front Loop Only
- slst = Slip Stitch
- ch = Chain
- R = Round
- [ ] = Total stitch count at the end of the round
How to Crochet the Hello Kitty Head
Work the head in continuous spiral rounds rather than joining at the end of each round. Keep a stitch marker in the first stitch so you can easily see where each new round begins.
R1: 6 sc in magic ring [6]
R2: inc, (BLO inc), 2 inc, (BLO inc), inc [12]
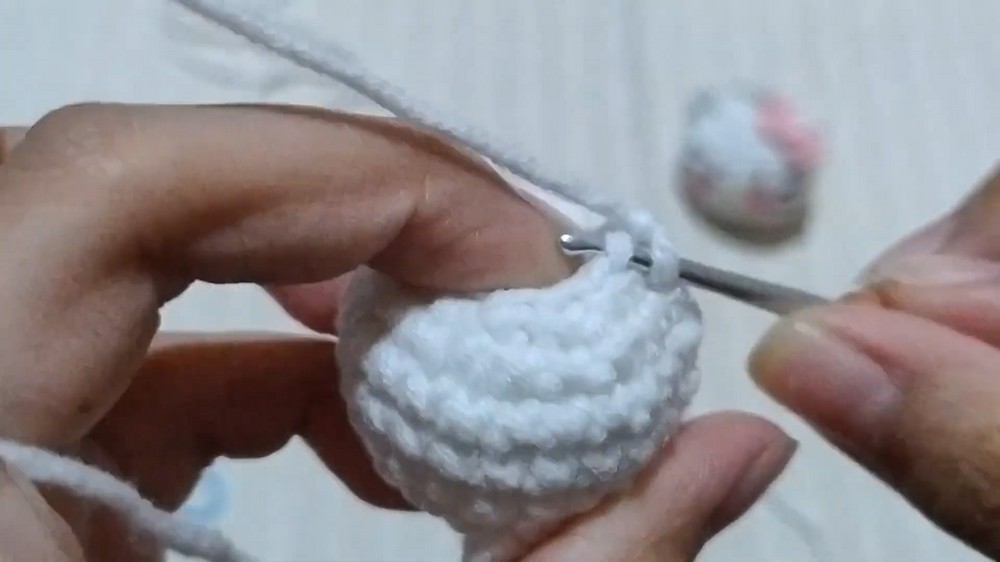
The two BLO increases are significant because they leave two front loops visible on the outside of the work. Those open loops will become the foundation for Hello Kitty’s ears in the next round.
R3: 1 sc, inc, 1 sc, (ch 2, slst in fl, ch 3 & 2 sc in the ch 2), inc, 1 sc, inc, 1 sc, inc, 1 sc, (ch 2, slst in fl, ch 3 & 2 sc in the ch 2), inc, 1 sc, inc [18]
The ear sections are worked directly into the unused front loops from Round 2. When you reach one, chain 2, slip stitch into the open front loop, then chain 3 and work 2 sc into the chain-2 space. After completing the ear, continue directly into the next stitch of the main round.
R4: (2 sc, inc) repeat around [24]
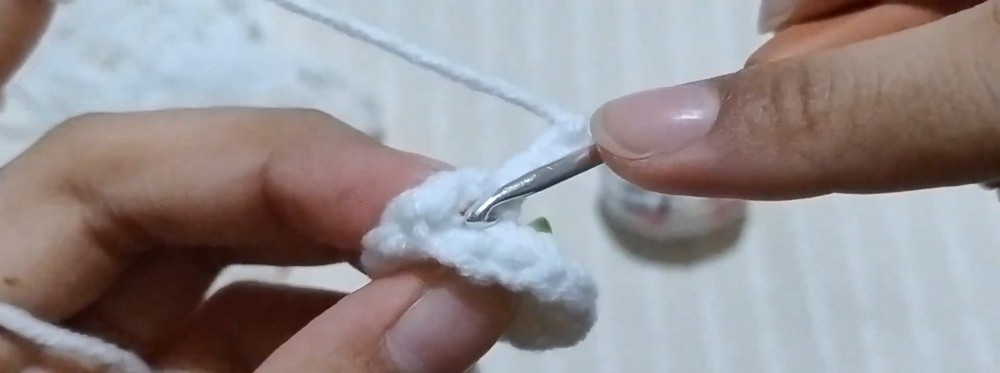
R5–R7: 1 sc in each stitch around [24] (3 rounds total)
R8: (2 sc, dec) repeat around [18]
R9: (1 sc, dec) repeat around [12]
Shape the Head Before Closing
At this point, the head has narrowed enough to prepare for stuffing. Start adding fiberfill firmly so the small head keeps a rounded shape without becoming overly stretched.
Stuffing: Start stuffing the head firmly with fiberfill.
R10: dec all around [6]
For the final opening, cut the yarn leaving a short tail. Thread the tail onto your tapestry needle and weave it through the front loops of the remaining 6 stitches. Pull the yarn tight to close the opening, fasten off, and hide the tail inside the head.
Make the Pink Bow
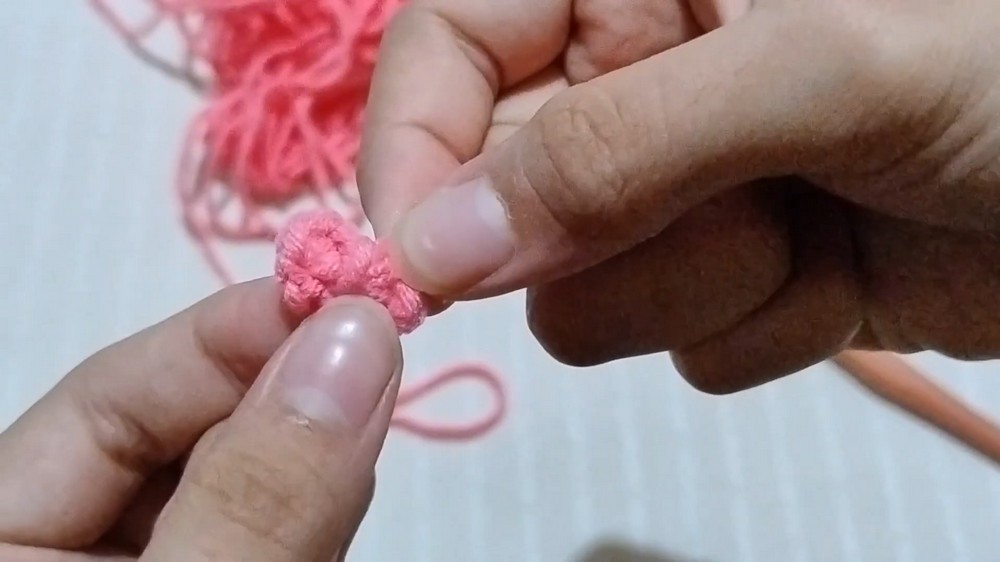
The bow is made from a single magic ring with two small loops, so it comes together quickly without needing separate pieces.
- Make a magic ring.
- Inside the magic ring, make the first bow loop:
ch 2, 1 hdc, ch 2, slst. - Without leaving the magic ring, make the second loop:
ch 2, 1 hdc, ch 2, slst. - Cut the yarn, leaving a long tail of about 6 inches.
- Pull the magic ring closed.
- Wrap the long tail tightly around the center of the bow 3 or 4 times to create the middle knot.
- Tie the tail securely at the back.
Add Hello Kitty’s Face
Once the head and bow are ready, the facial details can be placed directly onto the crocheted surface.
Whiskers
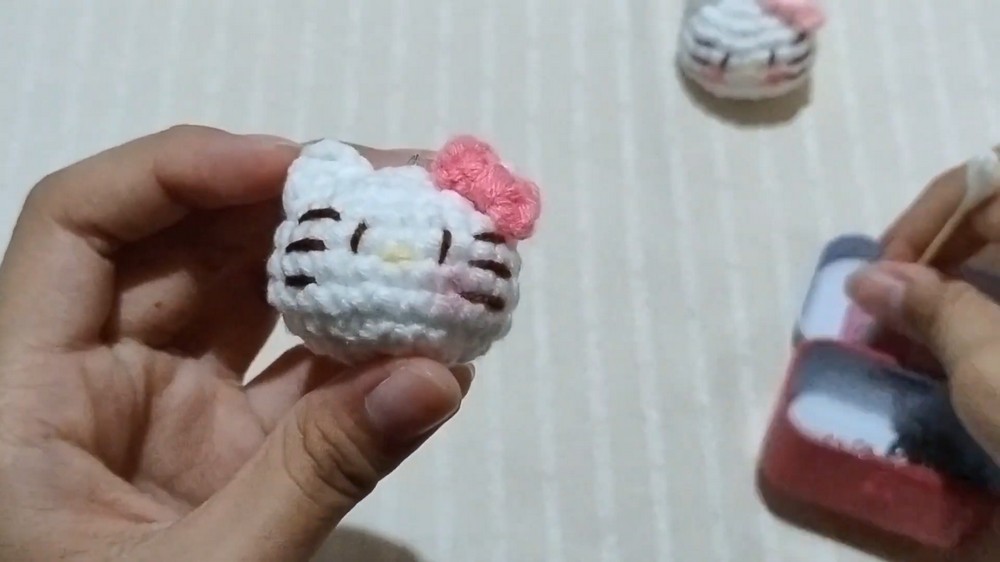
Cut approximately 20 cm of brown yarn and thread it onto your tapestry needle. Insert the needle near Round 4 on one side of the face and embroider 3 small horizontal lines on the cheek. Repeat on the opposite side for a total of six whisker lines.
Eyes
Using the same brown yarn, embroider two small vertical lines for the eyes. Place them centrally between the inner ends of the whiskers.
Nose
Switch to yellow yarn and embroider a small horizontal oval or line directly between and slightly below the eyes.
Put the Finishing Details in Place
Now that the face is embroidered, the remaining details can be added without disturbing the shape of the head.
- Attach the Bow: Apply a small amount of hot glue to the back of the pink bow and press it onto the front base of the right ear. If you prefer not to use glue, use the leftover pink yarn tail to sew the bow securely in place.
- Add Blush: Lightly dab pink blush or eyeshadow onto the cheeks with a cotton swab, positioning it just beneath the eyes.
- Attach the Keychain: Open the keychain ring and secure it to the top center of the head, directly between the two ears.
The finished result is a tiny Hello Kitty-style crochet charm with dimensional ears, a neatly shaped bow, embroidered whiskers and eyes, and a soft blush detail that brings the face together. The small size makes it especially easy to turn into a keychain, bag charm, or miniature handmade gift.