
This crochet mug cozy pairs a simple green band with a pointed leaf loop and textured flower button, giving an everyday cup a cheerful handmade finish.
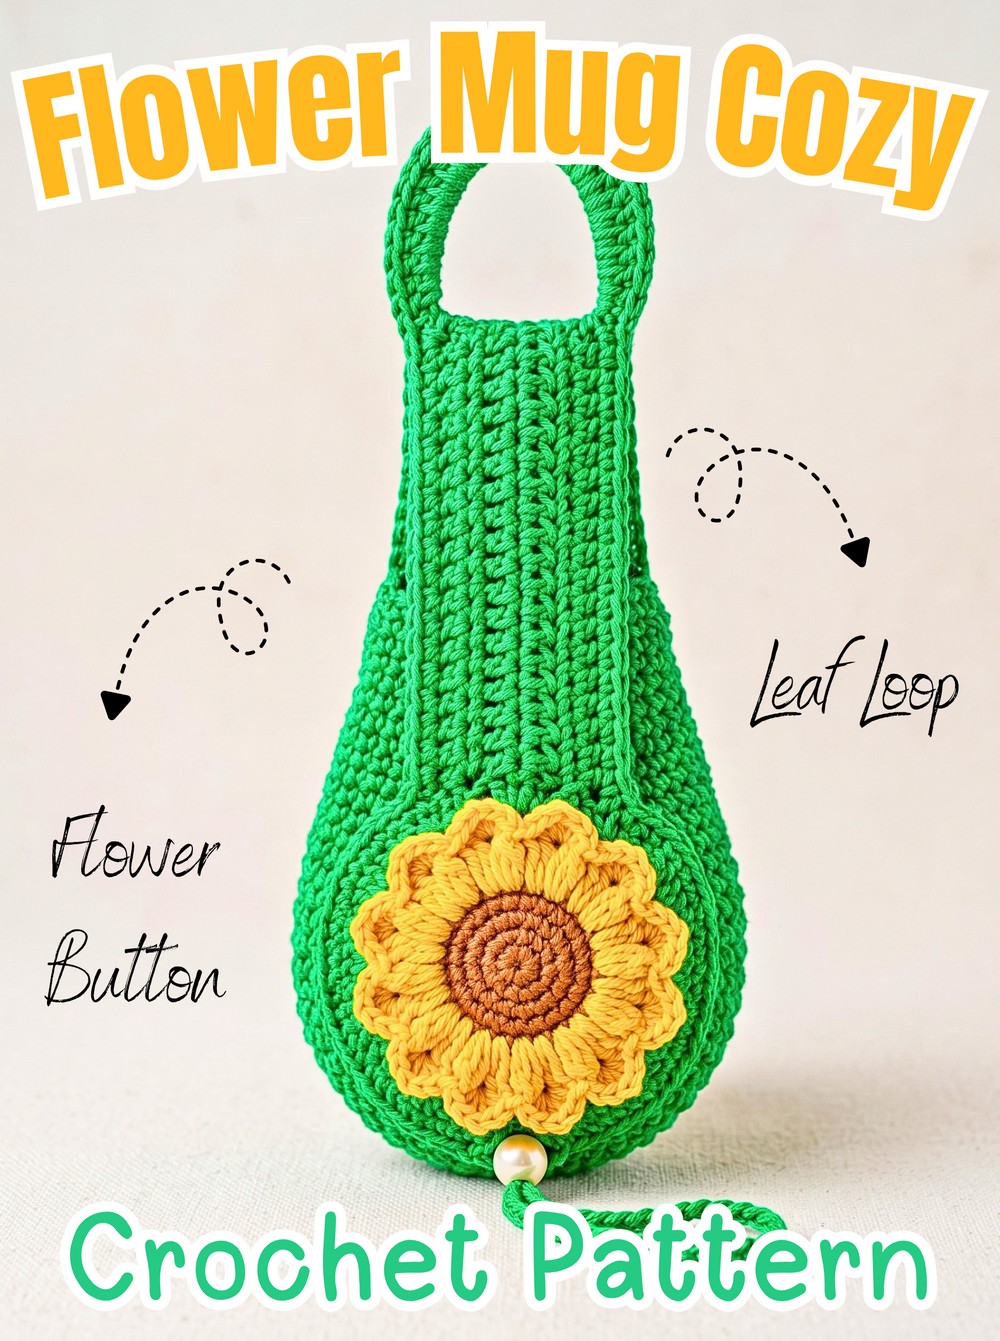
Warm drinks become a little more inviting with this crochet mug cozy, where a green band wraps around the cup, and a textured flower works as both decoration and the button.
The pointed leaf loop adds a natural detail while keeping the cozy securely closed, so the finished crochet piece feels decorative as well as useful.
The band starts with 40 chains and only a few rows of double crochet, making the base straightforward to adjust for different mugs. From there, you’ll shape the leaf directly into the fastening loop, crochet the flower separately with a puff-stitch petal ring, and sew it firmly to the band so it can handle the tension created when the loop is pulled around the flower.
Credit CrochetMagic Channel
Materials & Tools
- Medium-weight yarn (worsted or DK)
- Green for the band and leaf
- Brown for the flower center
- Orange or yellow for the petals
- 3.0 mm crochet hook
- Tapestry needle
- Scissors
Finished Size & Customization
The band begins with approximately 40 chains and is designed to wrap snugly around a standard mug or glass.
For a wider or narrower cup, adjust the starting chain by adding or subtracting chains. The flower can also be changed to suit the occasion: different petal colors can create daisy-style blooms, black-eyed Susan-inspired flowers, or seasonal color combinations.
Abbreviations
- ch: Chain
- sc: Single Crochet
- hdc: Half Double Crochet
- dc: Double Crochet
- trc: Treble Crochet
- sl st: Slip Stitch
- st(s): Stitch(es)
- yo: Yarn Over
- MR: Magic Ring
- Puff St: Puff Stitch – yo, insert hook into the stitch, and pull up a loop 4 times; yo and pull through all loops on the hook
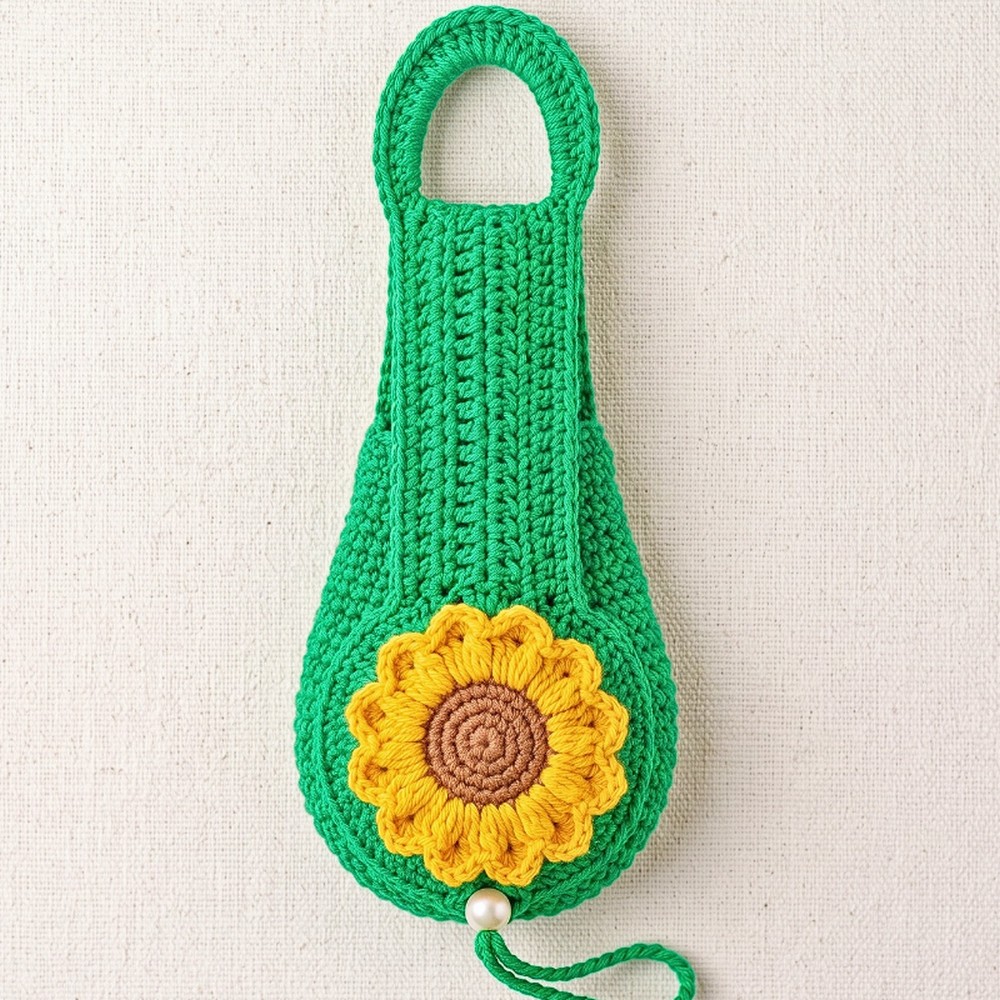
How the Cozy Comes Together
There are three main parts to this cozy: a narrow green band, a leaf-shaped loop at one end, and a separate flower attached to the opposite end. The flower is not simply decorative—it acts as the button, so its attachment needs to be secure.
As you crochet the band, keep its width and length consistent because those measurements determine how comfortably it sits around the mug. The leaf is then formed directly from a 15-chain loop, rather than being crocheted as a separate piece. Finally, the flower is sewn onto the flat end of the band, giving the leaf loop something to pass around when the cozy is closed.
Part 1: Crochet the Mug Cozy Band
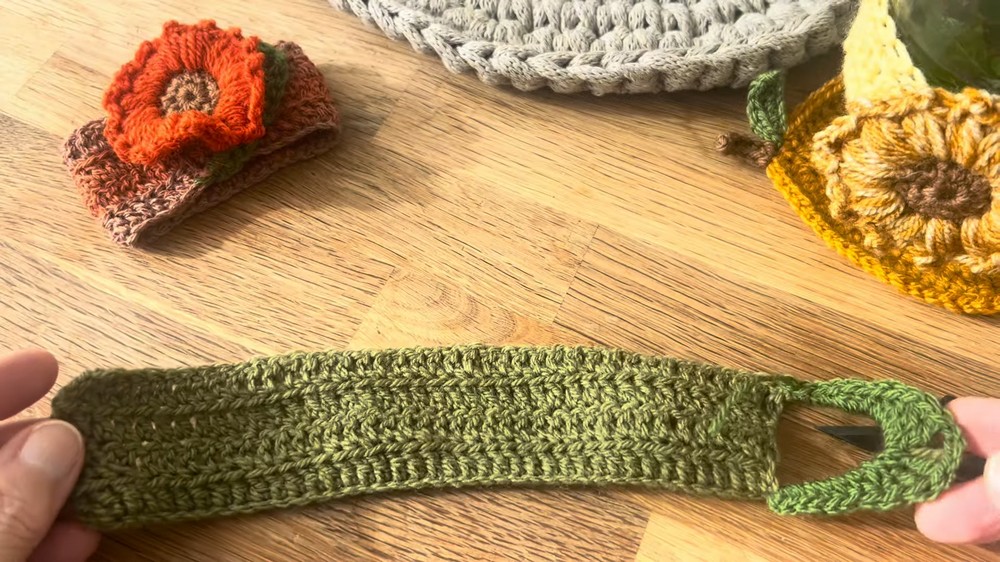
Use green yarn for the band. The first row establishes the length, while Rows 2 and 3 add height with double crochet.
Row 1: Ch 40.
Row 2: Ch 3, counting as the first dc; dc in the 4th ch from the hook and in each ch across.
Row 3: Ch 3, counting as the first dc; turn and dc in each st across.
Important: Do not fasten off after Row 3. The working yarn will immediately become the starting point for the leaf loop.
At this stage, you should have a simple rectangular green band with a flat end and enough length to wrap around the intended mug. If your foundation chain was adjusted for a different cup, check the fit around the mug before continuing.
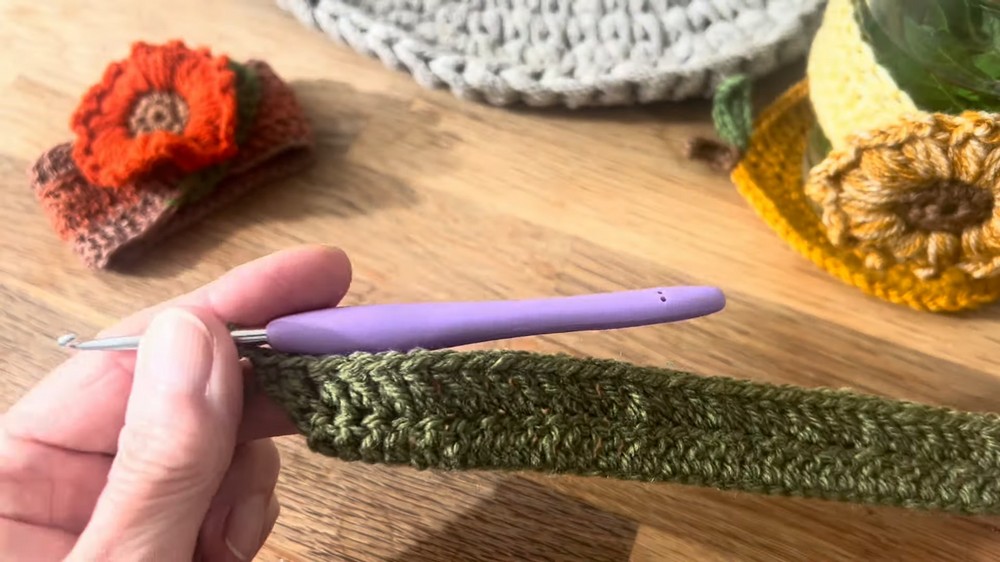
Part 2: Form the Leaf Loop
The leaf is both a decorative element and the fastening loop, so its size needs to remain large enough to pass around the flower.
Step 1: At the end of Row 3, ch 15.
Step 2: Sl st into the edge/base of the band to turn the chain into a large loop.
Step 3: Work directly into the ch-15 space in this sequence: 3 sc, 3 hdc, 2 dc, 2 trc, ch 3, 2 trc, 2 dc, 3 hdc, 3 sc.
The center ch-3 creates the pointed tip of the leaf. The stitches increase toward that center and then decrease in reverse order, giving the loop its leaf-like outline.
Step 4: Sl st to the base of the band to join. Fasten off and weave in the green yarn ends.
Shape check: The completed loop should look like a pointed leaf rather than a plain oval. It also needs to remain open enough to slip over the flower later. If the loop has twisted while you were working into the chain, straighten it before fastening off.
Part 3: Crochet the Flower Center
Use brown yarn for the flower center. The three rounds create a compact circle that will later support the puff-stitch petals.
Round 1: Make a MR; ch 1, work 8 sc into the ring, pull the tail tightly to close the center, then sl st to the first sc to join (8 sts).
Round 2: Ch 1; work 2 sc in each st around, then sl st to the first sc to join (16 sts).
Round 3: Ch 1; work 1 sc in each st around, then sl st to the first sc to join (16 sts).
Fasten off the brown yarn and weave in the ends.
Check before adding petals: The center should be a small, flat 16-stitch circle. Keeping it reasonably flat will help the finished flower sit neatly against the green band.
Part 4: Add the Puff-Stitch Petals
Switch to orange yarn. The petals are worked around the entire brown center, with each puff beginning in the stitch where the previous slip stitch landed. This slight overlap makes the petal ring dense and full.
Round 4: Join orange yarn to any stitch of Round 3 with a sl st; Petal 1: pull up a slightly tall loop, work a Puff St in the same joining st, ch 3, sl st into the next st; Petal 2: pull up a loop from that sl st, work a Puff St in the same st, ch 3, sl st into the next st; repeat (Puff St, ch 3, sl st into the next st) around the brown center, then sl st into the starting space to close.
Fasten off, leaving a very long orange tail for sewing.

Petal check: Each puff should stand out from the brown center, with a small chain-3 space between neighboring petals. Because every new puff begins in the stitch just used for the preceding slip stitch, the petals overlap slightly and create a continuous ring rather than widely separated individual petals.
Part 5: Attach the Flower as the Button
The flower needs to sit at the opposite end from the leaf loop.
Step 1: Thread your tapestry needle with the long orange tail from the flower.
Step 2: Lay the green band flat and place the flower on the flat end opposite the leaf loop. Center it vertically so the flower hangs evenly over the edges of the band.
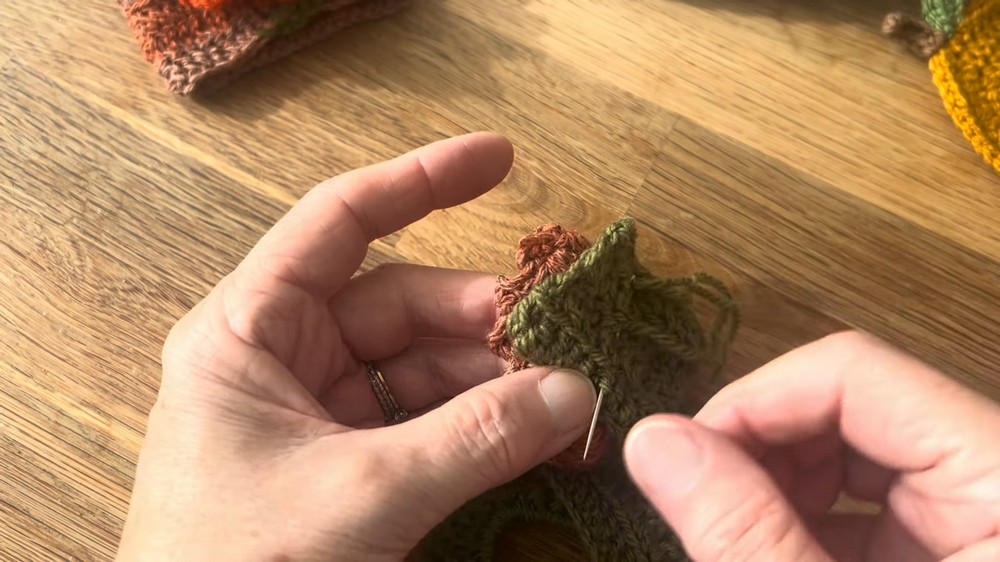
Step 3: Sew through the back loops of the brown center while catching the green stitches underneath. Work around enough of the center to hold the flower firmly against the band.
This attachment is especially important because the flower acts as the button. A loose attachment may pull away when the leaf loop is stretched around it.
Step 4: Fasten off and weave in all remaining loose ends.
How to Wear the Mug Cozy
Wrap the green band around the mug so the flower sits on the outside. Bring the leaf loop around the back of the mug, then stretch it forward and slip it securely over the flower.
The leaf loop should hold the band snugly without forcing the stitches. If it feels too loose or too tight, the starting chain length can be adjusted the next time you make the cozy for that particular mug.
Color Ideas
For a classic flower, try warm yellow or orange petals with a brown center. White petals can give the piece a daisy-inspired appearance, while pink, red, or deeper seasonal shades can shift the look for different times of year.
Because the band and leaf stay green, changing only the flower colors gives you several distinct versions without changing the basic pattern.
This cozy combines a simple crocheted band with a flower button and leaf-shaped fastening loop, making it a useful little accessory for mugs and glasses. Its adjustable foundation chain also makes the pattern easy to adapt when your cup is wider or narrower than the standard size.





