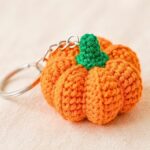
Here’s a soft crochet pumpkin made with chunky chenille yarn, a squishy rounded body, a defined center, and a simple crocheted stalk for a cozy fall finish.
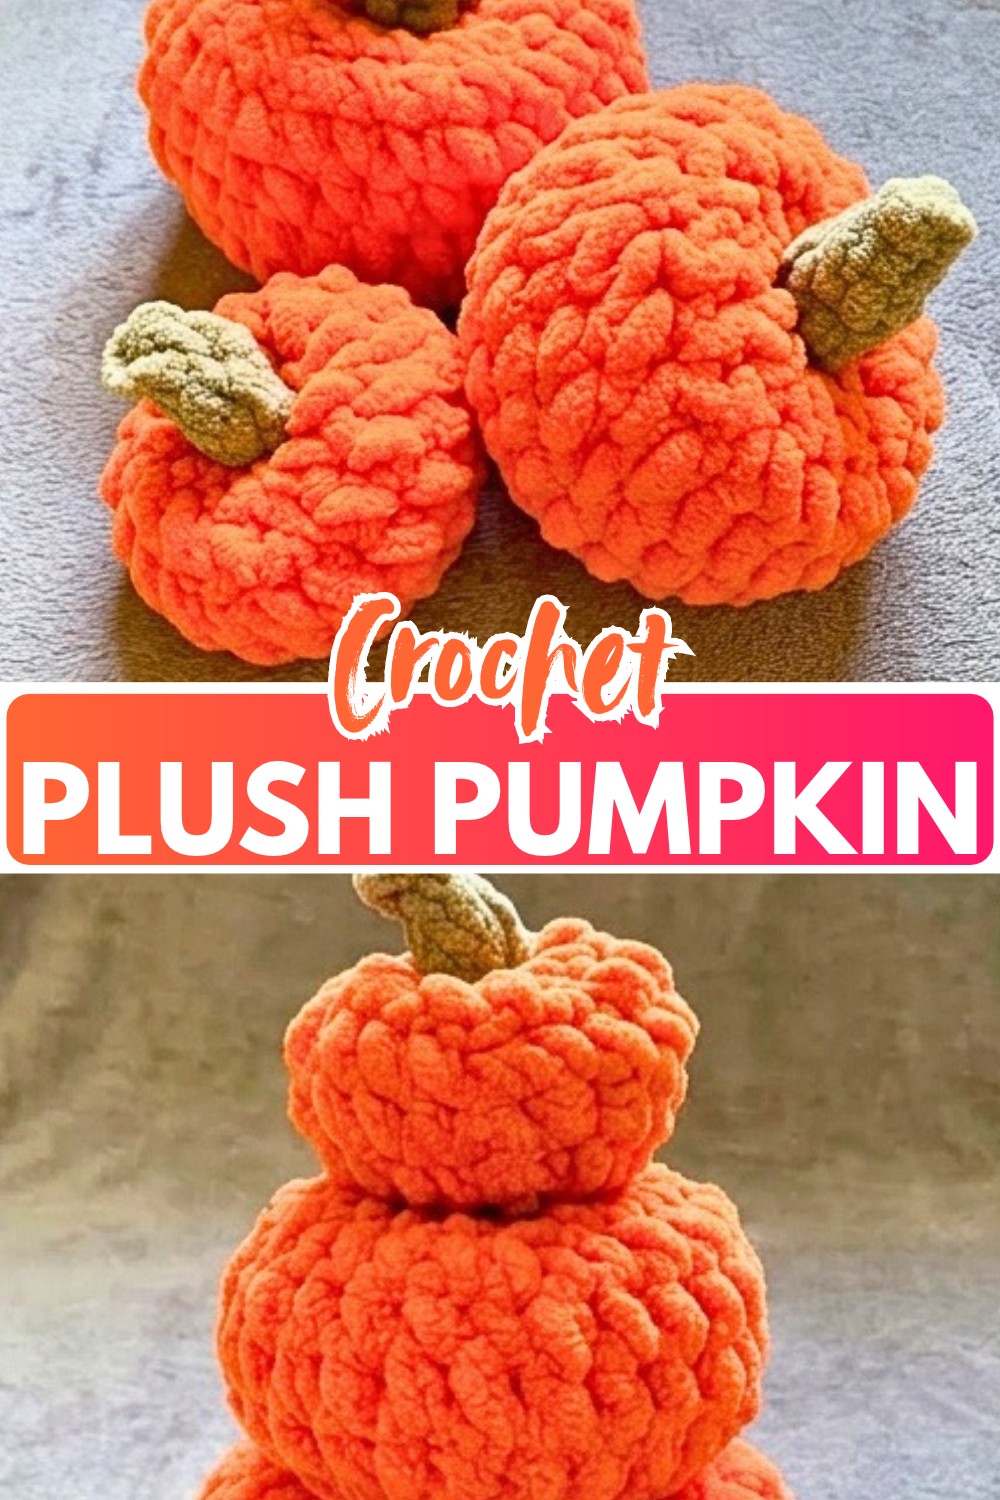
Chunky plush yarn makes this crochet pumpkin especially soft to the touch, while the compact round shape keeps the pattern quick to work. The body is crocheted in continuous rounds, growing from a small center before narrowing toward the top.
The shaping is what gives this crochet pumpkin its character. After the body is stuffed medium-firm, the long yarn tail is used to create the center divot and define the shape without pulling too hard on the delicate chenille strand. A small folded stalk completes the top.
Credit Make, Do & Craft – Crochet
Materials Needed
- Super bulky/super chunky plush yarn, such as chenille or blanket yarn
- 8.0 mm crochet hook
- Yarn needle
- Scissors
- Stitch markers
- Polyfill stuffing
Hook Note: The 8.0 mm hook is smaller than the yarn’s suggested 9.0 mm hook. This helps prevent the stuffing from showing through the stitches.

Crochet the Pumpkin Body
Work the pumpkin in continuous rounds rather than joining with a slip stitch at the end of each round. Place a stitch marker at the beginning of the rounds so you can keep track of your position.
Round 1: Work 12 sc in a magic ring. (12)
Round 2: Work (inc, sc) 6 times. (18)
Round 3: Work (inc, 2 sc) 6 times. (24)
Rounds 4–6: Work 1 sc in each stitch around. (24)
Round 7: Work (inv dec, 2 sc) 6 times. (18)
Round 8: Work (inv dec, sc) 6 times. (12)

Prepare for Shaping
At this point, add the polyfill before closing the pumpkin completely. Stuff it medium-firm so the body remains squishy but has enough structure to hold the shaping that comes next.
Stuffing Check: Press the pumpkin gently from the sides. It should spring back into a rounded shape without feeling hard or completely flattened.
Round 9: Work 6 sl st dec. (6)
Using slip stitch decreases here reduces bulk at the top of the plush pumpkin, which helps keep the closing area neat.

Close and Shape the Pumpkin
Fasten off and leave a long yarn tail. This same tail will be used to close the opening and create the center shaping.
Close the Opening
Thread the tail onto your yarn needle. Skip one stitch, weave the tail under the front loop of the next stitch, and repeat this around the opening.
Pull the yarn tight to close the hole.

Create the Center Divot
Insert the needle straight down through the top center of the pumpkin and pull it out through the bottom center.
Now squeeze the center of the pumpkin with your opposite hand to create the desired divot.
Important: Do not use the yarn to pull the shape tight. The inner string of chenille yarn can snap easily, so the pumpkin should be shaped primarily with your hand rather than by putting strong tension on the yarn.
While keeping the pumpkin squeezed, insert the needle back into the bottom slightly off-center so it catches a stitch for an anchor. Push the needle back up through the top center.
Secure the tail by threading it through a nearby loop at the top and pulling it tightly into a knot. Weave the remaining tail down through the bottom to hide it.

Shape Check: Look at the pumpkin from the top and sides before finishing the tail. The center should sit inward while the surrounding plush sections remain rounded and soft.

Crochet the Stalk
The stalk starts as a tiny two-row strip and is then folded lengthways to create a narrow closed cylinder.
Row 1: Chain 5. Starting in the second chain from the hook, work 4 sc across. Ch 1 and turn. (4)
Row 2: Work 1 sc in each stitch across. Do not ch 1 at the end. (4)
Turn the Strip into a Stalk
Fold the two rows in half lengthways so they rest on top of each other.
Slip stitch the top loops of both edges together across the length to form a closed cylinder. (4 sl sts)

Attach the Stalk
Leave a long working tail and thread it onto your yarn needle.
Place the stalk flat on the top center of the pumpkin.
Insert the needle through the dead center top of the pumpkin and bring it out through the bottom center. Pull gently until the stalk sits against the pumpkin body.
Bring the needle back up through the pumpkin body, catching a stitch at the bottom, and continue up through the base of the stalk.
Thread the tail through the loose bottom edge of the stalk so it pulls flush against the pumpkin.
Tie the working tail and the starting tail from the stalk together in a tight double knot. Weave both ends down through the center and trim them.

A Gentle Finish
Because both the pumpkin and stalk are made with plush yarn, avoid excessive pulling while securing the pieces. A firm attachment is important, but steady, moderate tension keeps the chenille from breaking and helps the soft texture stay intact.
The finished pumpkin has a rounded, squishy body with a clearly defined center and a small raised stalk at the top. Its plush texture makes it especially suited to cozy seasonal displays where a soft, tactile finish is part of the appeal.