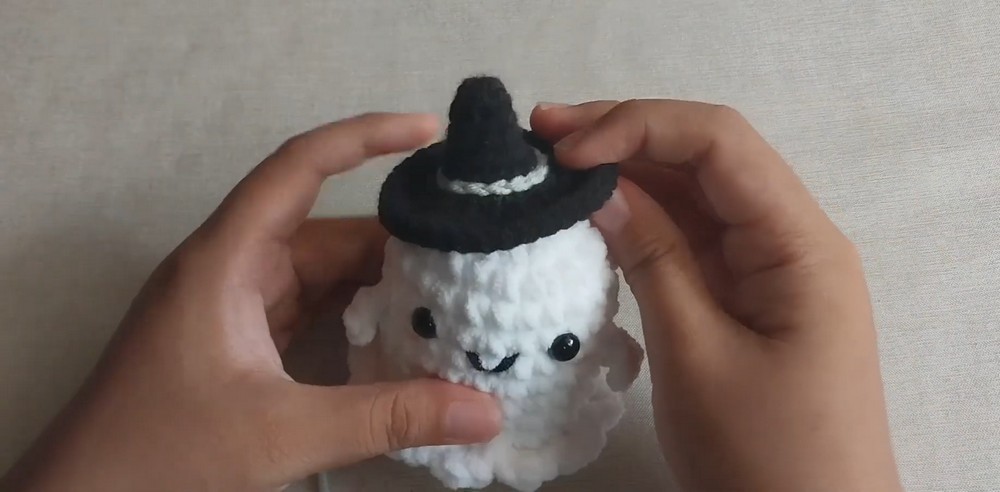
Here, soft plush yarn, tiny arms, rosy cheeks, and pointed witch hat bring Halloween charm to this beginner-friendly crochet ghost tutorial.
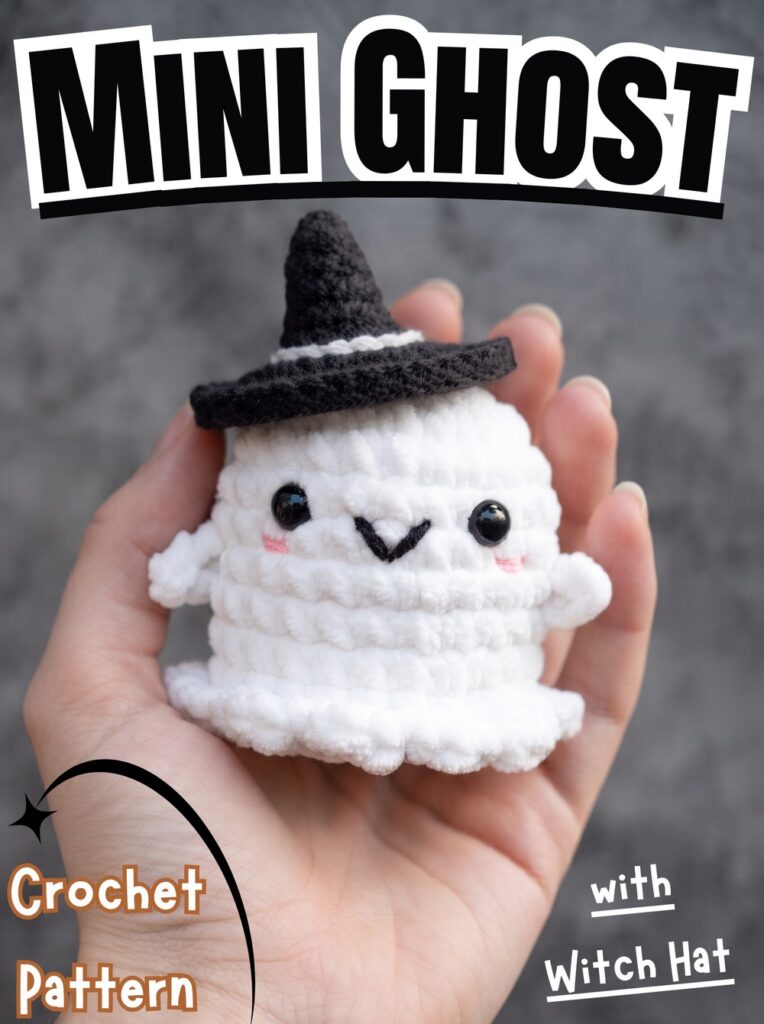
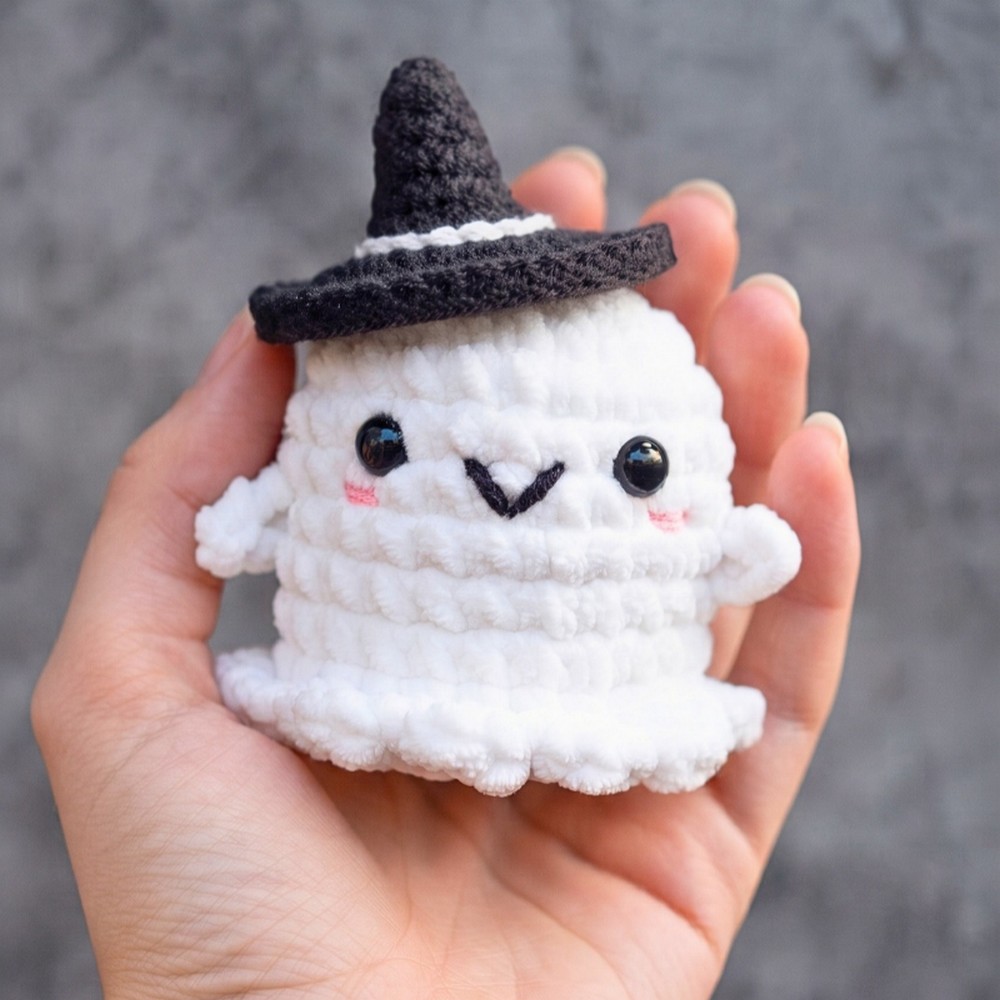
Soft white plush yarn gives this crochet ghost its fluffy shape, while simple rounds help beginners build confidence with crochet. Its wavy skirt and tiny hands add personality without making body shaping overly complicated.
This crochet tutorial covers body shaping, ruffled edging, separate hands, and a pointed witch hat, followed by facial embroidery and assembly. Follow each stage to create an adorable Halloween companion.
Credit Tedzukurida
Materials & Tools
- Ghost body: White fluffy or plush yarn.
- Hat: Black milk cotton yarn.
- Hat band: Grey milk cotton yarn.
- Blush: Pink milk cotton yarn.
- Eyes: 8 mm safety eyes.
- Body hook: 4.50-5.00 mm crochet hook.
- Hat hook: 3.00-3.50 mm crochet hook.
- Stuffing: Fiberfill.
- Finishing tools: Yarn needle, scissors, and stitch markers.
Finished Size & Customization
This ghost is approximately palm-sized, making it suitable for a keychain, plush charm, or Halloween tabletop decoration.
For a seasonal variation, use purple or orange yarn for the witch hat. Leaving off the hat creates a simple ghost with a sweet, classic look.
Pattern Abbreviations & Terminology
- ch: Chain
- sc: Single crochet
- hdc: Half double crochet
- inc: Increase; work 2 single crochets into the same stitch
- slst: Slip stitch
- Rnd: Round
- FLO: Front loop only
- BLO: Back loop only
Step-by-Step Crochet Instructions
Step 1: Form the Ghost Body
Hook: 4.50-5.00 mm
Yarn: White fluffy or plush yarn
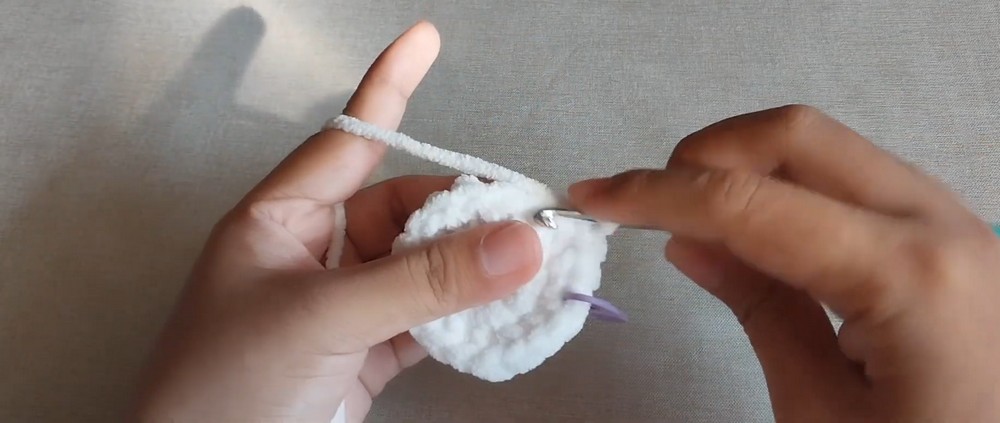
Start with the rounded body, working in continuous rounds.
- Rnd 1: Make 2 chains, then work 6 sc into the first chain. (6 stitches)
- Rnd 2: Work 1 inc into each stitch around. (12 stitches)
- Rnd 3: Repeat (1 sc, 1 inc) 6 times. (18 stitches)
- Rnd 4: Repeat (2 sc, 1 inc) 6 times. (24 stitches)
- Rnds 5-11: Work 1 sc into each stitch around for 7 rounds. (24 stitches per round)
Teaching tip: Plush yarn can hide individual stitches, so use your fingers to feel for each stitch opening and keep track of your rounds with a stitch marker.
After Round 11, the body should have a rounded upper section and a consistent circumference ready for its decorative bottom edge.
Step 2: Crochet the Ruffled Bottom
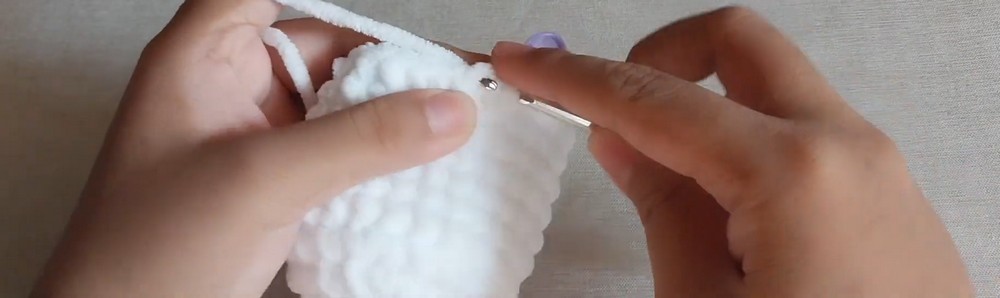
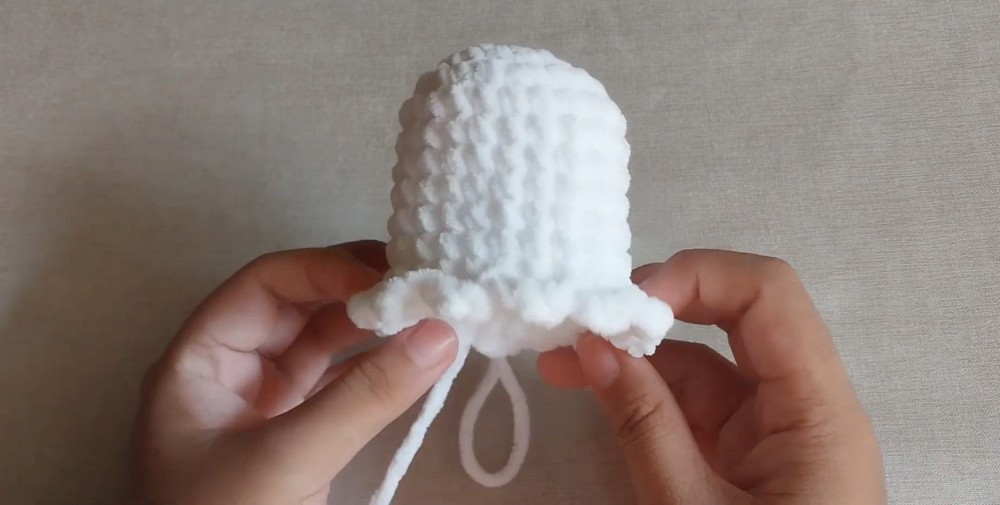
Work into the front loops only (FLO) of Round 11 to create the ghost’s wavy skirt.
Repeat the following sequence 12 times around: (1 sc, 1 hdc, 1 hdc, 1 slst)
Fasten off, leaving a long yarn tail for closing the base.
Why this works: Alternating taller half double crochet stitches with shorter single crochet and slip stitches creates variation in height, producing the ruffled edge.
Keep this round separate from the unused back loops, which will be needed when closing the bottom.
Step 3: Make Two Tiny Hands
Hook: 4.50-5.00 mm
Yarn: White fluffy or plush yarn
Make 2 identical hands.
- Rnd 1: Chain 3. Starting in the second chain from the hook, work 1 slst, then 1 sc.
Fasten off, leaving a long tail on each hand for sewing.
These small pieces create the ghost’s outstretched arms. Leave enough yarn for attachment rather than trimming the tails close.
Step 4: Shape the Pointed Witch Hat
Hook: 3.00-3.50 mm
Yarn: Black milk cotton yarn
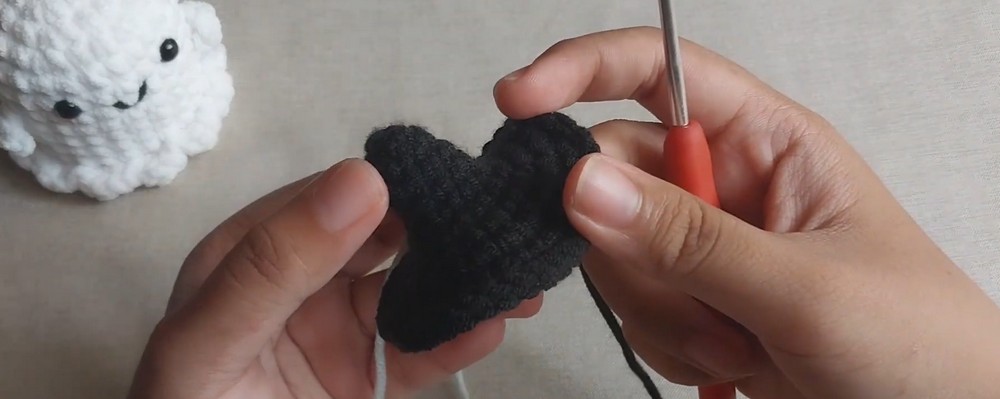
Work the hat from its narrow tip outward, increasing the stitch count to form its cone and brim.
- Rnd 1: Work 6 sc into a magic ring. (6 stitches)
- Rnd 2: Work 1 sc in each stitch around. (6 stitches)
- Rnd 3: Repeat (1 sc, 1 inc) 3 times. (9 stitches)
- Rnd 4: Work 1 sc in each stitch around. (9 stitches)
- Rnd 5: Repeat (2 sc, 1 inc) 3 times. (12 stitches)
- Rnd 6: Repeat (3 sc, 1 inc) 3 times. (15 stitches)
- Rnd 7: Repeat (4 sc, 1 inc) 3 times. (18 stitches)
- Rnd 8: Work 1 inc in every stitch around. (36 stitches)
- Rnd 9: Work 1 slst in each stitch around the brim. (36 stitches)
Fasten off and leave a suitable tail if needed for attaching the hat.
Shape check: Rounds 1–7 create the tapered cone, while Round 8 widens sharply to form the brim. Keep your stitches even so the hat sits neatly on top of the ghost.
Step 5: Add the Grey Hat Band
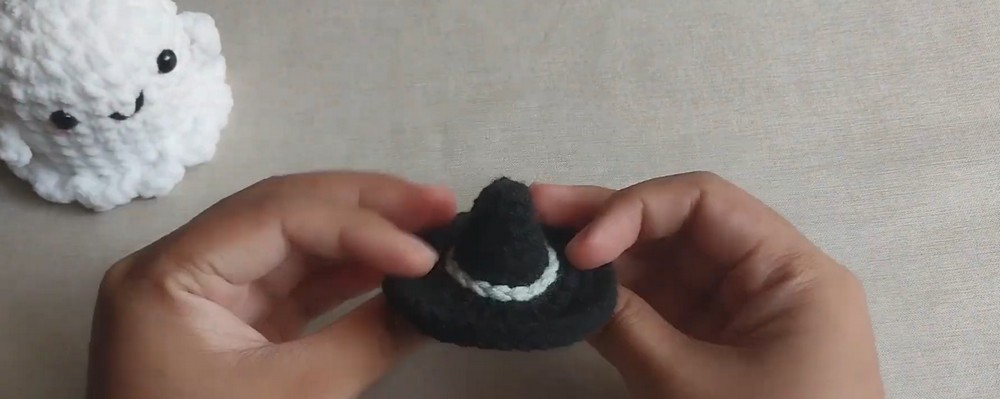
Thread grey milk cotton yarn onto your yarn needle.
Using surface slip stitches, work a decorative band around the hat between Rounds 6 and 7.
Fasten off and weave in the loose ends.
Finishing tip: Keep the grey stitches evenly spaced around the cone so the band looks consistent when viewed from the front.
Step 6: Position the Safety Eyes
Before stuffing and closing the body, insert the 8 mm safety eyes between Rounds 6 and 7, leaving approximately 4 stitches between them.
Check their alignment from the front before securing the safety backs inside.
Safety note: Safety eyes contain small parts and are not suitable for toys intended for children under 3 years. Embroidered eyes are a safer alternative for young children.
Step 7: Stuff and Close the Ghost
Fill the body firmly with fiberfill, distributing stuffing evenly so the ghost retains its rounded shape.
Use the long white yarn tail and a yarn needle to sew through the back loops only (BLO) of the base round. Pull the yarn to gather the opening closed, then secure it and hide the remaining tail inside the body.
Result check: The base should be closed neatly, with no large gaps or visible stuffing. Avoid pulling so tightly that the fabric puckers unevenly.
Step 8: Embroider the Mouth and Pink Cheeks
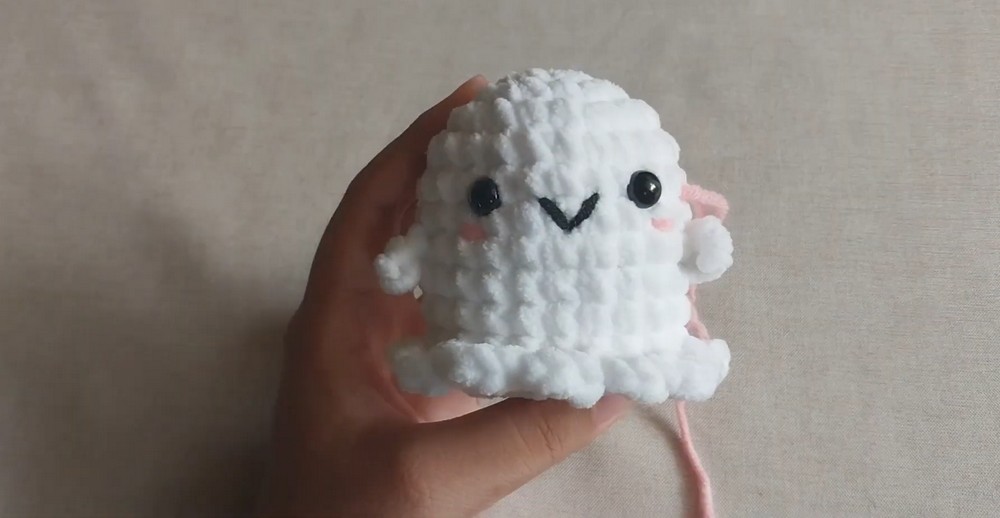
Use black yarn to embroider a small V-shaped mouth centered between the eyes.
Next, use pink yarn to add short horizontal blush stitches directly beneath each eye.
Keep the mouth centered and make both cheeks similar in size to give the ghost a balanced expression.
Helpful tip: Before securing embroidery tails, look at the face from a short distance. This makes uneven spacing easier to spot and correct.
Step 9: Attach Both Hands
Position one hand on each lower side of the body, between Rounds 7 and 9, directly beneath the outer edges of the eyes.
Use the long yarn tails to sew each hand securely to the body.
Check that both hands sit at a similar height and angle before fastening off. Hide the remaining yarn ends inside the ghost.
Step 10: Sew on the Witch Hat
Place the completed hat at the top center of the ghost’s head.
Using a yarn needle and the available yarn tail, whipstitch the hat securely to the plush body.
Check its position before finishing the seam. The hat may sit straight or at a slight angle for a playful Halloween appearance.
Weave in any remaining loose ends and trim excess yarn carefully.
Final Finishing Check
- Body is firmly stuffed and neatly closed.
- Ruffled edge is visible around the bottom.
- Safety eyes are secure and evenly positioned.
- Mouth and cheeks are centered and balanced.
- Both hands are firmly attached.
- Witch hat and grey band are secure.
- All loose yarn ends are hidden.
Your plush crochet ghost is ready to display as part of Halloween décor or use as a seasonal charm. Change the hat color or leave off the hat to create another variation while keeping the same fluffy ghost design.