Bring this tiny fish to life with spiral rounds, soft stuffing, playful fins, bright eyes, and one neat keychain attachment for bags or keys.
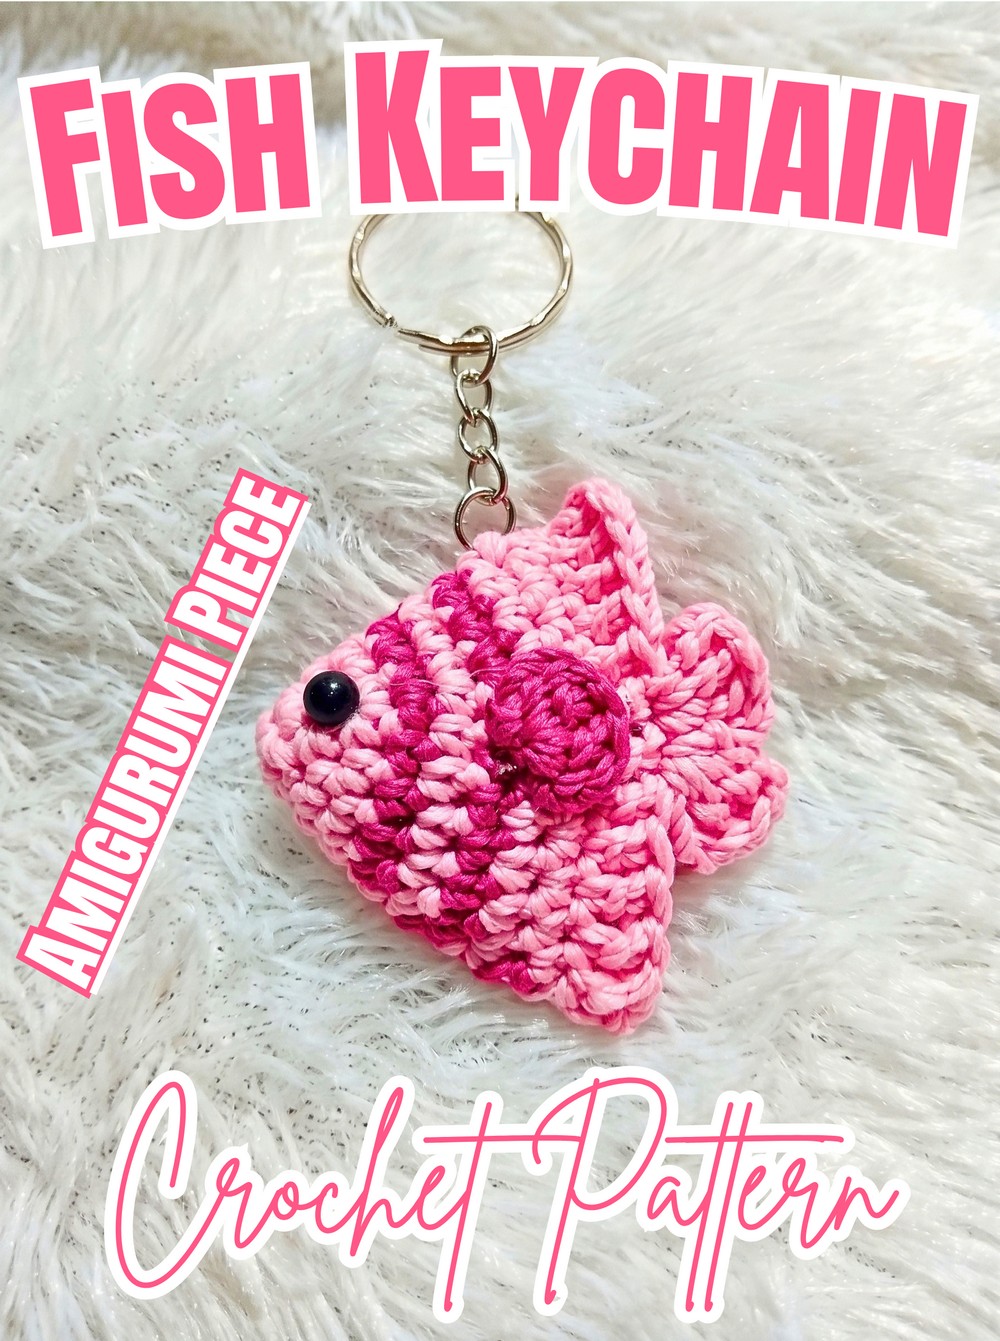
This crochet fish keychain turns simple stitches into tiny ocean-inspired charm. With compact shaping, colorful yarn, and sweet facial details, crochet beginners can enjoy making something useful without committing to large-scale work.
For anyone wanting quick handmade accessories, this crochet fish combines increases, decreases, stuffing, and small decorative details in one compact design. Follow each crochet round carefully, then finish your fish with fins, eyes, and secure hardware.
Credit ghazi craft
Finished Size and Design
Finished fish measures approximately 2.5 to 3 inches (6 to 7.5 cm) long, keeping it lightweight enough for keys or as a bag charm.
Compact sizing comes from working body rounds in continuous spirals, then narrowing toward tail end. Once body shaping is complete, tail and side fins give fish its recognizable silhouette.
Color Ideas
Choose sport-weight or light worsted-weight yarn in your preferred fish color, such as orange or yellow, then select contrasting yarn for fins and tail details.
For stripes, switch yarn colors every 2 rounds on body. For stronger fin definition, use contrasting yarn for tail and side fins.
Yarn and Hook
- Yarn: Sport weight or light worsted weight yarn, such as milk cotton or acrylic yarn
- Main color: Preferred fish color, such as orange or yellow
- Accent color: Contrasting yarn for fins and tail details
- Crochet hook: 2.5 mm or 3.0 mm
Notions
- Fiberfill stuffing
- 5 mm bead eyes, tiny safety eyes, or black embroidery floss for stitched eyes
- Yarn needle
- Scissors
- Keychain ring and chain attachment
Pattern Abbreviations
- ch: Chain stitch
- sc: Single crochet
- inc: Increase -work 2 single crochet stitches into same stitch
- dec: Decrease – work 2 single crochet stitches together as one stitch
- sl st: Slip stitch
- st(s): Stitch(es)
- Rnd: Round

Shape Fish Body in Continuous Spirals
Body begins with magic ring, expands through evenly placed increases, stays steady through several rounds, then narrows toward tail end.
Rounds 1-5: Build Body Shape
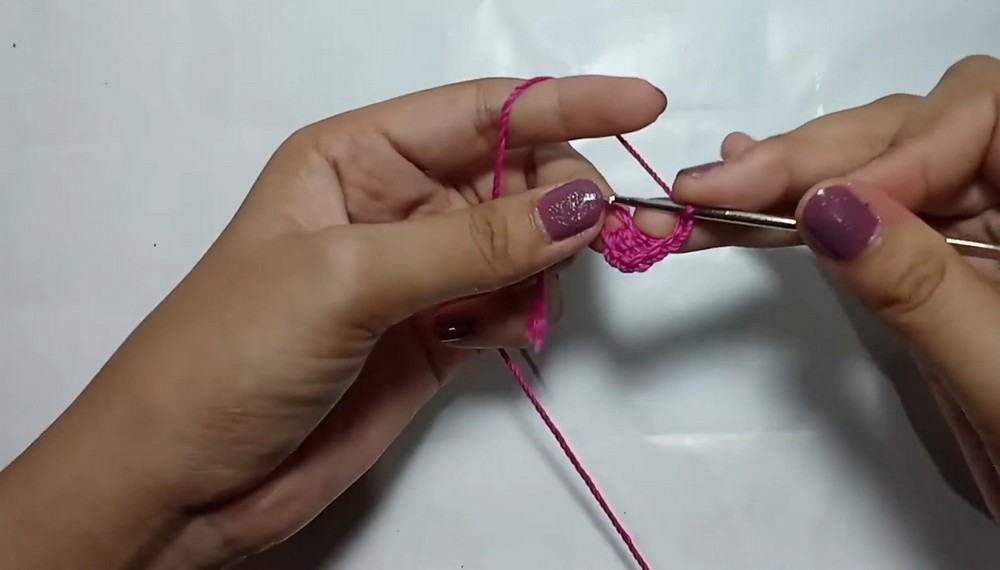
Rnd 1: Create magic ring and work 6 sc into ring. Pull tightly to close. (6 sts)
Rnd 2: Work 1 inc in each stitch around. (12 sts)
Rnd 3: Work (1 sc, 1 inc) repeat around. (18 sts)
Rnd 4: Work 1 sc in each stitch around. (18 sts)
Rnd 5: Work (2 sc, 1 inc) repeat around. (24 sts)
At this stage, increases have expanded initial ring into rounded body shape. Keep stitch count accurate before moving forward.
Rounds 6-12: Maintain Body Width
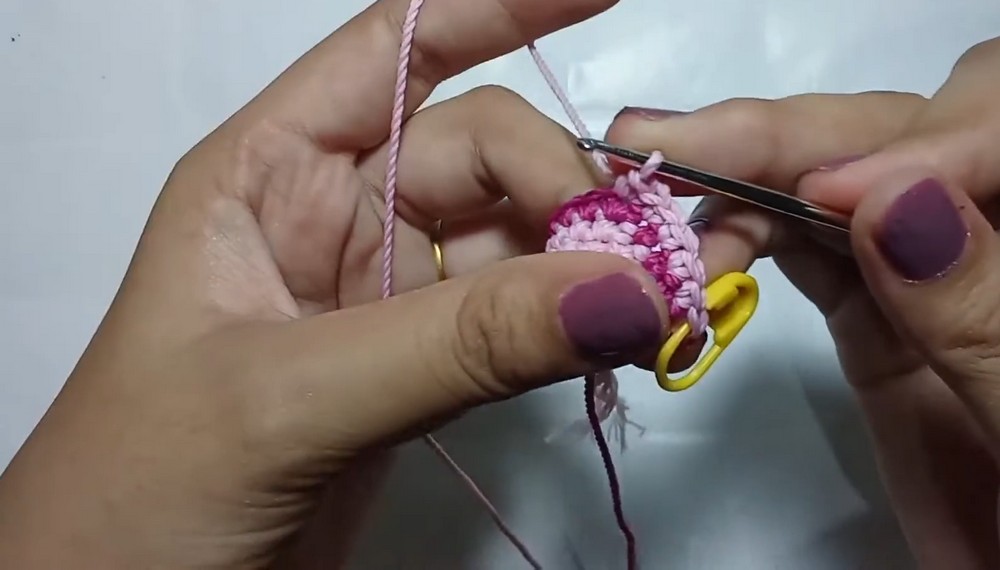
Rnds 6-12: Work 1 sc in each stitch around for 7 consecutive rounds. (24 sts)
Begin stuffing body lightly with fiberfill while working through this section. Keep filling firm yet pliable rather than packing body too tightly.
Check body shape as stuffing is added. Fiberfill should support rounded form while still allowing tail section to narrow naturally.
Rounds 13-15: Narrow Toward Tail
Rnd 13: Work (2 sc, 1 dec) repeat around. (18 sts)
Rnd 14: Work (1 sc, 1 dec) repeat around. (12 sts)
Add final bit of stuffing to shape tail section.
Rnd 15: Work 6 dec around to close opening partially. (6 sts)
Do not overfill during final shaping. Remaining opening will be flattened and sealed before tail fin is formed.
Close Body and Form Fan-Shaped Tail
Flatten remaining opening horizontally across.
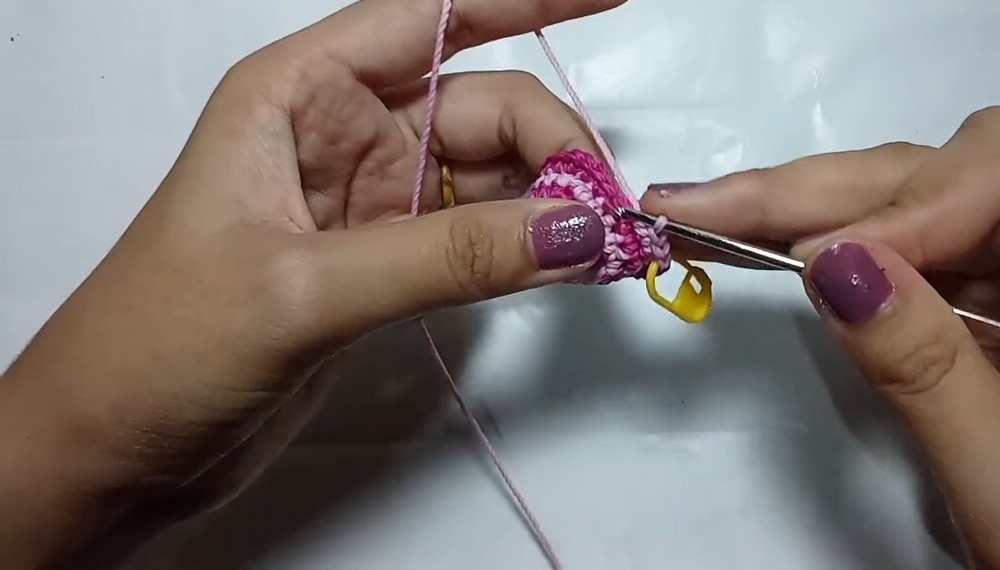
Insert hook through both opposing layers of stitches across top opening. Work slip stitches or single crochets to seal body shut.
Once edge is sealed, continue directly into tail fin. Chain small sequence, such as ch 3 to 4, then work dc/hdc stitches into loops as demonstrated in visual guide to form fan-shaped tail.
Fasten off securely and hide yarn tail inside body.
Keep sealed edge neat because tail fin grows directly from this area. Fan shape should extend outward from body rather than bunching tightly against sealed opening.
Add Side Fins
Attach accent yarn to side of fish body around Rnds 7-9.
Chain small number of stitches, such as ch 3, skip one stitch, then slip stitch back down or anchor securely to create small loop fin.
Repeat on opposite side so both fins sit evenly.
Fasten off and weave in all loose ends.
Check fin placement from front and side before hiding yarn ends. Both side fins should read clearly against fish body without pulling body stitches out of shape.
Give Fish Its Face
Choose 5 mm bead eyes, tiny safety eyes, or black embroidery floss.
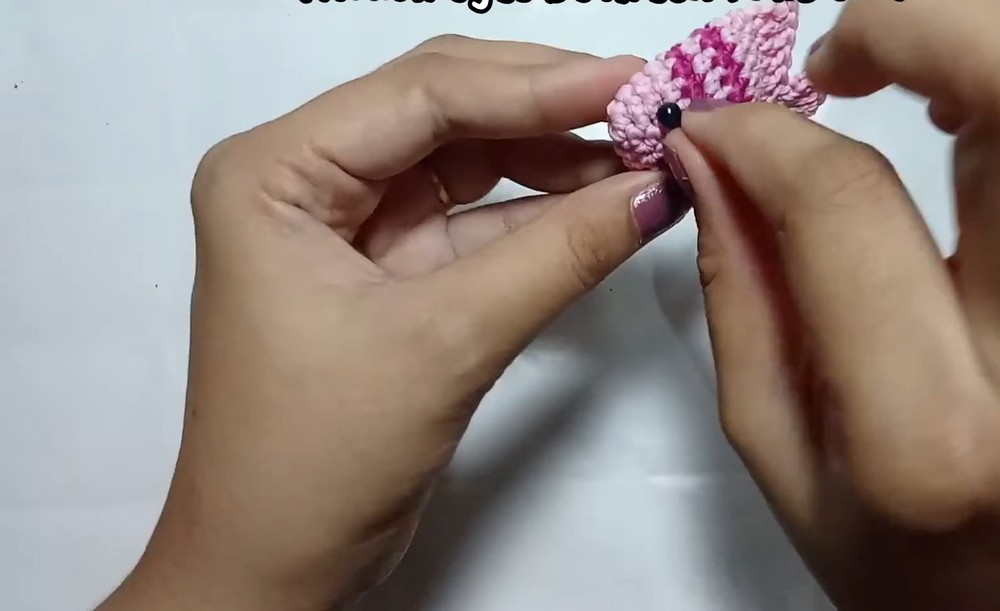
For bead eyes, glue or sew eyes onto head section between Rnds 3 and 5, spacing them evenly on opposite sides.
For stitched eyes, use black embroidery floss and keep placement balanced across head.
Optional facial details can include tiny embroidered eyelashes or blushing cheeks made with pink yarn or blush.
Attach Keychain Ring
Secure metal keychain ring through top loops of fish body or through top fin.
Use short length of matching yarn or use jump ring for attachment.
Check attachment point carefully so ring sits securely before placing fish onto keys or bag.
Customize Your Fish
Make Tropical Stripes
Switch yarn colors every 2 rounds on body to create striped tropical fish.
Highlight Fins
Use contrasting yarn for tail and side fins so these small details stand out against body color.
Add Facial Personality
Tiny embroidered eyelashes or pink blushing cheeks can change expression without altering body pattern.
Final Shape Check
Before using fish as keychain or bag charm, check that body remains lightly stuffed, tail is sealed securely, side fins are anchored, eyes are firmly attached, and metal ring is secure.
Your finished fish now has rounded spiral body, fan-shaped tail, side fins, expressive face, and compact keychain-ready form.