Crochet a cute Hello Kitty with heart keychain! Perfect for gifts or decor. Simple step-by-step tutorial for beginners.
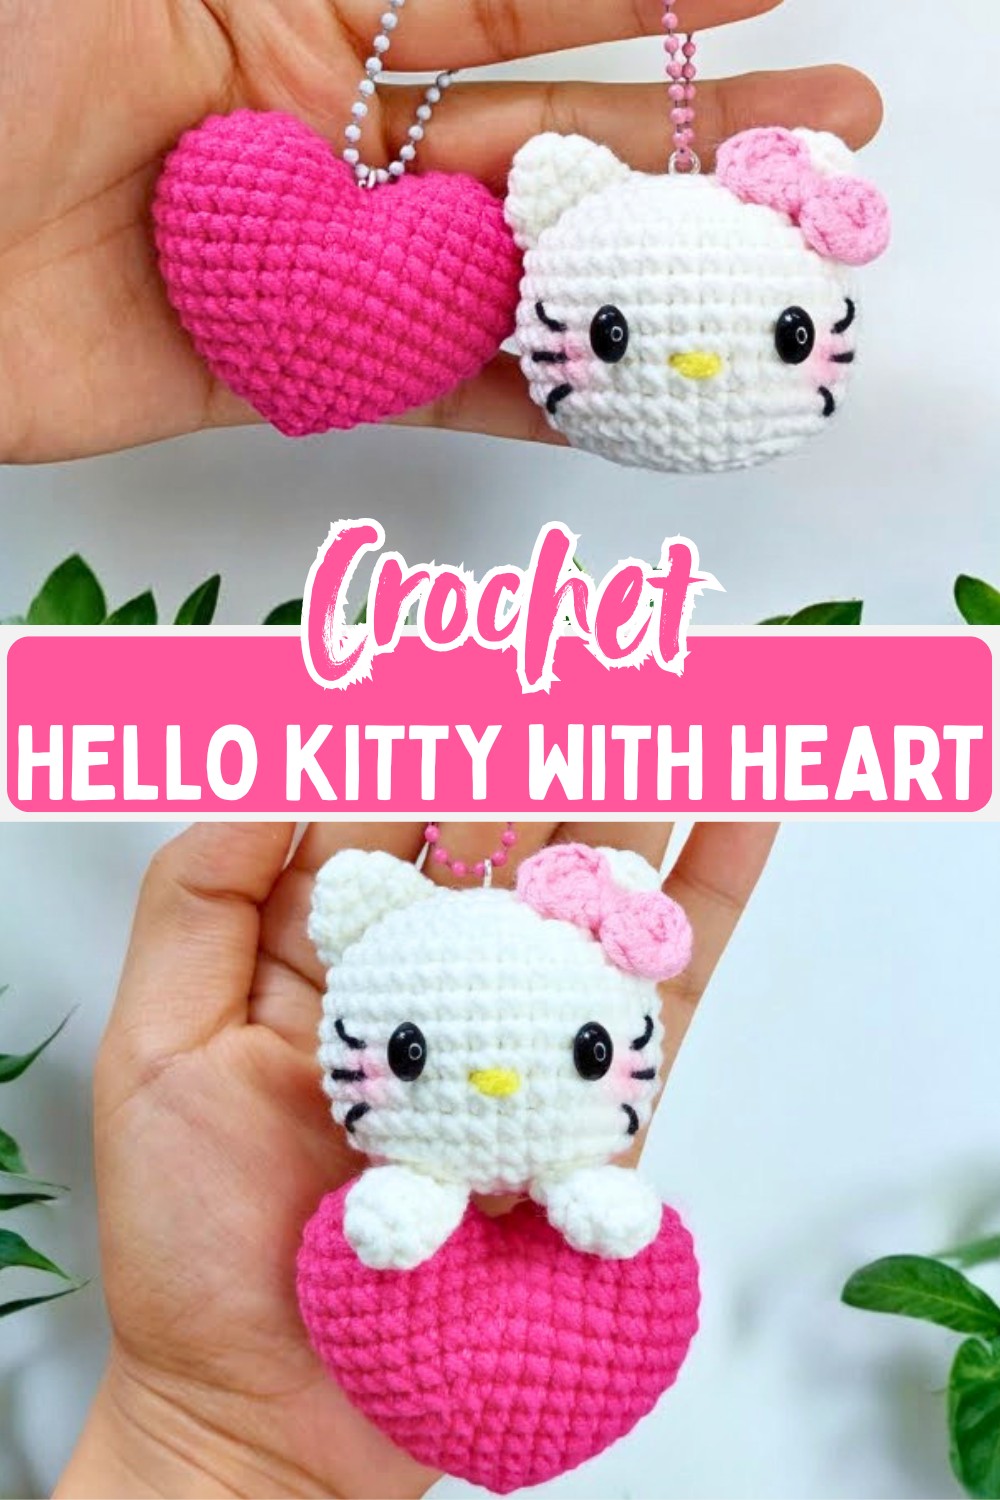
A tiny crochet Hello Kitty holding a heart can turn a few strands of yarn into a thoughtful handmade keepsake. Its cute shape, colorful bow, and heart detail make it perfect for adding a cheerful touch to keys, bags, or a special gift, while the clever construction keeps every step enjoyable.
The pattern builds each crochet piece in a simple order, making it easy to follow from the first round to the final assembly. As the ears, heart, arms, and facial features come together, the familiar character slowly appears, making every crochet stitch feel more rewarding until the last finishing detail.
Credit Tata Crochet Patterns
Materials & Tools Needed
Materials:
Yarn: Lightweight, soft cotton yarn in white (Hello Kitty’s head and body), black (eyes), pink (heart and bow), and yellow (nose).
Stuffing: Polyester filling for shaping.
Safety Eyes: 6-8 mm black safety eyes for the facial details.
Keychain Ring: Metallic keyring for attachment.
Tools:
Crochet Hook: 2.5mm or suitable size for your yarn.
Tapestry Needle: For sewing pieces together and weaving in ends.
Scissors: Sharp for trimming yarn.
Stitch Marker: To keep track of rounds.
Gauge
Exact gauge isn’t specified in this tutorial. Aim for tight stitches to create firm shaping and ensure stuffing doesn’t peek through.
Construction Overview
Head: Magic ring technique with single crochet, includes decreases for shaping.
Ears: Tiny ear pieces worked in rounds and sewn onto the head.
Eyes: Position between specific rounds for balance.
Heart: Made separately using a magic ring, starting with single increases, then sewn as an accent.
Arms: Short, cylindrical arm pieces crocheted and attached.

Pattern Overview & Making Process
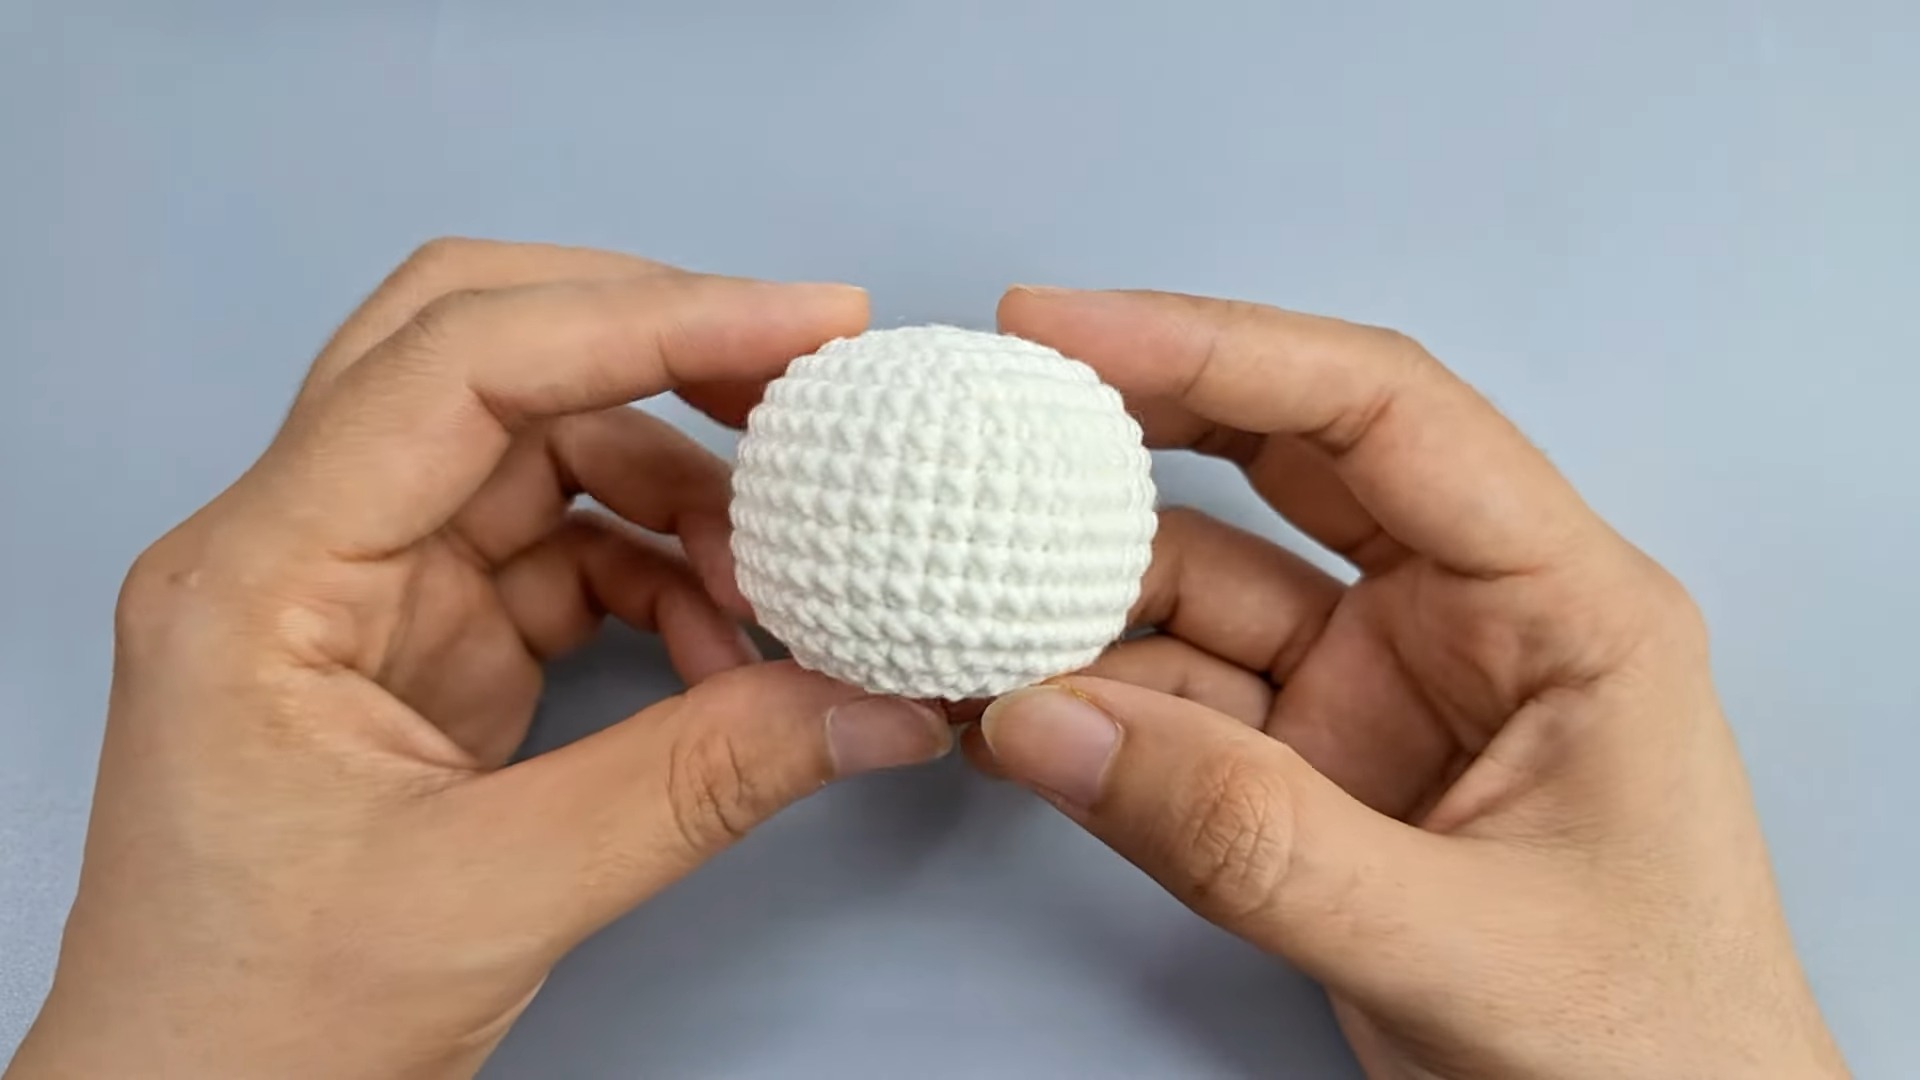
The pattern begins by crocheting the head in continuous rounds from a magic ring. Gradual increases create the rounded shape, followed by several even rounds before decreases close the piece after stuffing. Small ears are worked separately and sewn onto the head once completed.
The heart is made on its own, starting with a magic ring and a series of increases before both sides are joined to form the finished shape. The arms are crocheted as short tubes with a few decrease rounds to create a neat tapered end before they are attached.
Assembly completes the design by sewing the ears in place, positioning the eyes evenly, and adding the embroidered nose. The stuffed heart is secured between the arms and body, and a keyring is attached through the top stitches, turning the finished Hello Kitty into a cute handmade accessory.
Step-by-Step Pattern Instructions
Head:
Round 1: Start with 8 single crochet (sc) in a magic ring. [8 stitches]
Round 2: Work 8 increases, doubling each stitch. [16 stitches]
Round 3: Alternate between 1 sc and 1 increase for the round. [24 stitches]
Round 4: Alternate between 2 sc and 1 increase. [32 stitches]
Round 5: Alternate between 7 sc and 1 increase. [36 stitches]
Rounds 6-12: Crochet 36 sc in each round. [36 stitches]
Round 13: Alternate between 7 sc and 1 decrease. [32 stitches]
Round 14: Alternate between 2 sc and 1 decrease. [24 stitches]
Round 15: Alternate between 1 sc and 1 decrease. [16 stitches]
Round 16: Work 8 decreases, closing the piece completely. [8 stitches] Add stuffing.
Ears:
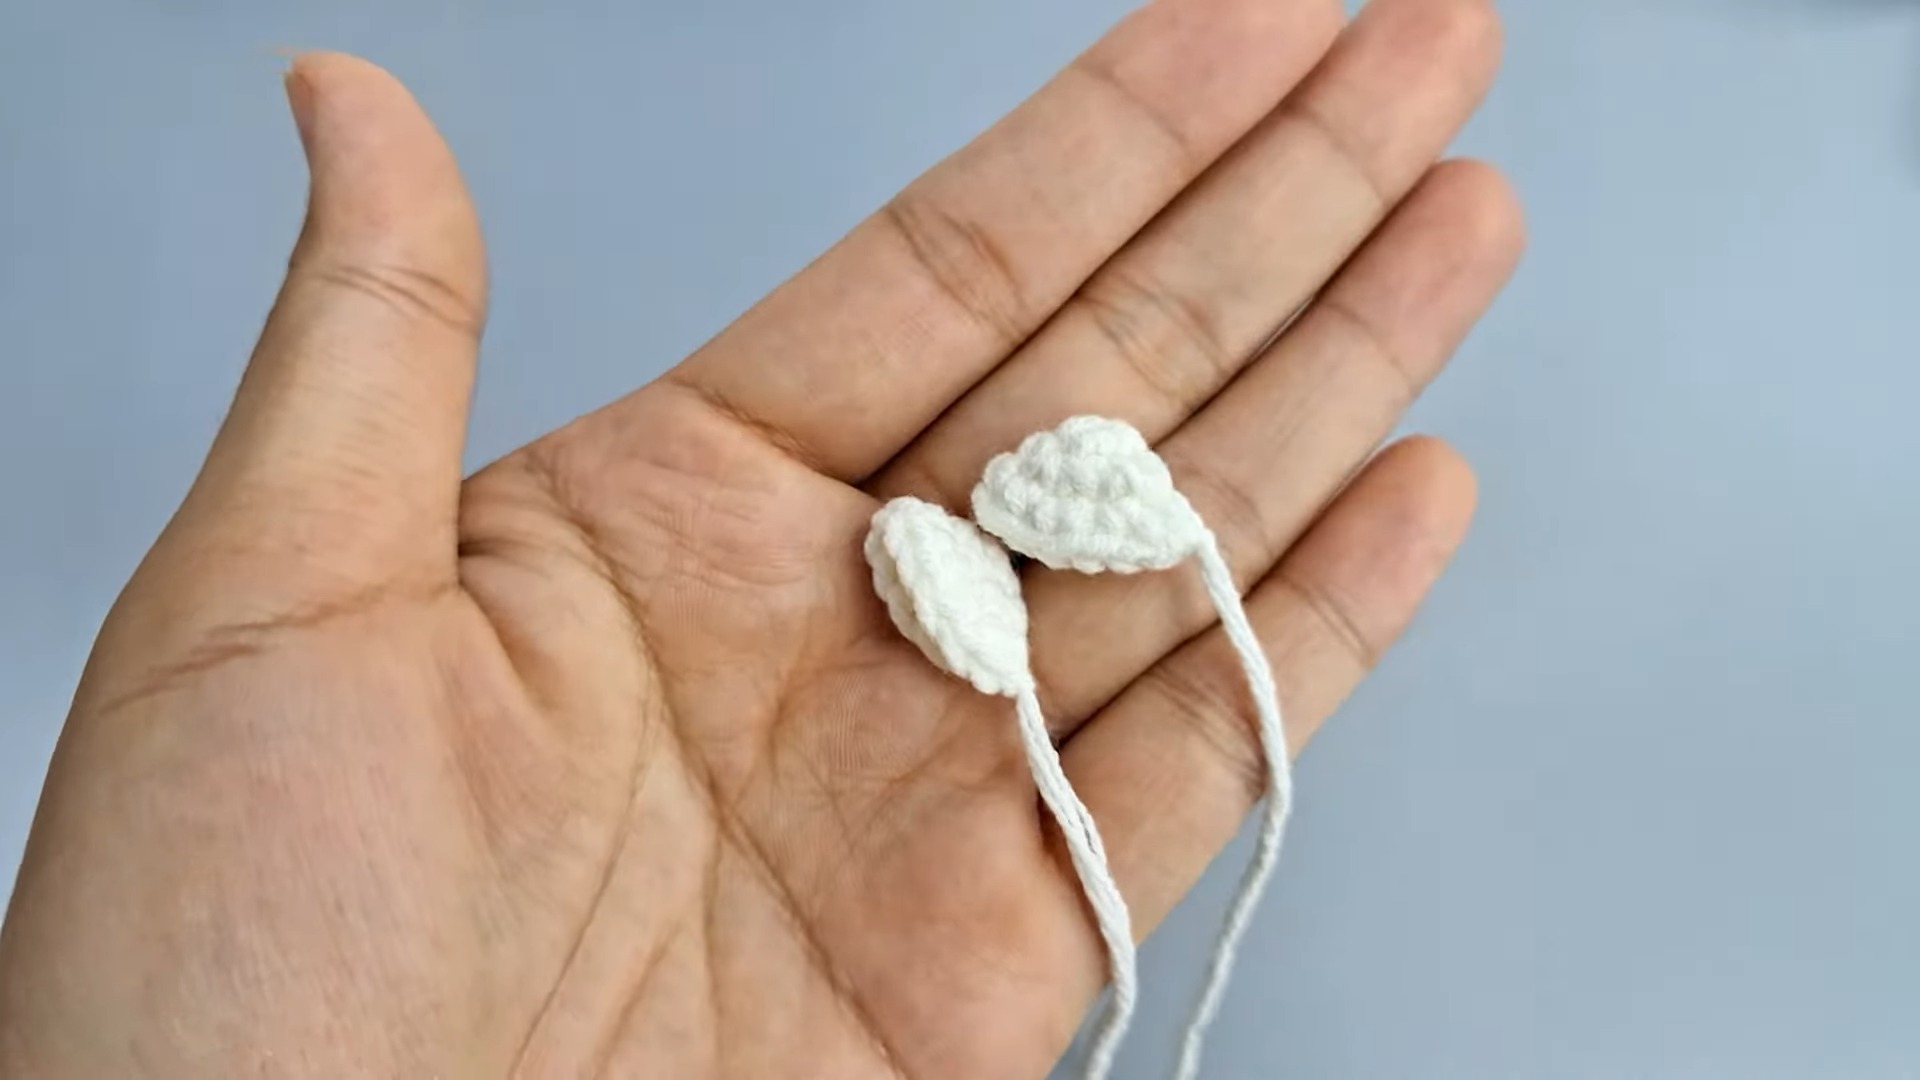
Start a magic ring with 4 sc.
Follow with 4 increases in the next round. [8 stitches]
Alternate between 1 sc and 1 increase. [12 stitches]
Sew ears on after positioning.
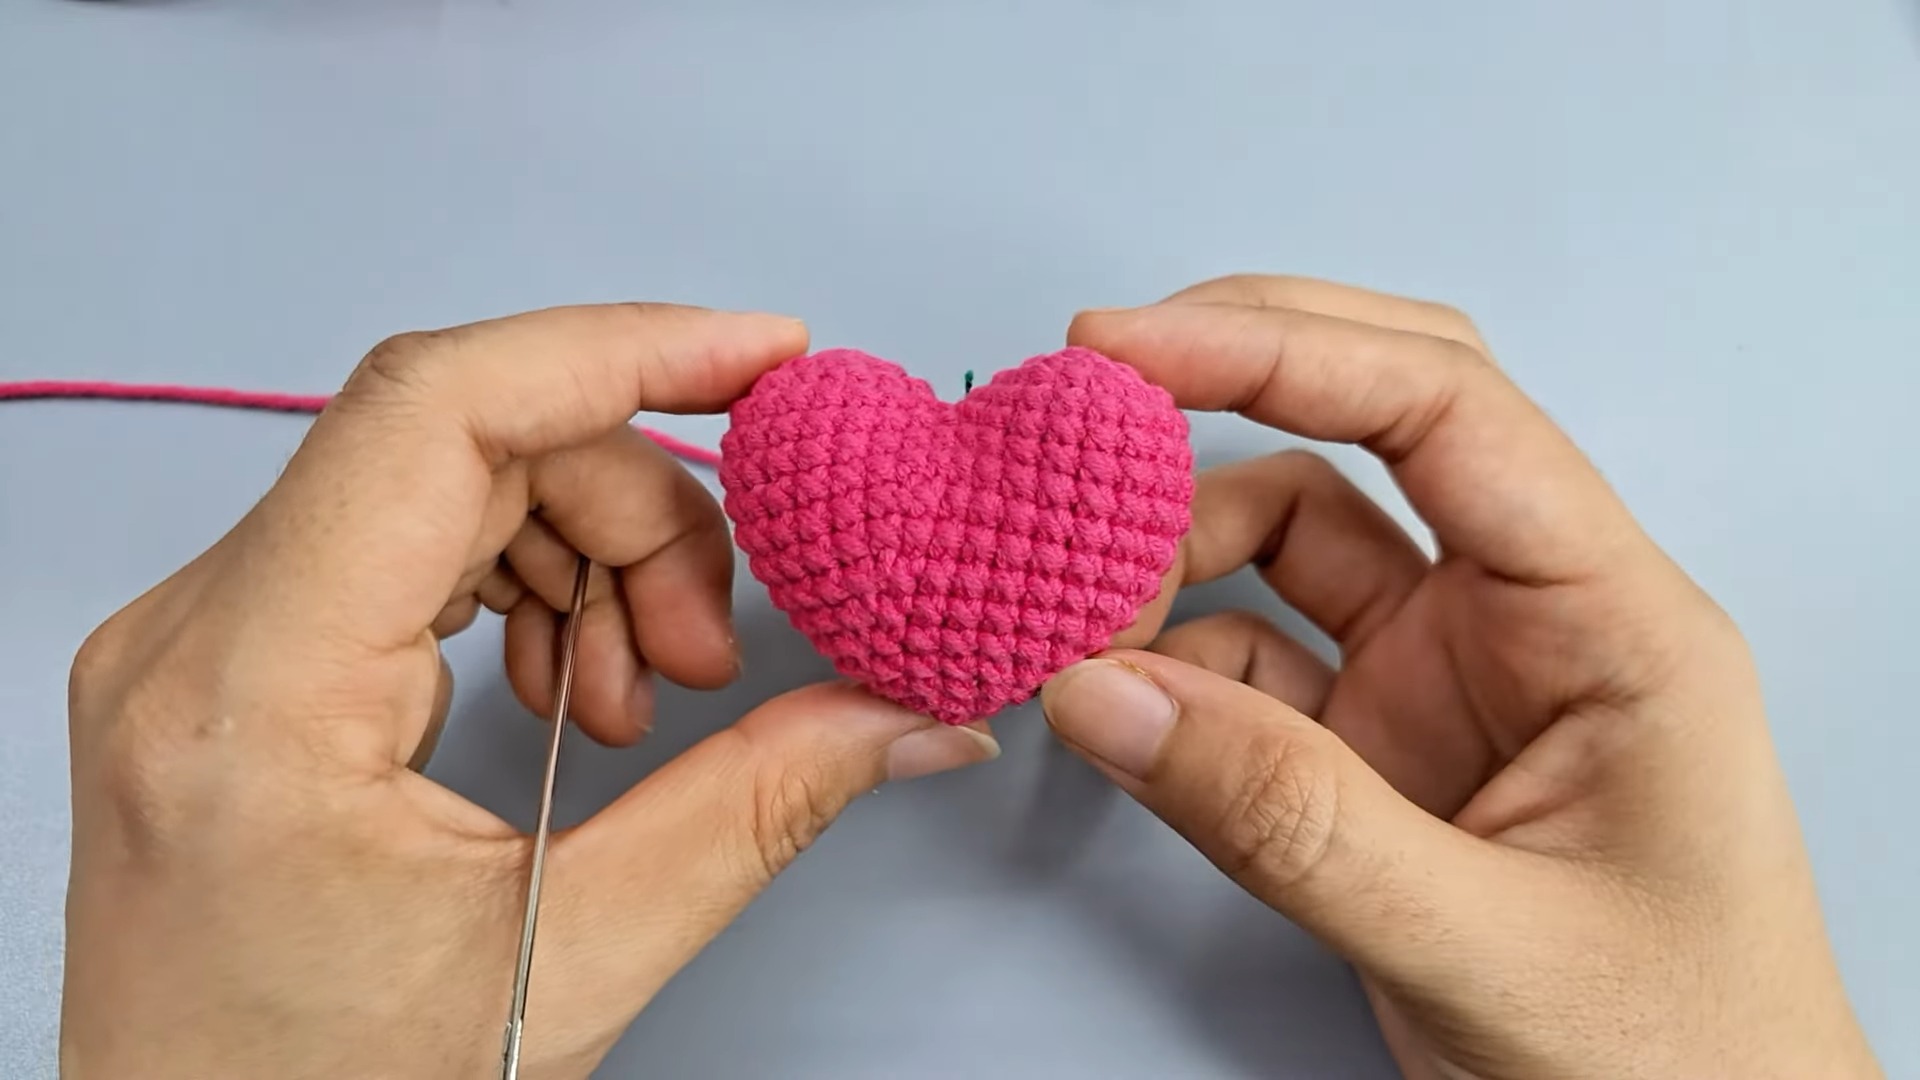
Heart:
Begin with 6 sc in the magic ring. [6 stitches]
Add 6 increases. [12 stitches]
Alternate between 1 sc and 1 increase. [18 stitches]
Crochet 18 sc uniformly for stability. [18 stitches]
Combine two parts of the heart to complete shape. Add stuffing.
Arms:
Create 8 sc in a magic ring. [8 stitches]
Work 8 sc for 2 rounds. [8 stitches]
Decrease to form tapered ends. [6 stitches] Attach to the body.
Assembly Instructions
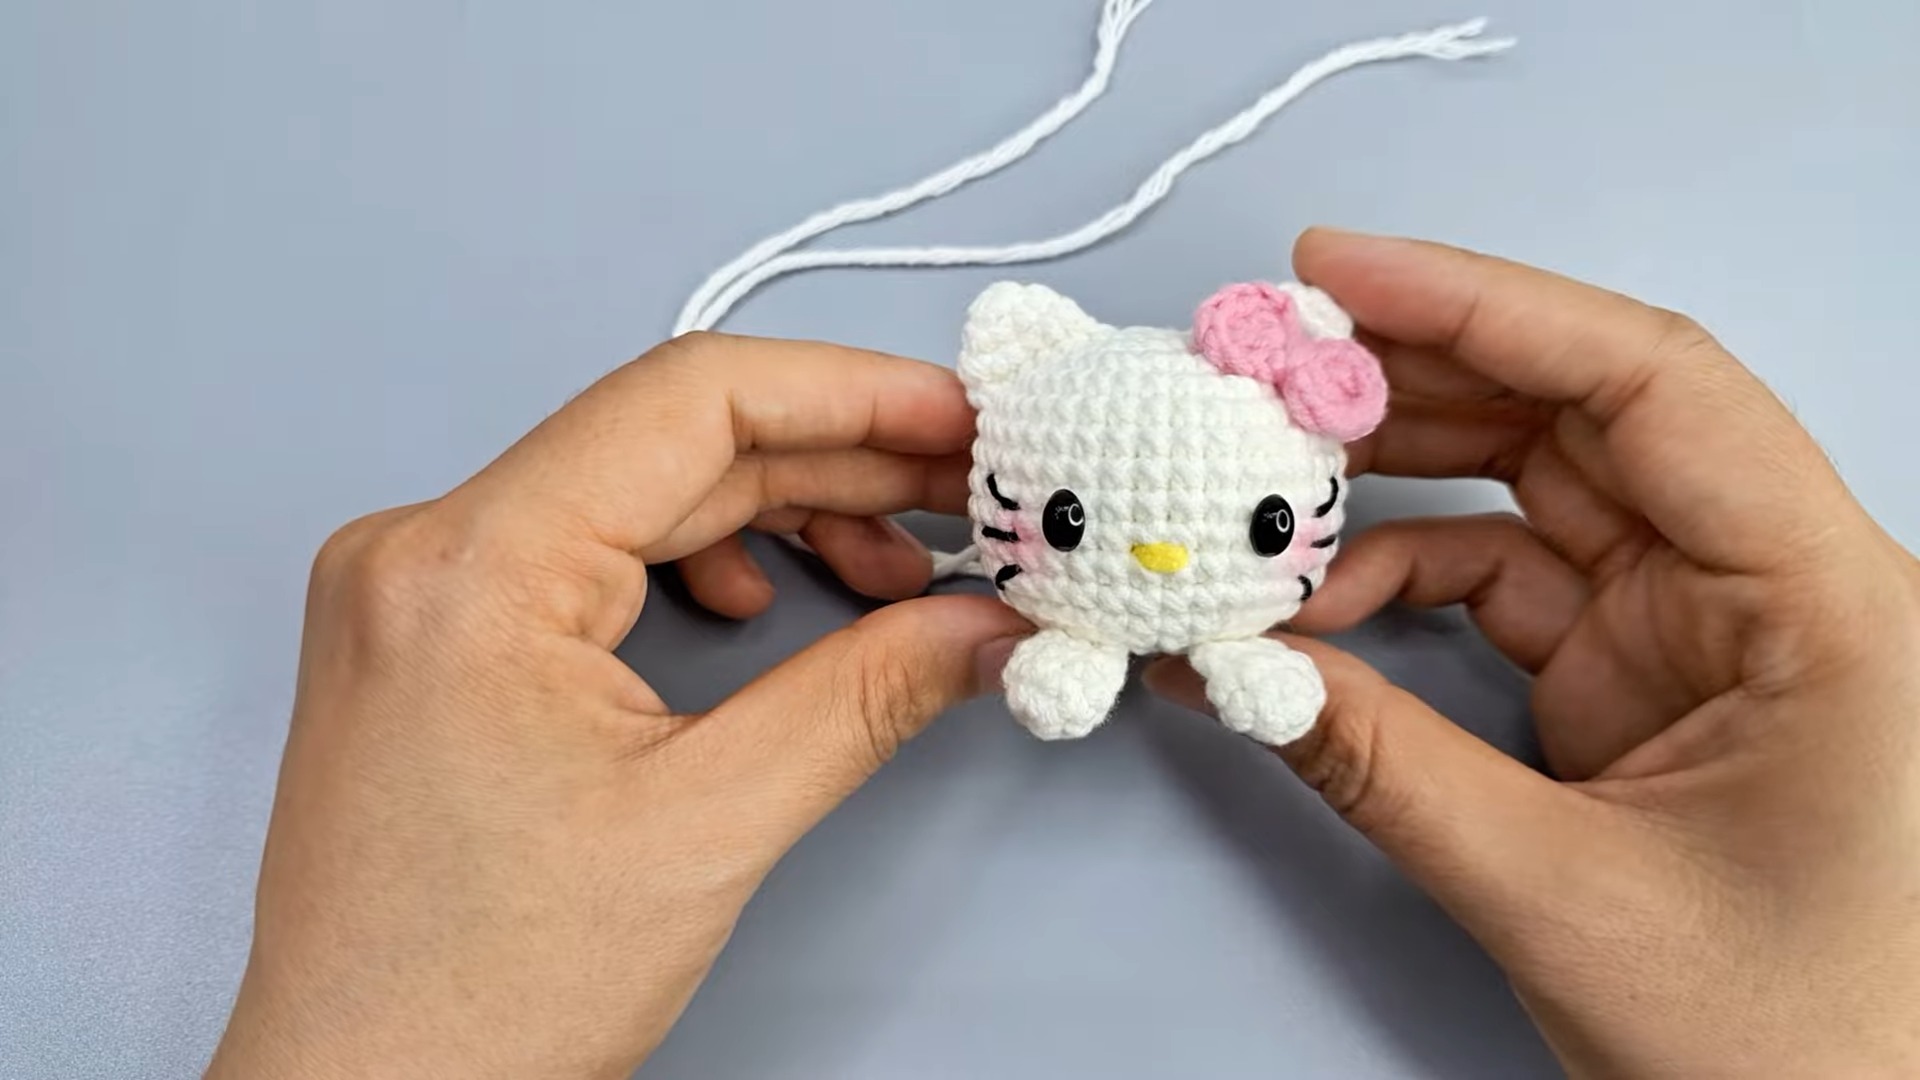
Sew the ears symmetrically onto the head.
Position and attach the safety eyes between rounds 9 and 10 (leave 6 sc spaces between).
Use black yarn for a small embroidered nose above the eyes.
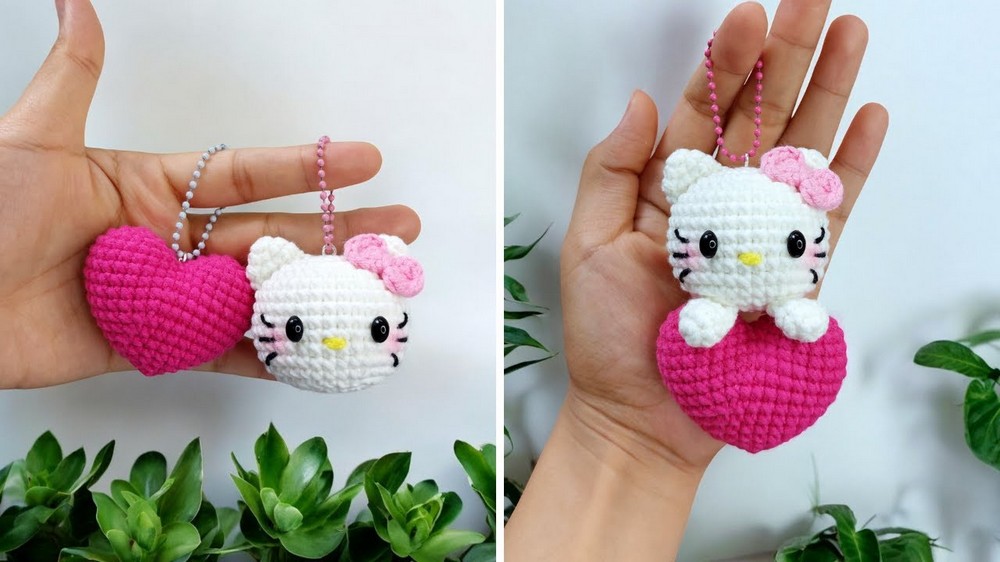
Place the heart between the arms and body, sewing securely.
Attach the keyring through the head’s top stitches.
Troubleshooting and Suggestions
Common Issues:
Uneven Stitches: Use a stitch marker to track the start/end of rounds.
Color Transitions: Keep yarn tensions consistent to avoid gaps.
Facial Features: Double-check symmetry before attaching eyes or embroidering details.
Creative Modifications:
Try pastel yarns for a unique color theme.
Add embellishments like beads or glitter yarn for a magical touch.
Turn the pattern into a larger plush toy by using thicker yarn and a larger hook.
Conclusion & Final Notes
This crochet Hello Kitty keychain is a lovable project, perfect for gifting or personal use. With its endearing design and practical assembly steps, both beginners and advanced crocheters will delight in crafting it! Check the full tutorial on YouTube, and enjoy creating your heartfelt masterpiece one stitch at a time.