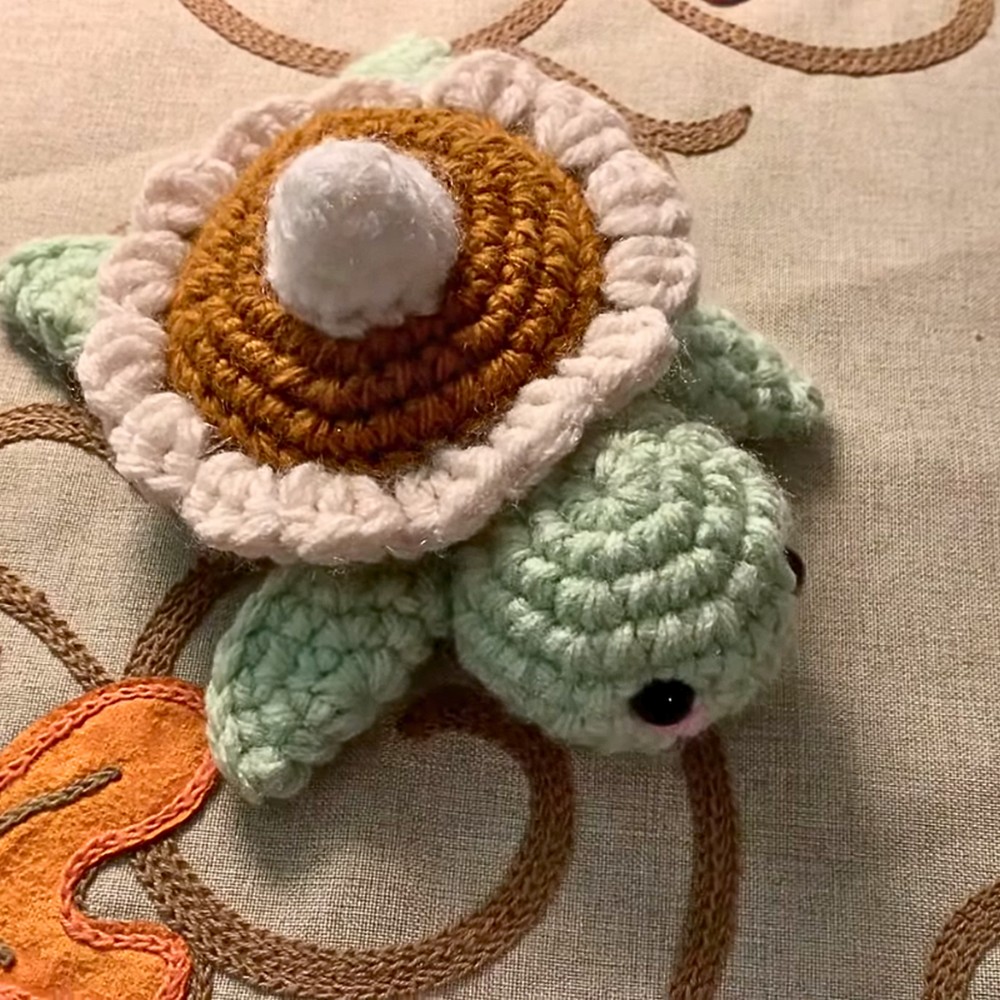
Create the adorable Pumpkin Pie Turtle Crochet Amigurumi, a delightful fusion of a turtle and a pumpkin pie!
This charming crochet project is visually stunning, versatile, and perfect as a unique decoration or gift. With easy-to-follow steps, it’s an enjoyable activity for crafters of all skill levels.
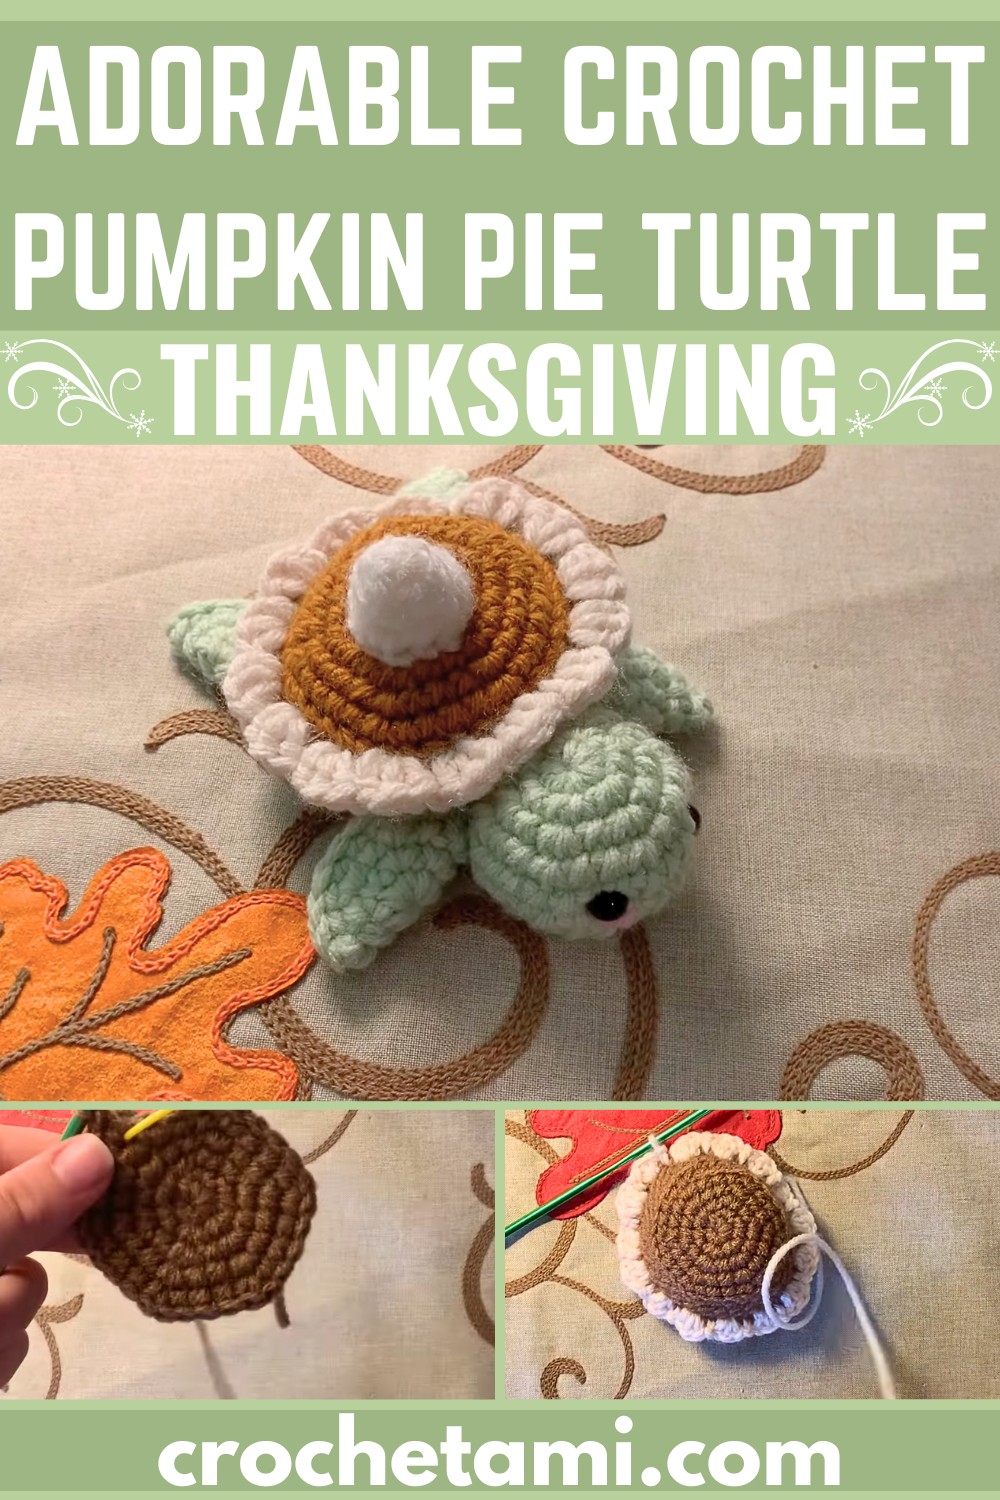
This Pumpkin Pie Turtle is not only cute but also durable and functional.
Its vibrant colors and intricate detailing make it a great display piece or a cozy gift. The sturdy structure ensures long-lasting appeal, making it ideal for home decor, children’s toys, or seasonal decorations.
Credit The Hook Nook Crochet
In this post, you will find a step-by-step Crochet Pumpkin Pie Turtle along with detailed instructions. However, if you encounter any difficulties or mistakes while creating your desired design, feel free to watch the video tutorial provided at the end of the blog post.
Materials and Preparation
Before diving into the pattern, make sure you have the following materials ready:
Materials Needed:
- Yarn: Size 4 worsted weight yarn in five colors:
- Green (turtle body and limbs)
- Pumpkin (pie filling)
- Brown (pie tin)
- Cream (whipped topping)
- White (optional blush or detailing)
- Hook size: 4 mm crochet hook
- Additional Tools:
- Stitch marker
- Tapestry needle
- Scissors
- Stuffing
- 6 mm safety eyes
Important Notes:
- The turtle is worked in separate pieces before assembly, so be prepared for sewing.
- Yarn tails will be used for attaching some pieces together.
- Use a stitch marker to keep track of rounds, especially for smaller parts.
Abbreviations and Notes
Abbreviations:
- MR: Magic Ring
- SC: Single Crochet
- DC: Double Crochet
- HDC: Half Double Crochet
- Inc: Increase (make two SC in the same stitch)
- Dec: Decrease (single crochet two stitches together)
- Sl St: Slip Stitch
Pattern Tips:
- Work the project in continuous rounds unless stated otherwise.
- Be sure to stuff the pieces progressively as you crochet.
- Some rounds are worked in back loop or front loop only; read instructions carefully for these details.
Gauge, Approximate Size, and Pattern Notes
Gauge:
Although gauge isn’t critical for amigurumi, a tight stitch is recommended to prevent stuffing from showing through. This tutorial uses a 4 mm hook with worsted weight yarn.
Approximate Size:
The finished Pumpkin Pie Turtle measures approximately 4-5 inches tall and 6 inches long, depending on your tension.
Techniques Used:
- Magic Ring: Used to begin many of the pieces.
- Color Changes: Switching colors seamlessly to create elements like the pie crust.
- Front and Back Loop Stitches: Used to give unique texture to certain sections (e.g., pie crust).
Step-by-Step Pattern
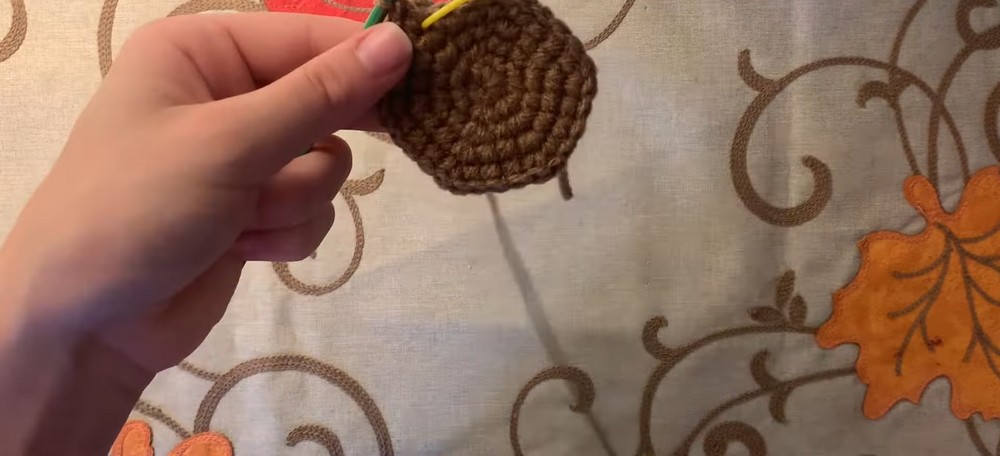
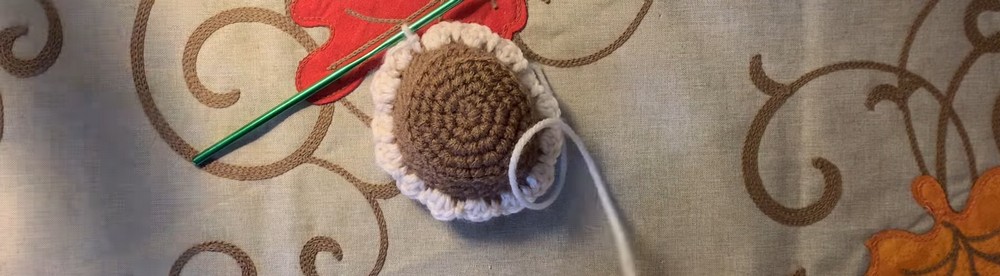
1. Pie Tin (Brown Yarn)
- Round 1: Work 6 SC into a MR.
- Round 2: Inc in each stitch (12 SC).
- Round 3: [1 SC, Inc] – repeat all the way around (18 SC).
- Round 4: [2 SC, Inc] – repeat all the way around (24 SC).
- Round 5: [3 SC, Inc] – repeat all the way around (30 SC).
- Round 6: SC in the back loop only all the way around (30 SC).
- Rounds 7-8: SC around for 2 rounds. On the last stitch, switch to cream yarn before finishing the last SC.
- Round 9: Work in front loop only: [3 DC, Sl St] into each stitch, repeating all the way around, to create the crust.
- Fasten off and leave tails untrimmed.
2. Pie Filling (Pumpkin Yarn)
- Round 1: Work 6 SC into a MR.
- Round 2: Inc in each stitch (12 SC).
- Round 3: [1 SC, Inc] – repeat all the way around (18 SC).
- Round 4: [2 SC, Inc] – repeat all the way around (24 SC).
- Round 5: [3 SC, Inc] – repeat all the way around (30 SC).
- Round 6: [4 SC, Inc] – repeat all the way around (36 SC).
- Sl St into the next stitch and fasten off, leaving a long tail for sewing.
- Sew the pumpkin filling into the pie tin along the ridge from Round 6 of the pie tin. Stuff lightly before completely sewing closed.

3. Whipped Cream (White Yarn)
- Round 1: Work 4 SC into a MR.
- Round 2: [1 SC, Inc] – repeat twice (6 SC).
- Round 3: SC around (6 SC).
- Round 4: [1 SC, Inc] – repeat all the way around (9 SC).
- Round 5: [2 SC, Inc] – repeat all the way around (12 SC).
- Sl St and fasten off, leaving a tail for sewing.
- Sew the whipped cream onto the pie filling.
4. Turtle Head (Green Yarn)
- Round 1: Work 6 SC into a MR.
- Round 2: Inc in each stitch (12 SC).
- Round 3: [1 SC, Inc] – repeat all the way around (18 SC).
- Round 4: [2 SC, Inc] – repeat all the way around (24 SC).
- Rounds 5-6: SC around for 2 rounds (24 SC).
- Attach safety eyes between Rounds 5 and 6, spaced 3-4 stitches apart. Add blush detailing if desired.
- Round 7: [2 SC, Dec] – repeat all the way around (18 SC).
- Round 8: [1 SC, Dec] – repeat all the way around (12 SC). Stuff the head.
- Round 9: Dec around (6 SC). Cut the yarn, leaving a long tail. Close the bottom but keep the yarn for sewing.
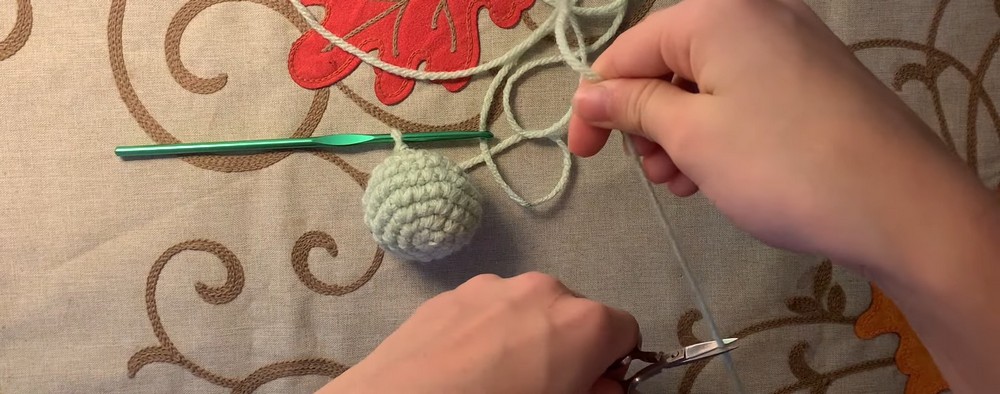
5. Flippers (Make 4 in Green Yarn)
- Round 1: Work 6 SC into a MR.
- Round 2: Inc in each stitch (12 SC).
- Round 3: [1 SC, Inc] – repeat all the way around (18 SC).
- Fold the circle in half (right side facing out). Work through stitches of both halves to crochet 8 SC across the fold.
- Fasten off, leaving a tail for sewing. Trim shorter tail.

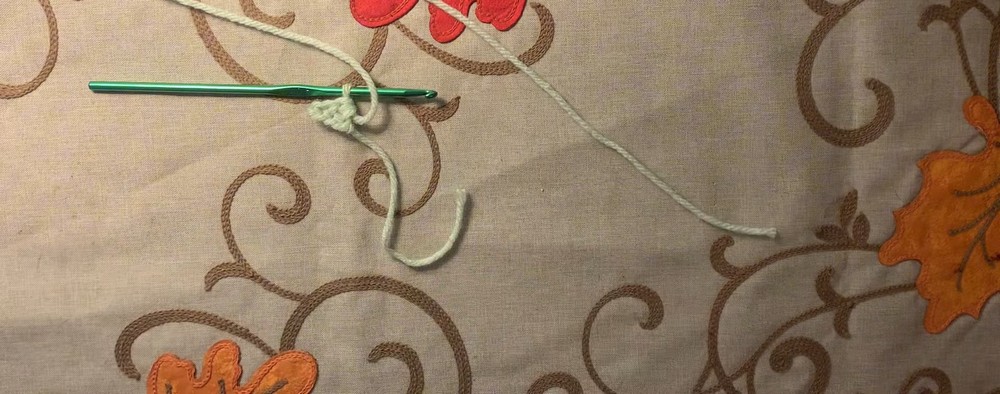
6. Tail (Green Yarn)
- Chain 4.
- In the second chain from hook: Sl St.
- In the next chain: SC.
- In the last chain: HDC.
- Fasten off, leaving a tail for sewing.
7. Assembly
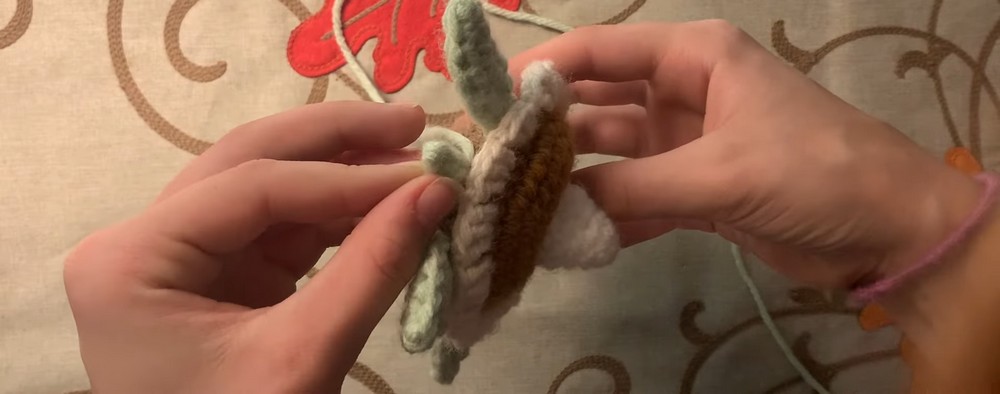
- Sew the turtle head onto the pumpkin pie shell at the front.
- Attach the two front flippers beside the head.
- Attach the two back flippers slightly behind the pie shell.
- Sew the tail in between the back flippers.
- Weave in your ends and trim any excess yarn.
Key to Success
- Use high-quality size 4 weighted yarn for durability and vibrant colors.
- Follow the tutorial closely for even stitches and dimensions.
- Stitch securely while assembling the turtle to ensure each part stays in place.
- Take your time while sewing the smaller details, such as the whipped cream and tail.
- Use safety eyes for a professional, polished look.
Conclusion
The Pumpkin Pie Turtle Crochet Amigurumi project is creative, fun, and highly rewarding. Whether as a gift or a decoration, it showcases creativity and craftsmanship. Don’t miss the opportunity to add this cozy and cute creation to your crochet portfolio!