Create your very own crochet Pikachu with this step-by-step tutorial! This cuddly amigurumi project is perfect for Pokémon fans and craft enthusiasts alike.
It blends playful design with versatile functionality, making it ideal as a gift, décor piece, or collectible. Let your creativity shine!

This crochet Pikachu is more than just adorable—it’s highly durable, thanks to carefully stitched details. Crafted from soft yarn, it’s perfect for hugging or displaying.
Its compact size makes it easy to store and portable, adding charm to any space while remaining long-lasting.
Credit Willow & Wild
In this post, you will find a step-by-step Crochet Amigurumi Pikachu pattern along with detailed instructions. However, if you encounter any difficulties or mistakes while creating your desired design, feel free to watch the video tutorial provided at the end of the blog post.
Materials and Preparation
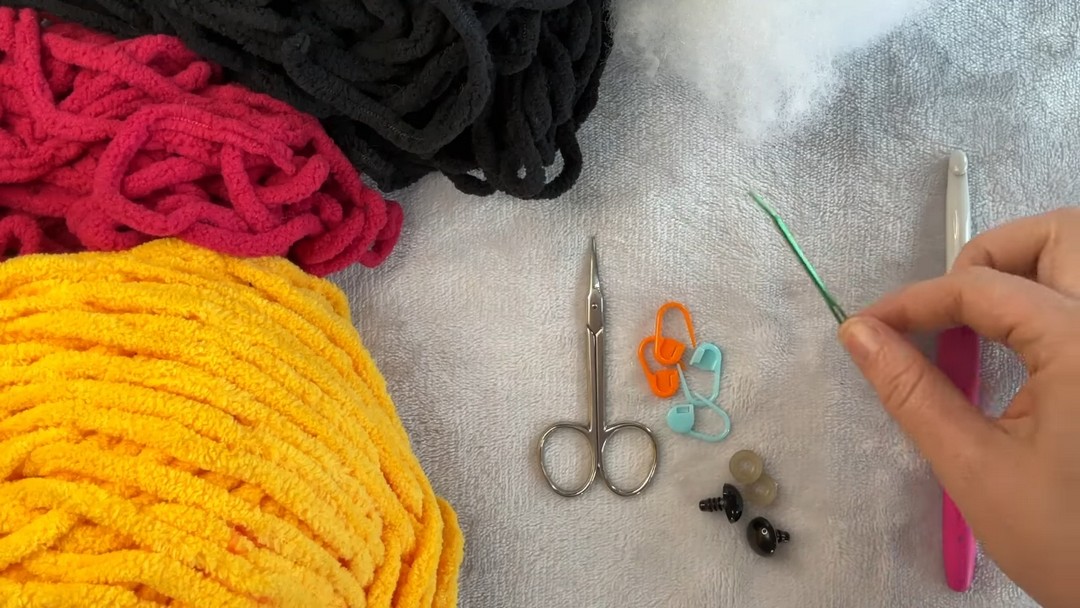
To create your crochet Amigurumi Pikachu, you’ll need the following materials:
Yarn:
- Yellow yarn, black yarn, and red yarn (Bernat Blanket yarn is recommended, although you can use any yarn type or weight, adjusting your hook size accordingly).
Hook Size:
- 8 mm crochet hook (use a smaller hook if you crochet loosely).
Additional Tools:
- 14 mm safety eyes (optional; you can embroider eyes if preferred).
- Stitch markers (essential for keeping track of rounds).
- Darning needle (for sewing and finishing).
- Scissors.
- Polyfill stuffing.
Abbreviations and Notes
Here are the common crochet abbreviations used in this pattern:
- MR: Magic Ring
- SC: Single Crochet
- HDC: Half Double Crochet
- Inc: Increase (2 stitches in the same stitch).
- Dec: Decrease (combine two stitches into one).
- Ch: Chain
- Sl St: Slip Stitch

Important Notes:
- If using different yarn weights, ensure to adjust your hook size accordingly to maintain tight, even stitches.
- Ensure the Magic Ring is secure to avoid gaps. Use a darning needle to secure and reinforce if needed.
- Always mark your first stitch on each round with a stitch marker for ease of tracking.
Gauge, Approximate Size, and Pattern Notes
- Gauge: Not applicable for this pattern as precise shaping is achieved through stitch count rather than exact dimensions.
- Dimensions: Finished Pikachu is approximately 12 inches tall when using Bernat Blanket yarn.
- Special Techniques:
- Color changes (yellow to black) for ears are done mid-stitch to ensure clean transitions.
- Invisible decreases are used to avoid unsightly gaps during shaping rounds.
- Flattened stitches are used for attaching arms securely without added bulk.
Is a gauge swatch needed?
For this pattern, gauge swatches are not necessary; however, if you notice that your stitches are too tight or loose, adjust your hook size.
Step-by-Step Pattern
Head
- Round 1: Create a Magic Ring and SC 8 into it. Pull tight to close.
- Round 2: Inc in each stitch (2 SC per stitch). Total = 16 SC.
- Round 3: SC 1, Inc (repeat around). Total = 24 SC.
- Rounds 4-6: SC evenly around. Total = 24 SC per round.
- Round 7: SC 3, Inc (repeat around). Total = 30 SC.
- Rounds 8-9: SC evenly around. Total = 30 SC per round.
- Round 10: SC 3, Dec (repeat around). Total = 24 SC.
- Round 11: SC 2, Dec (repeat around). Total = 18 SC.
- Round 12: SC 1, Dec (repeat around). Total = 12 SC.
- Attach safety eyes between rounds 7-8, approximately 5 stitches apart.
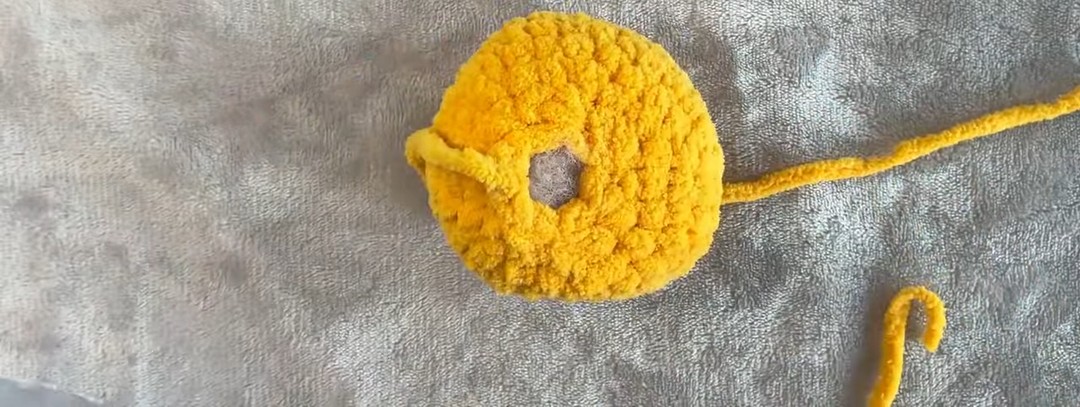
Stuff the head firmly with polyfill.
11. Round 13 (Closing): Dec around. Total = 6 SC. Fasten off with a long tail and sew shut using the darning needle.
Body
- Round 1: Attach yellow yarn to the base of the head and SC evenly around. Total = 6 SC.
- Round 2: HDC Inc around (2 HDC per stitch). Total = 12 HDC.
- Round 3: HDC 1, Inc (repeat around). Total = 18 HDC.
- Round 4: HDC 2, Inc (repeat around). Total = 24 HDC.
- Rounds 5-6: HDC evenly around. Total = 24 HDC per round.
- Round 7: HDC 3, Inc (repeat around). Total = 30 HDC.
- Rounds 8-9: HDC evenly around. Total = 30 HDC per round.
- Round 10: HDC 3, Dec (repeat around). Total = 24 HDC.
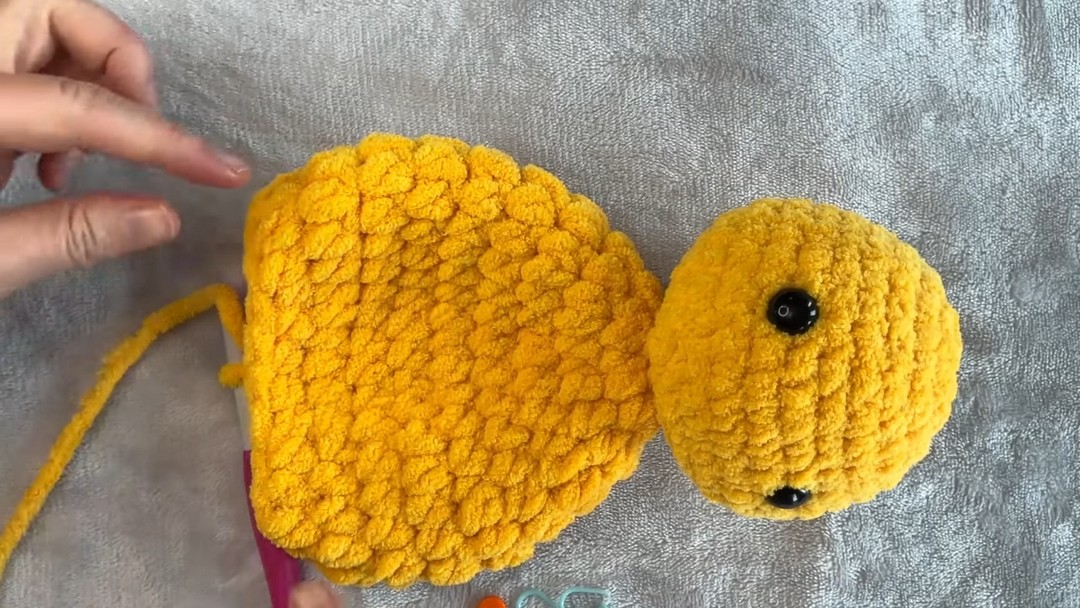
Stuff the body firmly with polyfill.
Legs (Make 2)
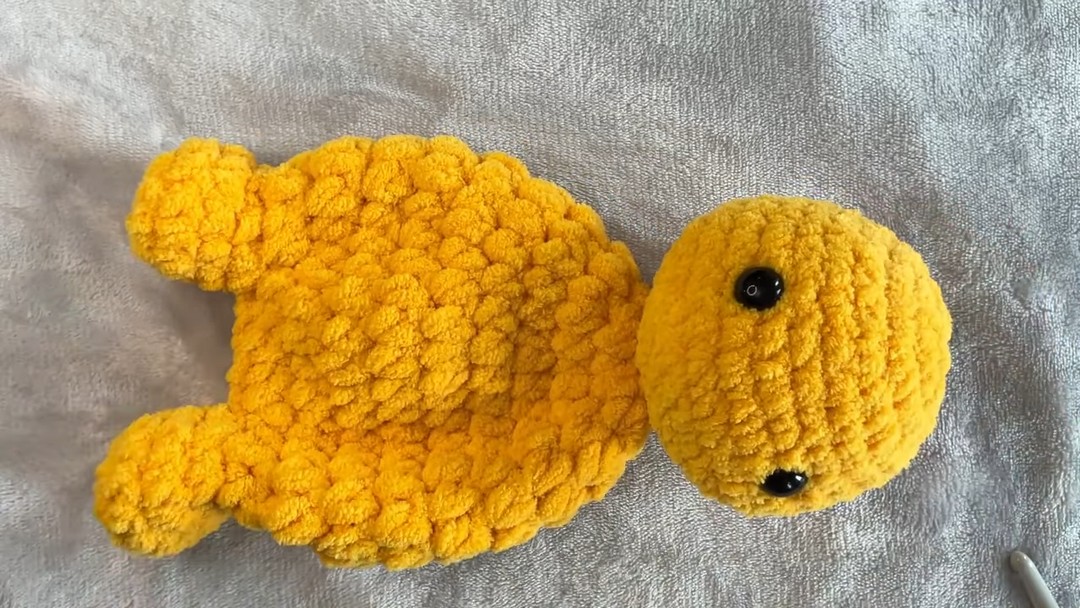
- Round 1: Create a Magic Ring and HDC 5 into it. Pull tight to close.
- Rounds 2-4: HDC evenly around. Total = 5 HDC per round.
- Round 5: HDC 3, Dec. Total = 4 HDC.
Fasten off and sew shut. Leave a long tail for attaching the legs to the body.
Arms (Make 2)
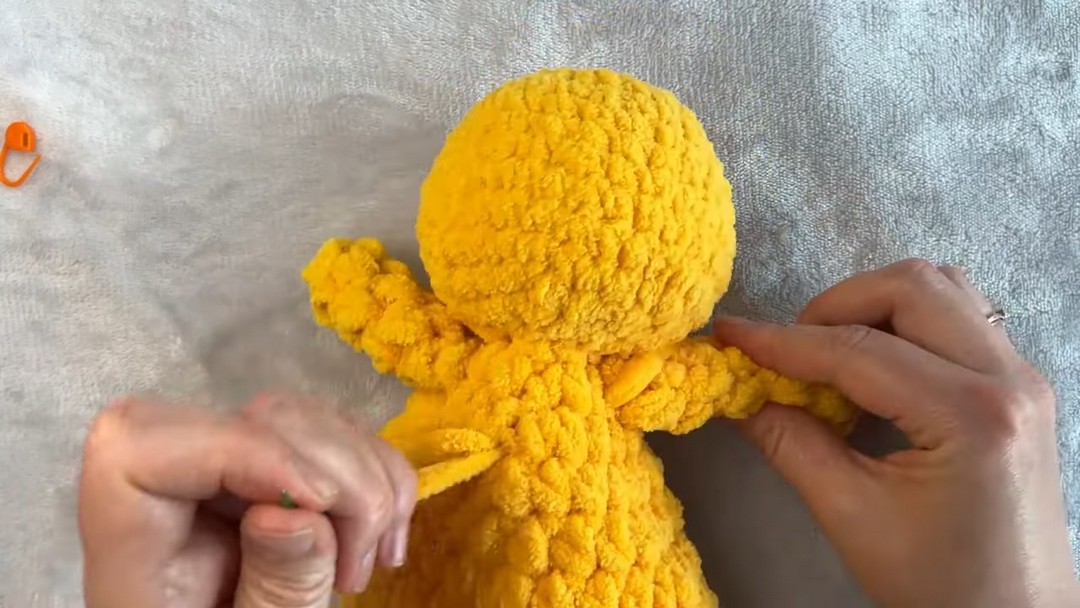
- Round 1: Create a Magic Ring and HDC 5 into it. Pull tight to close.
- Rounds 2-4: HDC evenly around. Total = 5 HDC per round.
- Round 5: HDC 3, Dec. Total = 4 HDC.
Fasten off, flatten the base slightly, and attach to the sides of the body.
Tail
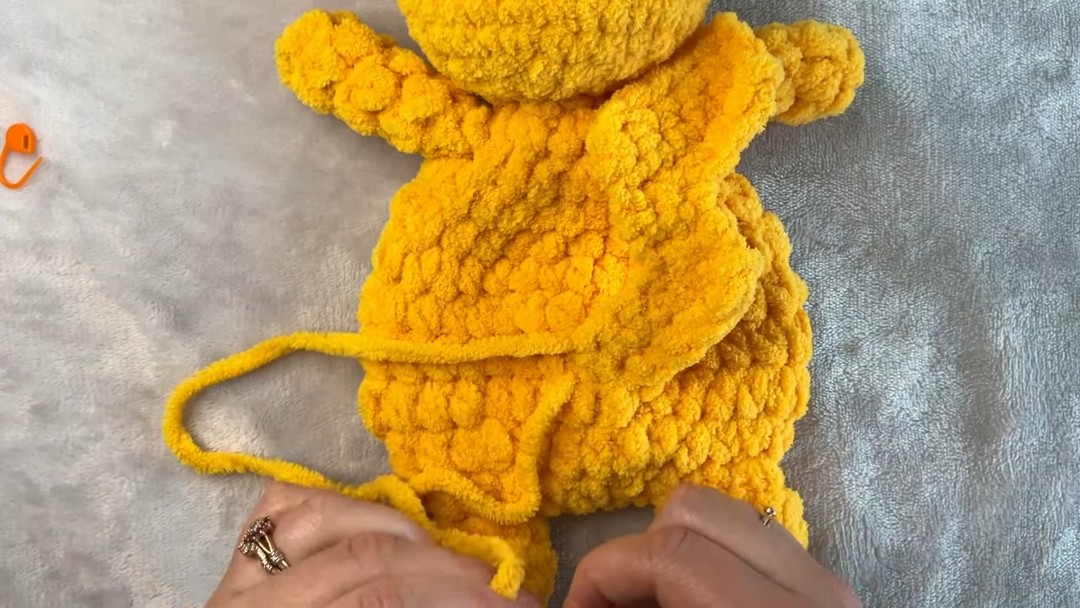
- Row 1: Ch 6.
- Row 2: SC 5 into the second chain from the hook. Ch 1, turn.
- Rows 3-4: SC evenly across (5 SC per row). Ch 1, turn.
- Row 5: SC 2, Ch 4 (to create zigzag).
- Row 6: SC 3 into the chain and continue across the 2 base stitches.
Fasten off and sew the tail onto the back of the body at a slight angle.
Ears (Make 2)
With black yarn:
- Round 1: Create a Magic Ring and SC 5 into it. Pull tight to close.
Change to yellow yarn for clean color transition:
2. Round 2: SC 4, Inc into the 5th stitch. Total = 6 SC.
- Rounds 3-5: SC evenly around. Total = 6 SC per round.
- Round 6: SC 3, Dec. Total = 4 SC.
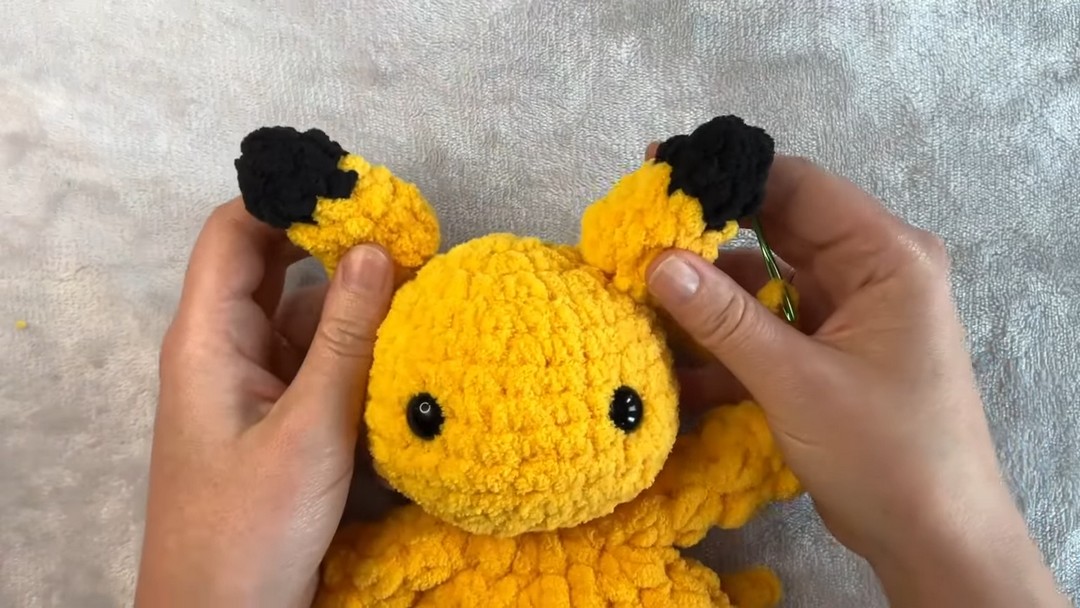
Fasten off and attach the ears to the head between rounds 3-4 on either side.
Cheeks (Make 2)
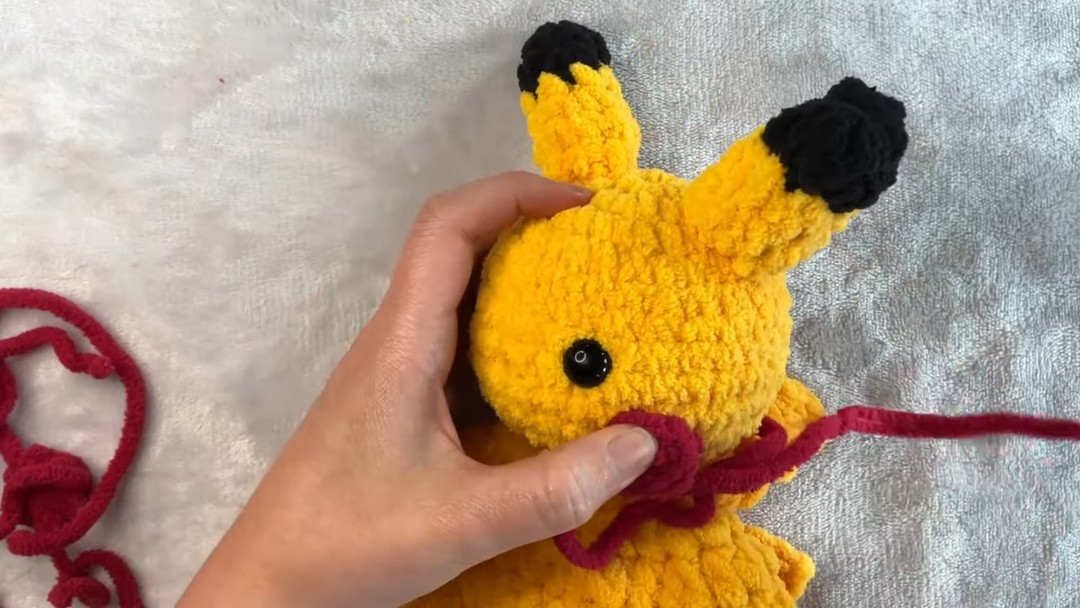
- Create a Magic Ring with red yarn and SC 5 into it.
- Fasten off and sew cheeks between rounds 9-11 on the face (position them slightly below the eyes).
Nose
Using black yarn:
- Embroider a small straight stitch nose between the eyes, approximately 1 stitch wide.
Key to Success:
- Select the right yarn weight and crochet hook size for consistent stitches.
- Use safety eyes for a polished look or embroider for a handmade feel.
- Follow the pattern meticulously when shaping key features like the tail and cheeks.
- Secure all loose ends to enhance durability without compromising aesthetics.
- Consider stuffing evenly for a sturdy yet plush design.
Conclusion:
Crocheting this Pikachu is a rewarding experience that combines creativity with craftsmanship. Whether you’re making it as a gift or for yourself, this project offers usability, charm, and a nostalgic touch. It’s a fantastic addition to any collection and is well worth the effort!