Want a chunky crochet gecko with personality? This step-by-step pattern guides you through shaping its head, body, limbs, and tail, with optional colorful spots.
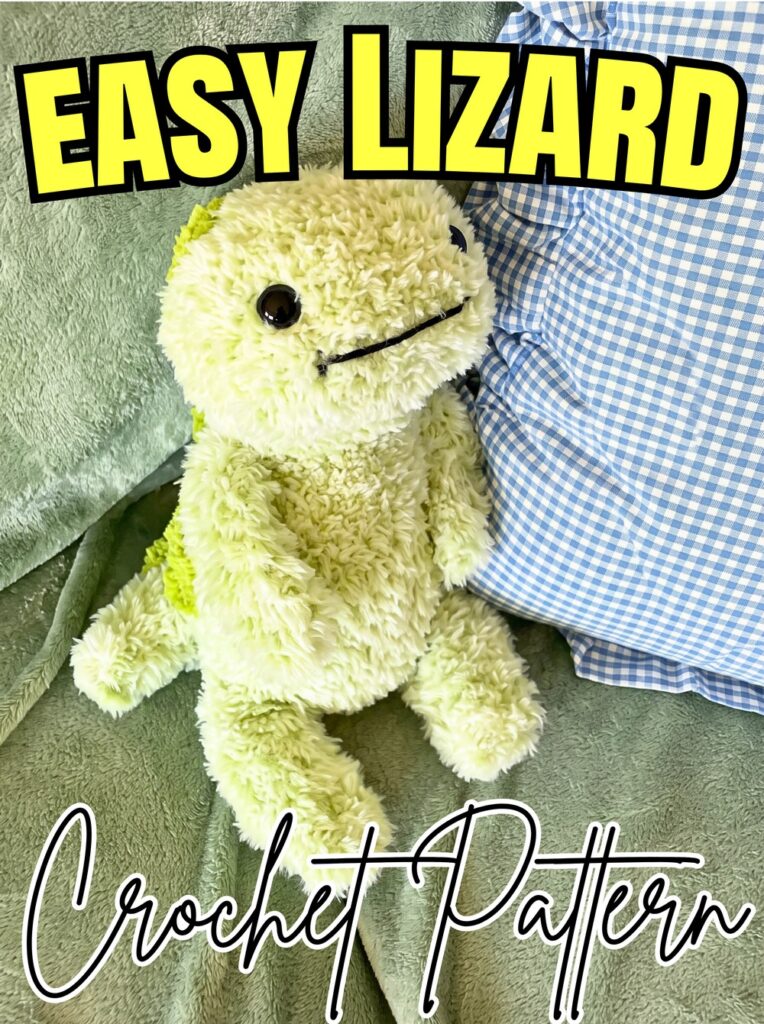
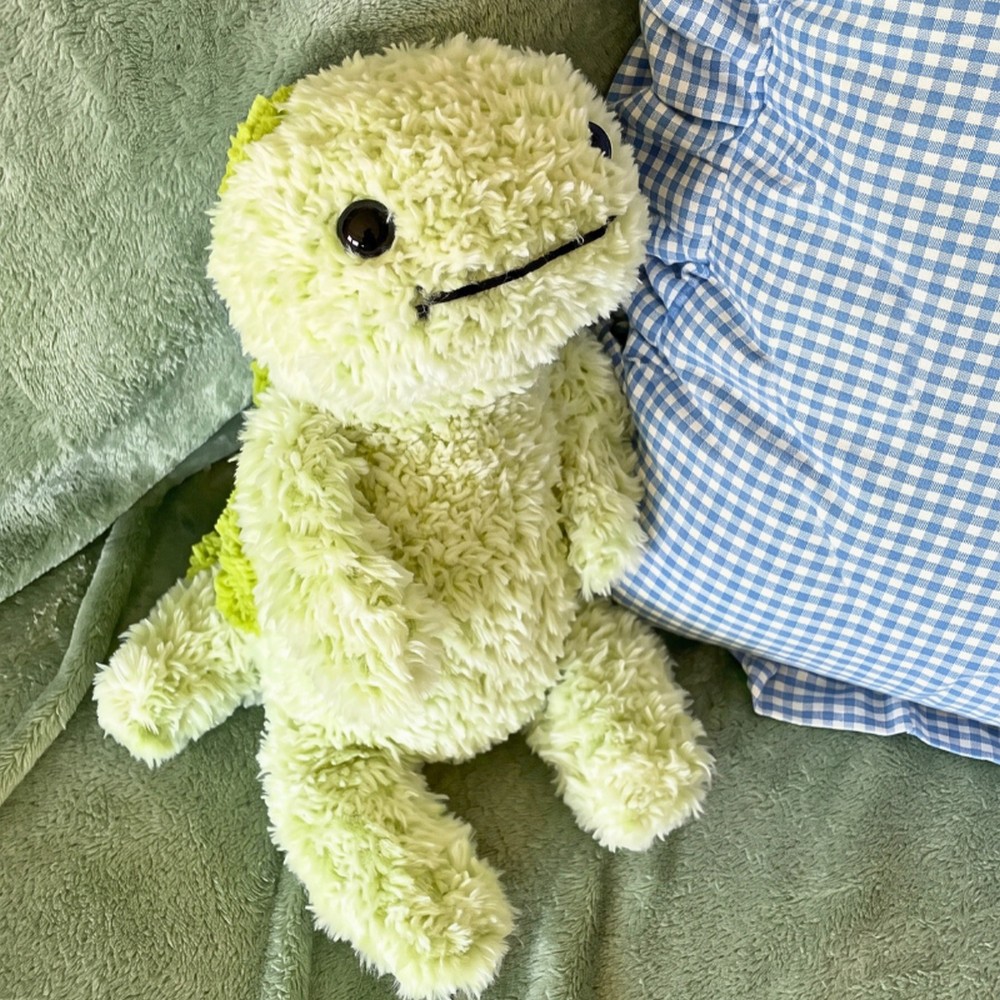
Chunky crochet gecko toys stand out with rounded bodies, playful limbs, and long tails. Beginners can follow this crochet pattern to create a friendly lizard without needing complicated shaping techniques.
This crochet tutorial explains head and body construction, flat crocheted arms, stuffed legs, tail shaping, and optional back spots. Follow each section in order, then assemble your gecko into an upright little companion.
Credit Frayed KnotCo Tutorials
Materials & Tools
- Yarn: Green yarn, using two skeins for the main body, plus contrasting yarn for optional spots.
- Crochet Hook: 5.5 mm crochet hook.
- Stitch Marker: To mark the beginning of each round.
- Polyester Stuffing: Polyfill for the head, body, legs, and tail.
- Yarn Needle: For sewing pieces together and weaving in loose ends.
- Scissors: For cutting yarn.
Finished Size & Customization
This pattern creates a chunky, friendly-sized gecko or lizard. Finished dimensions will depend on yarn thickness, hook choice, and stitch tension.
- Change the face: Embroider different facial features to create a frog, salamander, newt, or gecko-inspired character.
- Adjust the limbs: Keep arms short and slim with slightly longer, thicker legs for an upright sitting pose. For a flatter toy, use longer proportions for all four limbs.
- Customize the tail: Adjust its length by adding or removing even rounds while maintaining the stitch count, so the tail stays consistent in width.
- Add back spots: Use contrasting yarn to create small, medium, or large circular spots along the head, back, and tail.
Pattern Abbreviations
- ch: Chain
- sc: Single crochet
- inc: Increase; work 2 single crochet stitches into the same stitch
- dec: Decrease; insert hook through front loops of next 2 stitches, yarn over and pull through both loops, yarn over again, and pull through all 3 loops on hook
- st(s): Stitch(es)
- Rnd(s): Round(s)
- Row(s): Row(s)
Step-by-Step Crochet Instructions
Step 1: Shape the Head from the Face Backward
Begin with green yarn and create the rounded front of the head. This section starts small, expands through increases, and maintains its width before tapering toward the back.
Round 1: Make a magic ring and work 8 sc into its center. (8 sts)
Round 2: Work an inc in every stitch around. (16 sts)
Round 3: Repeat (1 inc, 1 sc) around. (24 sts)
Rounds 4-13: Work 1 sc in every stitch around. (24 sts per round)
These even rounds establish the length of the head. Keep your tension consistent so the fabric remains smooth and the head does not narrow unexpectedly.
Teaching tip: Place a stitch marker at the beginning of each round. Continuous crochet can make it difficult to spot where one round ends and another begins.
Step 2: Embroider the Face and Close the Head
Before narrowing the head, add its facial details while the opening is still accessible.
Round 14: Repeat (1 dec, 2 sc) around.
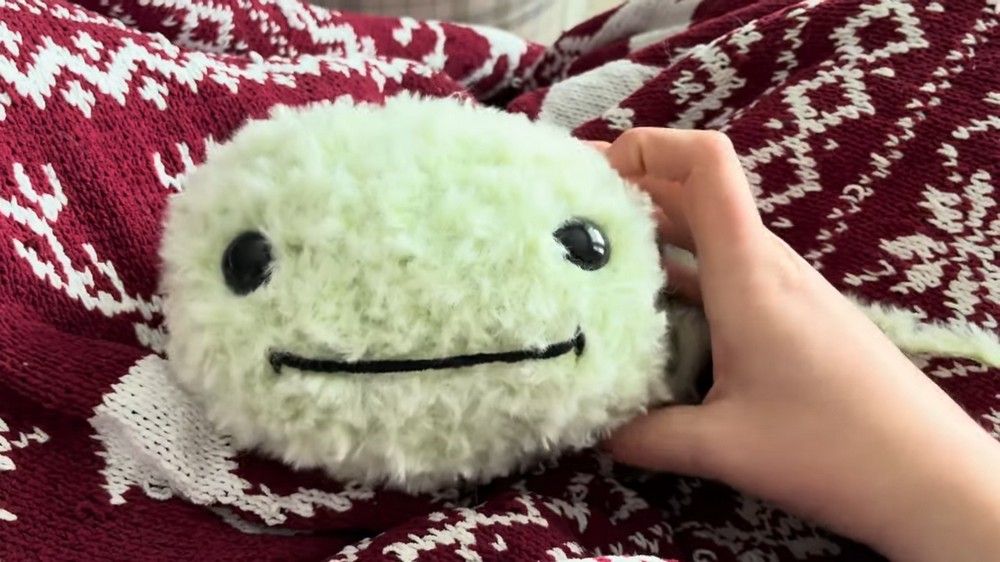
Embroider the smile and other facial features using contrasting yarn. Check their placement from the front so the expression sits centrally.
Stuff the head firmly with polyfill before continuing. Add small amounts at a time and distribute them toward the rounded front rather than packing everything into one area.
Round 15: Repeat (1 dec, 1 sc) around.
Continue decreasing as directed by your original pattern until the head opening is closed. Fasten off and weave in loose ends.
Result check: The finished head should hold its rounded shape without feeling overly hard. The embroidered face should remain visible and centered.
Pattern note: The supplied instructions do not specify the remaining head-decrease rounds or their stitch counts. Verify these details against the original pattern before completing the closure.
Step 3: Build the Main Body
The body begins at its bottom base and grows upward toward the neck. Its wider middle supports the chunky shape, while the final narrower rounds create the joining area for the head.
Round 1: Make a magic ring and work 8 sc into its center. (8 sts)
Round 2: Work an inc in every stitch around. (16 sts)
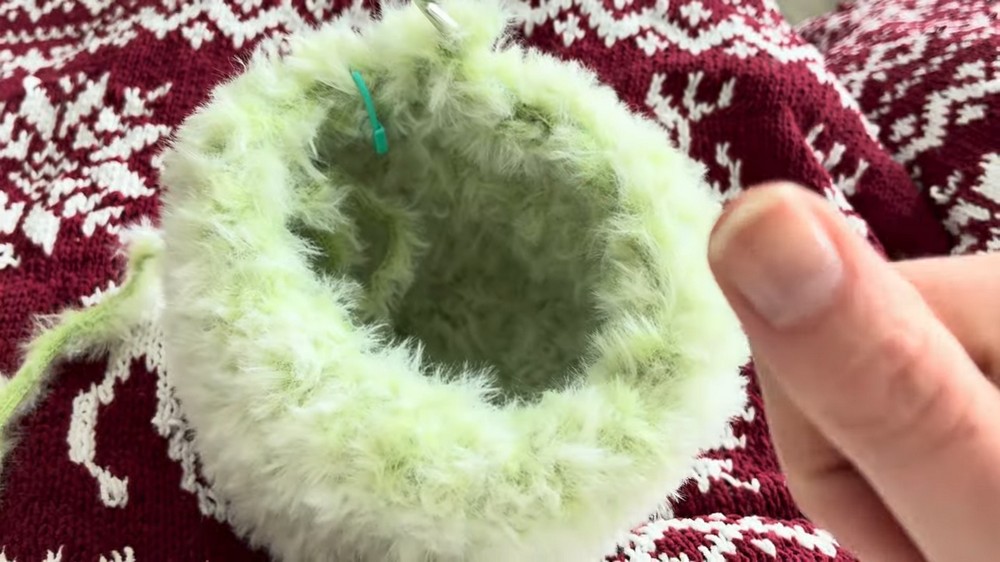
Round 3: Repeat (1 inc, 1 sc) around. (24 sts)
Round 4: Repeat (1 inc, 2 sc) around. (32 sts)
Rounds 5–14: Work 1 sc in every stitch around. (32 sts per round)
These even rounds create the main height of the body. Keep the stitch marker visible as you work so you do not accidentally add or lose stitches.
Round 15: Repeat (1 dec, 2 sc) around. (24 sts)
Rounds 16–19: Work 1 sc in every stitch around. (24 sts per round)
Fasten off, leaving a long yarn tail for sewing the body to the head.
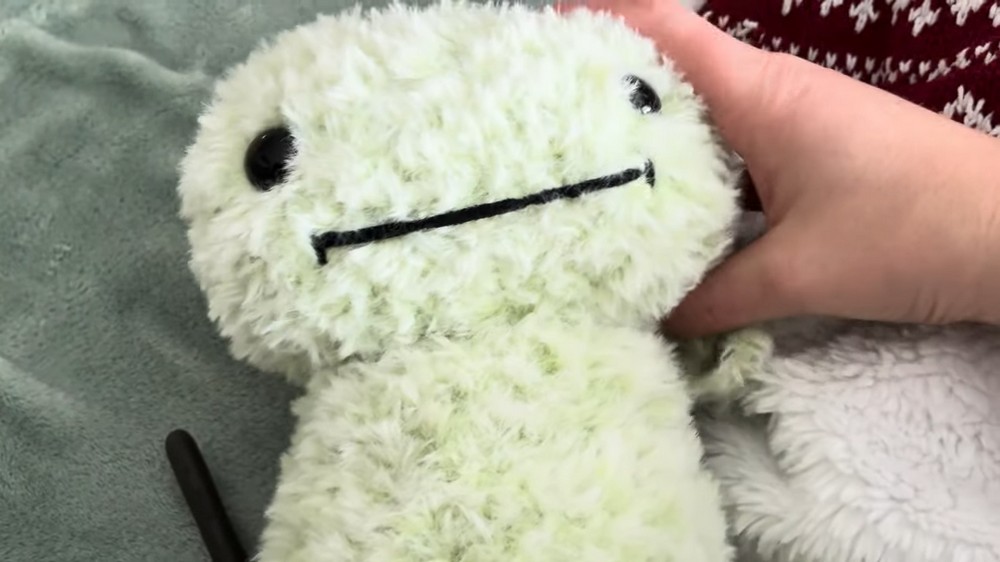
Helpful tip: Check that the bottom base sits evenly on a flat surface. This will help support an upright sitting pose after assembly.
Step 4: Crochet Two Slim Arms
The arms are worked in rows rather than continuous rounds, creating flat pieces that can be folded and sewn closed without stuffing.
Starting chain: Ch 11.
Rows 1-6: Skip the first chain or stitch as directed, then work 10 sc across each row.
Follow the row-turning method used in your original pattern to maintain 10 stitches per row. Keep the edges even so both arms have matching proportions.
To finish, fold each arm flat lengthwise, with the edges meeting in a simple hot-dog-style fold. Whipstitch the opening closed, leaving the arm unstuffed.
Fasten off, leaving a long tail for sewing.
Result check: Both arms should be slim, flexible, and similar in length. Their flat construction makes them easier to attach close to the upper body.
Step 5: Make Two Thicker Legs
The legs use a longer foundation chain and additional rows, giving them more length and volume than the arms.
Starting chain: Ch 13.
Rows 1-8: Work 12 sc across each row, following the row-turning method in your original pattern.
Add a small amount of polyfill to each leg. Avoid overstuffing, since the top edges need to meet when folded closed.
Fold the top of each leg together and whipstitch it shut. Fasten off, leaving a long tail for attaching the legs to the body.
Teaching tip: Compare both legs before sewing them closed. Similar stuffing and row tension will help the finished gecko sit more evenly.
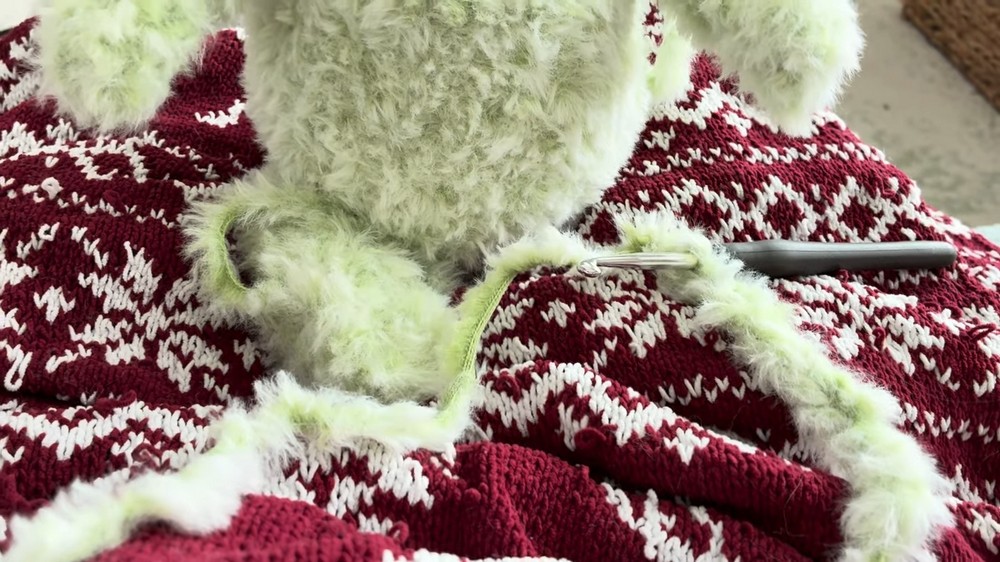
Step 6: Crochet the Tail from Its Tip
Start with a narrow tip and gradually increase the stitch count to create a wider base for attaching the tail to the lower back.
Round 1: Make a magic ring and work 4 sc into its center. (4 sts)
Round 2: Work 1 sc in every stitch around. (4 sts)
Round 3: Repeat (1 inc, 1 sc) around. (6 sts)
Round 4: Work 1 sc in every stitch around. (6 sts)
Round 5: Repeat (1 inc, 2 sc) around. (8 sts)
Round 6: Repeat (1 inc, 3 sc) around. (10 sts)
Rounds 7–11: Work 1 sc in every stitch around. (10 sts per round)
Stuff the tail firmly with polyfill, distributing it along its length so it keeps its shape without becoming lumpy.
Fasten off, leaving a long tail for sewing.
Result check: The tail should have a narrow tip and wider attachment end. Its shape should remain flexible enough to position behind the seated body.
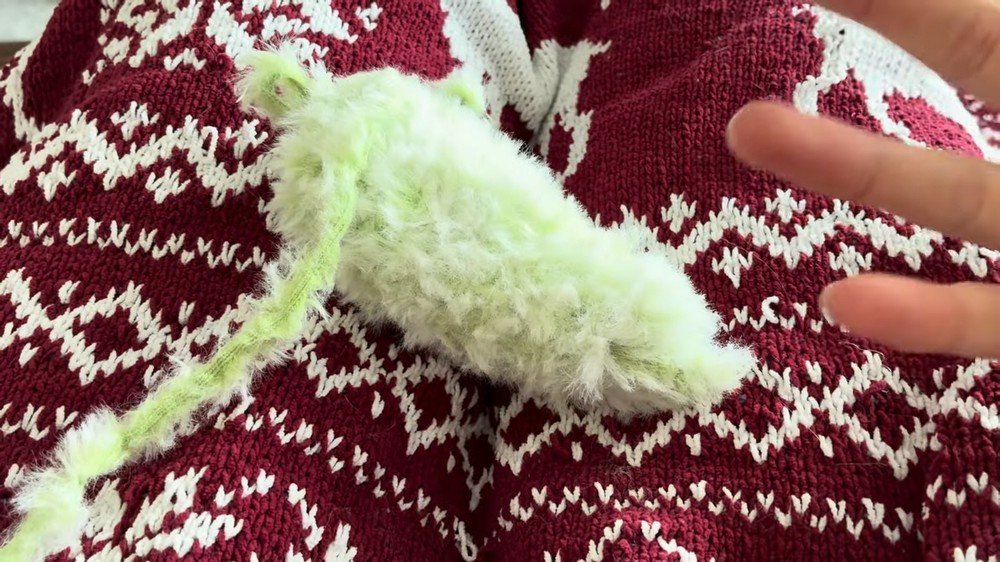
Step 7: Add Optional Contrasting Spots
Spots can give your gecko extra personality. Use contrasting yarn and prepare several sizes before arranging them along the back.
Small spot: Make a magic ring and work 6 sc into it. Fasten off.
Medium spot: Make a magic ring and work 6 sc into it. Work an inc in every stitch around. (12 sts) Fasten off.
Large spot: Make a magic ring and work 6 sc into it. Work an inc in every stitch around. (12 sts). Then repeat (1 inc, 1 sc) around. Fasten off.
Lay the finished motifs on the head, body, and tail before sewing them down. Try an irregular arrangement for a natural-looking pattern, or space them more evenly for a decorative design.
Helpful tip: Check each spot’s position from above and from the sides before attaching it. This makes it easier to balance the colors across the finished toy.
Step 8: Join the Head and Body
Position the back point of the body against the center-back base of the head. This placement helps the gecko sit upright on its bottom base.
Use the long yarn tail from the body and a yarn needle to sew around the neck joint securely. Take small stitches through both pieces, working around the joint rather than pulling one side tightly before the other.
Result check: Set the joined pieces on a flat surface. The body should support the head without leaning excessively forward or backward.
If necessary, adjust the angle before finishing the seam completely.
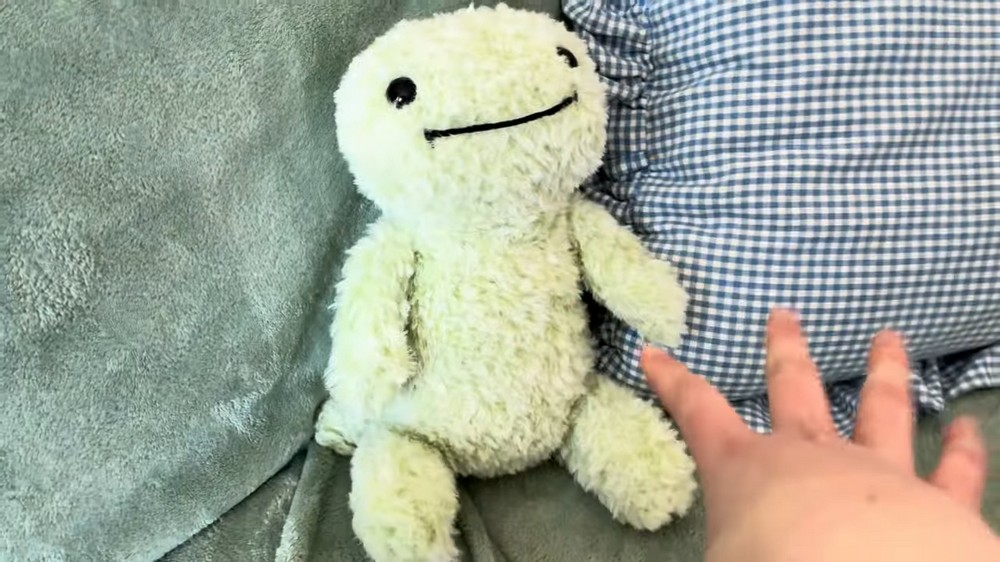
Step 9: Attach the Tail and Limbs
With the head and body joined, position the remaining pieces to establish the gecko’s sitting posture.
Tail: Sew its wider end to the lower back of the body. Angle it behind the toy so it supports the overall lizard silhouette.
Arms: Attach the shorter, slimmer arms to the upper body, placing them at similar heights on both sides.
Legs: Sew the thicker, longer legs to the lower sides of the body. Position their folded ends securely against the body so they help create a stable seated pose.
Before weaving in the yarn tails, place the gecko on a flat surface and check its balance. Adjust the limbs if one side sits higher or the tail pulls the body off-center.
Step 10: Sew on the Spots and Finish
If you made contrasting spots, sew them securely along the back of the head, body, and tail. Vary the sizes and positions to create your preferred pattern.
Finally, weave all remaining yarn ends securely inside the amigurumi pieces. Check the neck seam, tail, arms, and legs to ensure every attachment is firm.
Smooth the stuffed sections gently with your hands and arrange the limbs into their intended position.
Your chunky crochet gecko is ready to display or gift. Keep its original green coloring for a classic lizard look, or use your customized face and contrasting spots to give it a completely different character.